
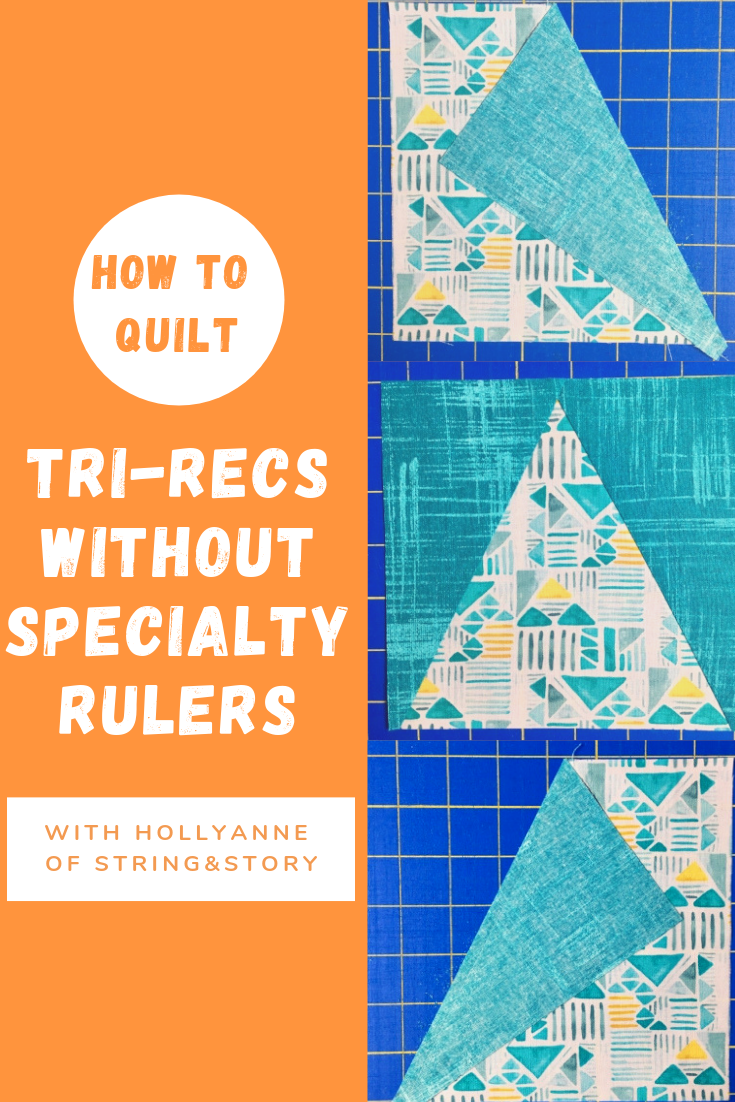
Tri-Recs Without Specialty Rulers
"Tri-recs" units, usually a triangle in a square rather than a rectangle, are a common feature in patchwork quilting. They are easily made using Tri-Recs Rulers, but if you don't have specialty rulers or need a size to big for your ruler, here's the secrets to making them easy peasy with regular ol' cutting methods.
(This post contains affiliate links)

As mentioned above, triangle in a square or tri-recs units are usually made with a specialty ruler set. Sometimes, though, you might only need a few tri-recs and not want to invest in a new ruler just for that, or, you might need a larger triangle in a square than your ruler allows. That’s where this tutorial comes in— Tri-Recs WITHOUT a specialty ruler!
If you are looking for how to make triangles in a square WITH rulers or your AccuQuilt, check out this post
Let’s Get Started
*Tri-recs Without Specialty Rulers units are made two at a time, due to the need to have reversed triangles for the "wings."
**Please note that this method uses more fabric than the specialty rulers, so plan accordingly if working from a pattern written for using specialty rulers. For example, my upcoming pattern, Dogwood Blossoms, is fat-quarter friendly, but if using this method, you might need more like a third of a yard instead
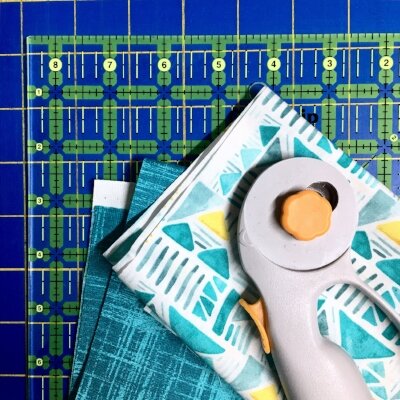
Materials:
-Two fabrics, a fat quarter of each
-Your favorite cutting ruler (such as a 8.5 x 24 inch)
-Rotary cutter and mat
-Iron
-Sewing machine set up for piecing
Formula:
Squares= (Unfinished tri-recs size + 1/2 inch) x (unfinished tri-recs size + 1/2 inch)
Rectangles= (Unfinished tri-recs size + 1/2 inch) x (1/2 unfinished try-recs size + 1 inch)
unfinished= once the unit is pieced but is not yet in the quilt

Video
Directions
Goal: 6.5 x 6.5 inch tri-recs unit (6 x 6 inch finished)

1) Cut: 2 (two) 7 inch squares and 2 (two) 7 x 4.25 inch rectangles

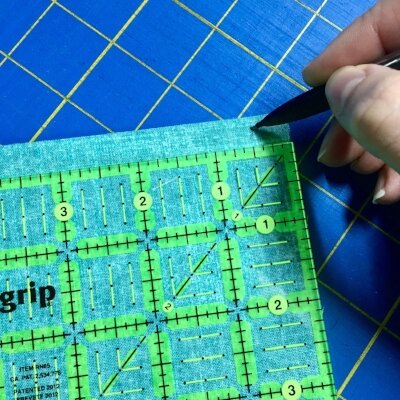
2) Mark the center point of the top edge of each square, then set aside
3) place rectangles RIGHT sides together. Then, make 1/2 inch in from lower left corner and upper right corner


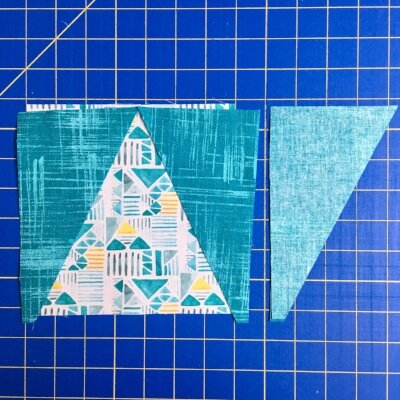
4) Line up your ruler diagonally from mark to mark on the rectangles and cut, making two sets of funky triangles that become the "wings" of each tri-recs unit


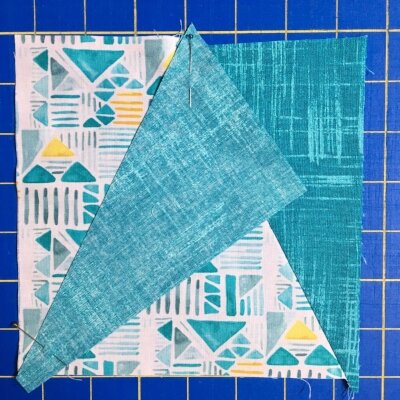
5) Sew right "wing" onto the first tri-recs unit by aligning the top corner with the center mark on that square and the lower corner with the lower right corner of the square. Sew 1/4 inch from edge of triangle

6) Trim away excess fabric, leaving a 1/4 inch seam allowance. Press wing up into position

7) Repeat steps 5 and 6 with the left wing of the tri-recs unit, then trim up block to measure 6.5 inches square. Be sure to center the upper point of the center triangle and leave a 1/4 seam allowance at all points
8) Repeat steps 5-7 with second tri-recs unit

Ta-da! You did it! Way to go, Rockstar!
PS Don’t forget to pin this post so you can find it later!
Share this blog if you found it helpful: