
Fearless Y-Seams
Y-seams are a great tool for joining hexagons, diamonds, and triangles as well as for making repairs in a quilt top. However, there’s a lot of fear around stitching. Let’s do our thing of shoving fear to the back seat and instead learn how to piece Y-seams with confidence.
(This post contains affiliate links)

More than one person has told me that they started a quilt pattern that had y-seams, blissfully unaware that they “should” be afraid, only to have their bubble burst by a well-intentioned more experienced quilter. The thing, though, is there’s no reason to fear y-seams. It’s the same geometry that makes up all of quilting— we just need to slow down and think it though.
Video
Step By Step
Take it slow, Rockstar. You’ve got this!

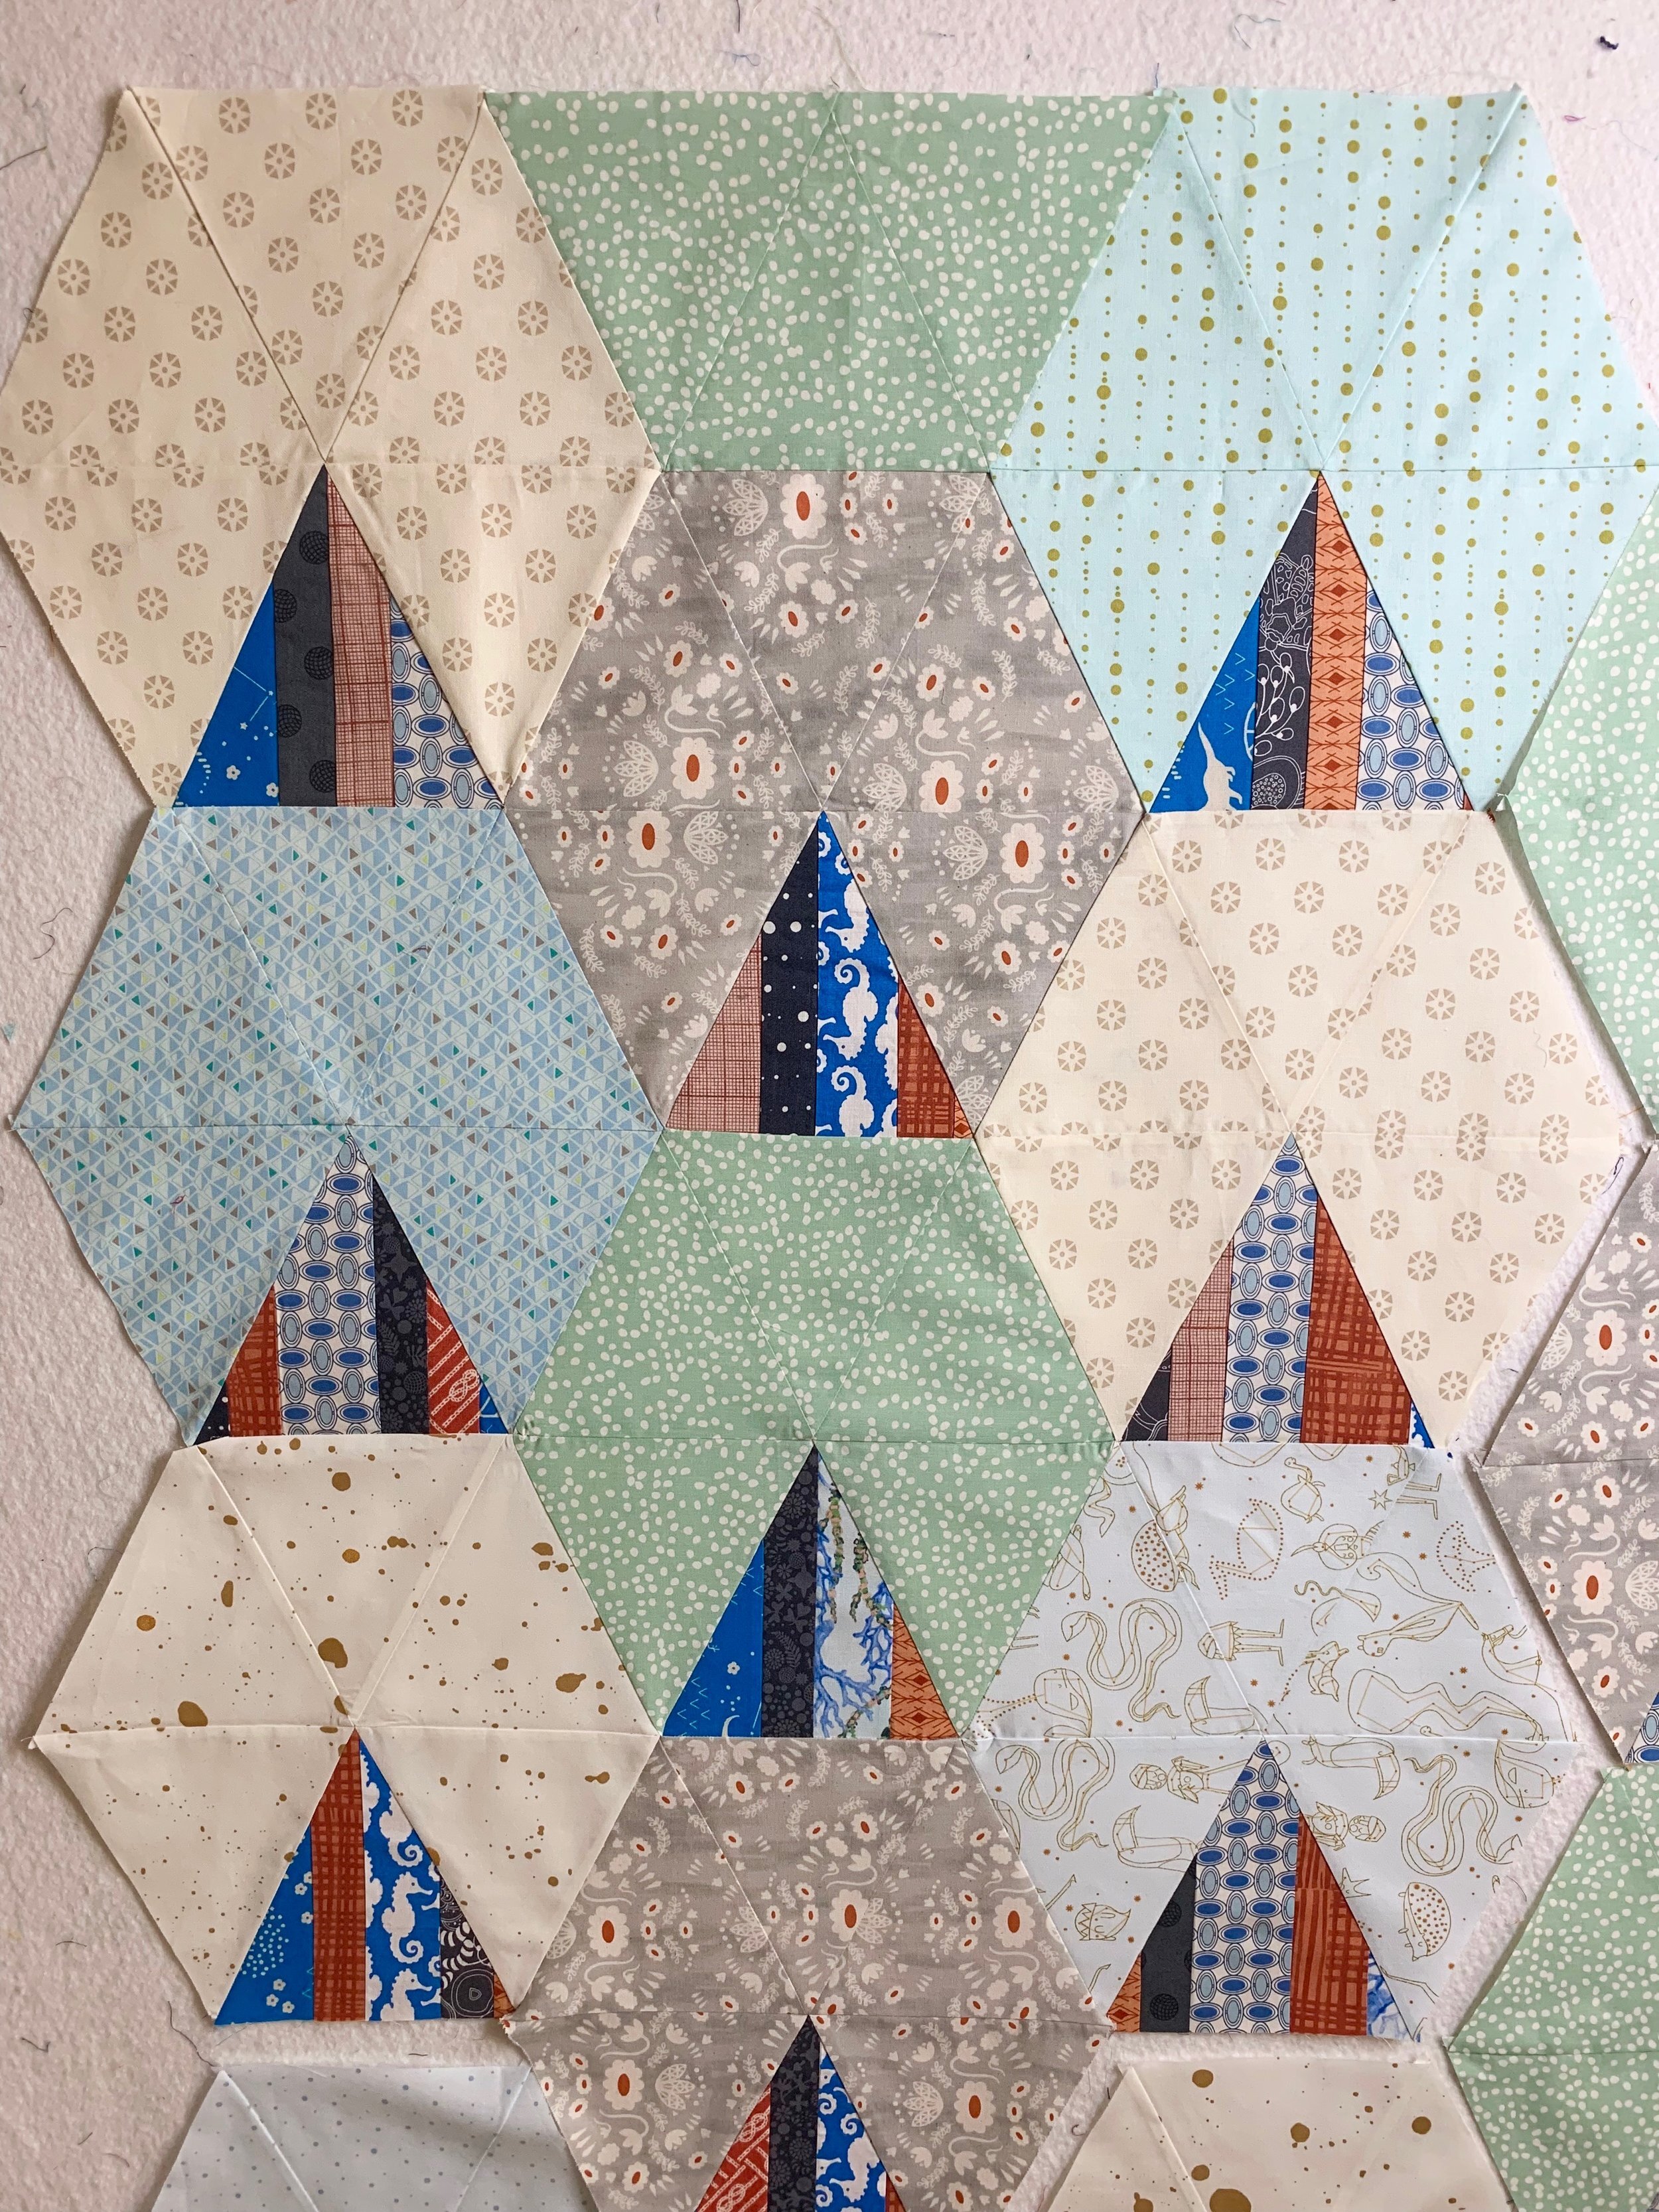
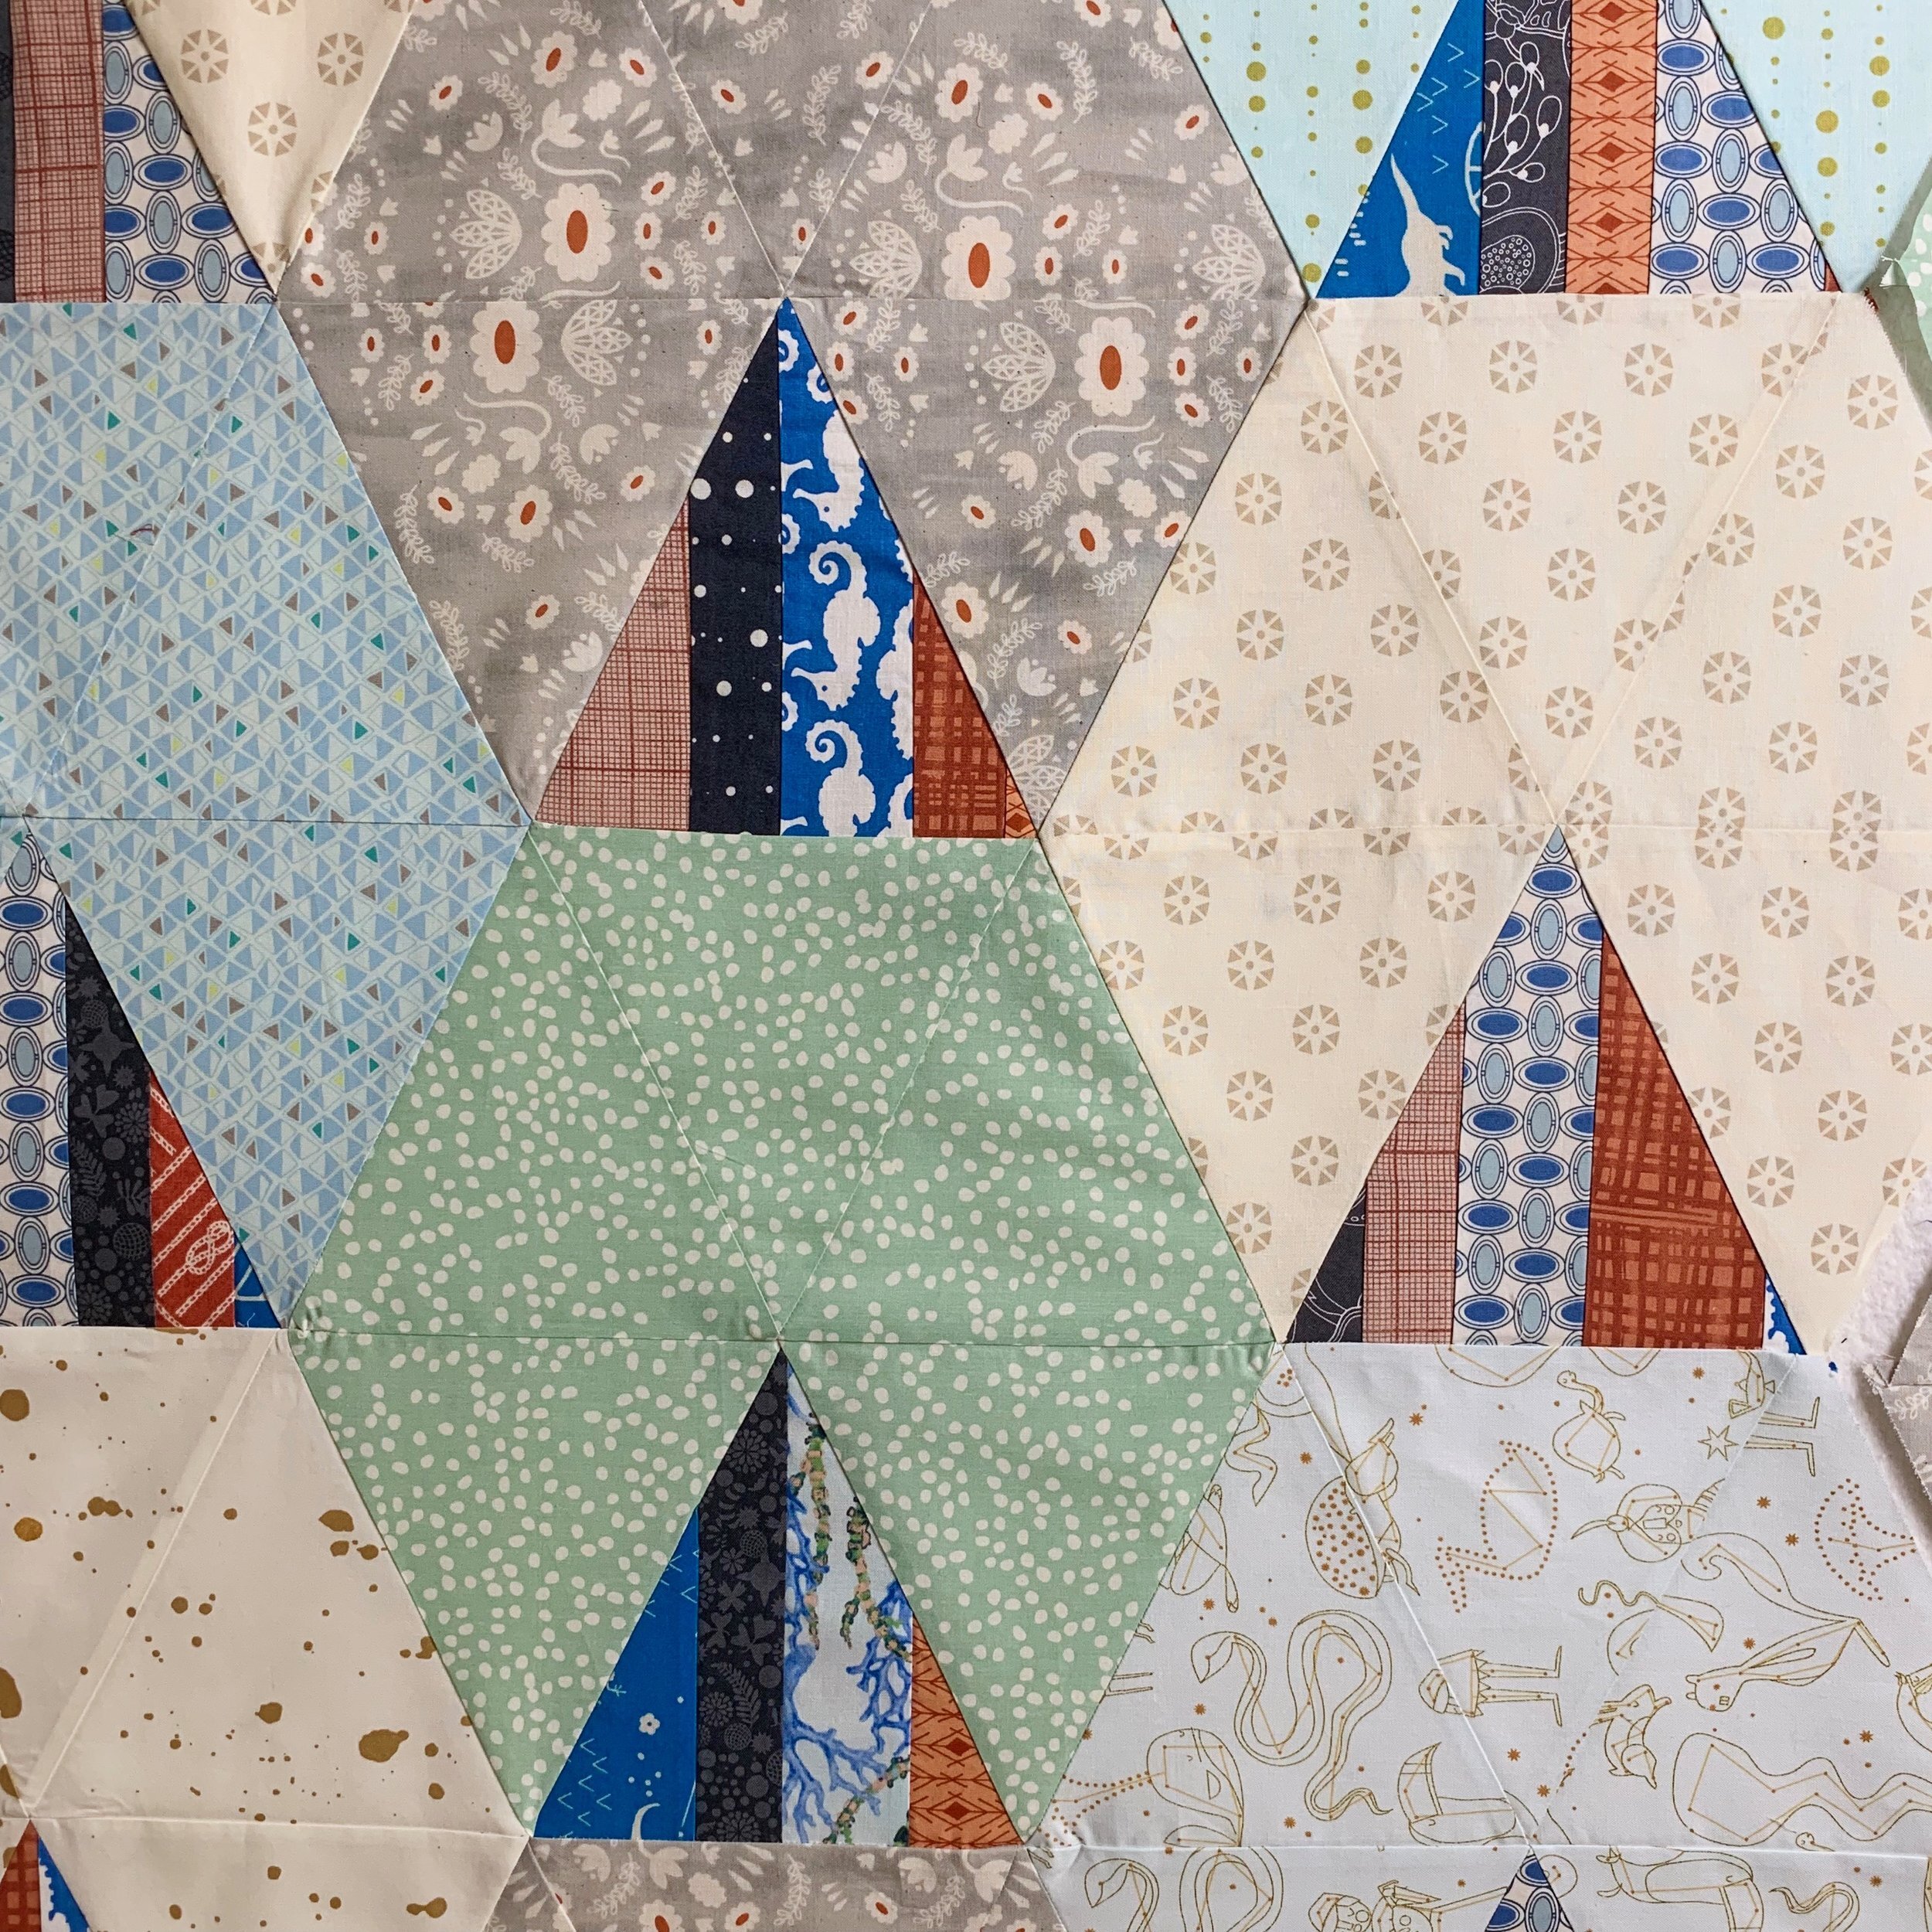
Begin by laying out the pieces you’ll be piecing with a Y-seam

Line up and pin the blocks/ pieces together, nesting the seams. Stitch the blocks/ pieces together beginning ¼” from one corner and ending ¼” from the next corner as shown above. These first two seams— the “V” of the “Y”— are just regular seams, but you’re starting and stopping 1/4” from the edge
TIP:I don’t usually backstitch when I’m piecing, but with Y-seams, since the seams get handled a good bit, I recommend backstitching a bit at the beginning and end of these seams to keep everything nice and secure.

Complete the final seam by folding the third hexagon toward the lower hexagon and aligning the seams. Stitch this seam across the intersection of all three hexagons to secure all the seams. Sometimes, as shown in the video above, I’ll stop short of the intersection to check on things, then finish sewing the seams closed
TIP:Don’t think of these seams as anything funky. Take your time to think about the geometry of these triangles, but don’t overcomplicate or over think it.
Unfold the hexagons/ shapes once again and press the seams flat. Ta da!!
Time to Practice
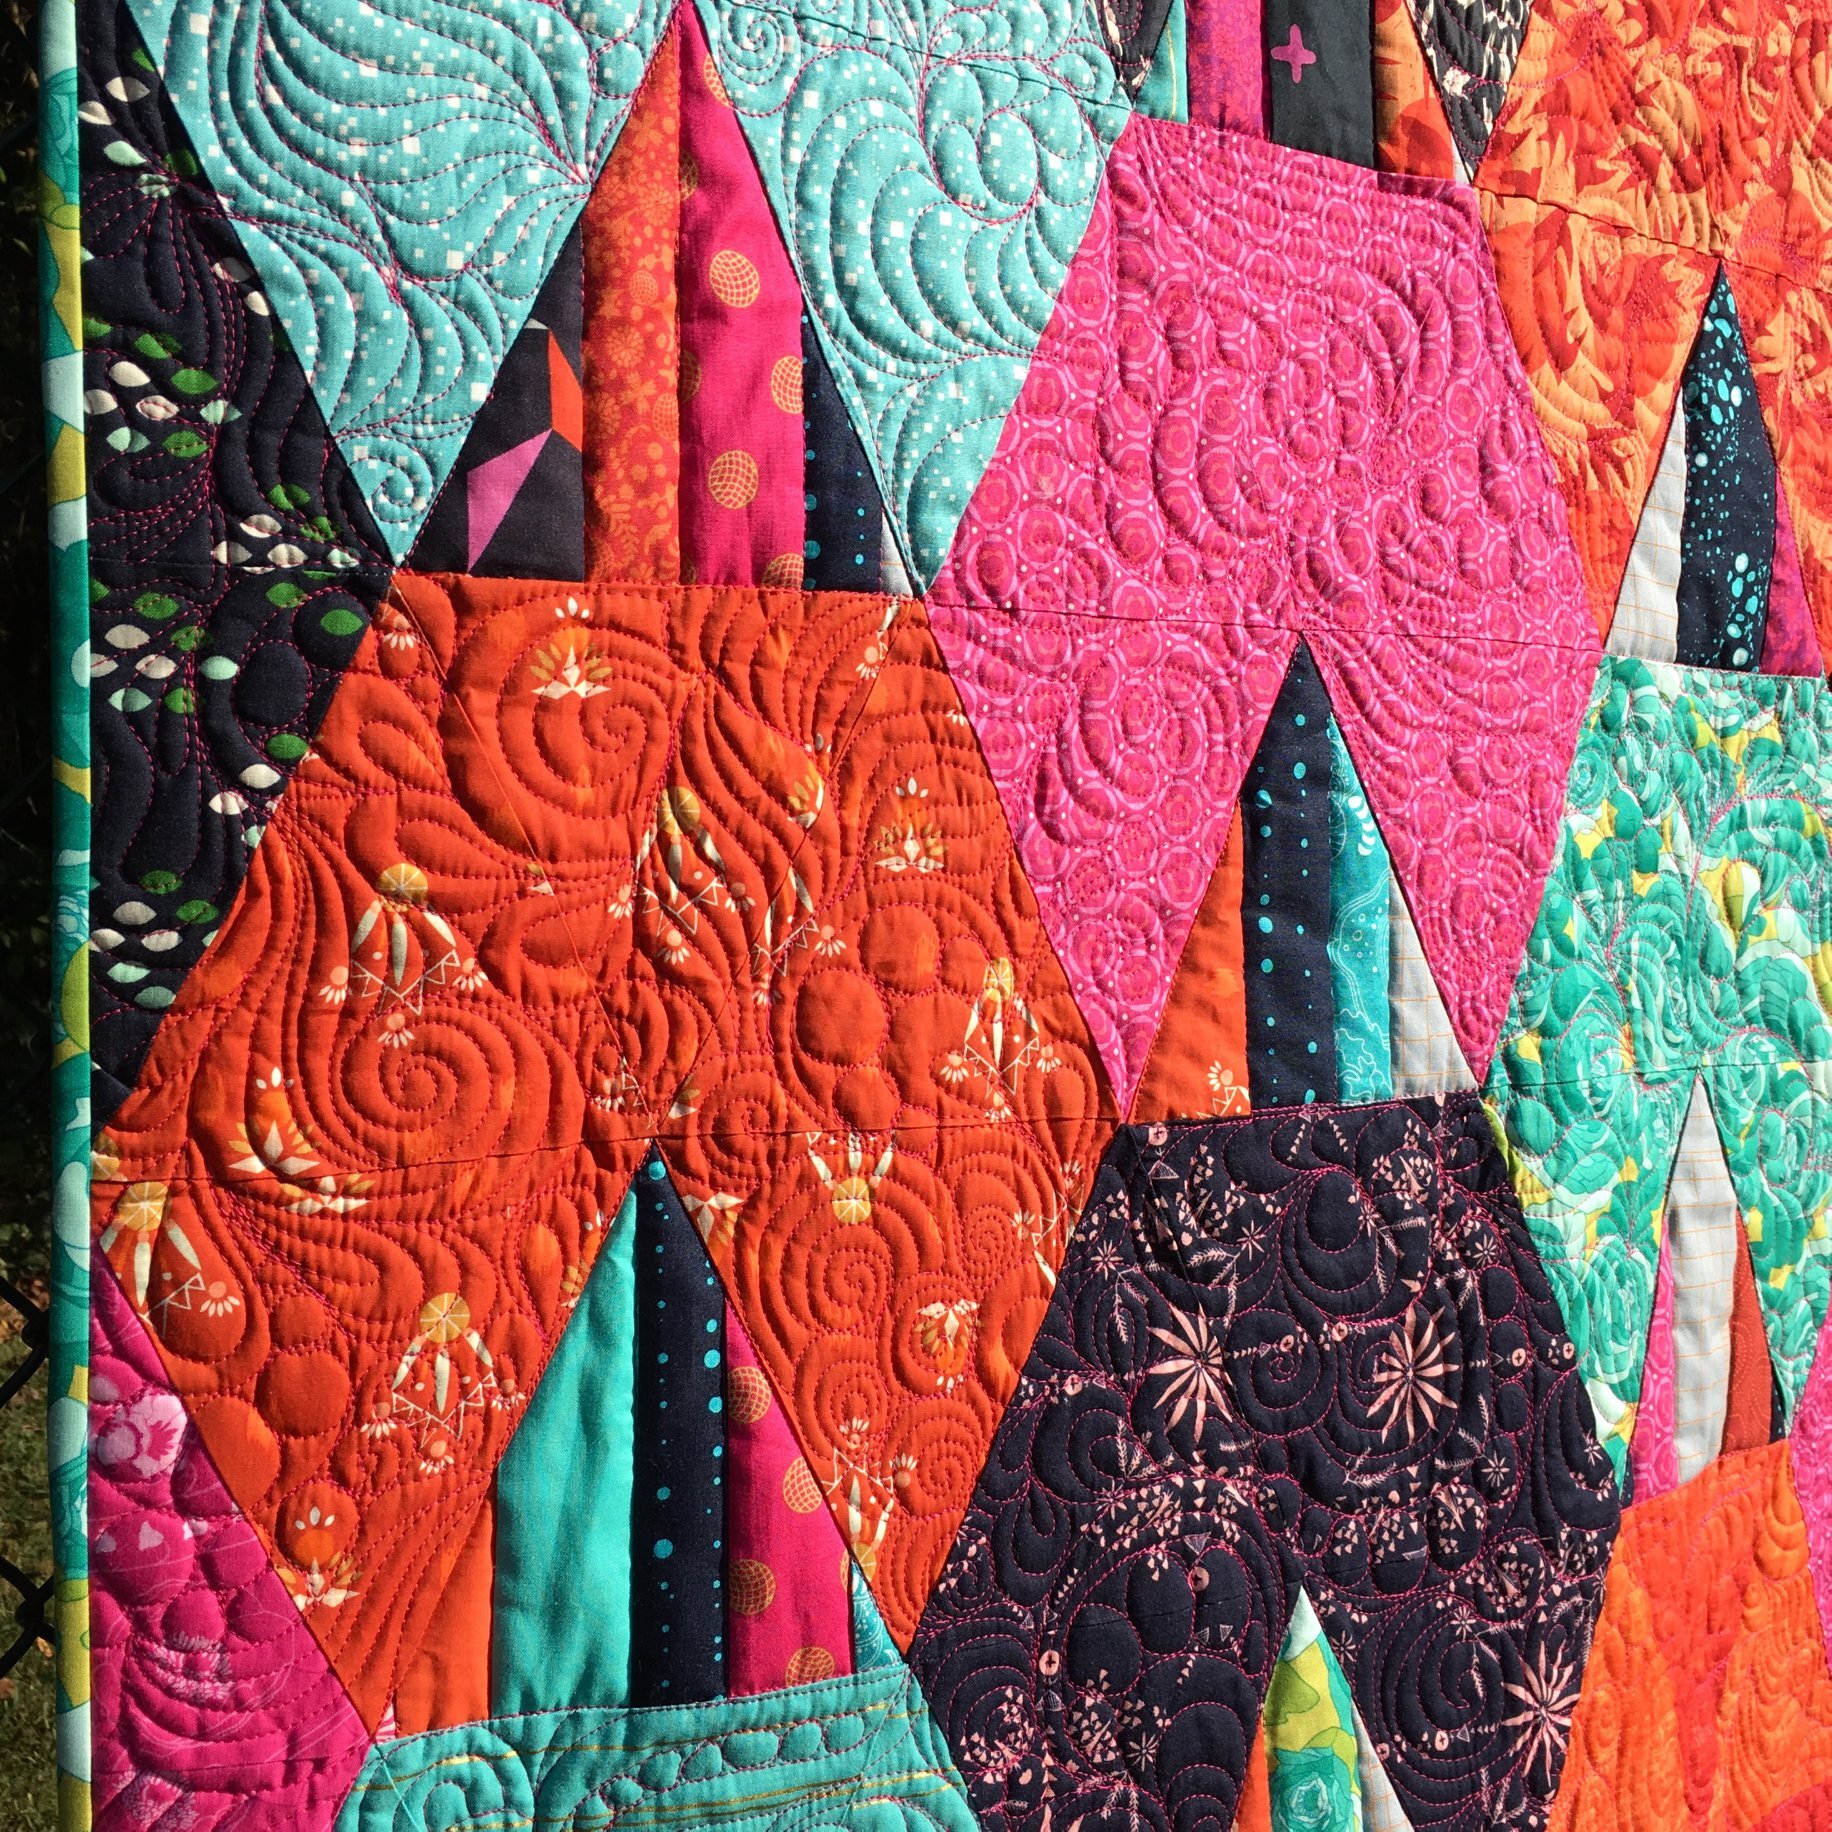
Ready to show off those fancy new skills? Make my Aldebaran quilt pattern to give y-seams a good whirl!
