
How to Piece Four Patches (Patchwork Quilting Tutorials for Beginners)
Perhaps the most iconic bit of piecing is the four patch. Made of simply four squares, it’s the perfect starting place for new quilters, a training ground for an accurate quarter inch seam, and a classic quilting block. Keep reading for a tutorial and lots of tips!
(This post contains affiliate links)
I was talking to a friend recently who doesn’t quilt but admires quilts and was reminded that four patches are often THE block that comes to mind when people think of quilts or patchwork. This block is not only the foundation of quilt piecing techniques, but it is also a true classic that stands out in the minds of quilters and quilt muggles alike as “the look” for quilts. If you’re brand new to quilting, this is the perfect place to start. If you’ve been piecing awhile, you just might pick up a new trick!
Video
Cut Out the Squares
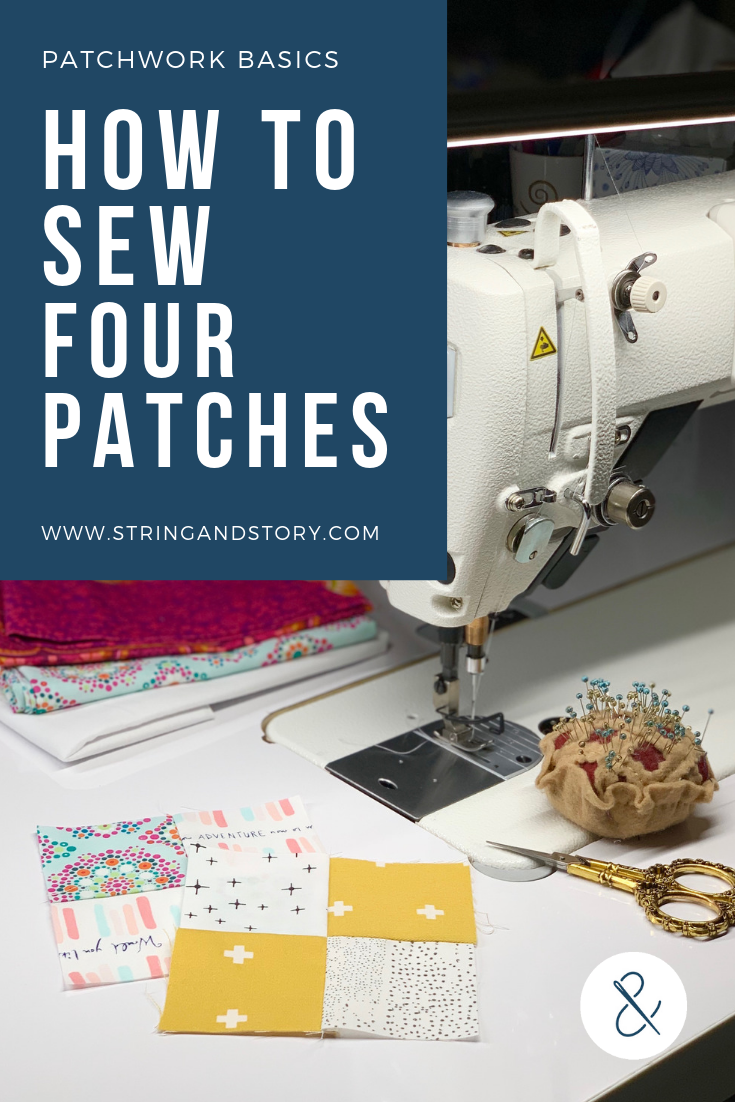
There are basically two ways to make four patches. The first, and most obvious, is to simply cut out four squares and then sew them back together. This is a great technique if you’ve never sewn a bit of patchwork before or if you only need a couple blocks or if you’re working from scraps and trimming extra bits down so they don’t go to waste. How does it work? Here’s a quickie walk through:
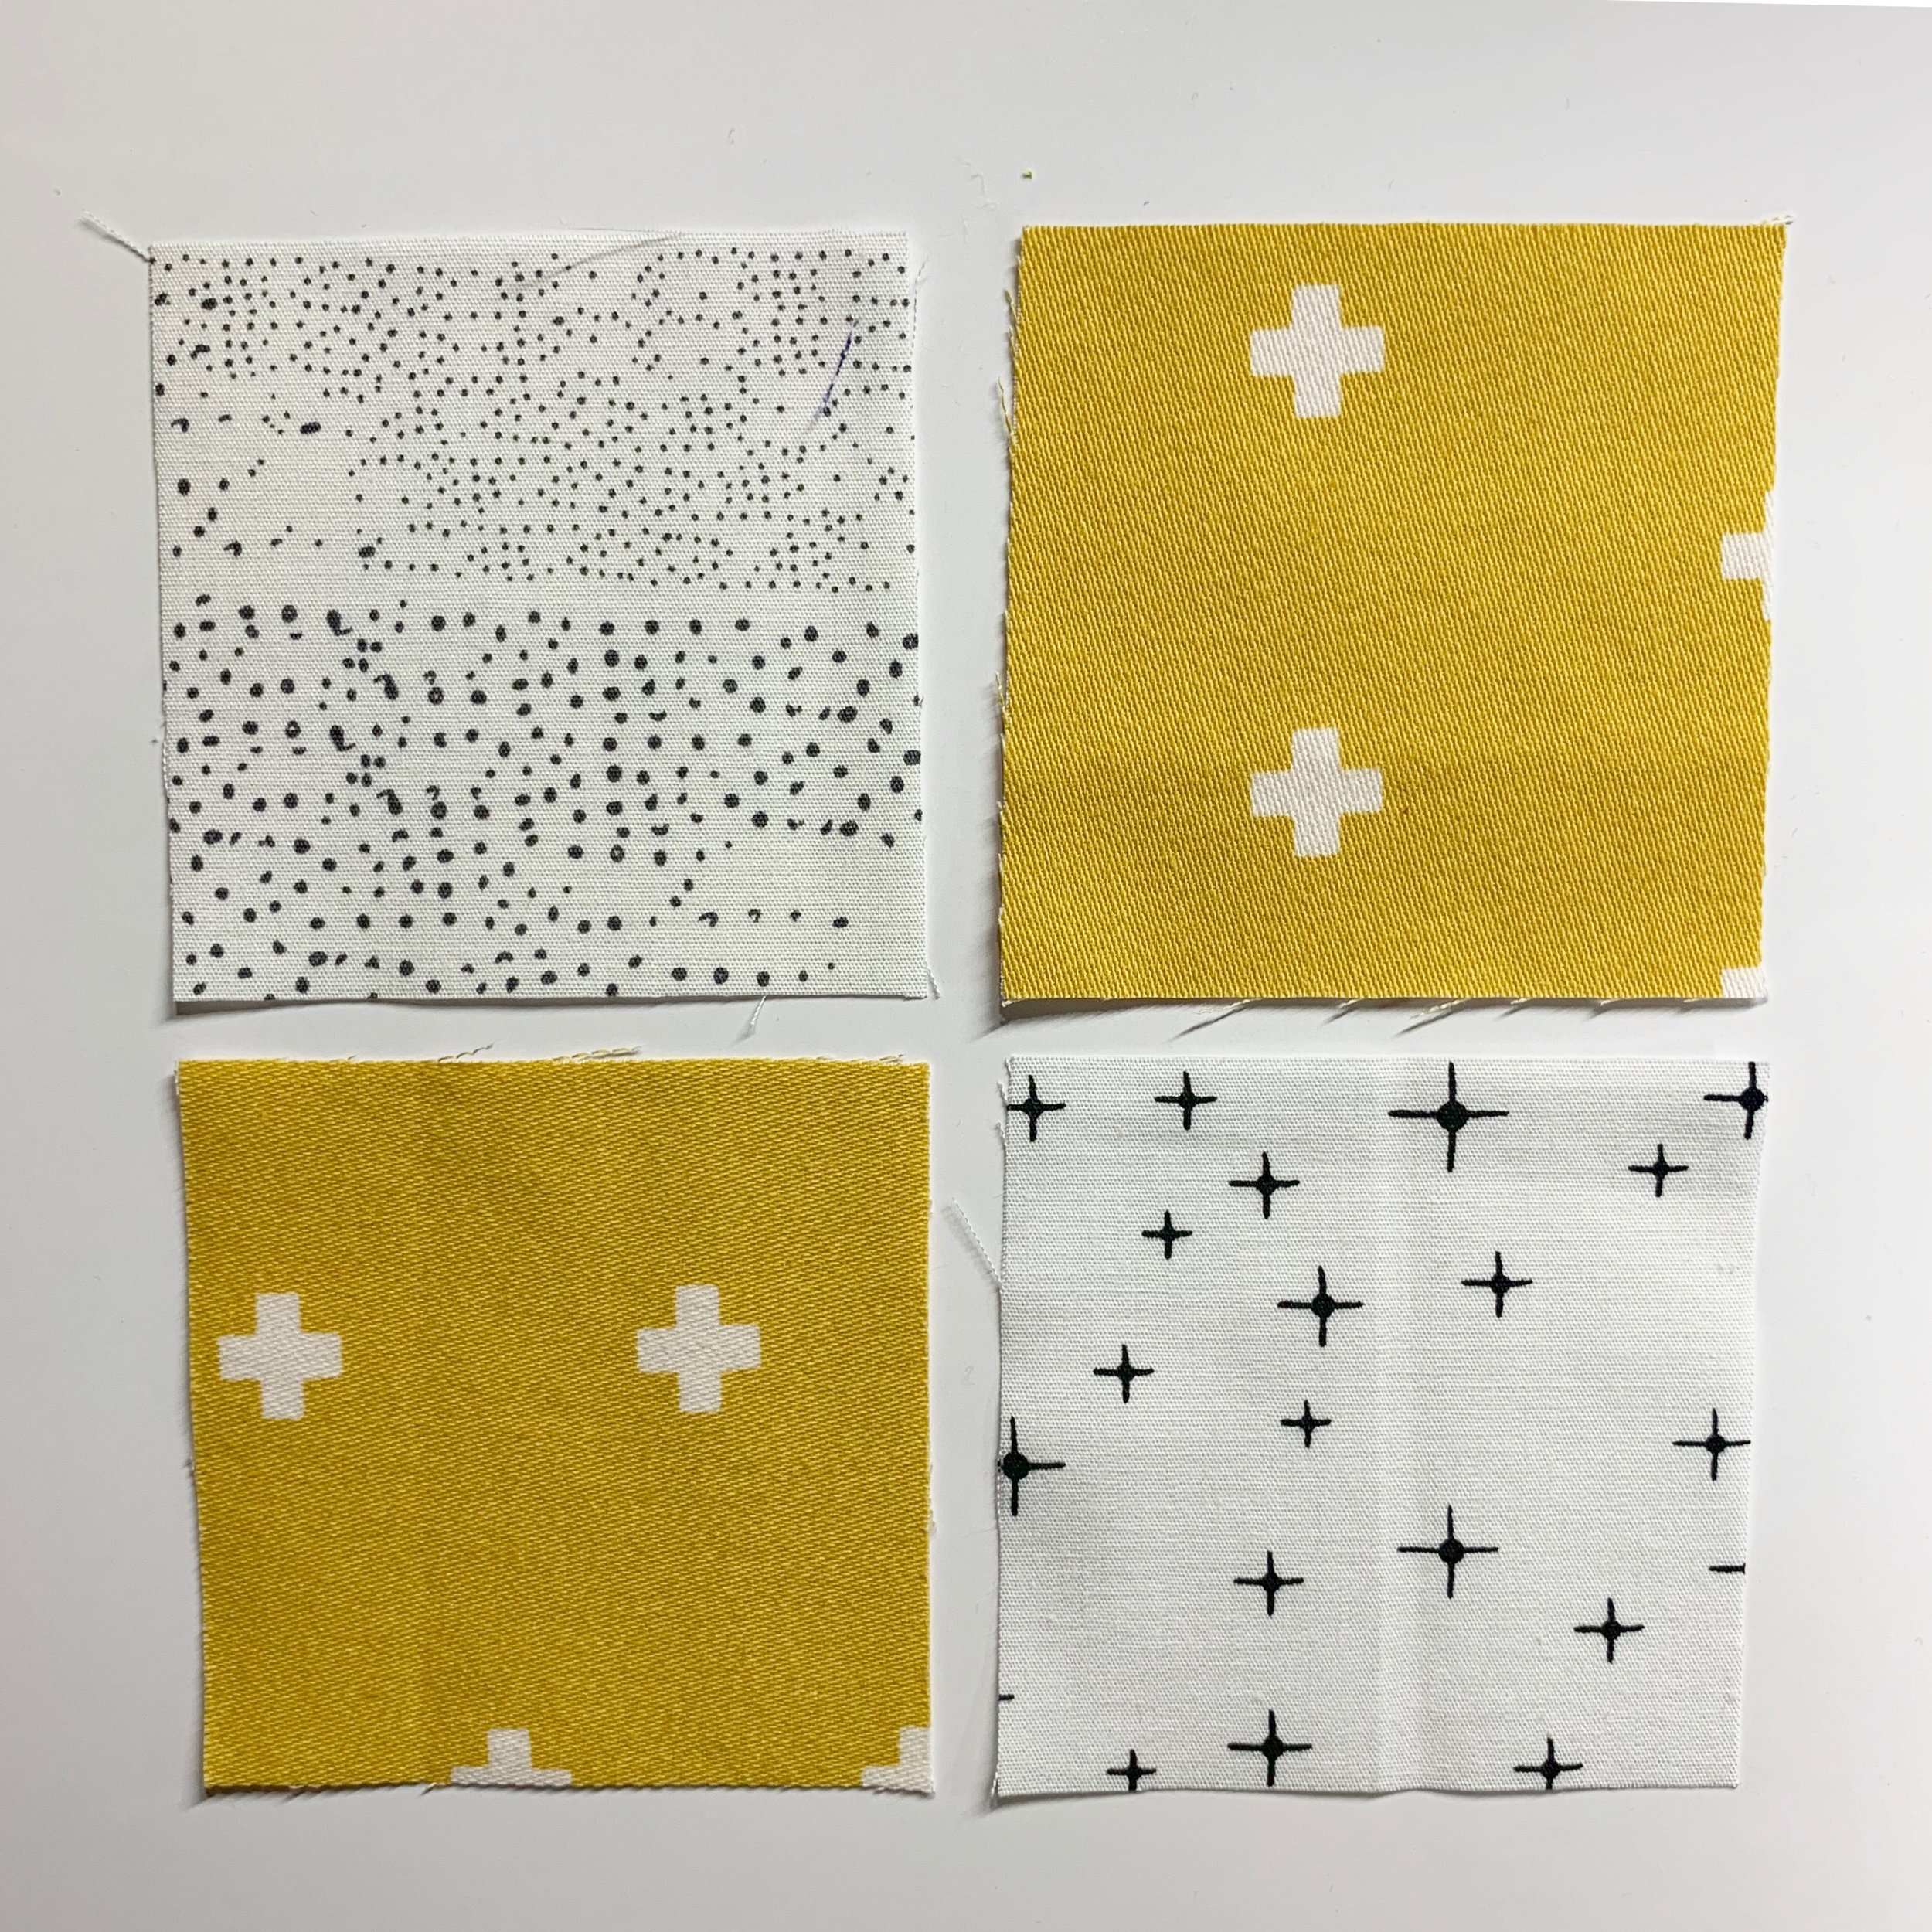
If you want to piece a 4 inch finished (4 1/2 inch unfinished— stick with me if you’re not sure what that means) four patch, then you’ll cut out four 2 1/2 inch squares (click here if you’re unsure how to use a rotary cutter safely and accurately). Take two of the squares, and place them right sides together (that means putting the pretty side of the fabric toward the inside, so you see the backside) and sew one side with a quarter inch seam (learn about quarter inch seams here). Repeat with the other two squares. Now press each pair of squares open so you can see the right sides of the fabric again and the seam at the back is pressed to one side (more tips on pressing here).
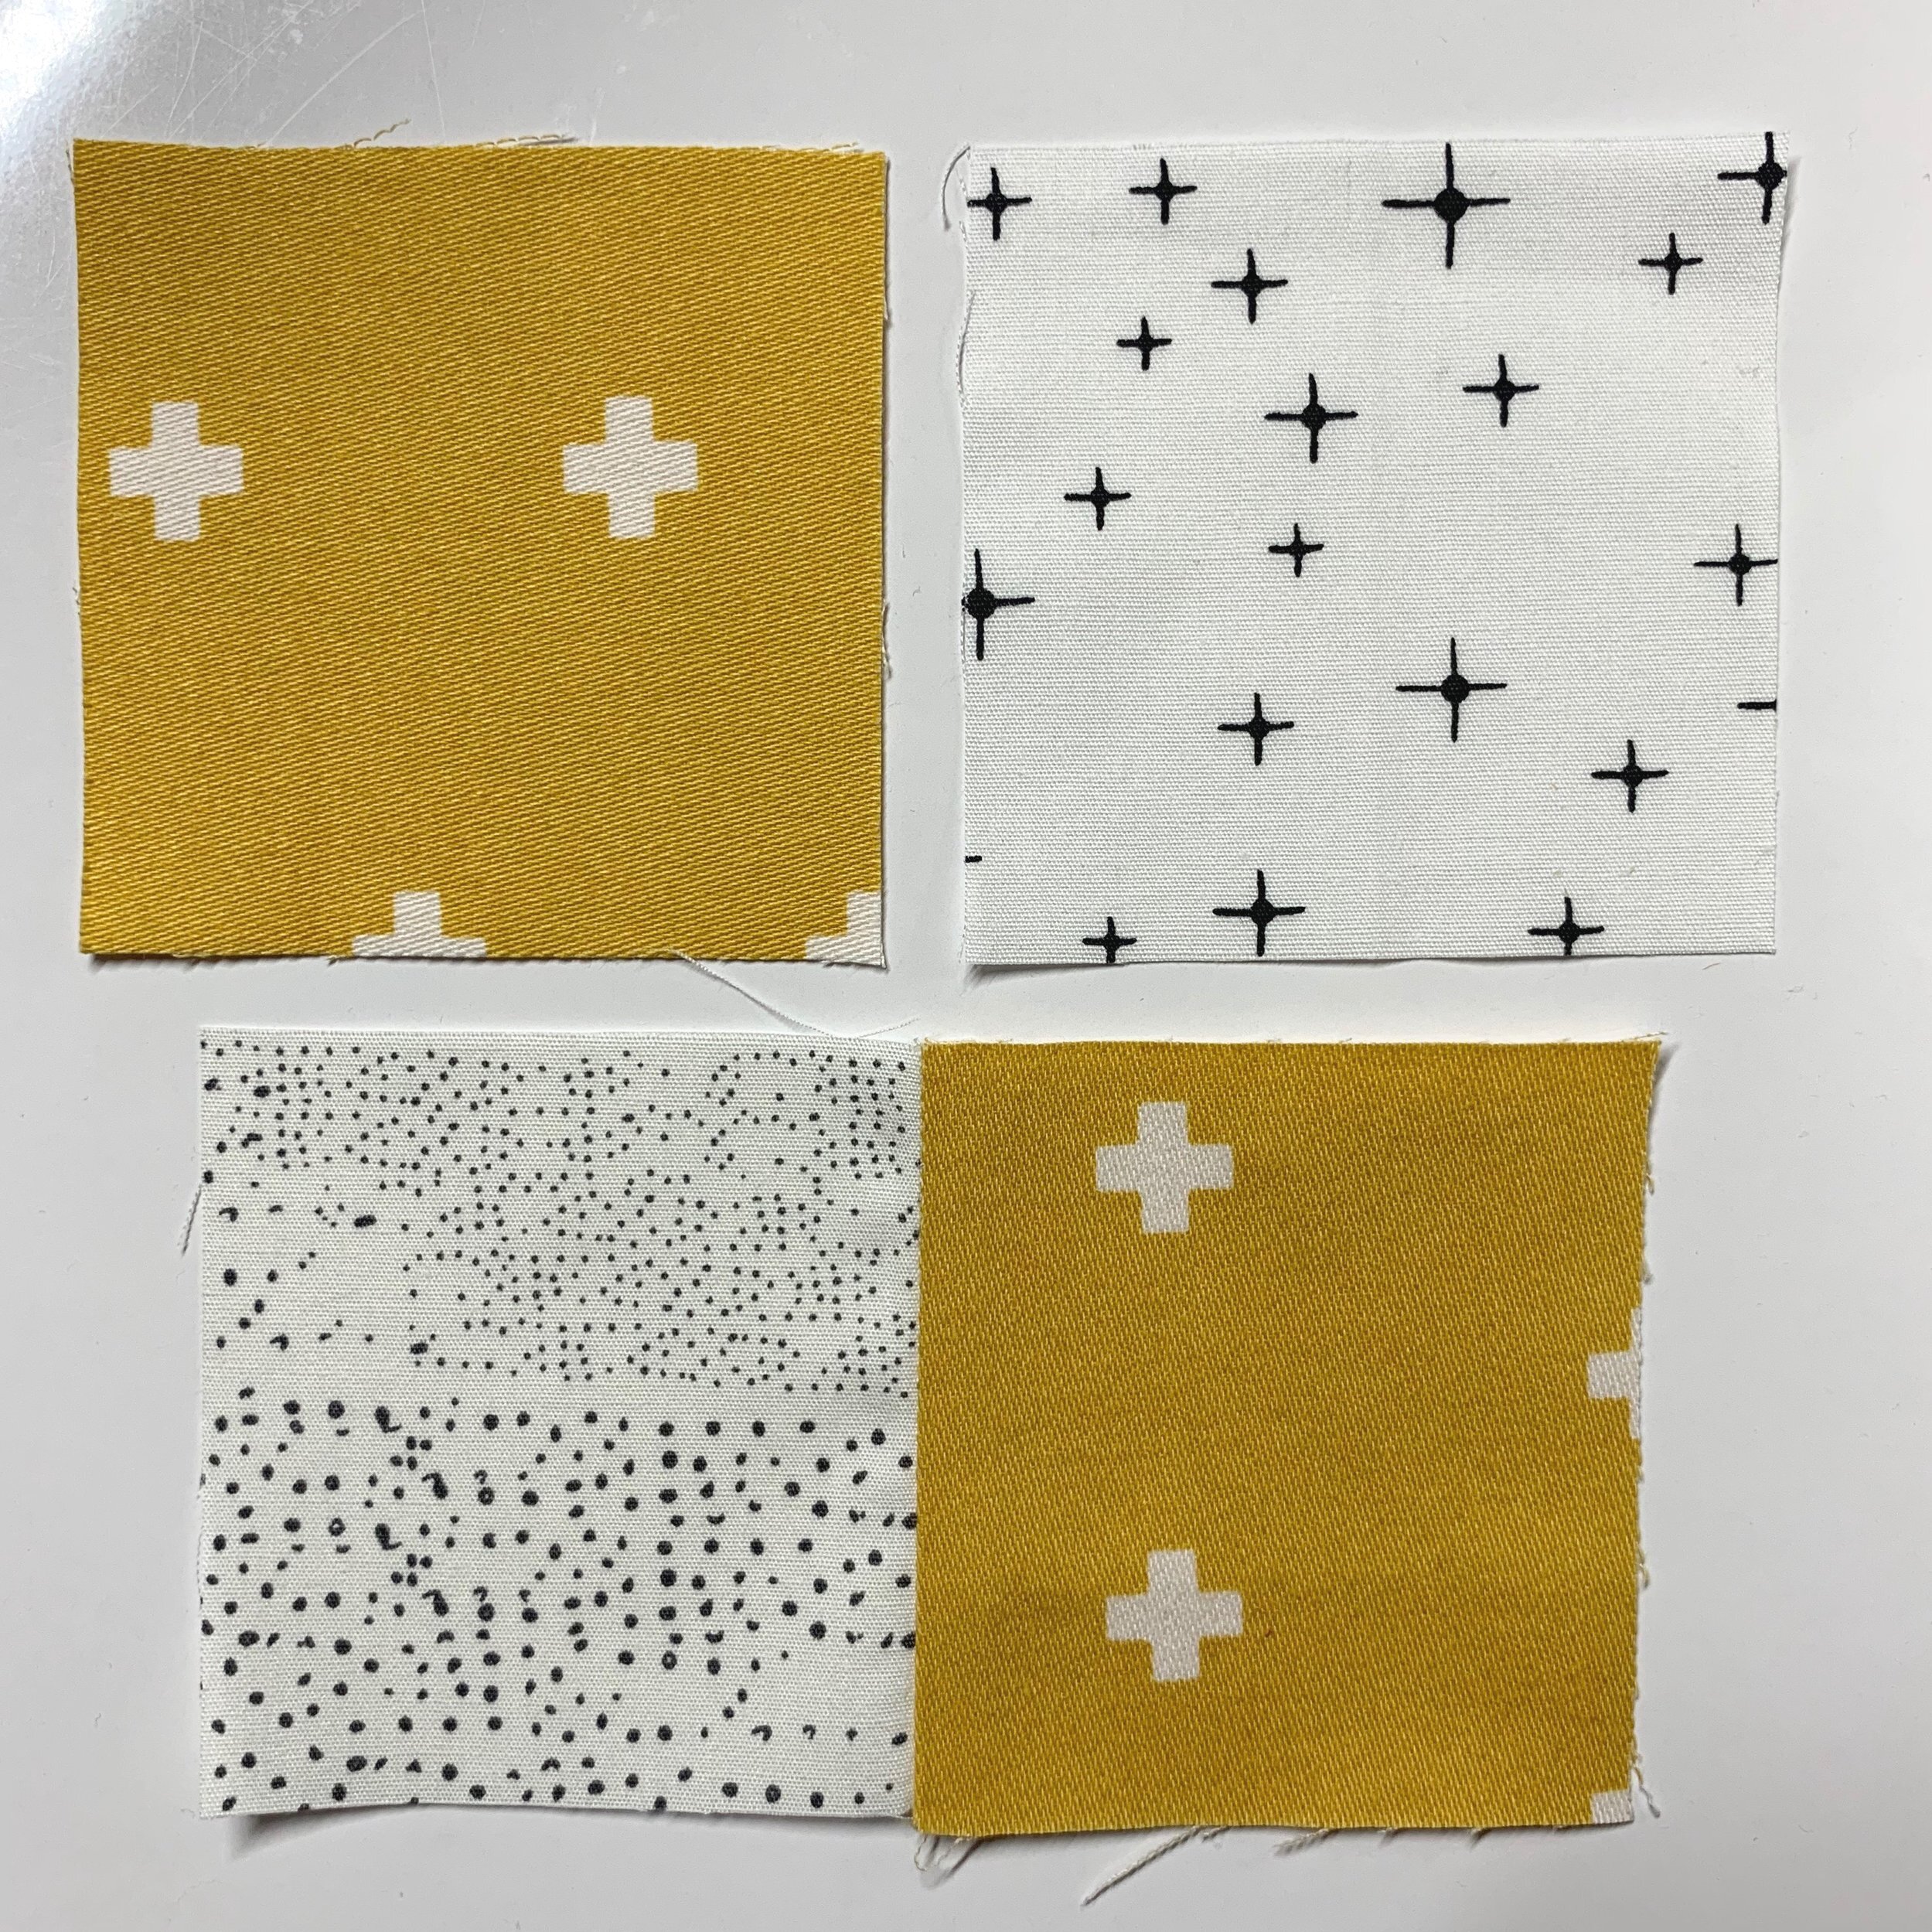
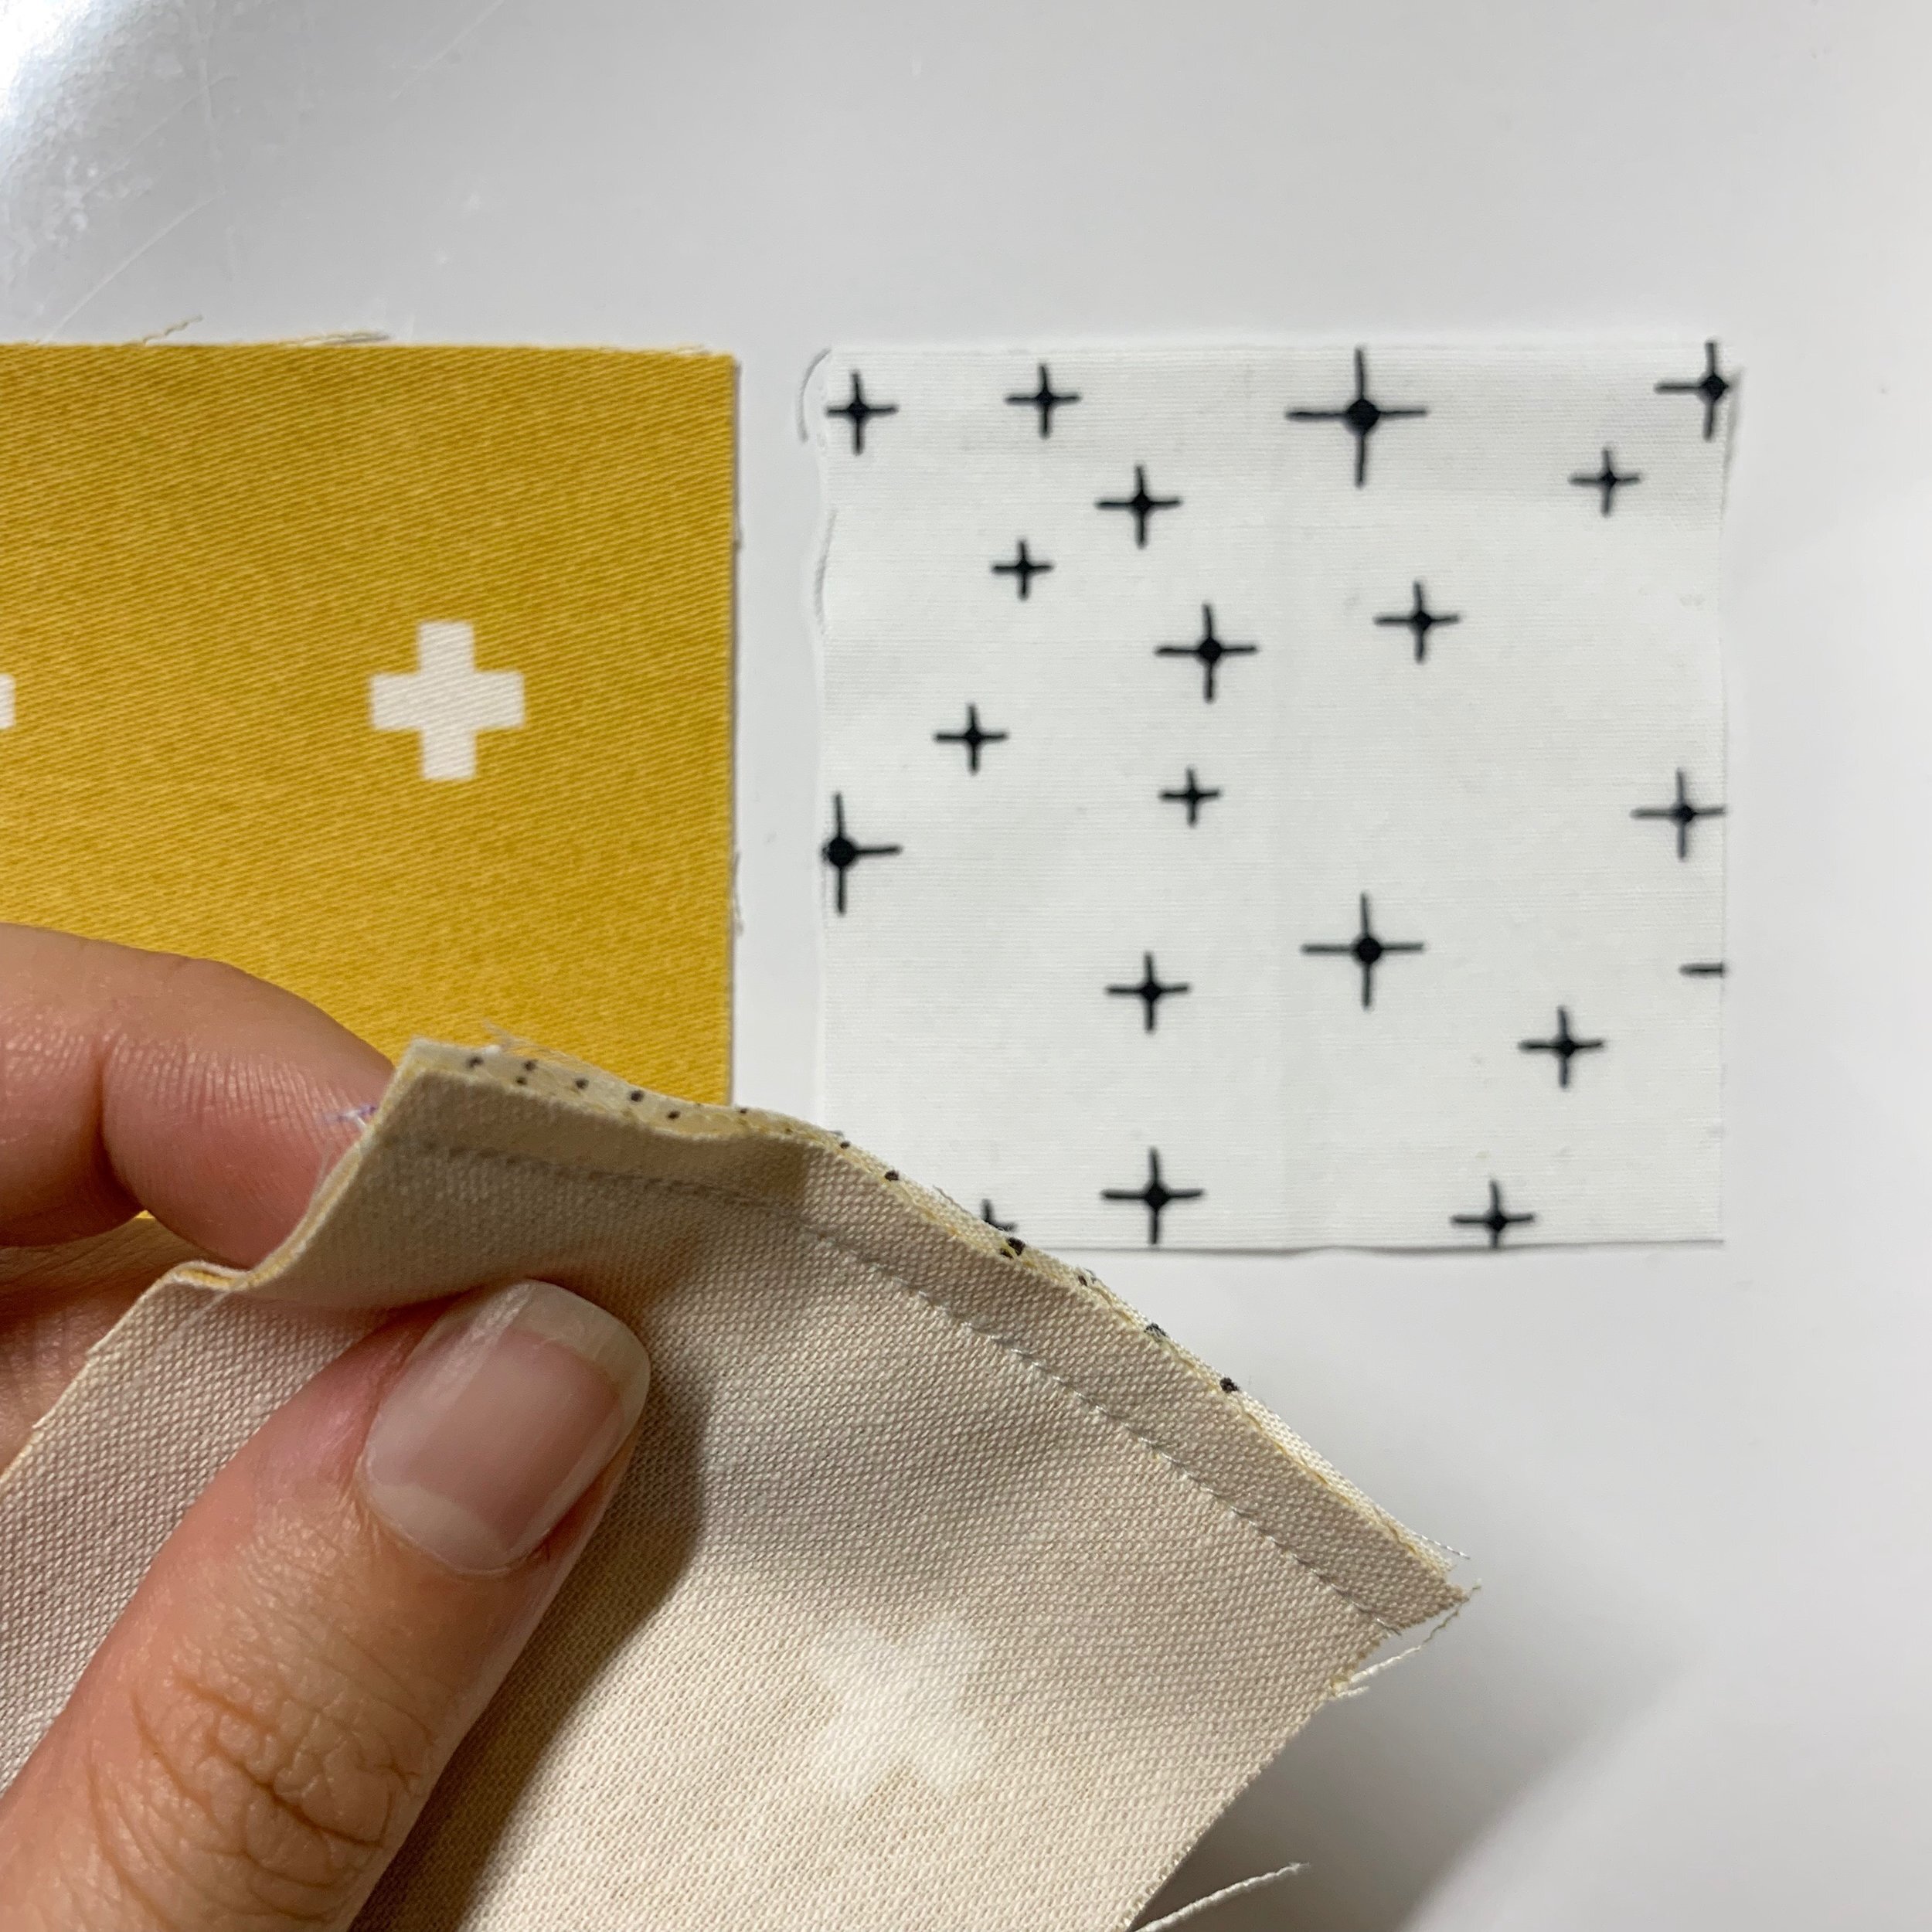
Here comes the fun part— we’re going to sew the two pairs together and spin the seams. First, place the two pairs of squares (two halves of the four patch) right sides together. Make sure the seams on the backs are going to opposite direction so that the seams nest together. Again, sew along one side with a quarter inch seam. When you go to press the block, gently tease the nested seams apart so that all four seams lay “pointing” the same direction, creating a tiny four patch in the middle of the back of the block. Press flat, then celebrate— you sewed a four patch, AND you spun your seams!
(As an aside, spinning seams is attractive because it helps the block as a whole press flatter. We call this “reducing seam bulk,” aka making the seams on the back less bumpy so that it’s smoother to quilt the quilt later.)

One last little step— go back to your cutting mat and lay your ruler over the block. It should measure 4 1/2 inches square, assuming your cutting and quarter inch seams were reasonably accurate (do not fret if this one isn’t perfect— practice makes progress!). 4 1/2 inches is the UNFINISHED size (remember I mentioned that above). That means, when this four patch is pieced into a larger block or into a quilt top, there will be four more quarter inch seams sewn around the edges, and it will FINISH at 4 inches in the quilt. Does that make sense?
Strip Piecing
The other method for making four patches is to use strips of fabric rather than individual squares. Essentially, you get to skip a step. This is a great method if you need a lot of identical four patches in a jiffy. And if you want a “scrappier” look (more variety), just make a bunch of different strip sets and pair them up at random. Here’s how it works:

To cut out little squares, you usually cut strips off a larger piece of fabric, then turn the strips 90 degrees and cut the other way. For this method, to make 4 inch finished four patches, you’ll cut four 2 1/2 inch strips of fabric. I recommend taking two pieces of fabric and laying them right sides together to do this. Then it only takes two cuts and your strips are already lined up for sewing. With right sides together, sew two pairs of two strips each down the long side, then press open with the seams to one side.
Place the two pairs of strips right sides together, nesting the seams. Trim up the end to make sure they’re even, then sub-cut across the short way at 2 1/2 inch intervals. Carefully peel the cut pairs up off your mat and sew them together down one side. Press, spinning the seam (see above if you need a reminder about how). Ta da! See how quick that was? Check with your ruler that the block measures 4 1/2 inch square (close enough is good enough, folks, don’t agonize over this, especially if you’re a brand new quilter), then zip through the rest and you’ll have a whole pile of four patches in no time!
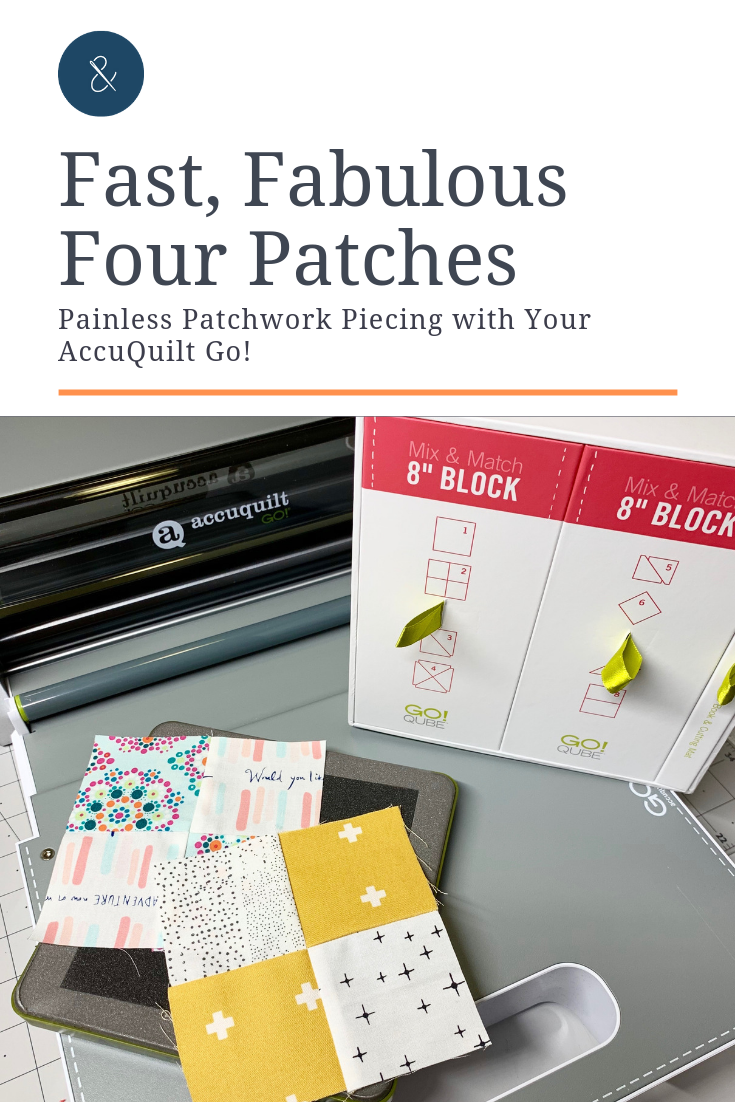
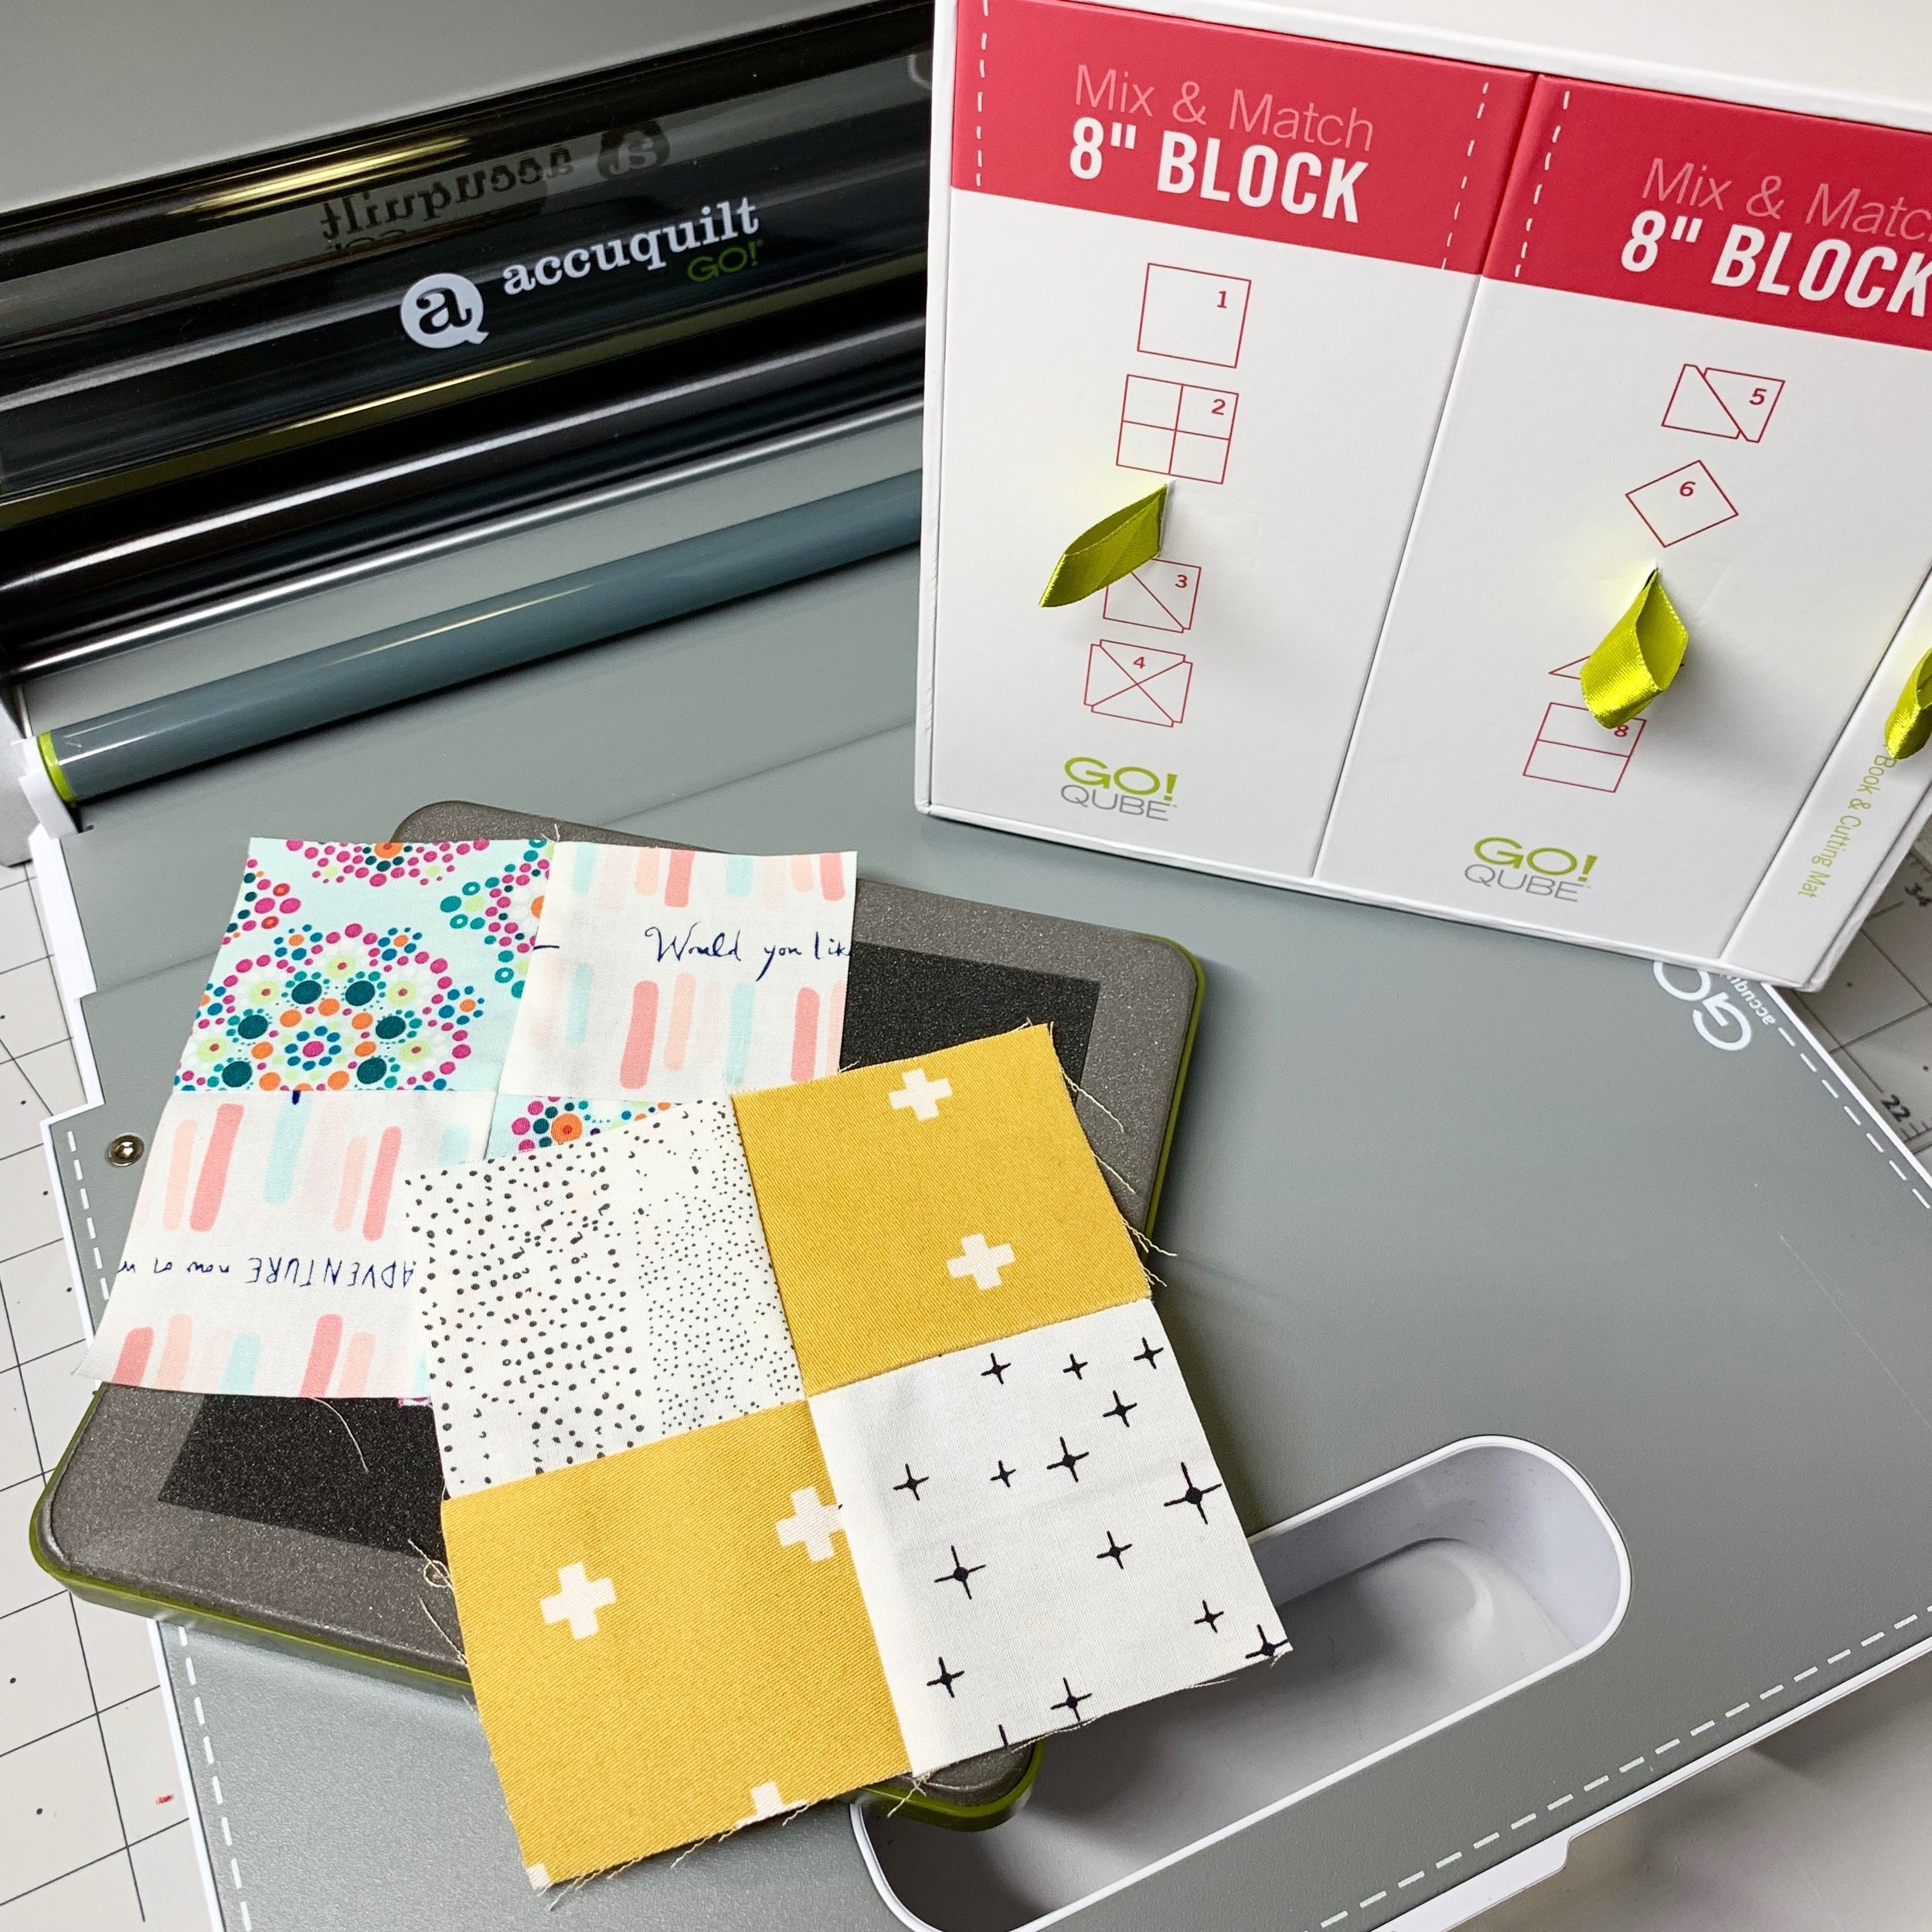
Using An AccuQuilt
If you have an AccuQuilt cutting system, you can cut even more accurately more quickly and really make this process fly. There are four patch dies that cut the individual squares for you. Just like I described above, you’ll use this die if you only need a few blocks or if you’re working from smaller pieces of fabric. The AccuQuilt Go! can cut through up to six layers of fabric, so if you arrange your fabric in right side together pairs, then it will be easy to peel up the cut squares to sew together. Then you’ll simply continue as outlined above. (Not sure how to arrange fabric on the die? Check out this quick video here to get the basics of how to use your AccuQuilt).
AccuQuilt also makes strip dies. Similarly to the square die, you can arrange your pieces of fabric in right sides together pairs to make it super quick to peel pairs off and sew them together. The added bonus of using the AccuQuilt is that it’s easy to carry the die from the cutter to your machine so your fabric doesn’t get cattywompus while you carry it. Tip: when arranging fabric to cut strips, pay extra attention to the grain (how the threads of the fabric are woven). Make sure the blade of the die runs parallel to the grain so that you have straight, even strips.
If you are a brand new quilter, you may not be ready for the investment of an AccuQuilt, but if you’re already a dedicated quilter— especially if cutting is not your favorite— an AccuQuilt is worth every penny! Check out my post here to see what exactly comes in the starter kit and what I love about it.

Bonus: What about Nine Patches?
You’re a sharp cookie, so even if you’re a brand new quilter, you probably took a peek at that name, “nine patches,” and figured out that it’s just like a four patch but with nine squares. Similarly, there are two primary piecing methods (cut the squares and strip piecing), but I really recommend the strip piecing. It’s just SO MUCH FASTER.
For example, to make 6 inch finished (6 1/2 inch unfinished) nine patches, make three sets of three 2 1/2 inch strips. Nest two sets right side together, and cut across them the short way at 2 1/2 inches. Sew one side with a quarter inch seam, then press open. Take the third strip set and sub-cut 2 1/2 inches across. Nest it onto the block, sew, press, and Voila! a nine patch!
Like with four patches, I hold that the strip method is definitively faster if you need more than 2-3. You can make scrappy blocks by making lots of strip sets and mixing and matching as you nest, cut, and sew. If you only need one block for some reason, though, then you’ll likely want to consider the itty bitty squares method.
