
How to Machine Bind Quilts
Just because binding can be a drag (serious hat's off to those of you who love binding), doesn't mean it should be pretty! Follow these easy steps to a beautifully machine-bound quilt!
(This post contains affiliate links)

Hey Everyone!
First of all, disclaimer: I HATE binding. Like really think about crying every time I need to bind a quilt (which is a lot because I've already lost track of how many finishes I've had this year). That being said, I've been asked to share my process and tips about binding because, if I'm going to bind quilts, I'm going to do it fast and well so I can move.on.to.the.next.quilt.already. HA! I'm going to go step by step for you guys and show pictures and videos as they will help.
Step 1: Coffee and chocolate... kidding! Sort of... If you dislike binding, do something to pump yourself up!
Step 2: Cut enough 2 1/4" strips of fabric to go all the way around your quilt with at least 12 inches extra

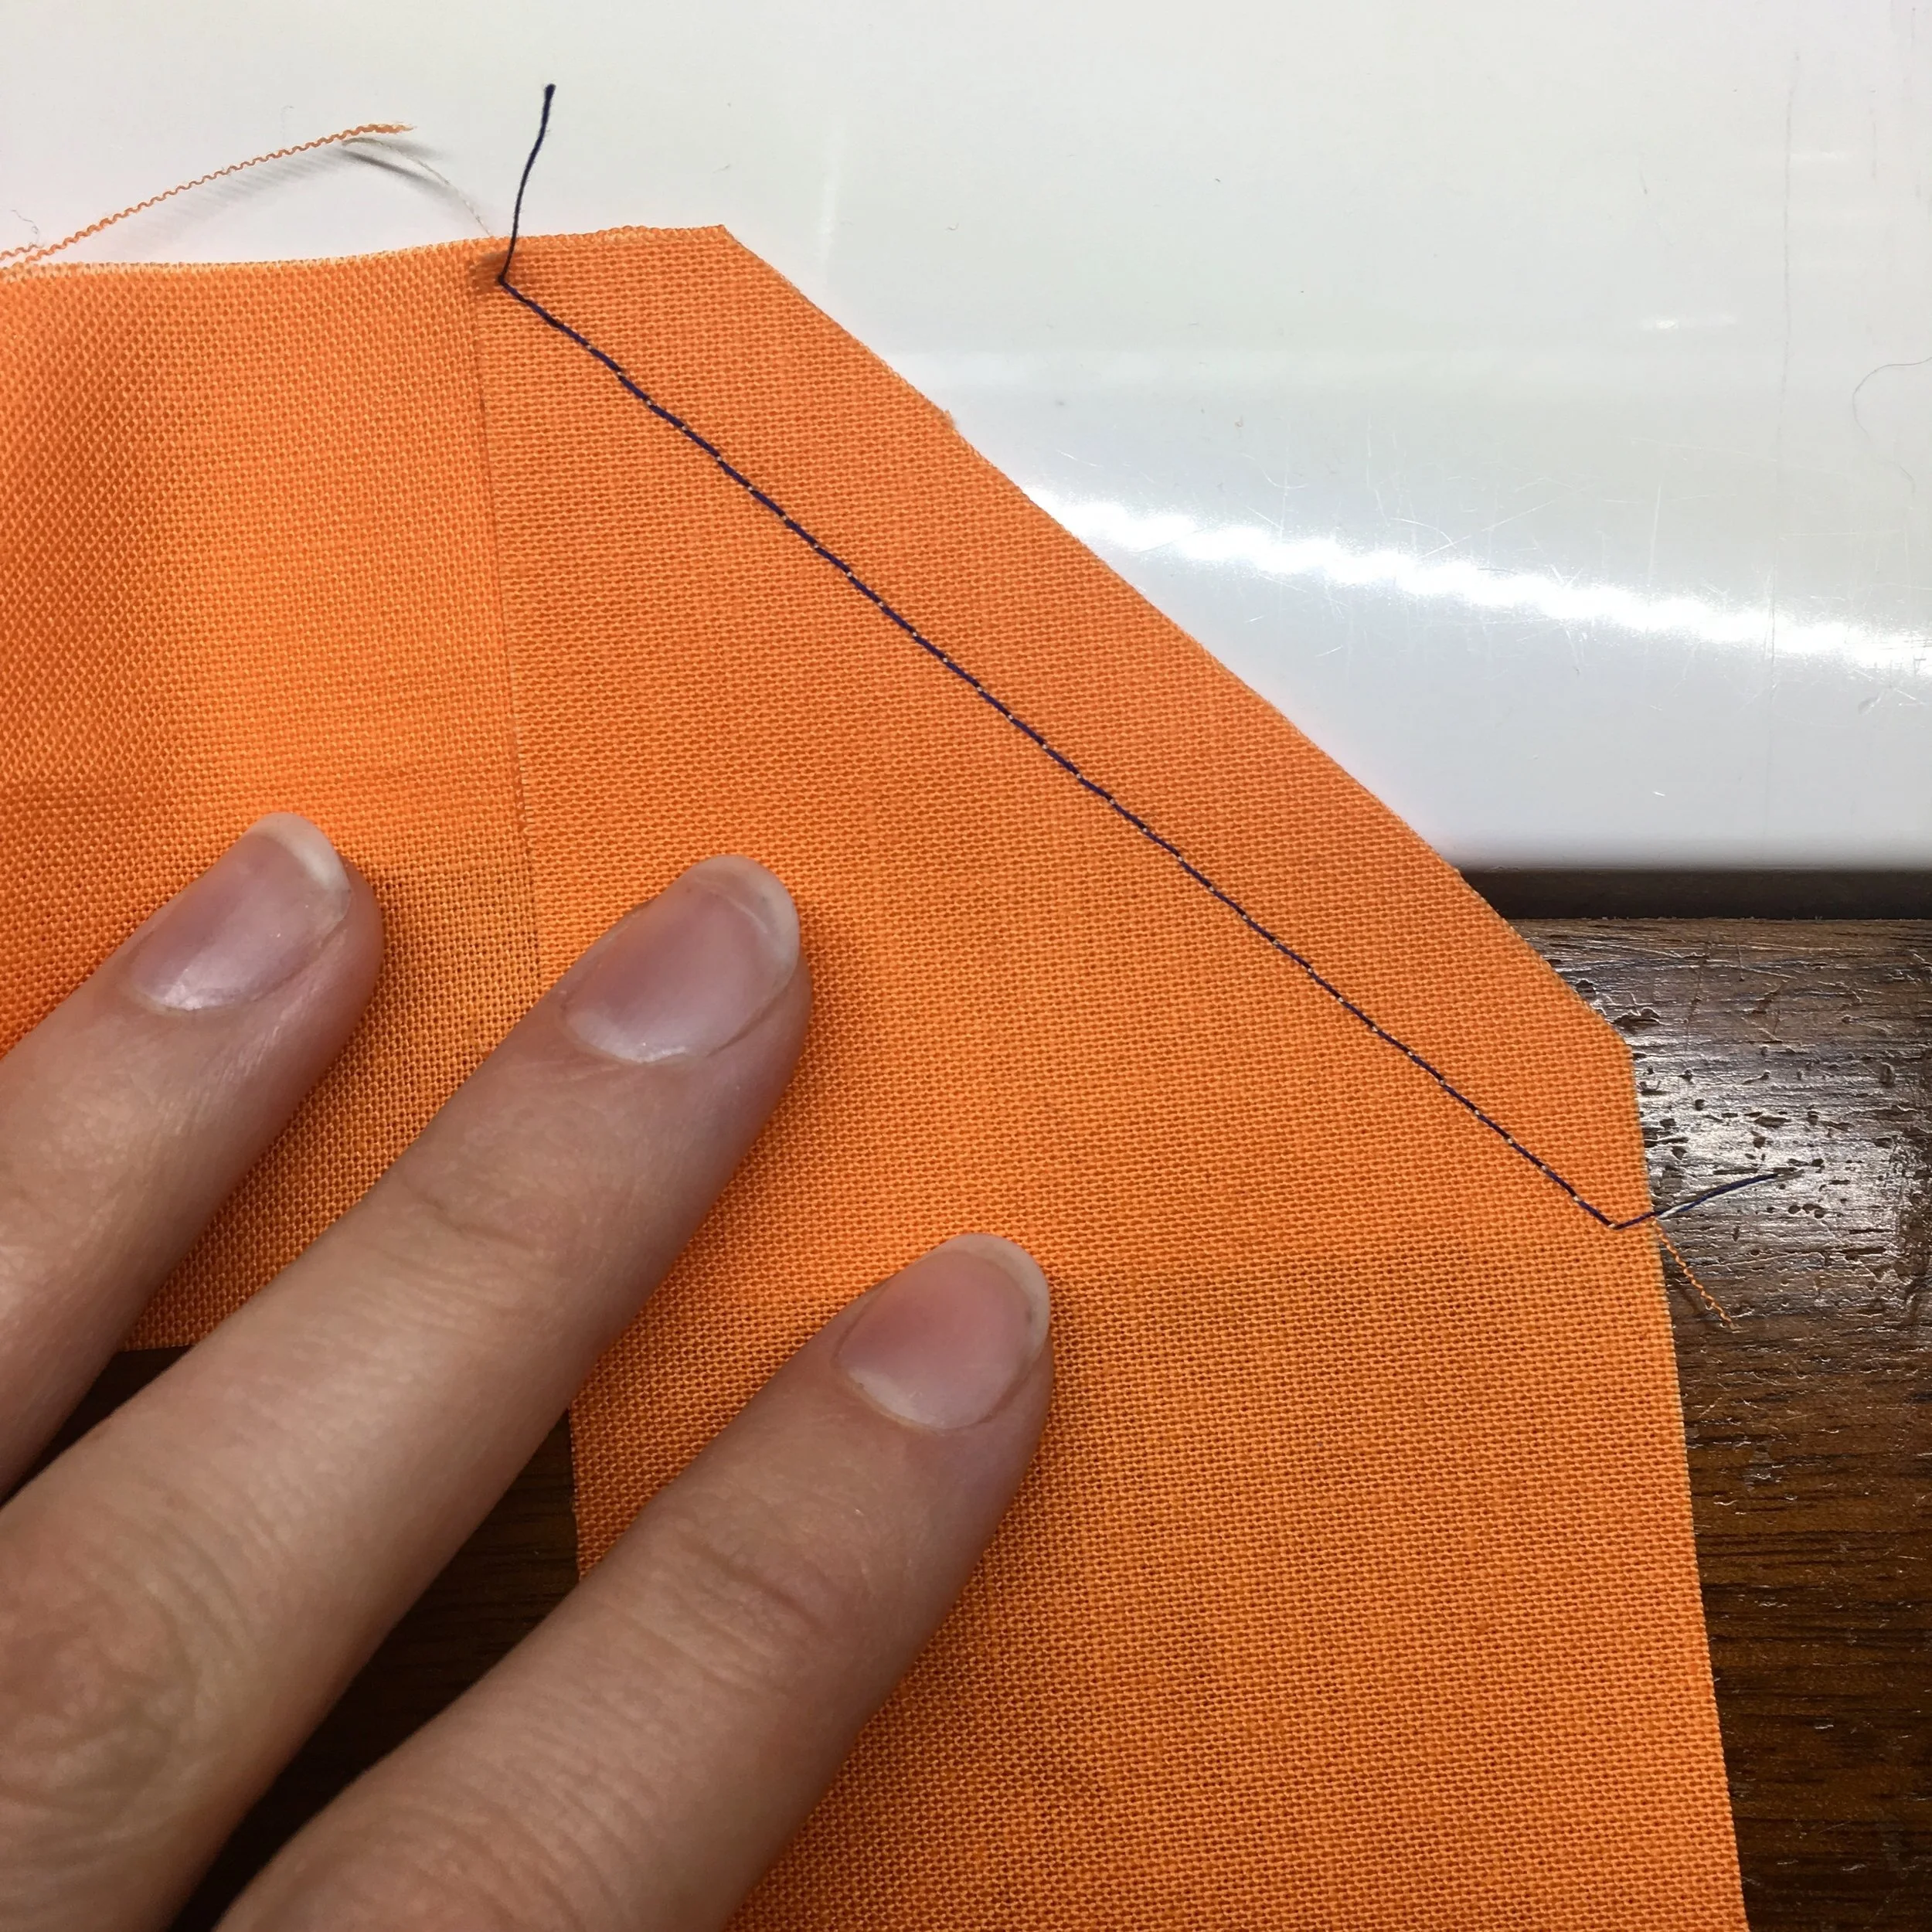


Step 3: Join all your binding ends to make one long strip. I like to join my strips at a 45 degree angle by laying the two pieces perpendicular to each other and sewing corner to corner as shown above

Step 4: Press and fold your binding. I press first to heat the fabric, then spray generously with heavy starch, then fold in half length wise and press again to crease. The result will be a nice folded binding. Roll neatly as shown or simply puddle on the floor by your chair as you work (what I usually do when I'm not taking pictures and stuff)

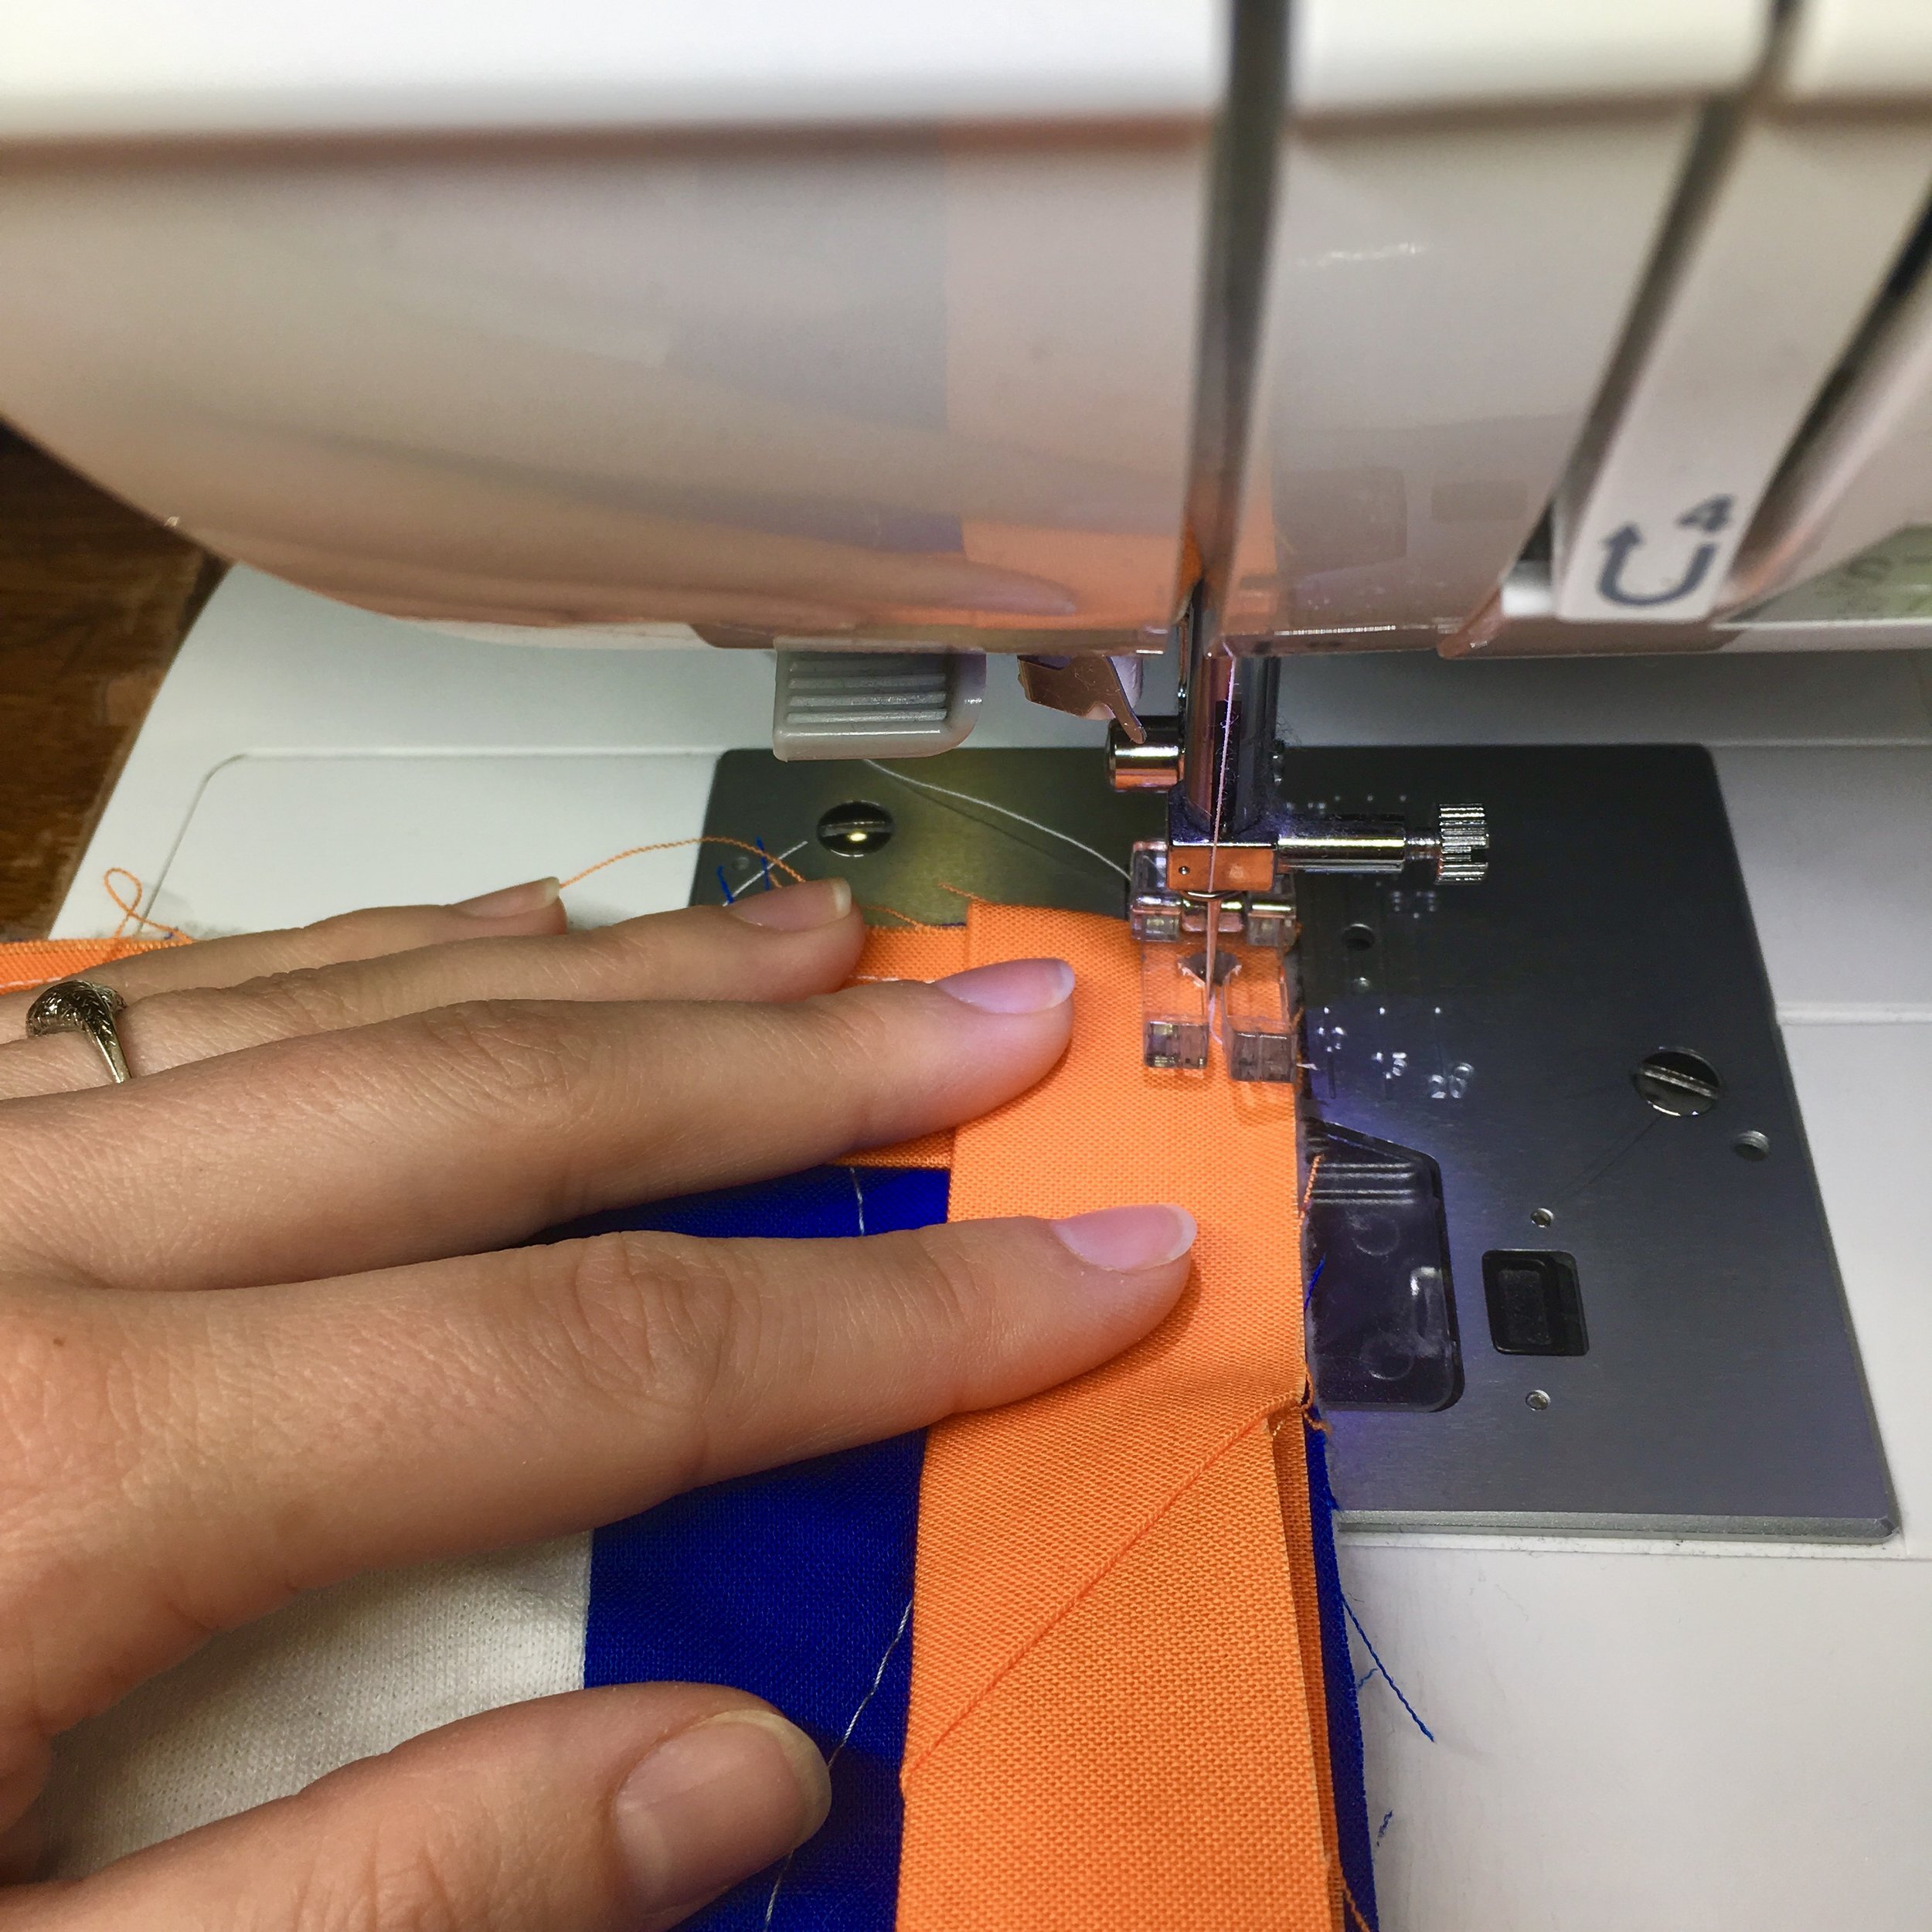
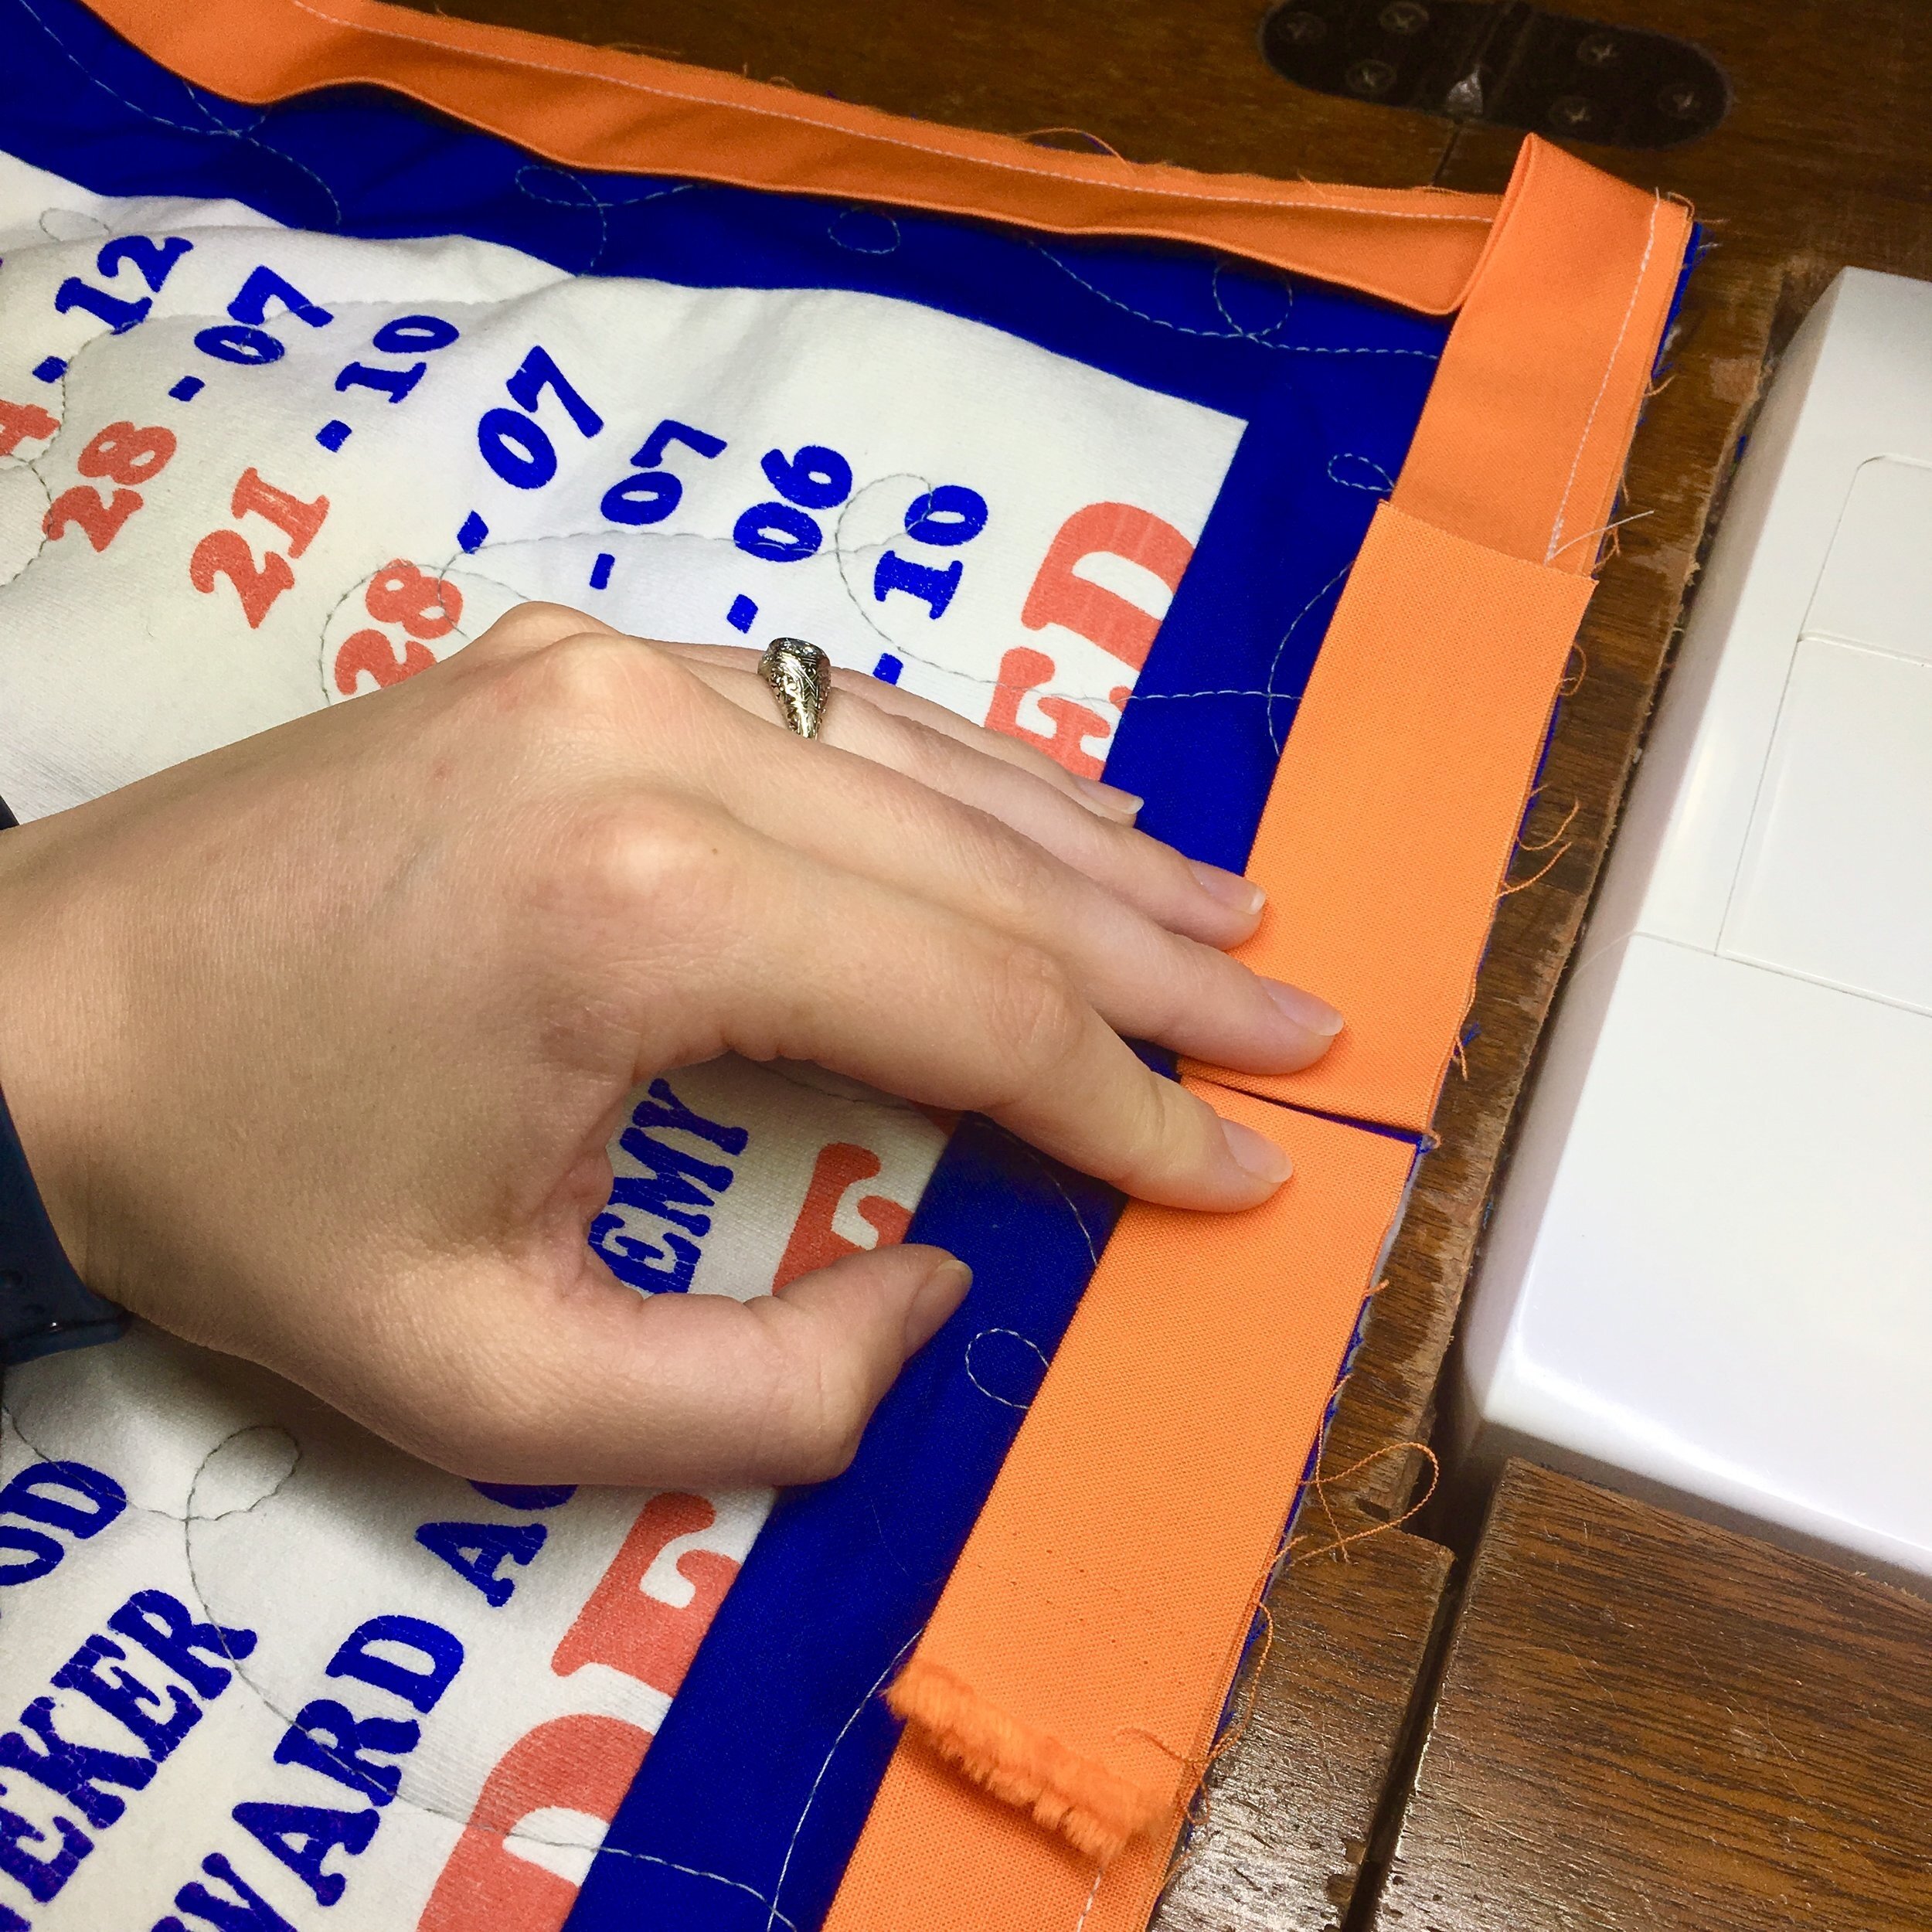
Step 5: Attach the binding to the front of your quilt, starting about 12" away from any corner, if the size of the quilt allows. I trim my batting and backing to the edge of my quilt top, line the binding up at the edge, then sew on with a scant quarter inch seam. Be sure to leave a 6-9" "tail" when you start attaching the binding so you can join ends later

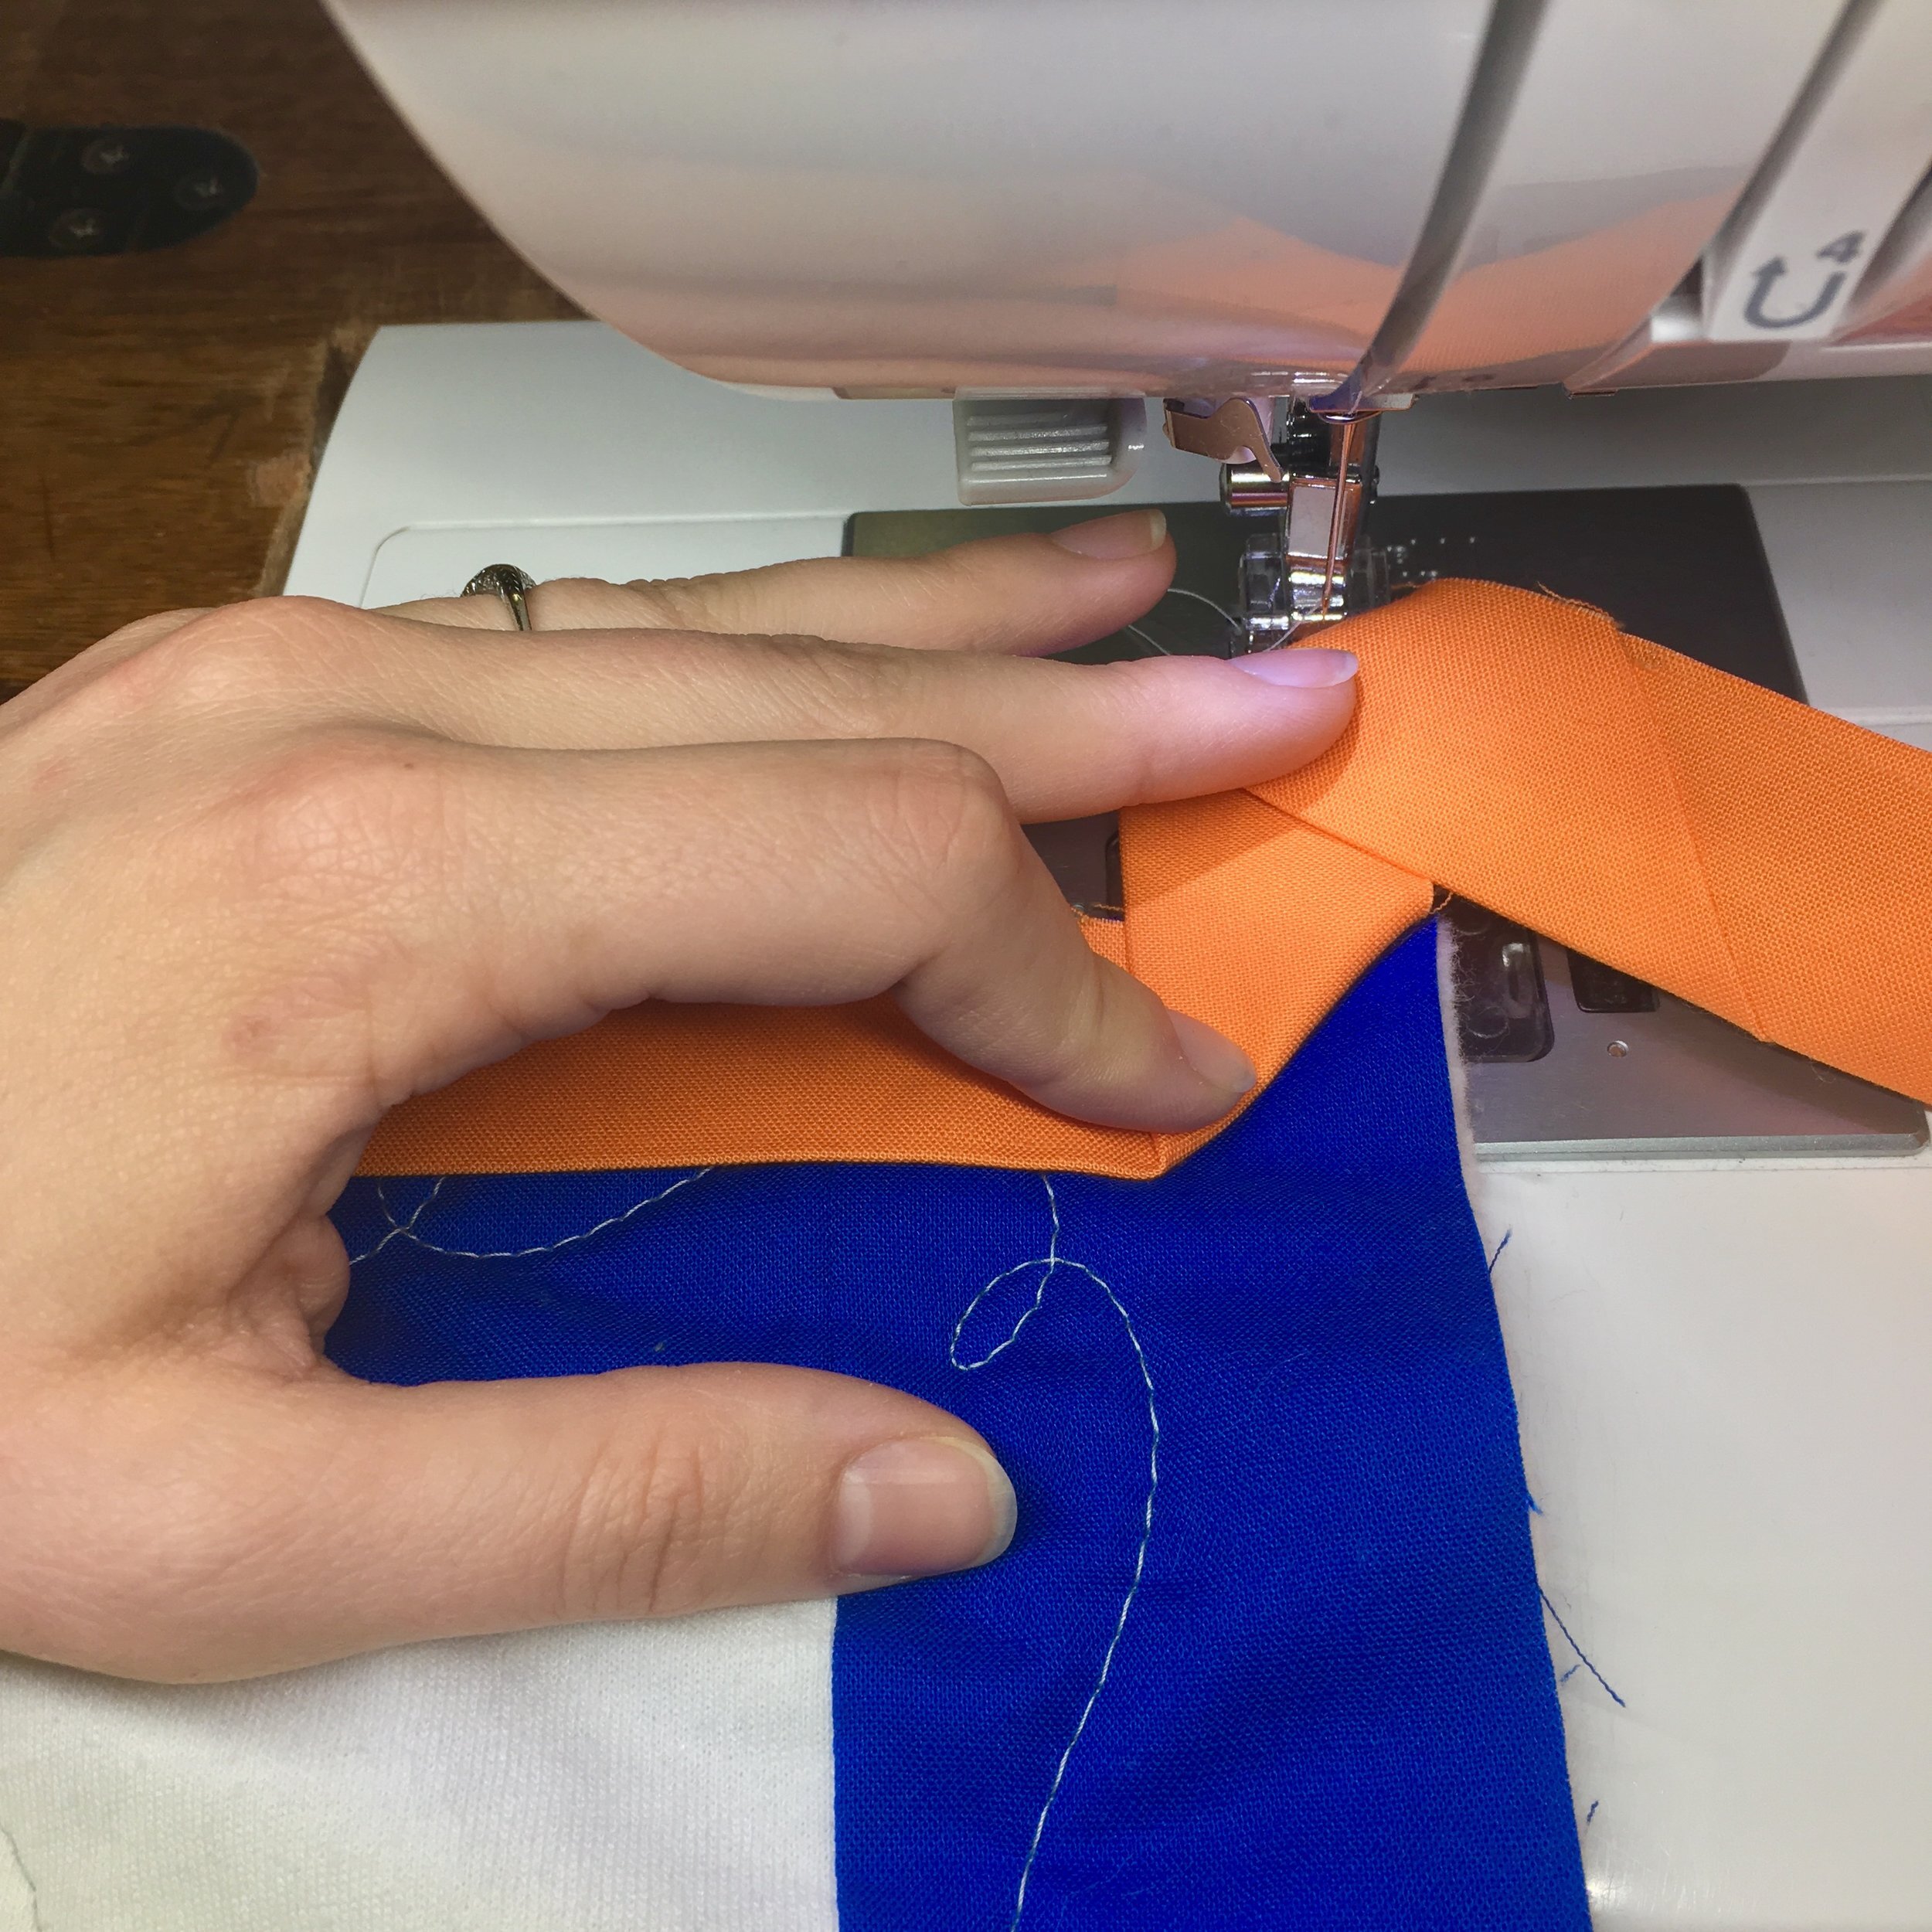
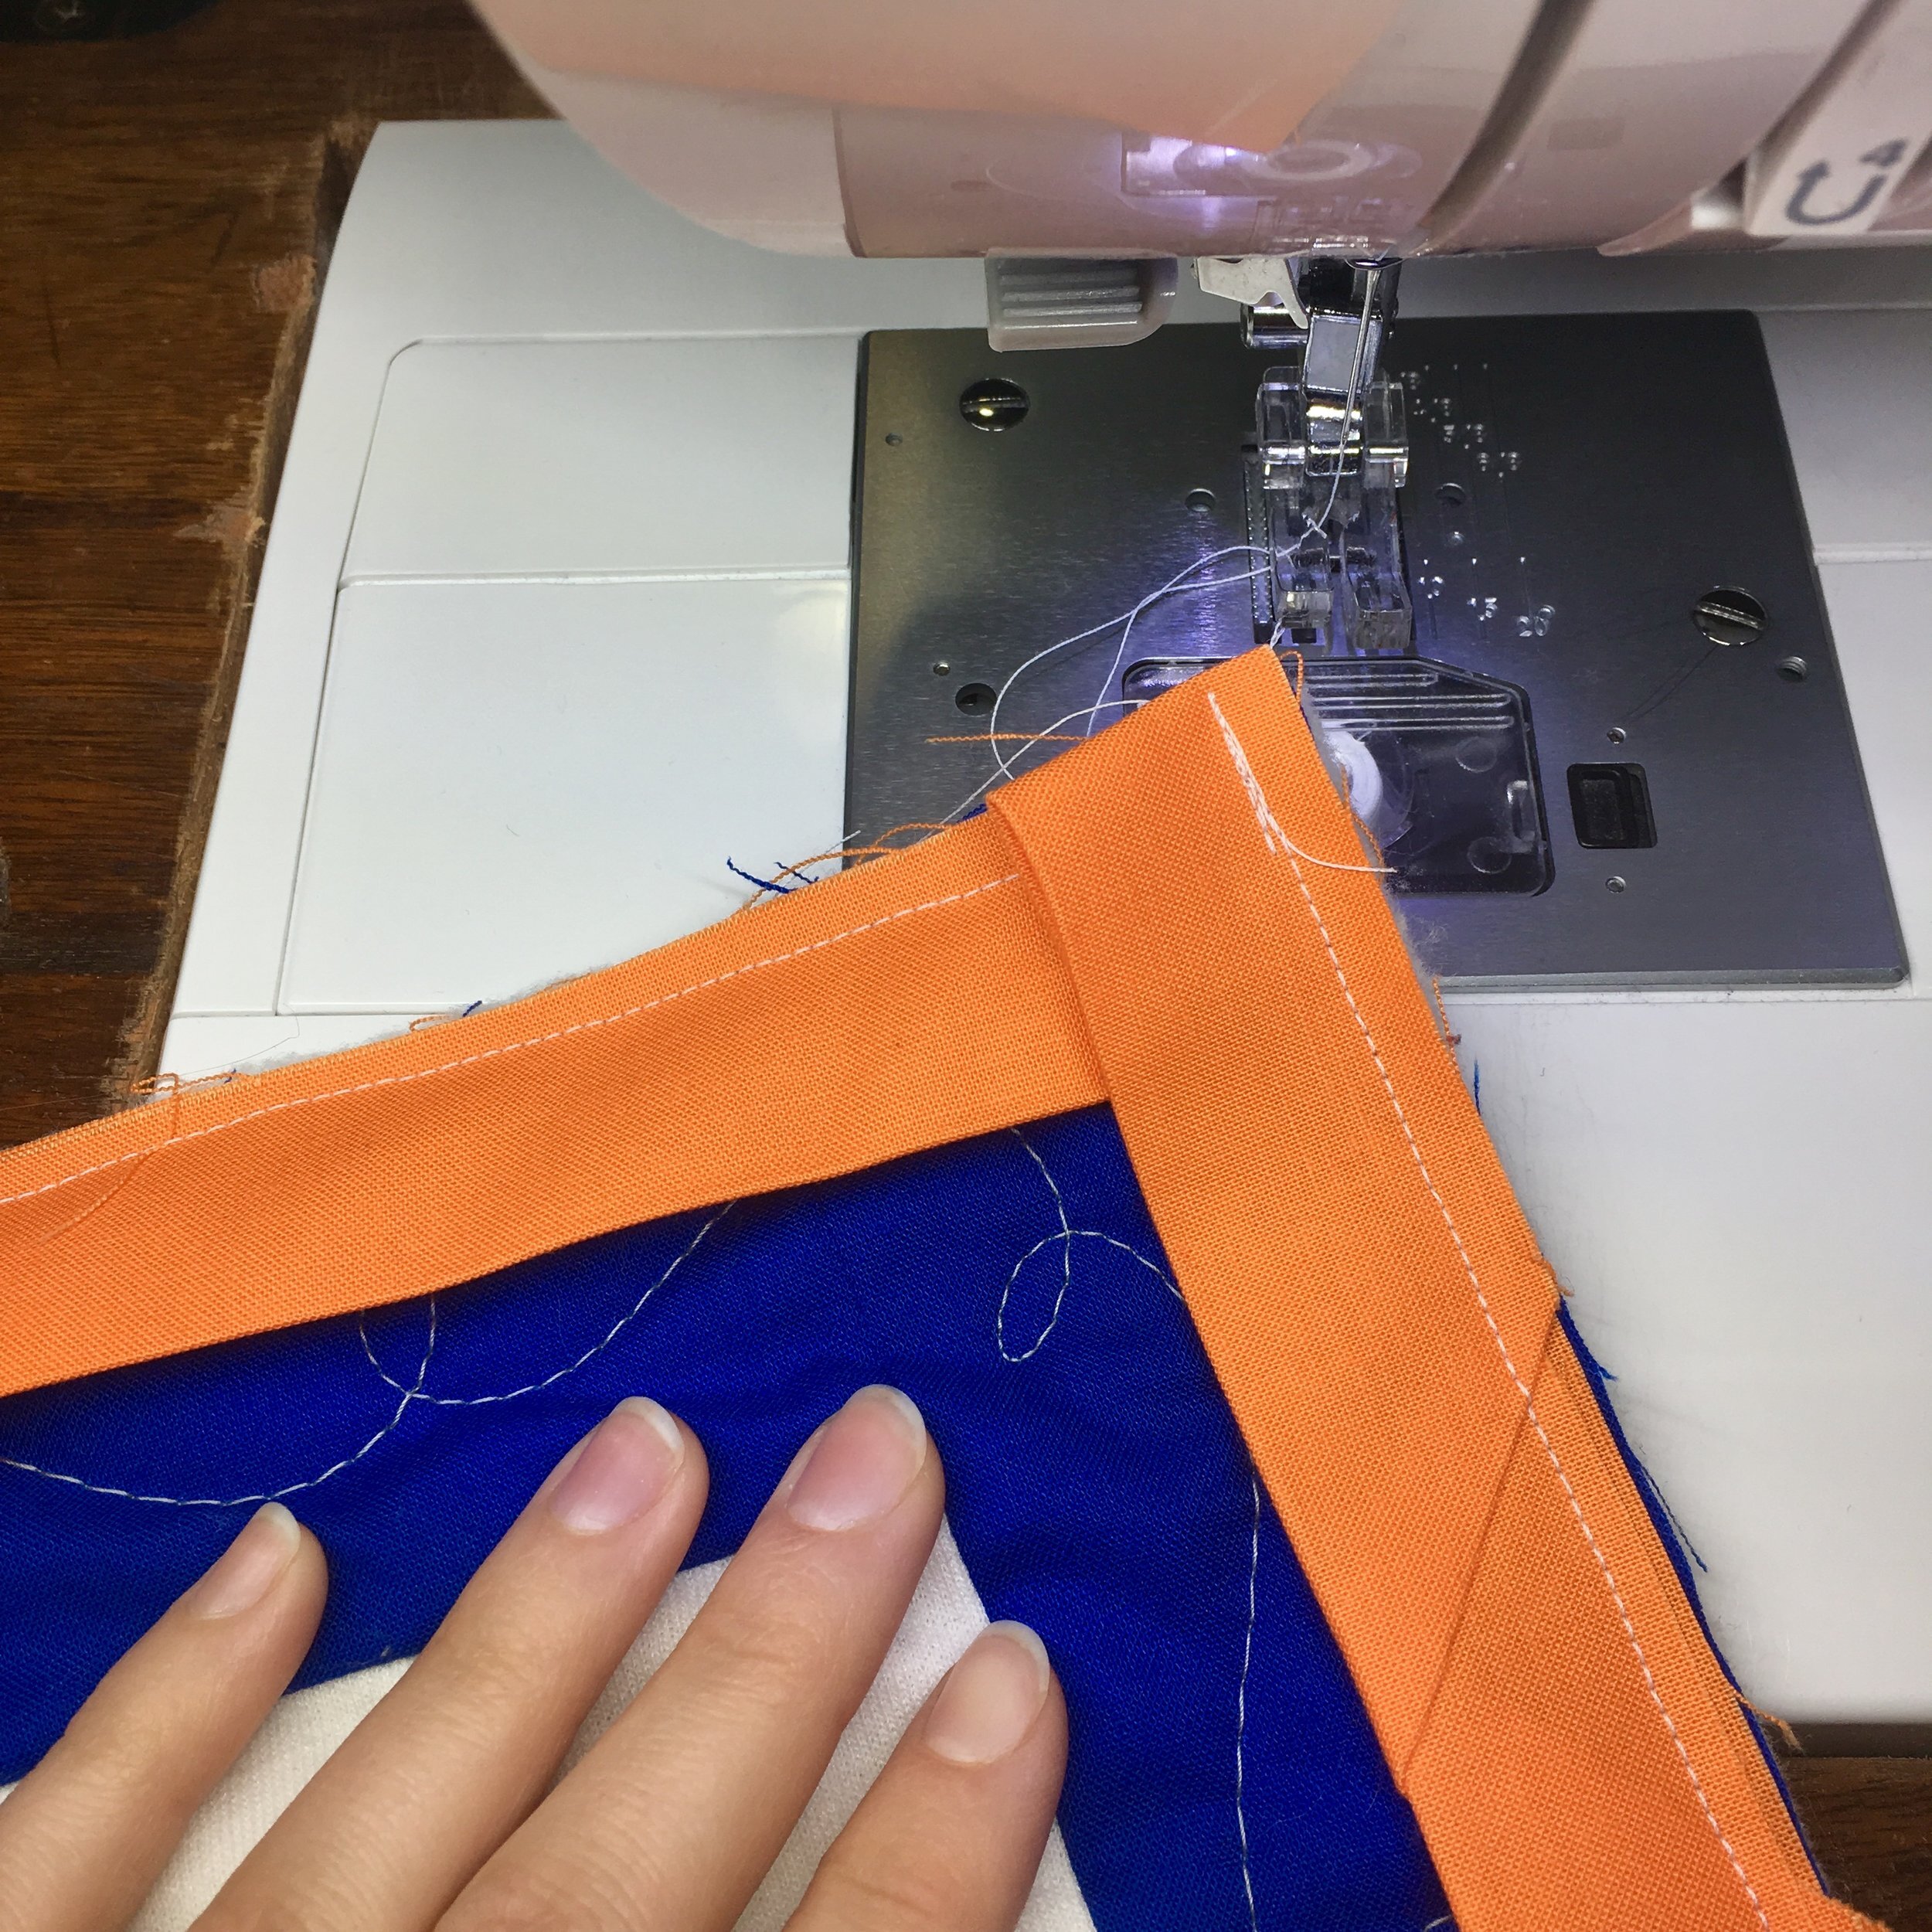
Step 6: Turning the corners as you go: Stitch along until you are 1/4" from the corner, backstitch a few stitches to secure, then cut threads. Turn the quilt 90 degrees. Lift the loose end of binding straight up the right back down creating a folded corner as shown above. Start your scant quarter inch seam again at the edge of the quilt. Continue on around the quilt until it's time to join the ends
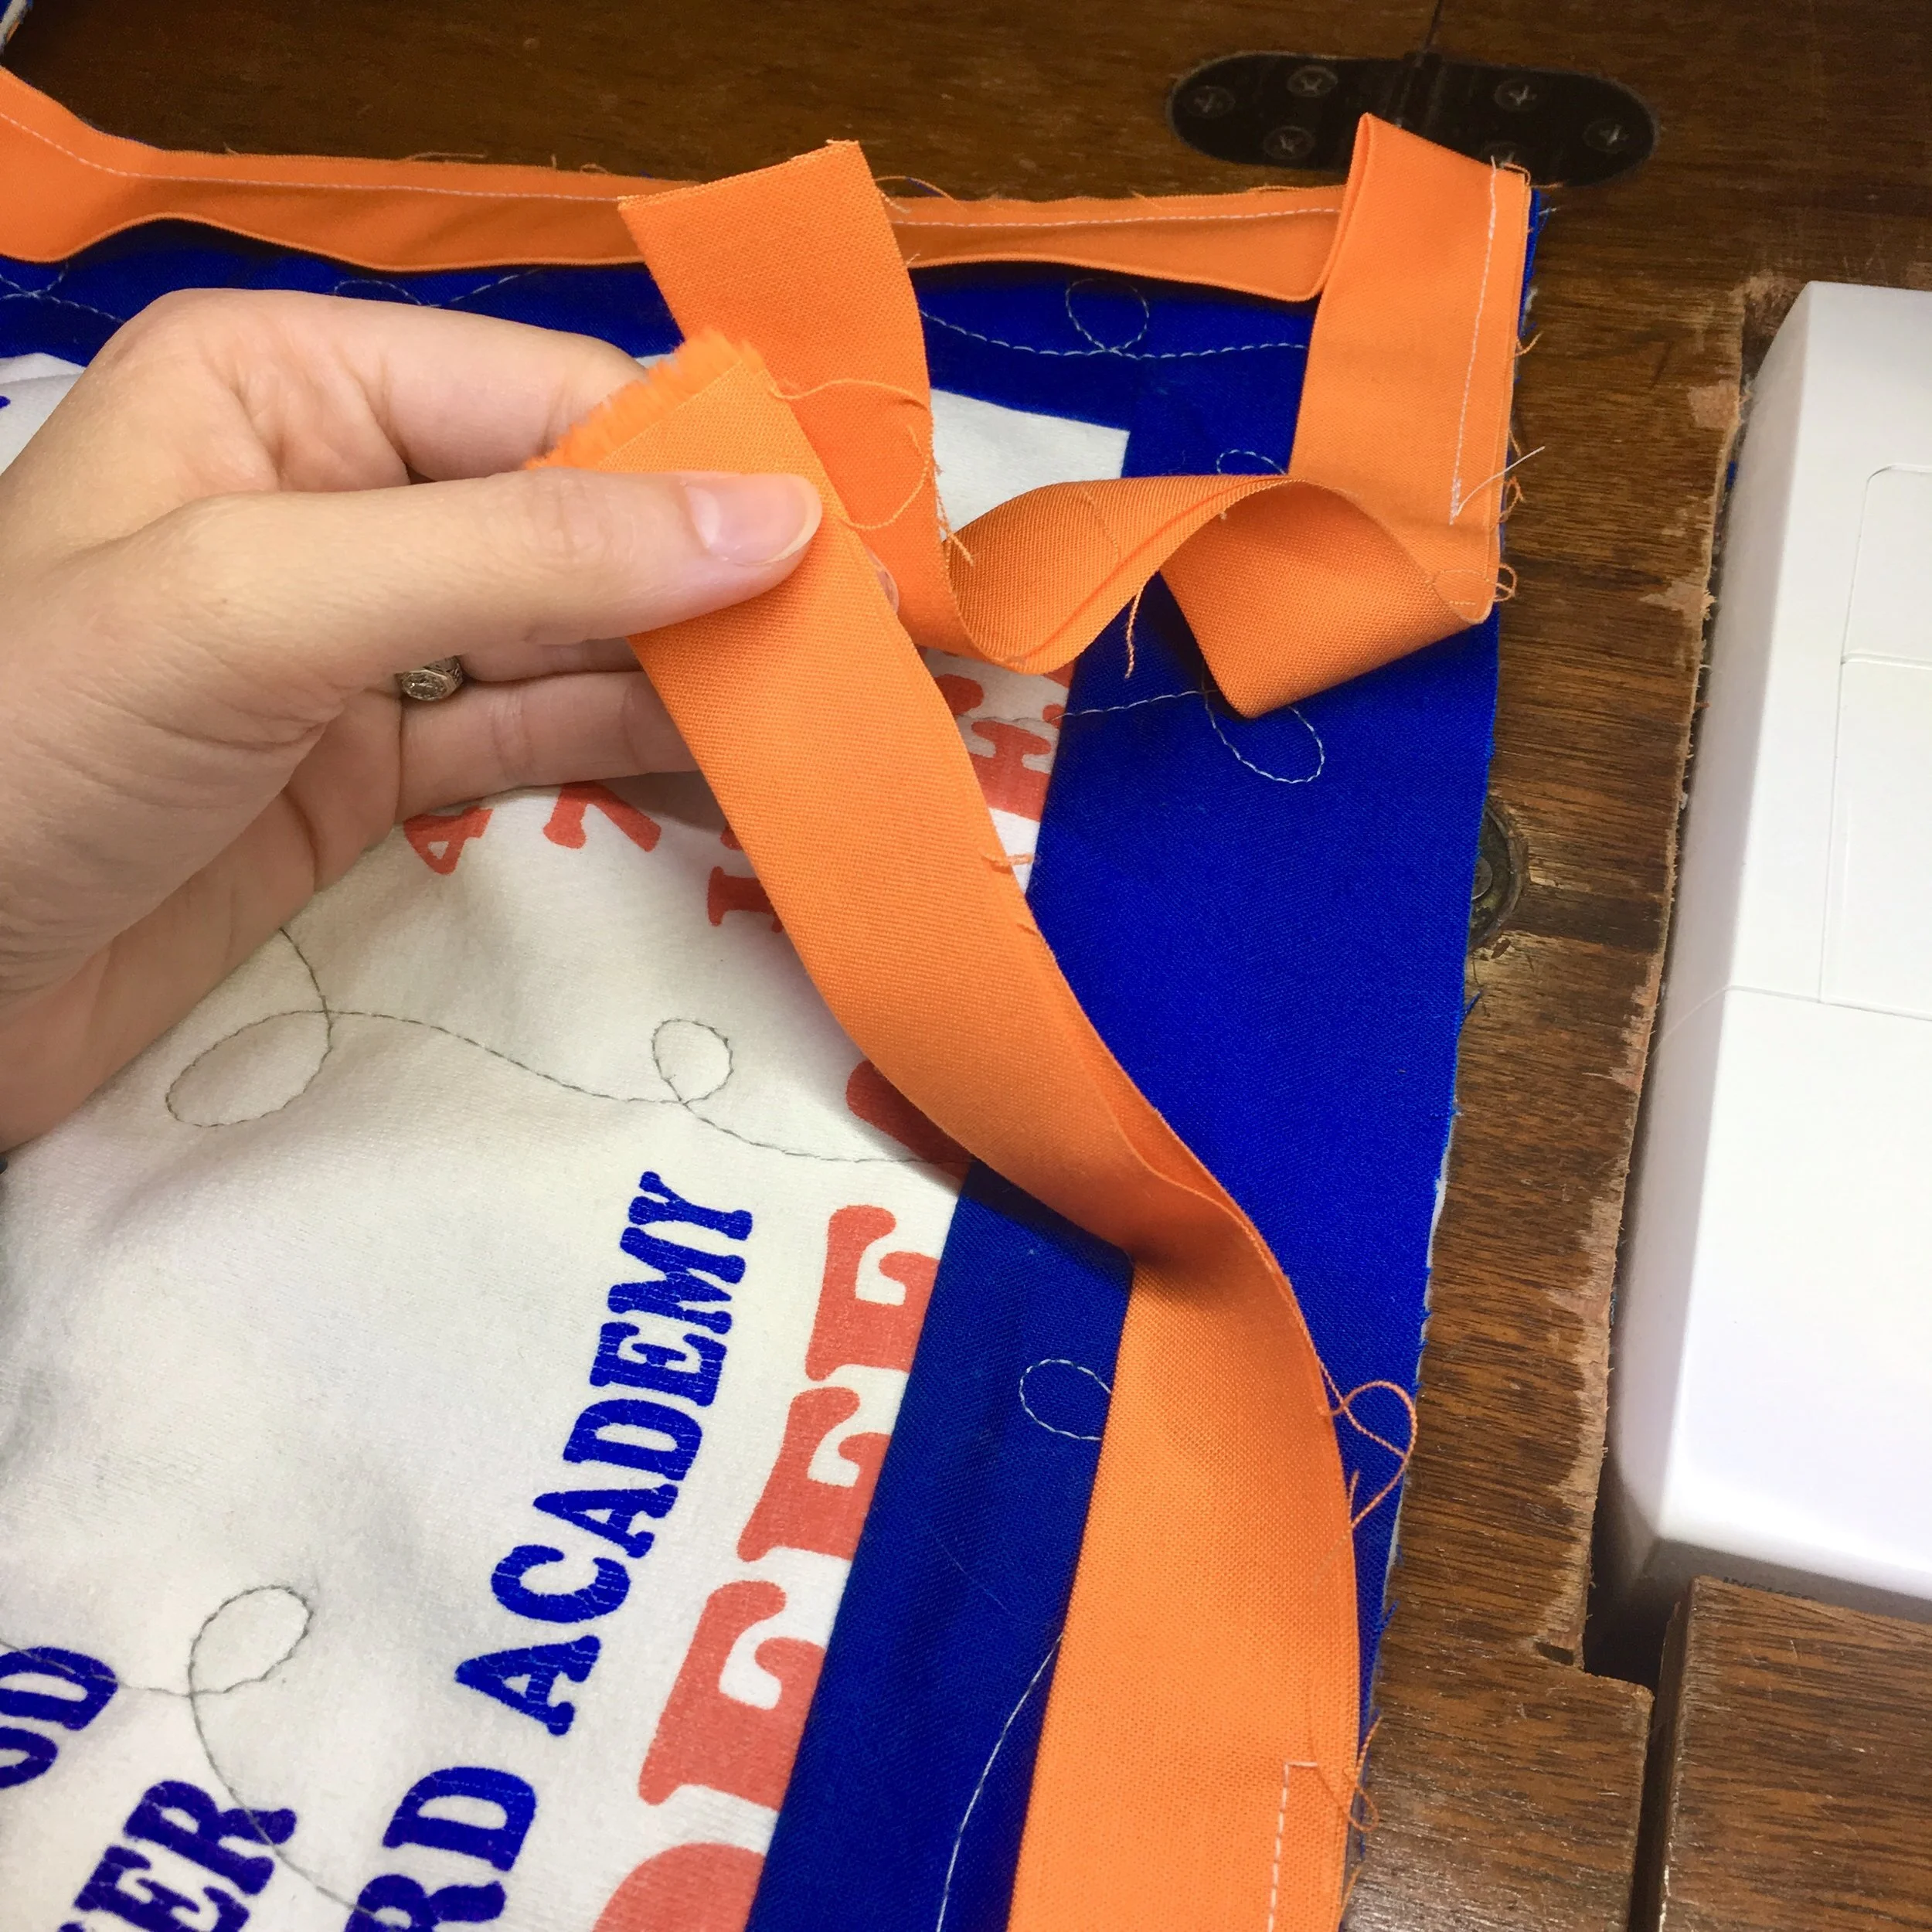
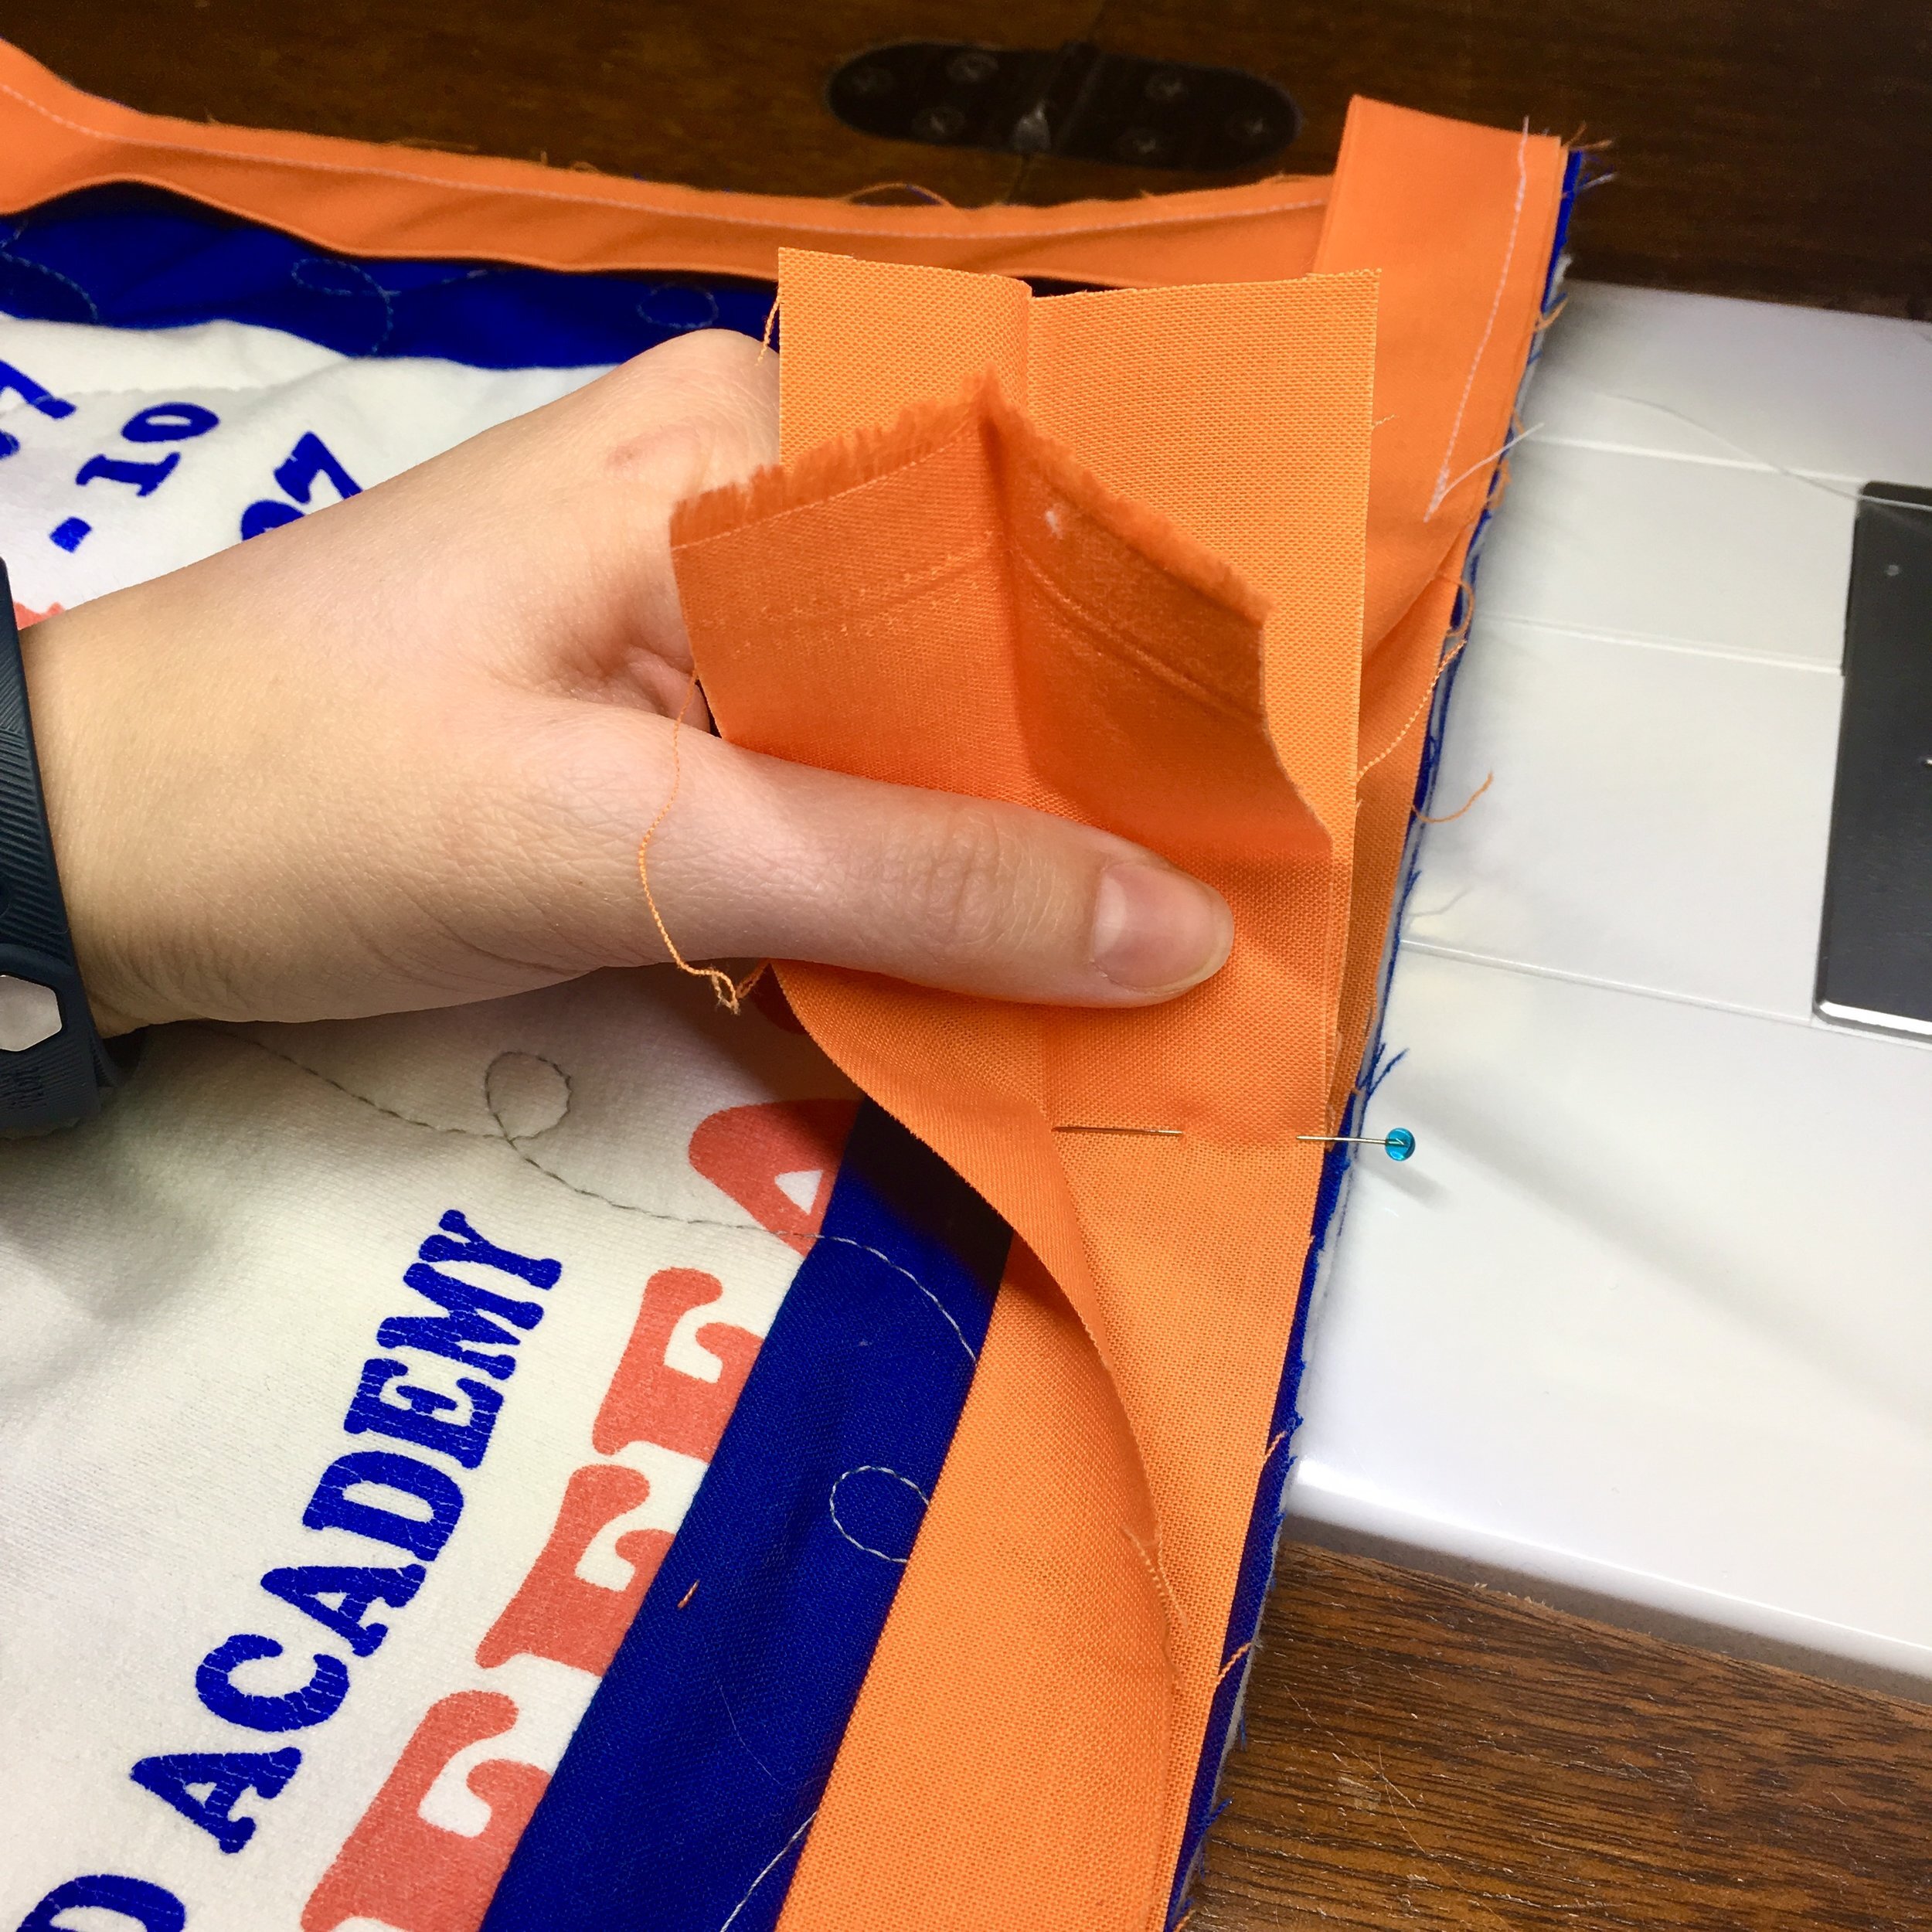


Step 7: Join the loose ends (see both photo step outs and video above): about 9 inches from where you started attaching binding, back stitch and cut thread. You now have two loose ends and a 9 inch gap. Lay out the loose ends to meet in the middle as shown above. Pin the two ends carefully together right where they need to be joined, opening up the fold of the binding to do so. Stitch the two ends right sides together. Trim excess ends back to 1/2 inch. Finger press seam open to reduce bulk, refold binding, and line up at the edge of the quilt. Finish attaching the binding to the front of the quilt with a scant quarter inch seam, back stitching a few stitches to secure at the beginning and end.
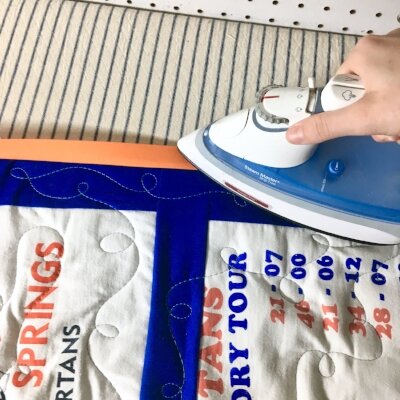
Step 8: Press the binding away from the front of the quilt to make a crisp, smooth edge on the quilt before flipping the binding to the back

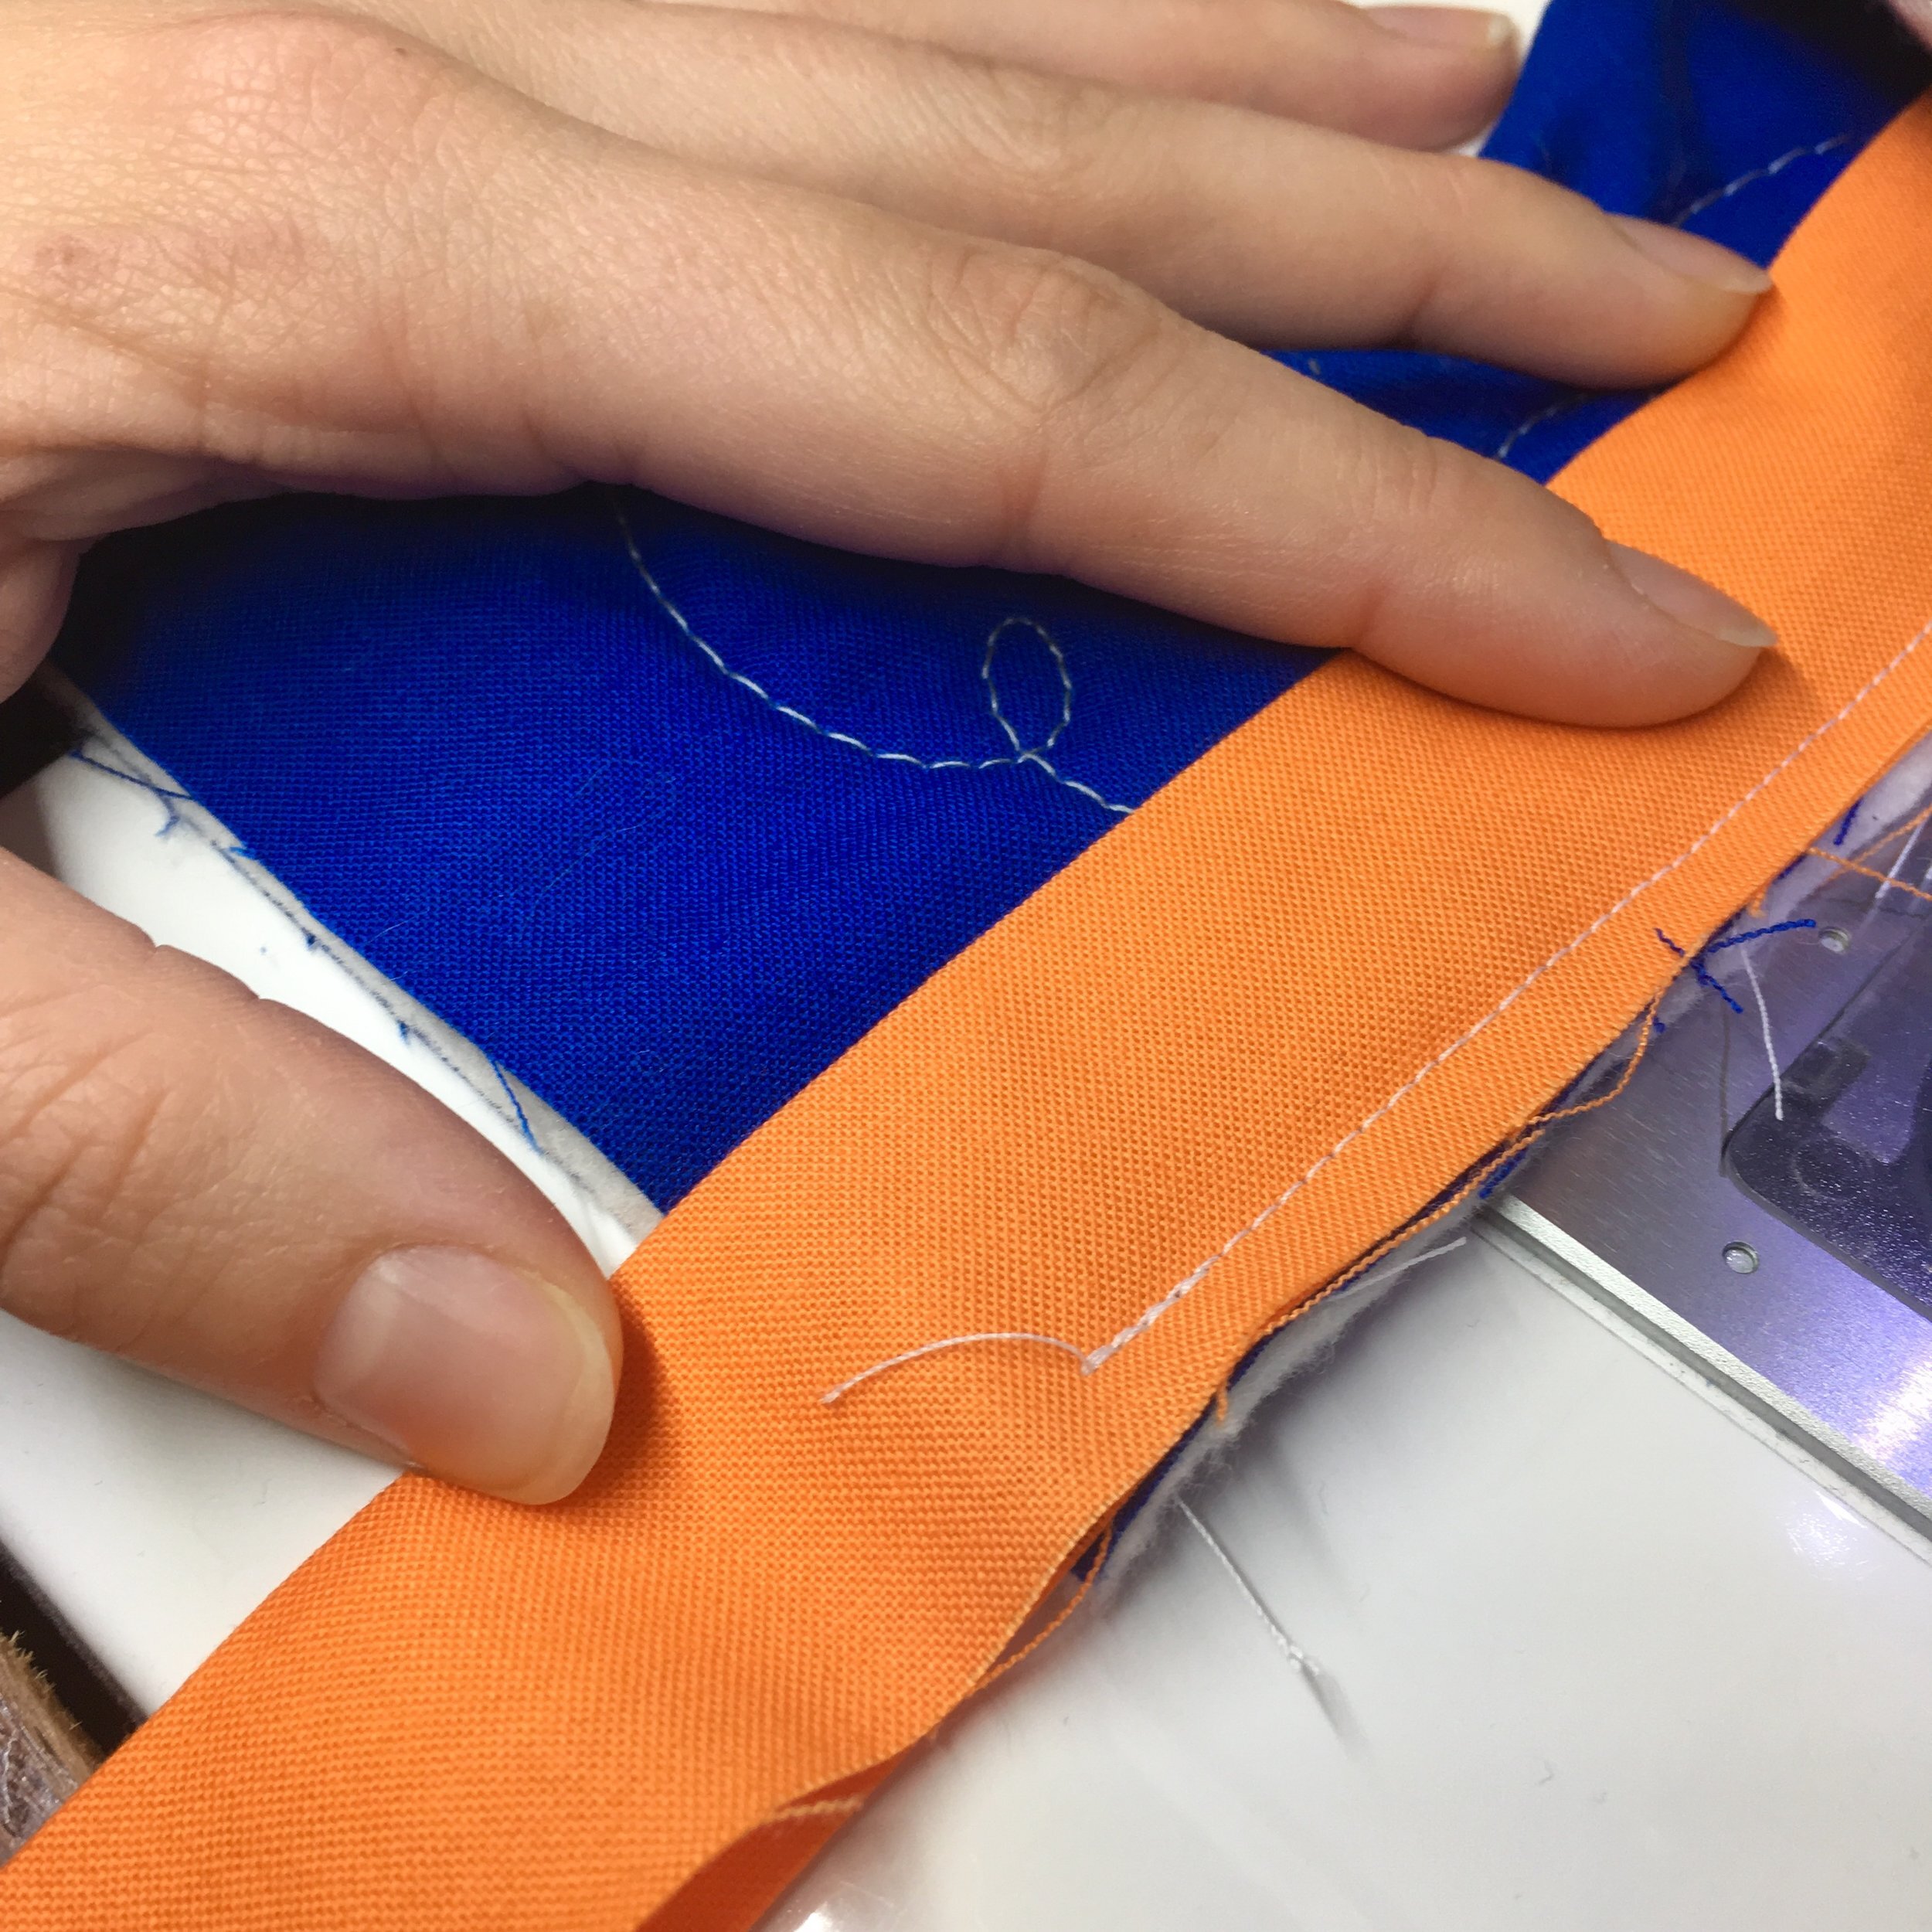
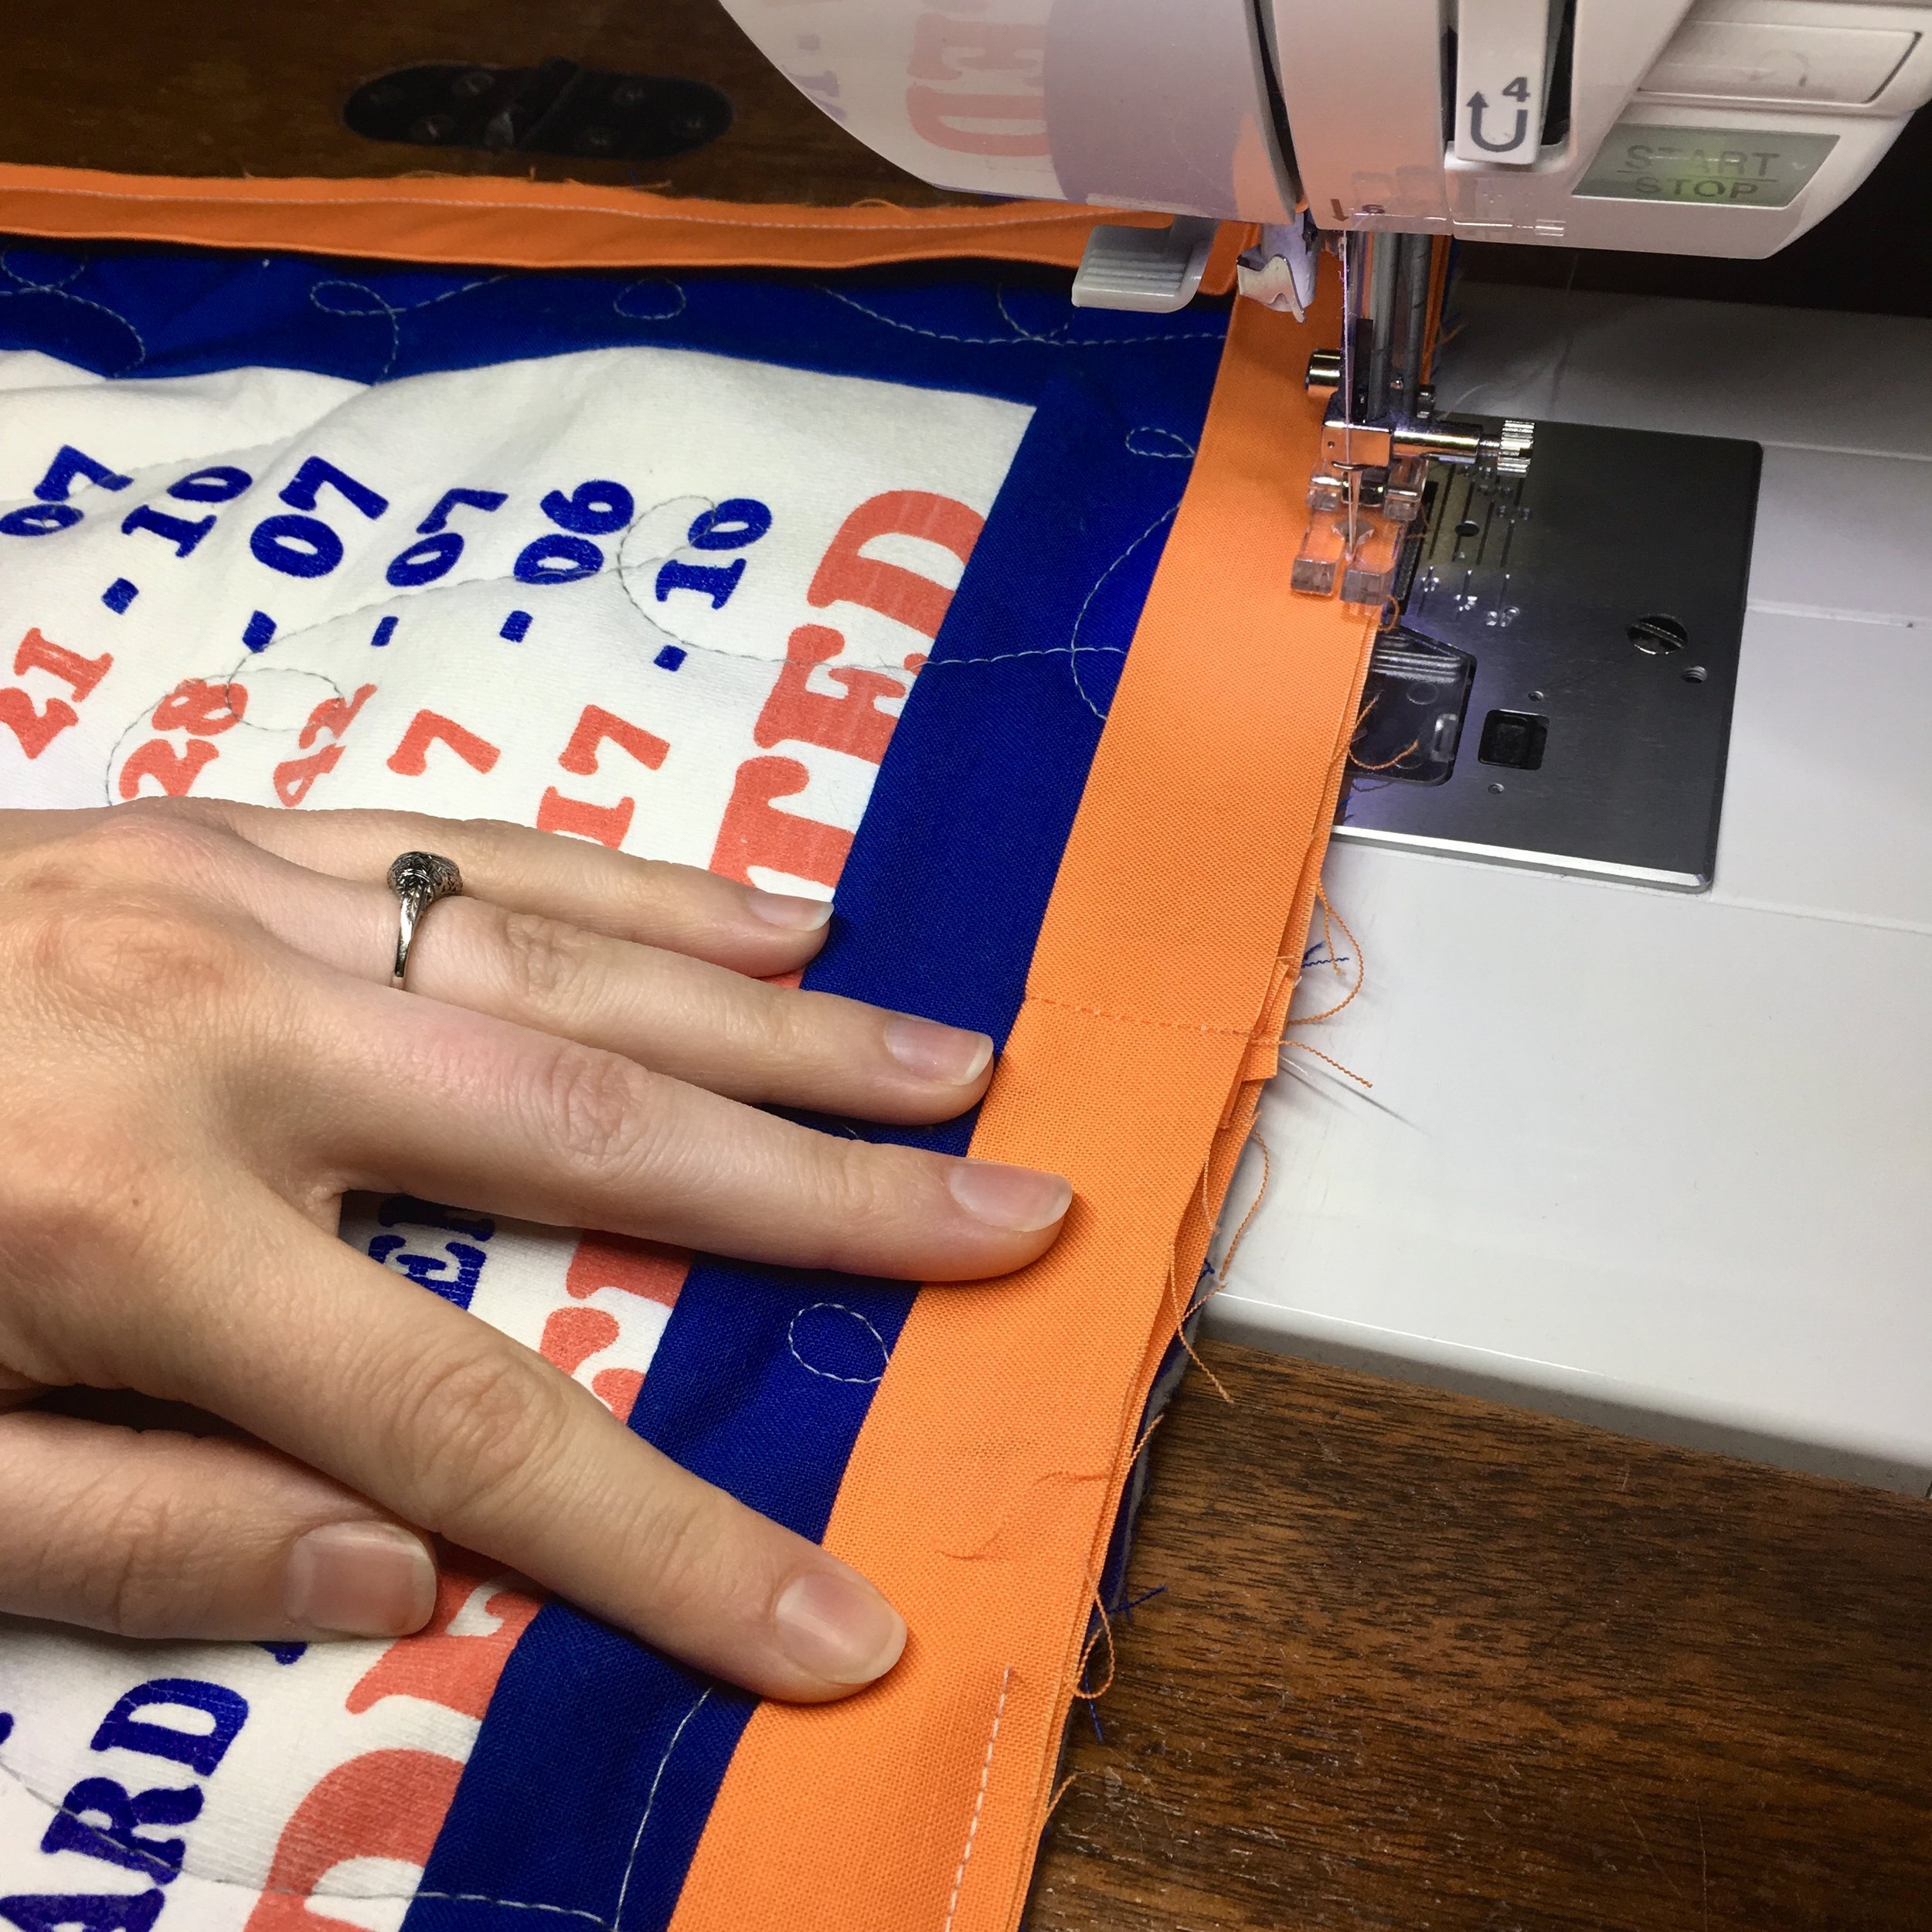
Step 9: Beginning several inches from any corner, gently flip the binding around to the back and begin topstitching 1/16-1/8th from the edge of the binding. Backstitch a bit when you get started to secure the stitches, then continue stitching until you get a couple of inches from the first corner
Step 10: Turn corners as demonstrated in the video above as you stitch all the way around the quilt. When you reach your starting point, backstitch once more to secure your stitches and TA DA! You made it!
A Note on Hand Binding: If you prefer to finish your quilts with hand stitching, you can follow all the other tips in the post but sew the binding to the back by hand rather than by machine

I hope these 10 steps demystify excellent binding for you and make this less-than-fun step in the quilting process a little more bearable! Around here, it's my job to guide you to quilt with confidence, so if you're quilting needs a bit of a boost just like your binding did, I'd love to share my Top Three Tips for Successful Free Motion Quilting! Click here, and I’ll pop it straight over to your inbox!
Happy Quilting!
HollyAnne
PS You can find me on Instagram @stringandstory -- see you there!
