
Simple Mask for Kids: A Tutorial
As the world begins to reopen in the midst of COVID-19, your children may be venturing out a bit more than they were a few weeks ago. Many places are requiring face masks to be worn, even by young kids, to minimize coronavirus spread, so here is a quick and easy tutorial to make some basic masks out of 5” squares.
As always, please refer to the CDC guidelines and your local advisories. This tutorial is meant as a helpful guide, not as medical advice, and this mask is not a medical device.
(This post contains affiliate links)

As we mask up to venture out into green spaces and grocery stores, even our kids are going to need masks for basic day to day outings. But, before we begin in earnest, please know that this mask is not a medical grade mask, nor is this tutorial advice about how or when you should leave home— that’s a decision only you can make based on the guidelines of your local area and your personal convictions. But, if your kids, like mine need to go to the pediatrician, etc, then you may need some kiddo masks. And, if you, like me, are not one for fiddly sewing, then the very thought of tiny curved seams my send you into hives. Enter: the very simply kid size face mask, using charm squares!
Note: this mask will easily fit most kids aged 2-5. Please use wisdom whenever putting something with ties/ strings/ loops on your kiddo’s face.
Materials:
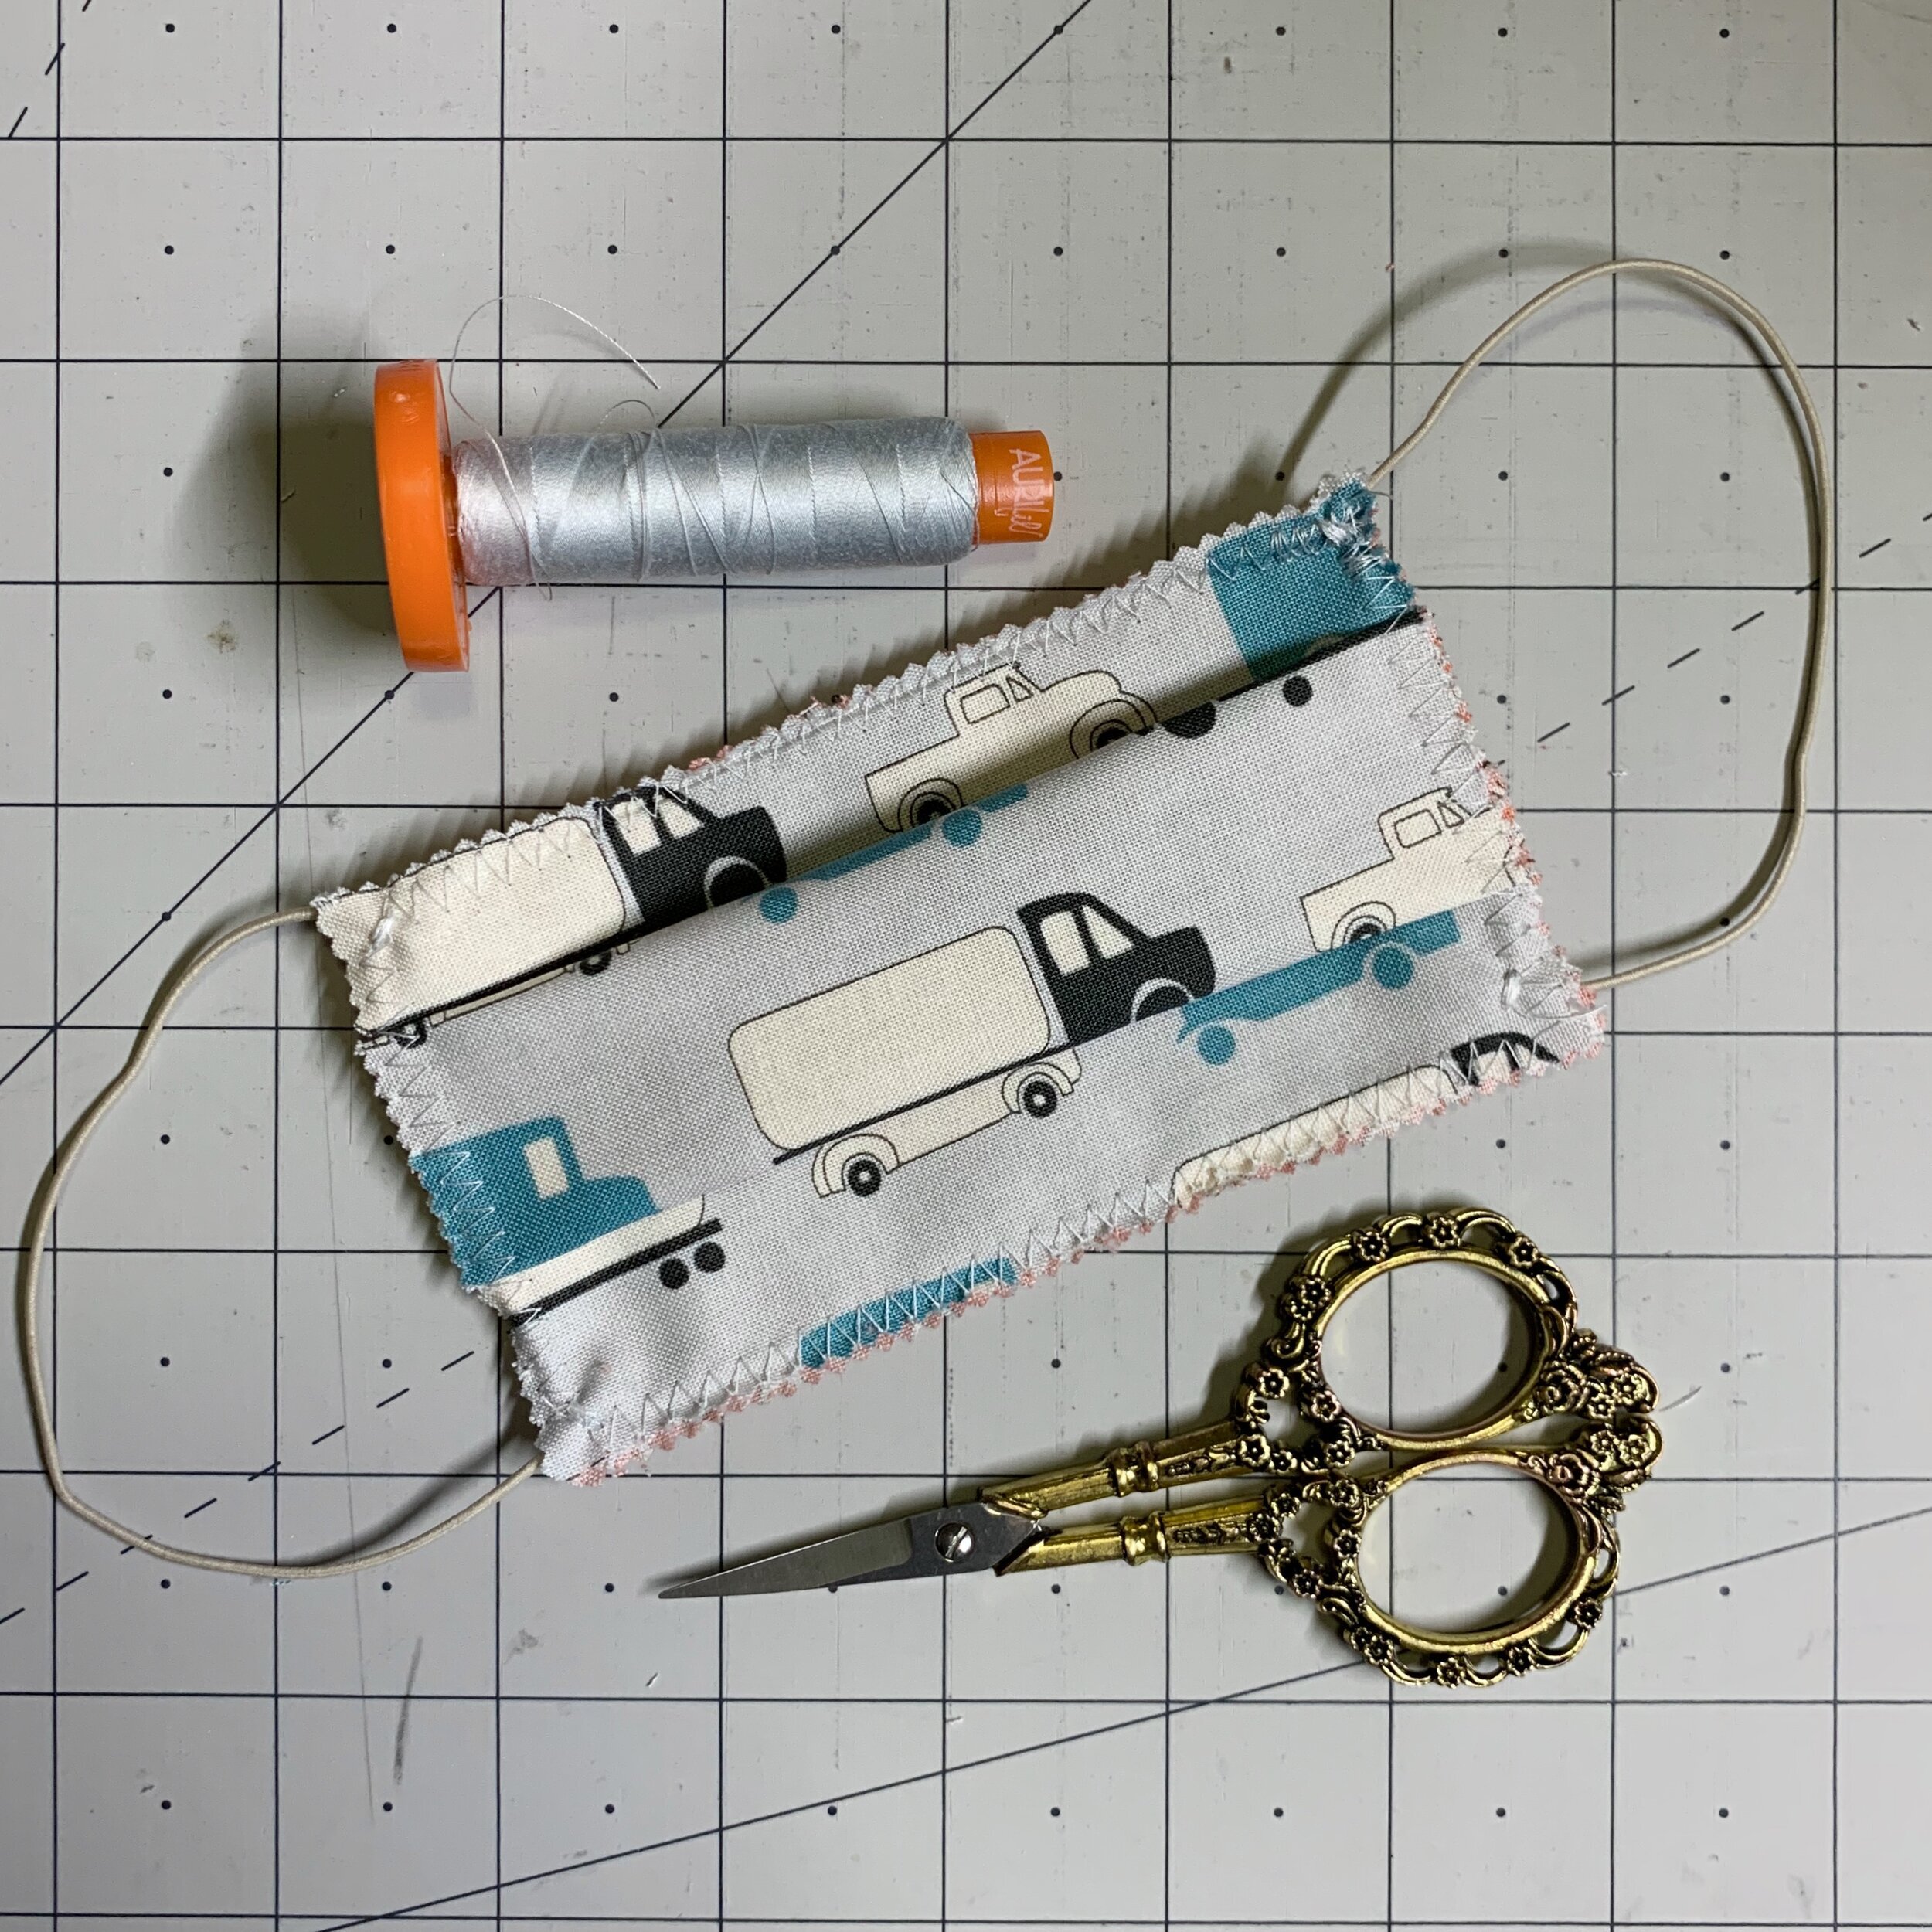
5” squares (two per mask; I used Mighty Machines by Lydia Nelson)
elastic for ear loops (I used basic elastic cord like the kind kids use to string pony beads because that’s what I had on hand) OR bias tape to make ties

Steps:
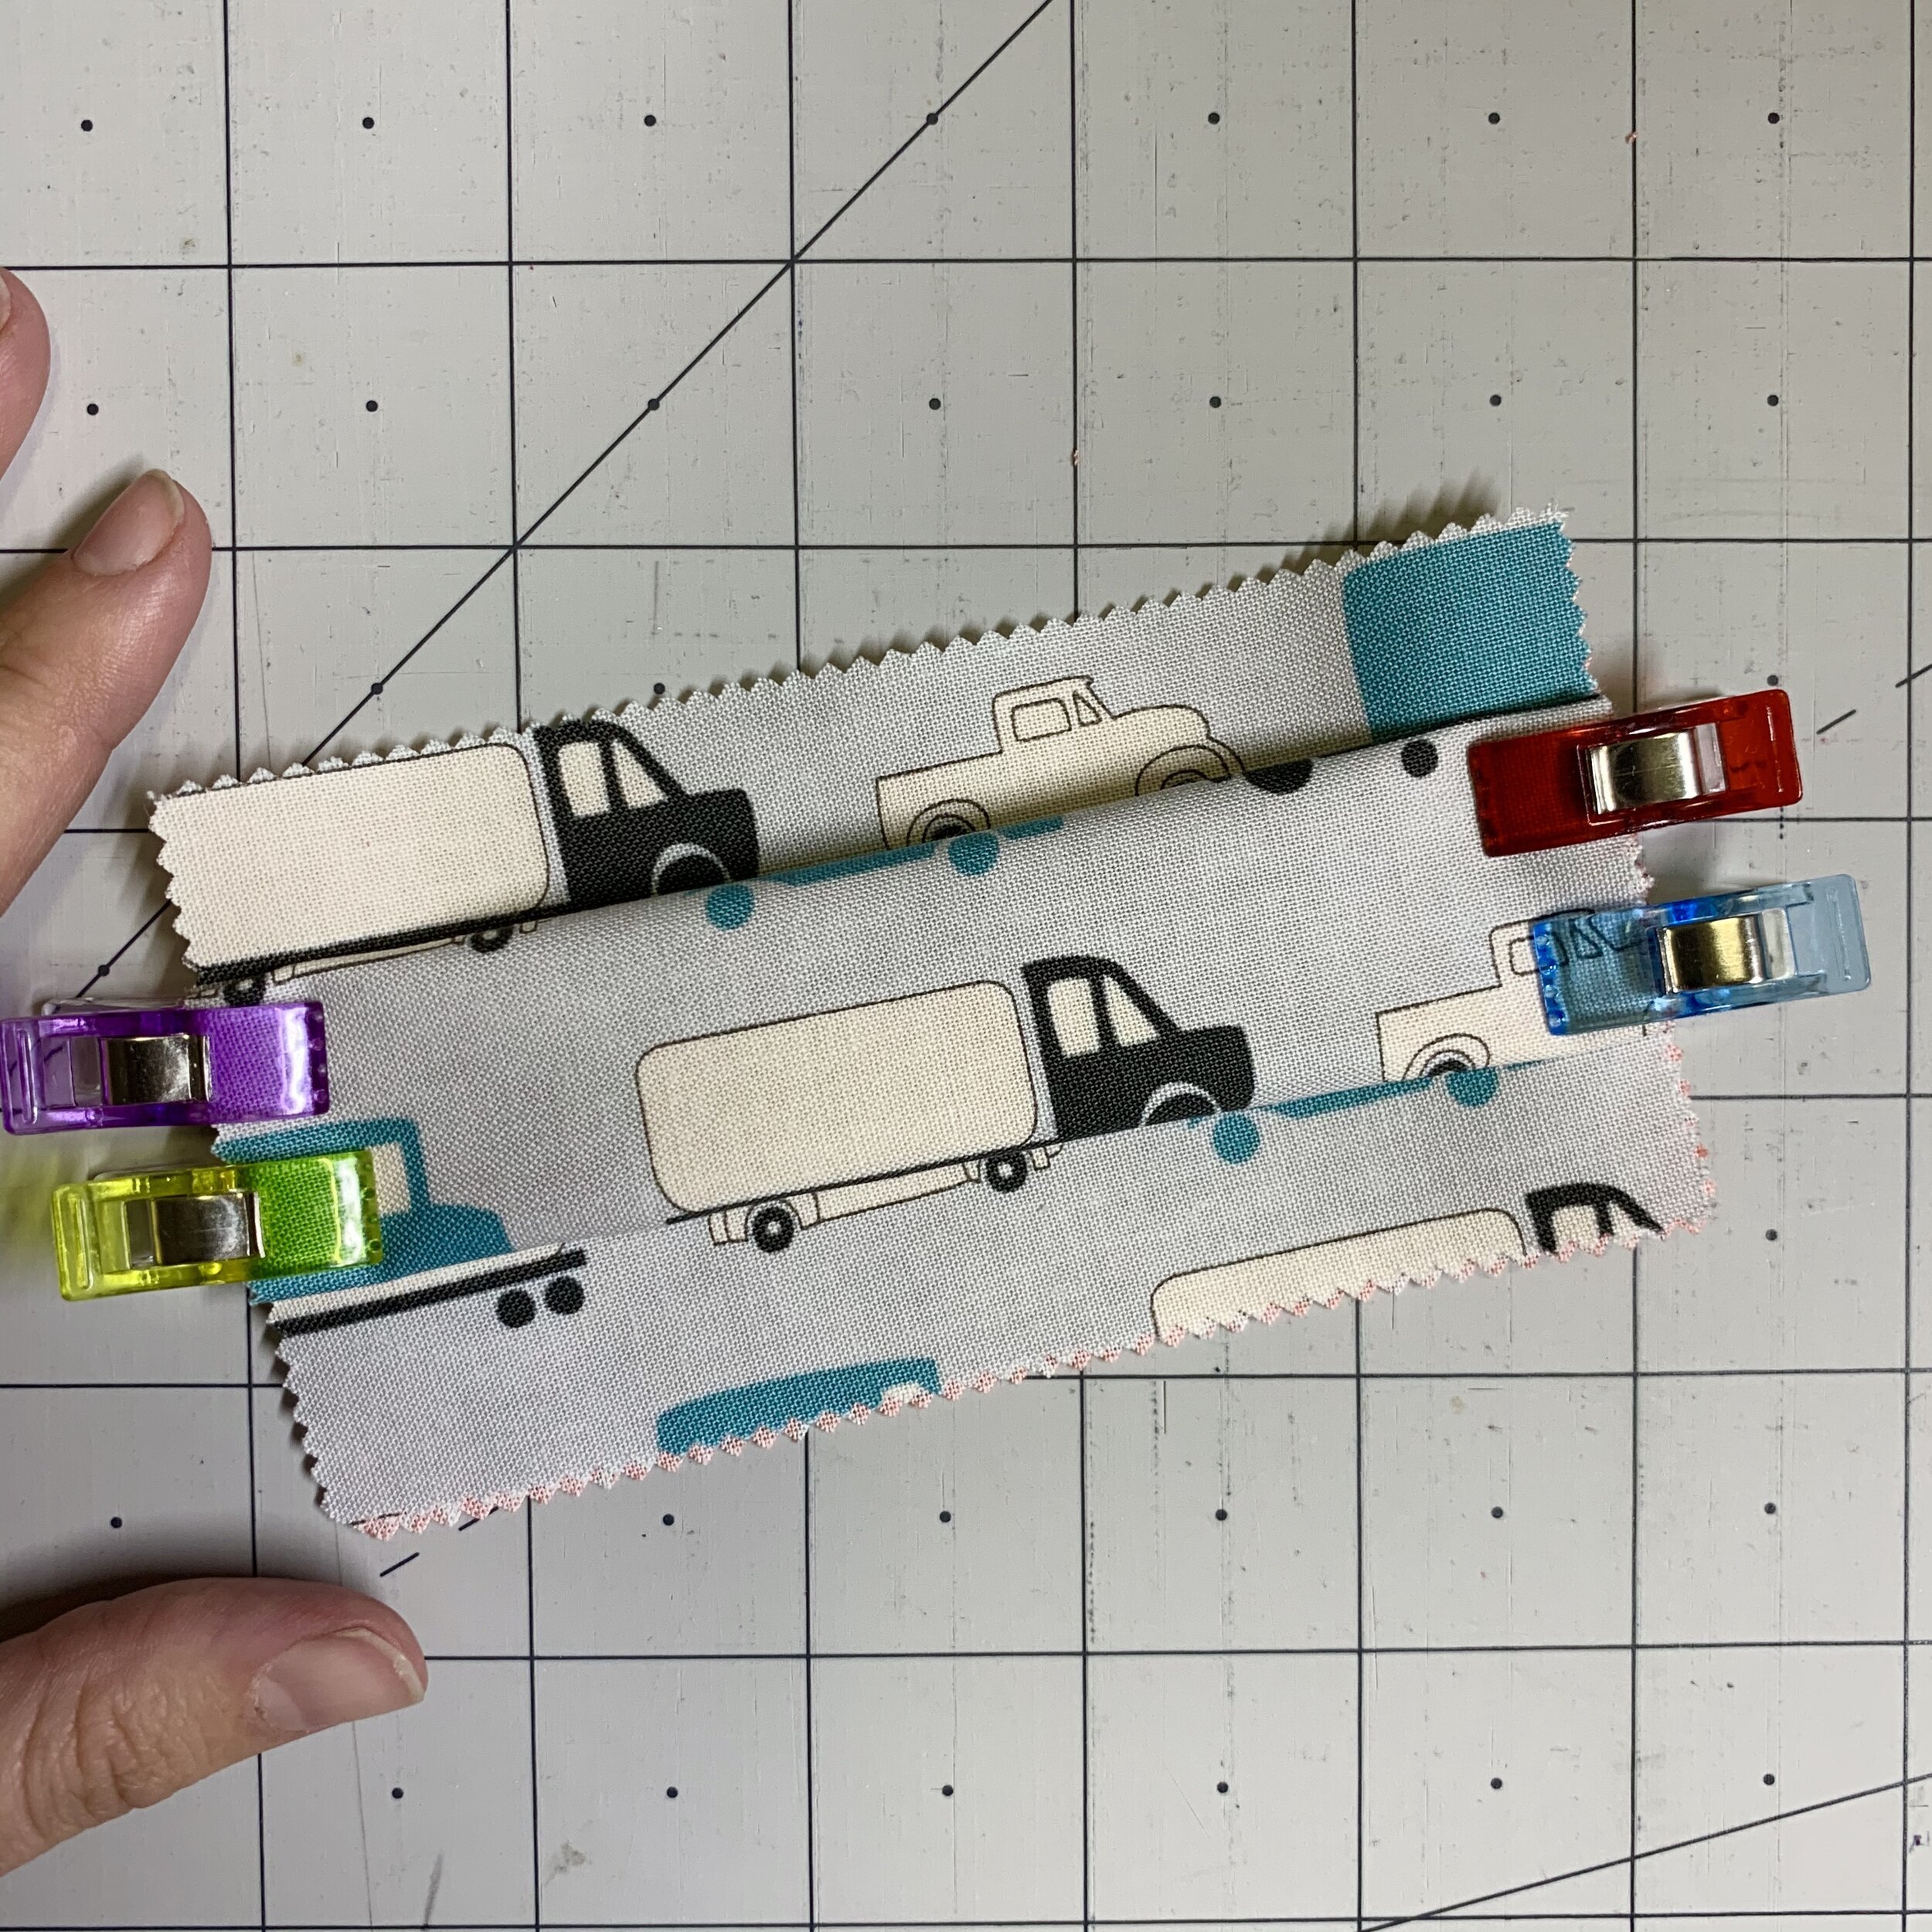
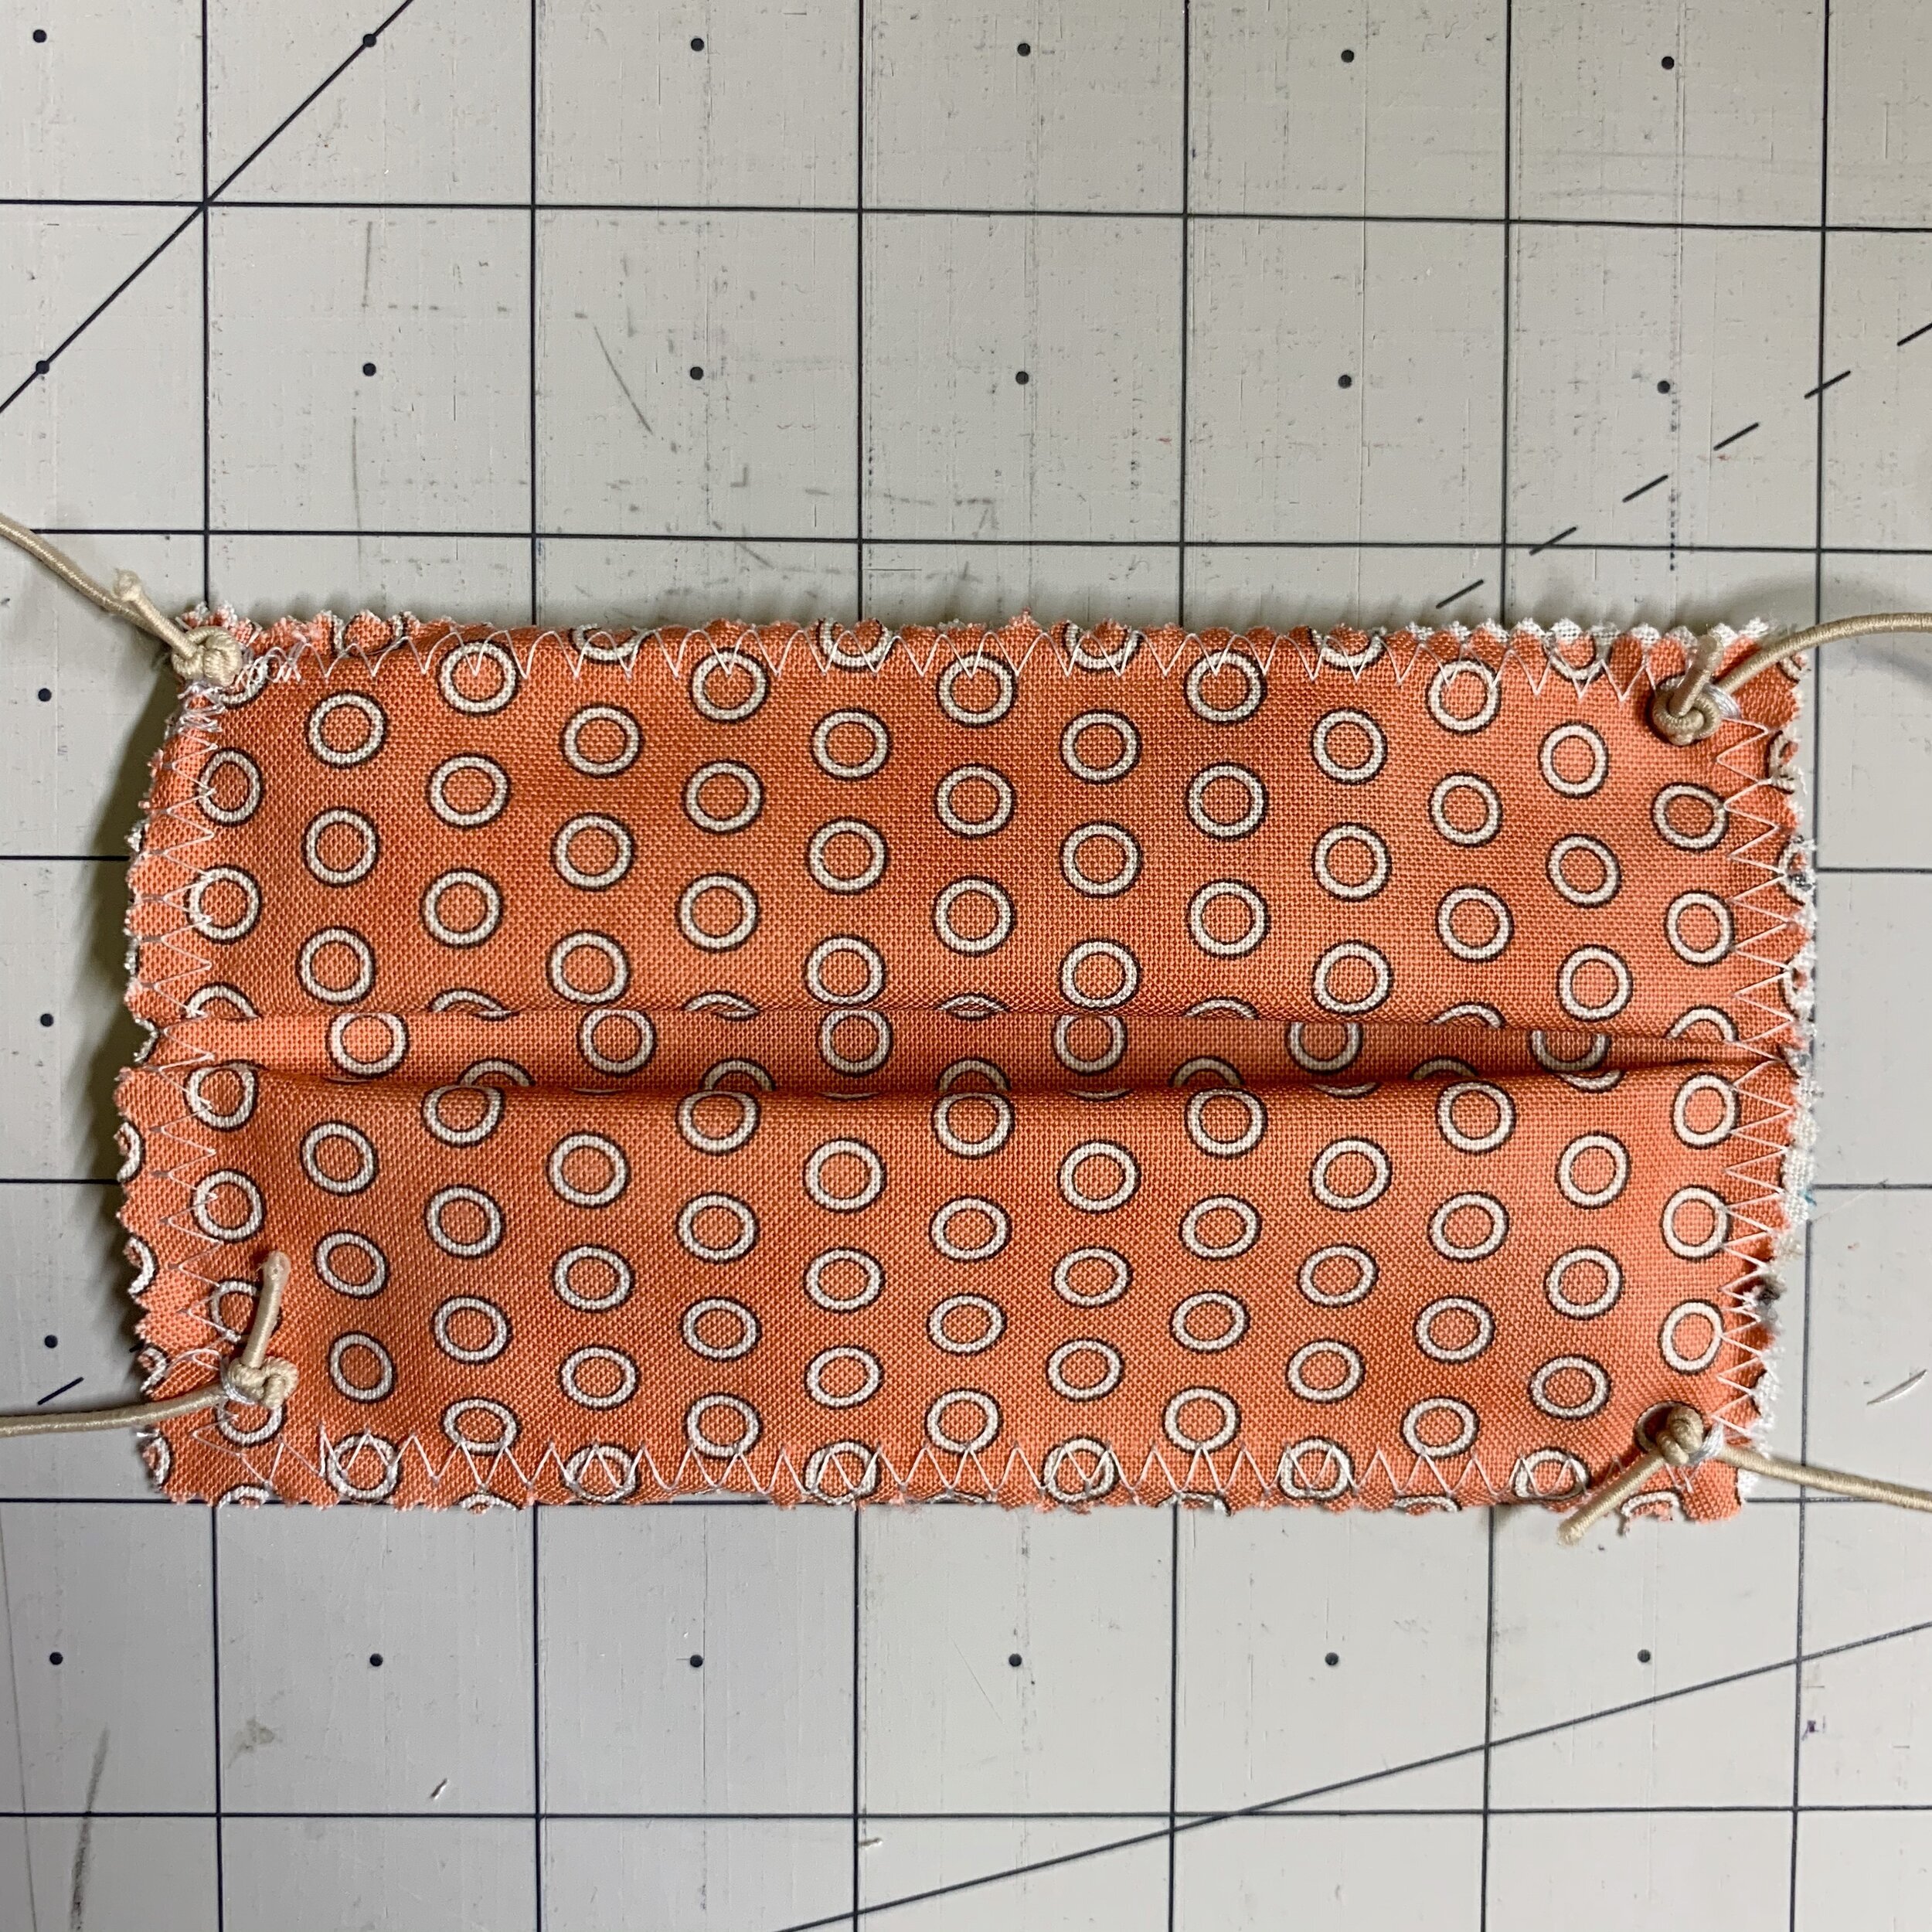
Place two charm squares wrong sides together
Create two pleats and secure with clips (or pins, but I preferred clips for this)
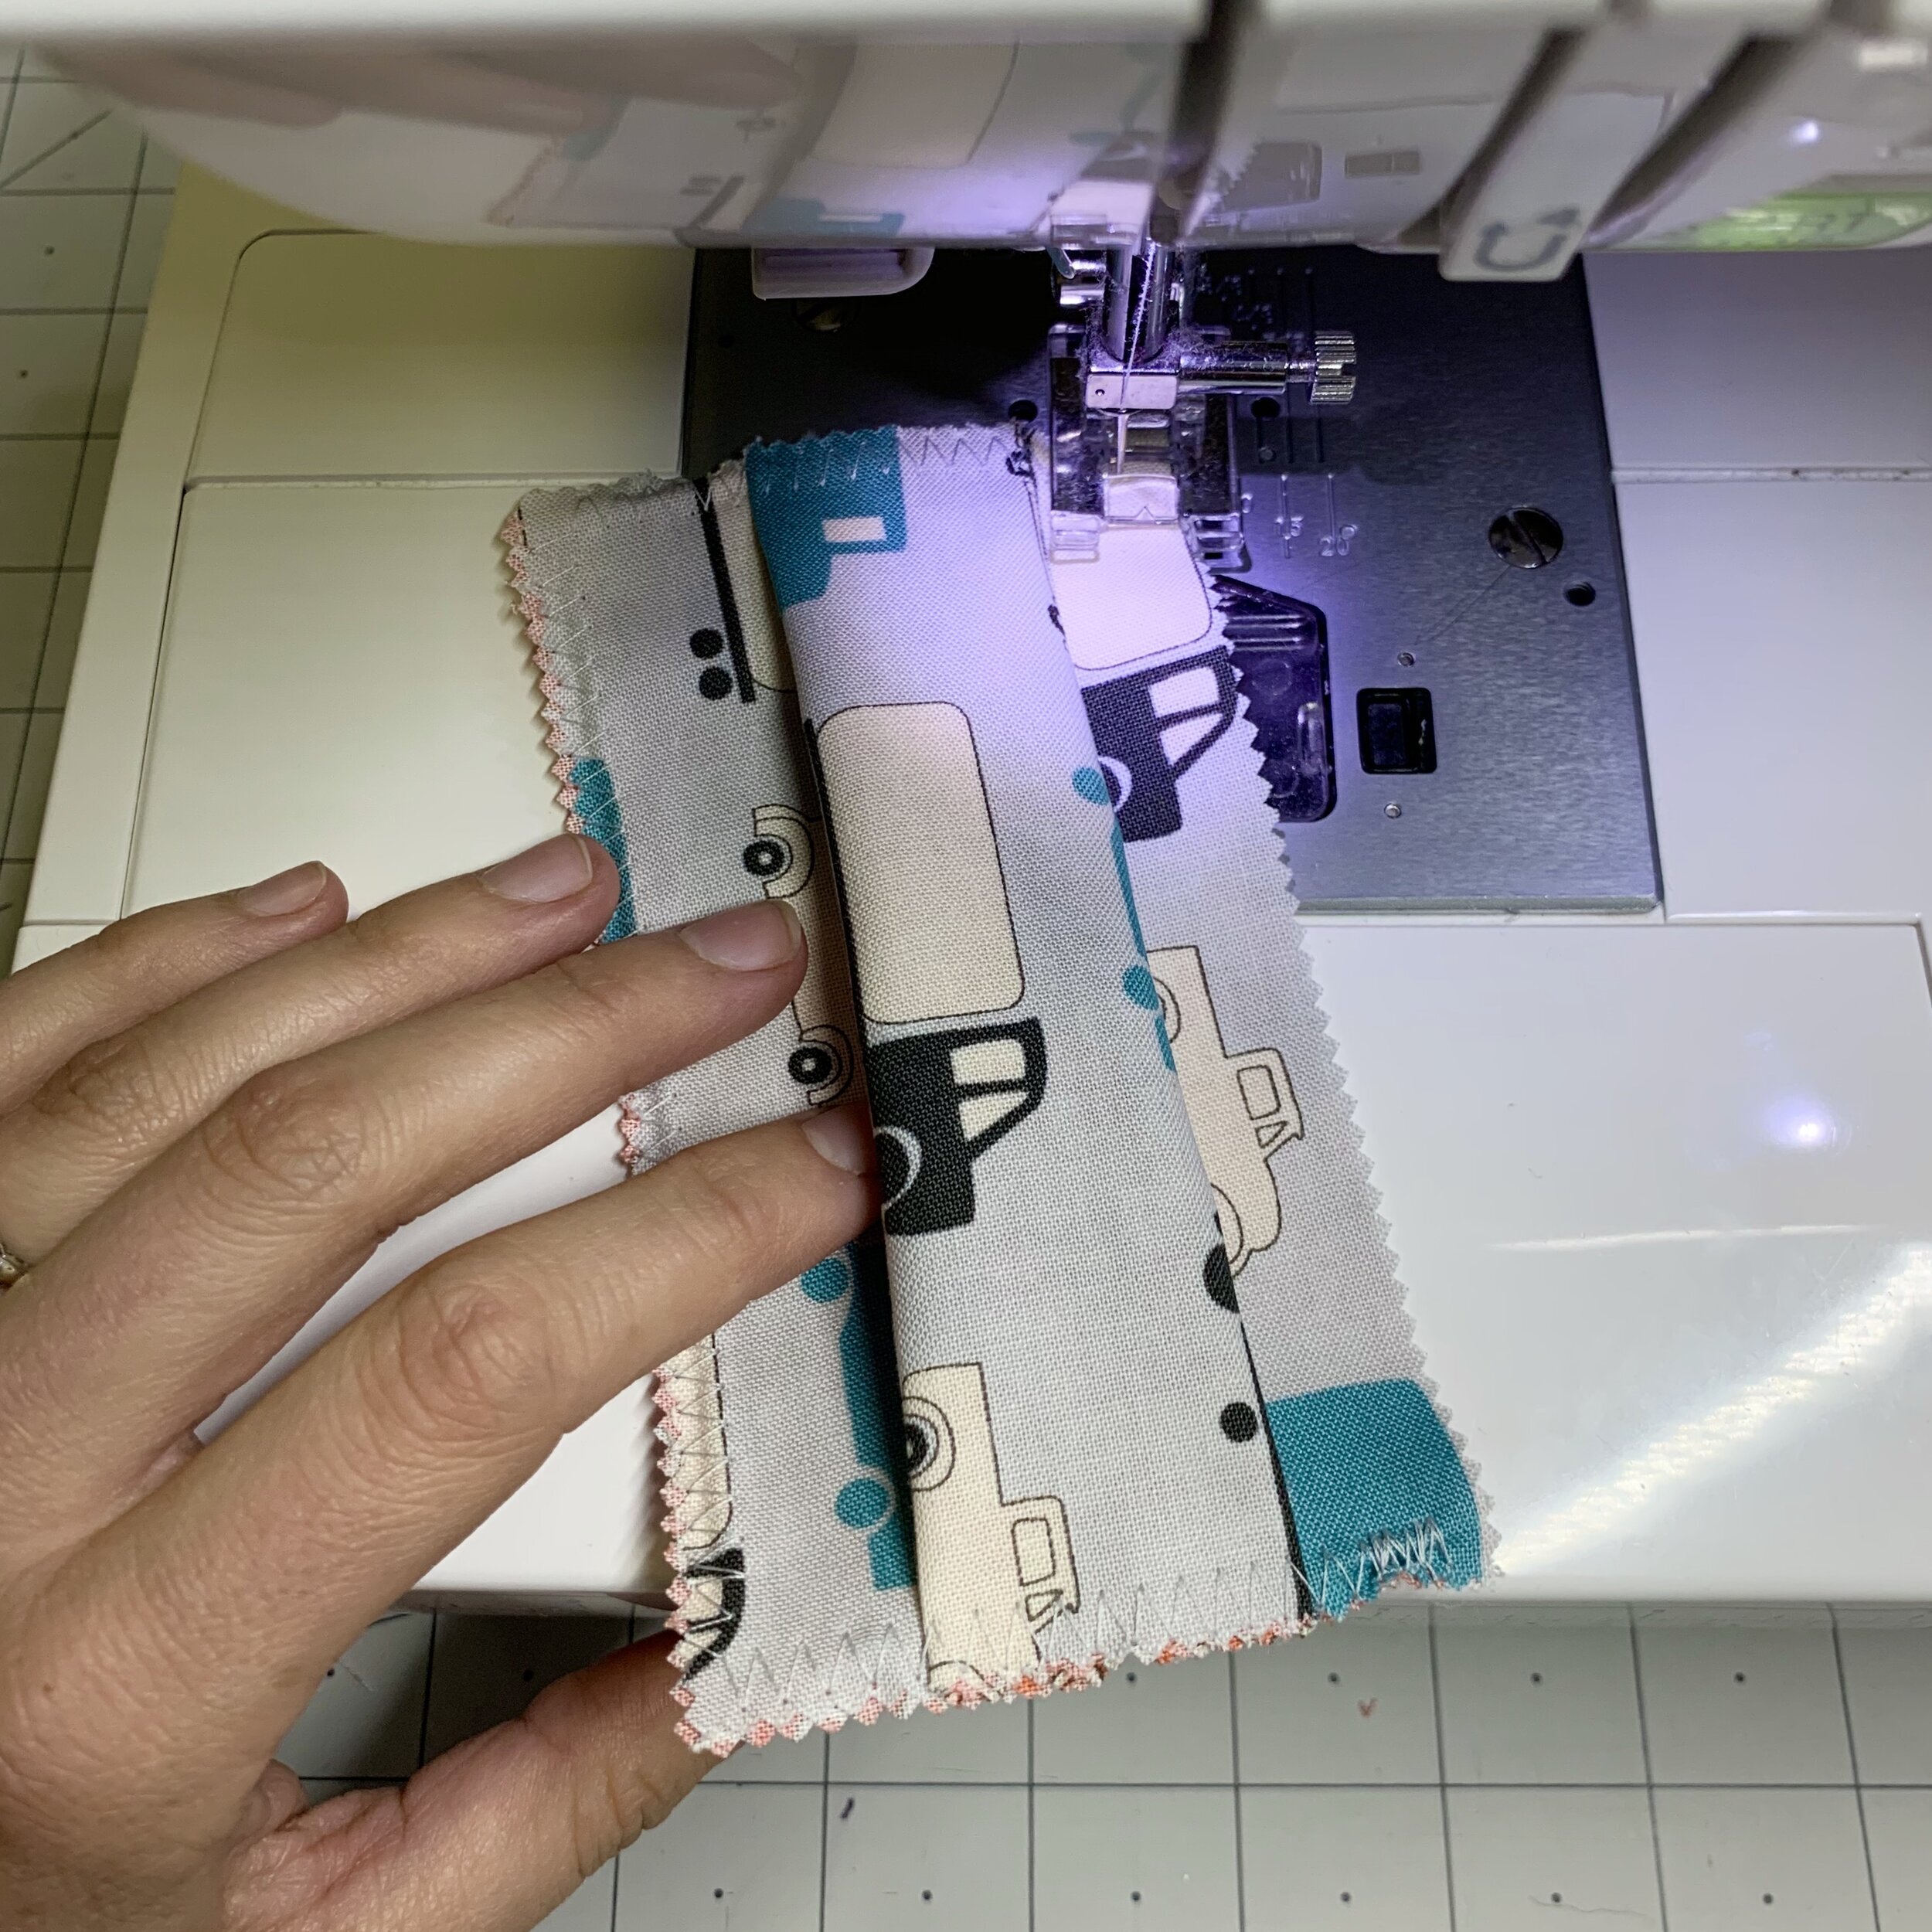
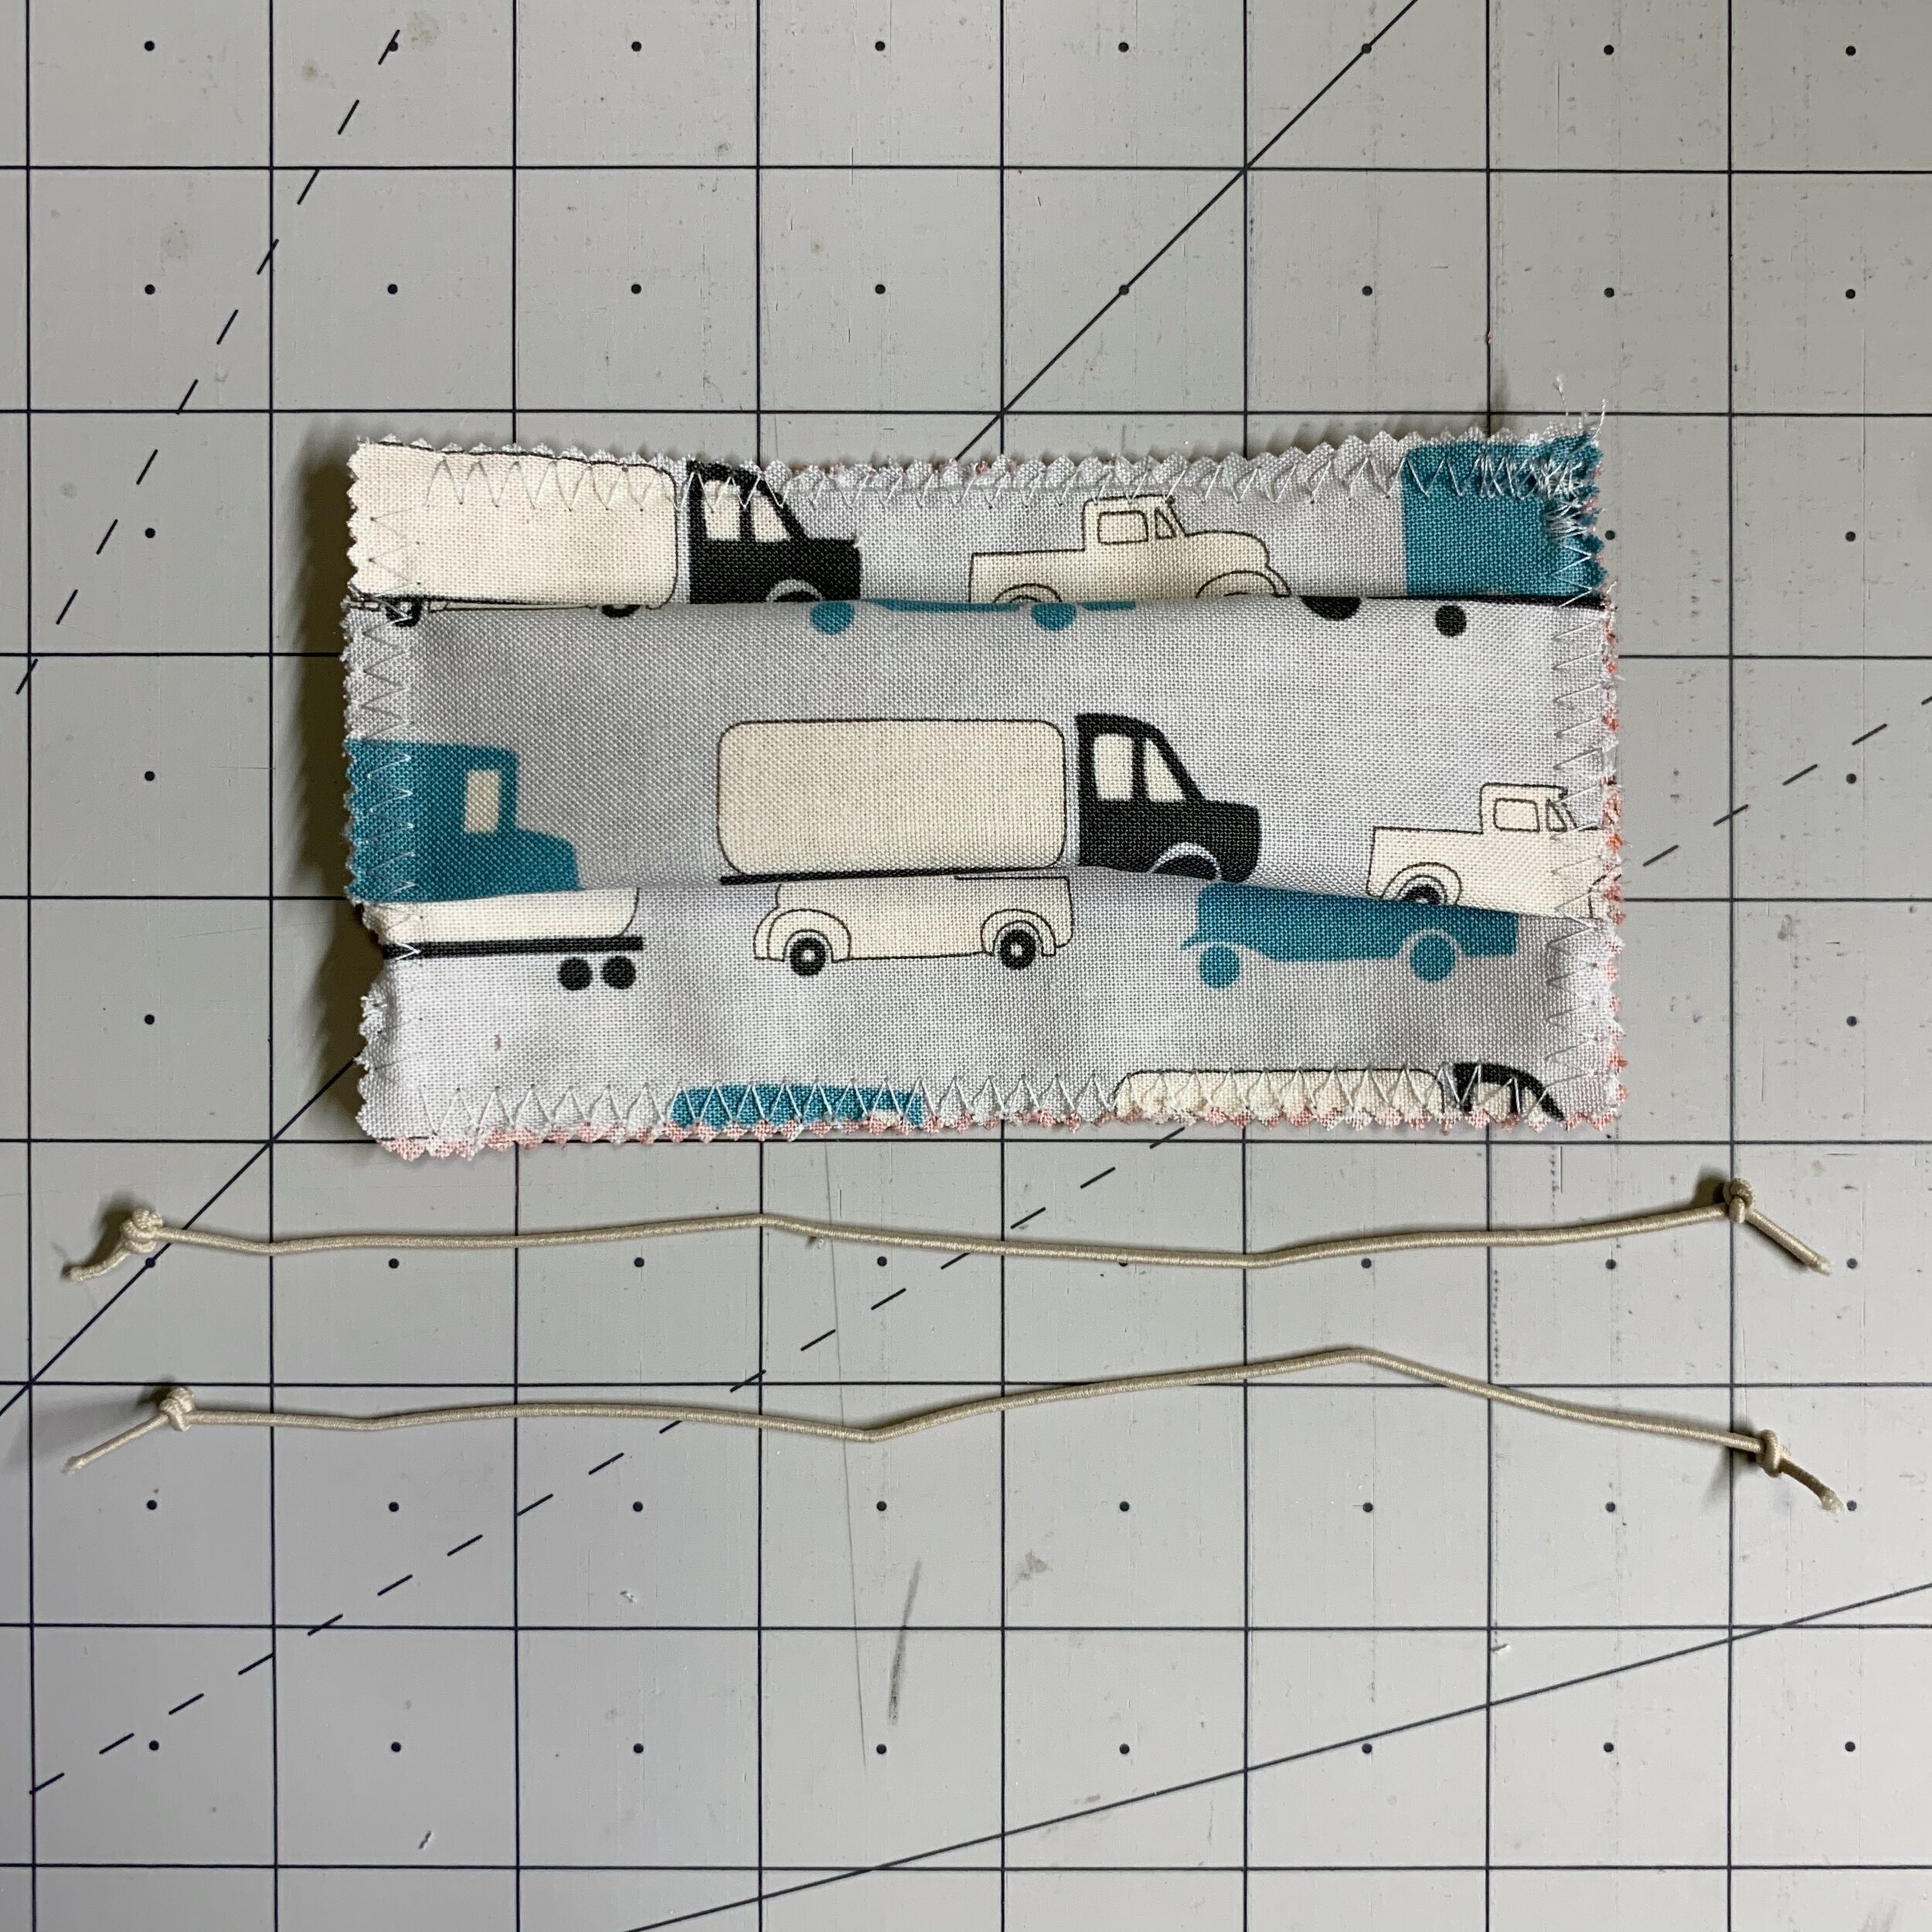
Zig zag or serge all the way around the edge
Cut two pieces of elastic and tie knots at the ends (I used 8.5” pieces on mine. Check the fit on your kiddo by having them hold the mask up to their face, and looping a piece from one corner of the mask, around their ear, and back to the other corner of the same side)
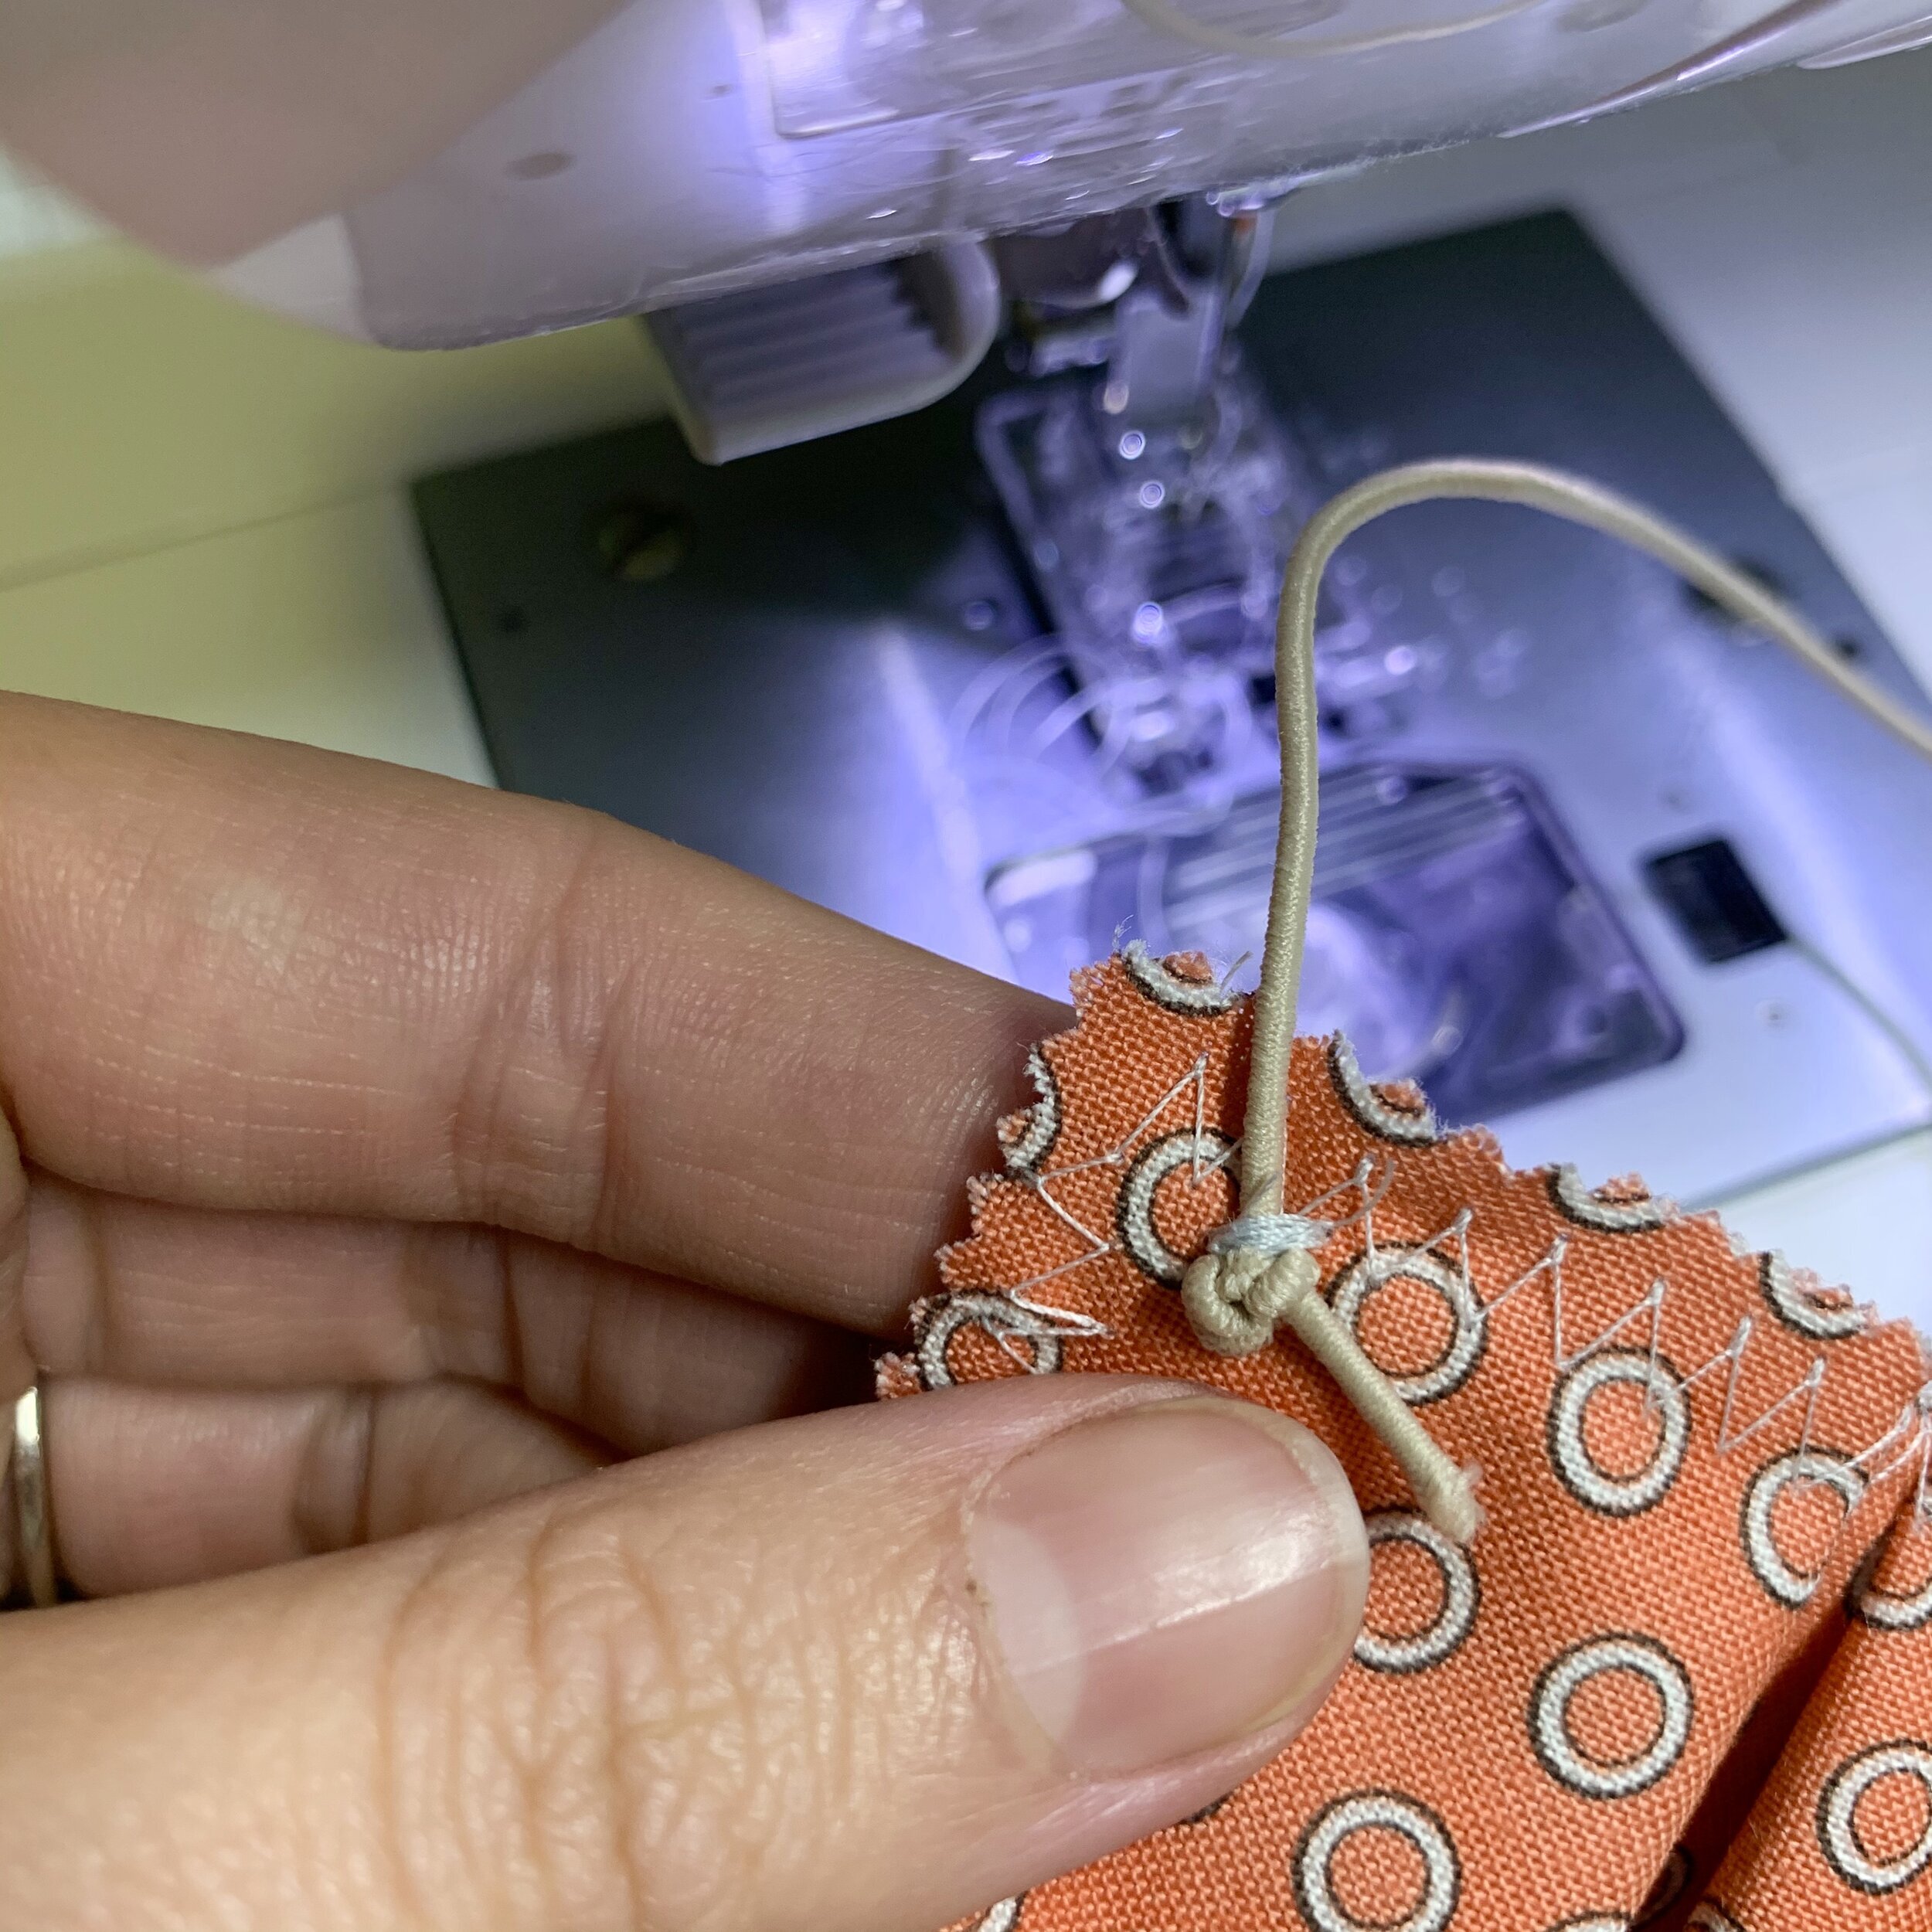
Hold the knot of one end of one elastic at the top inside corner of one side. Zigzag over the elastic to secure in place. Break thread. Repeat with the other end of the elastic on the lower inside corner.
Repeat with other elastic on the other side
Voila!
Conclusion
I whipped these up for my kiddos super fast out of a charm pack I knew they’d love— I hope this simple and easily customizable style makes the challenge of mask wearing a little easier for all our kiddos.


And equally simple mask can be made for bigger kids or adults by using a 10” square folded in half (or two jolly bar rectangles). On these, fold the short sides in about 1/2 inch and top stitch to create a “tube” to pass elastic thru to knot. I used about 10” of elastic on each side of mine
Handwashing recommended to minimize fraying (unless you surged the edges— then rock on with your bad self and throw that baby in the wash)
Looking for more Coronavirus/ COVID-19 sewing ideas including masks, headbands, and scrub caps? Click here to read my post Sewing in a Pandemic for patterns and self-care tips
