
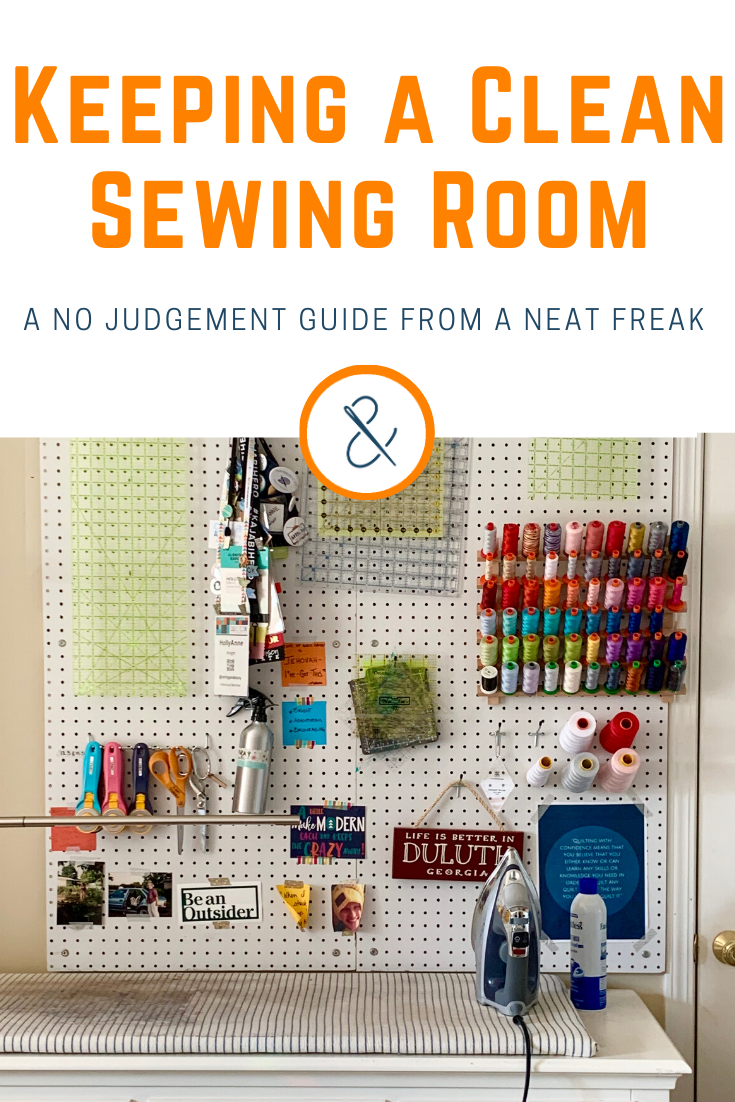
Tips for an Orderly Sewing Room
Different quilters prefer their creative spaces different ways, but, whether you consider yourself a messy creative or a clean creative, we’re all frustrated when we can’t find what we want in our sewing room. As a “clean creative” who likes her sewing room to be organized and tidy, I’ve assembled some of my tips so that, even if you prefer your space a bit more messy, you might at least have an easier time finding what you need.
(This post contains affiliate links)
I get it; I get it— sometimes it’s really fun to have a sewing room with fabric all thrown about and a million things in progress. Plus, some of us are “chaos muppets” (think Ernie) who prefer a bit more of a “lived in” approach to our space (whereas I am very much an order muppet like Bert and like things picked up). But we have ALL had that moment where we just want to SCREAM because we can’t find what we need, or the place is so messy we can barely think, or perhaps most tragic of all, we close the door and walk away out of sheer overwhelm.
I know there are many of you who may never prefer a sewing room as tidy as mine, but I wanted to share some tips about how to make it more orderly, easier to use, and, ultimately, more productive.
A Basic Clean of Your Sewing Room
Sometimes things get out of control, but you don’t have the time or energy for a deep purge. Here are some quick steps to freshen your space:
Get everything off the floor, even if you just pile it on a table
Sort everything that is out and cluttery: notions/ tools in one pile, yardage in another pile, scraps in a pile, WIPs in a pile
Fold your yardage and put it away
Designate a place (drawer, basket, etc) for your notions and put them away
Designate a basket or bin for your scraps and contin them
Wipe down all surfaces
Vaccuum
If your sewing room has been devolving from organization for awhile, you will execute these steps imperfectly. But executing them will give you breathing room to decide how you may want to more thoroughly reorganize in the future. Below are some insights into how I’ve organized my space.
Notions & Tools
Perhaps the easiest thing to lose track of in our sewing rooms are our tools— especially the fiddly ones like seam rippers and thread snips. Keep track of tools by storing them in proximity to where you work based on how often you use them.
Here’s what I mean:
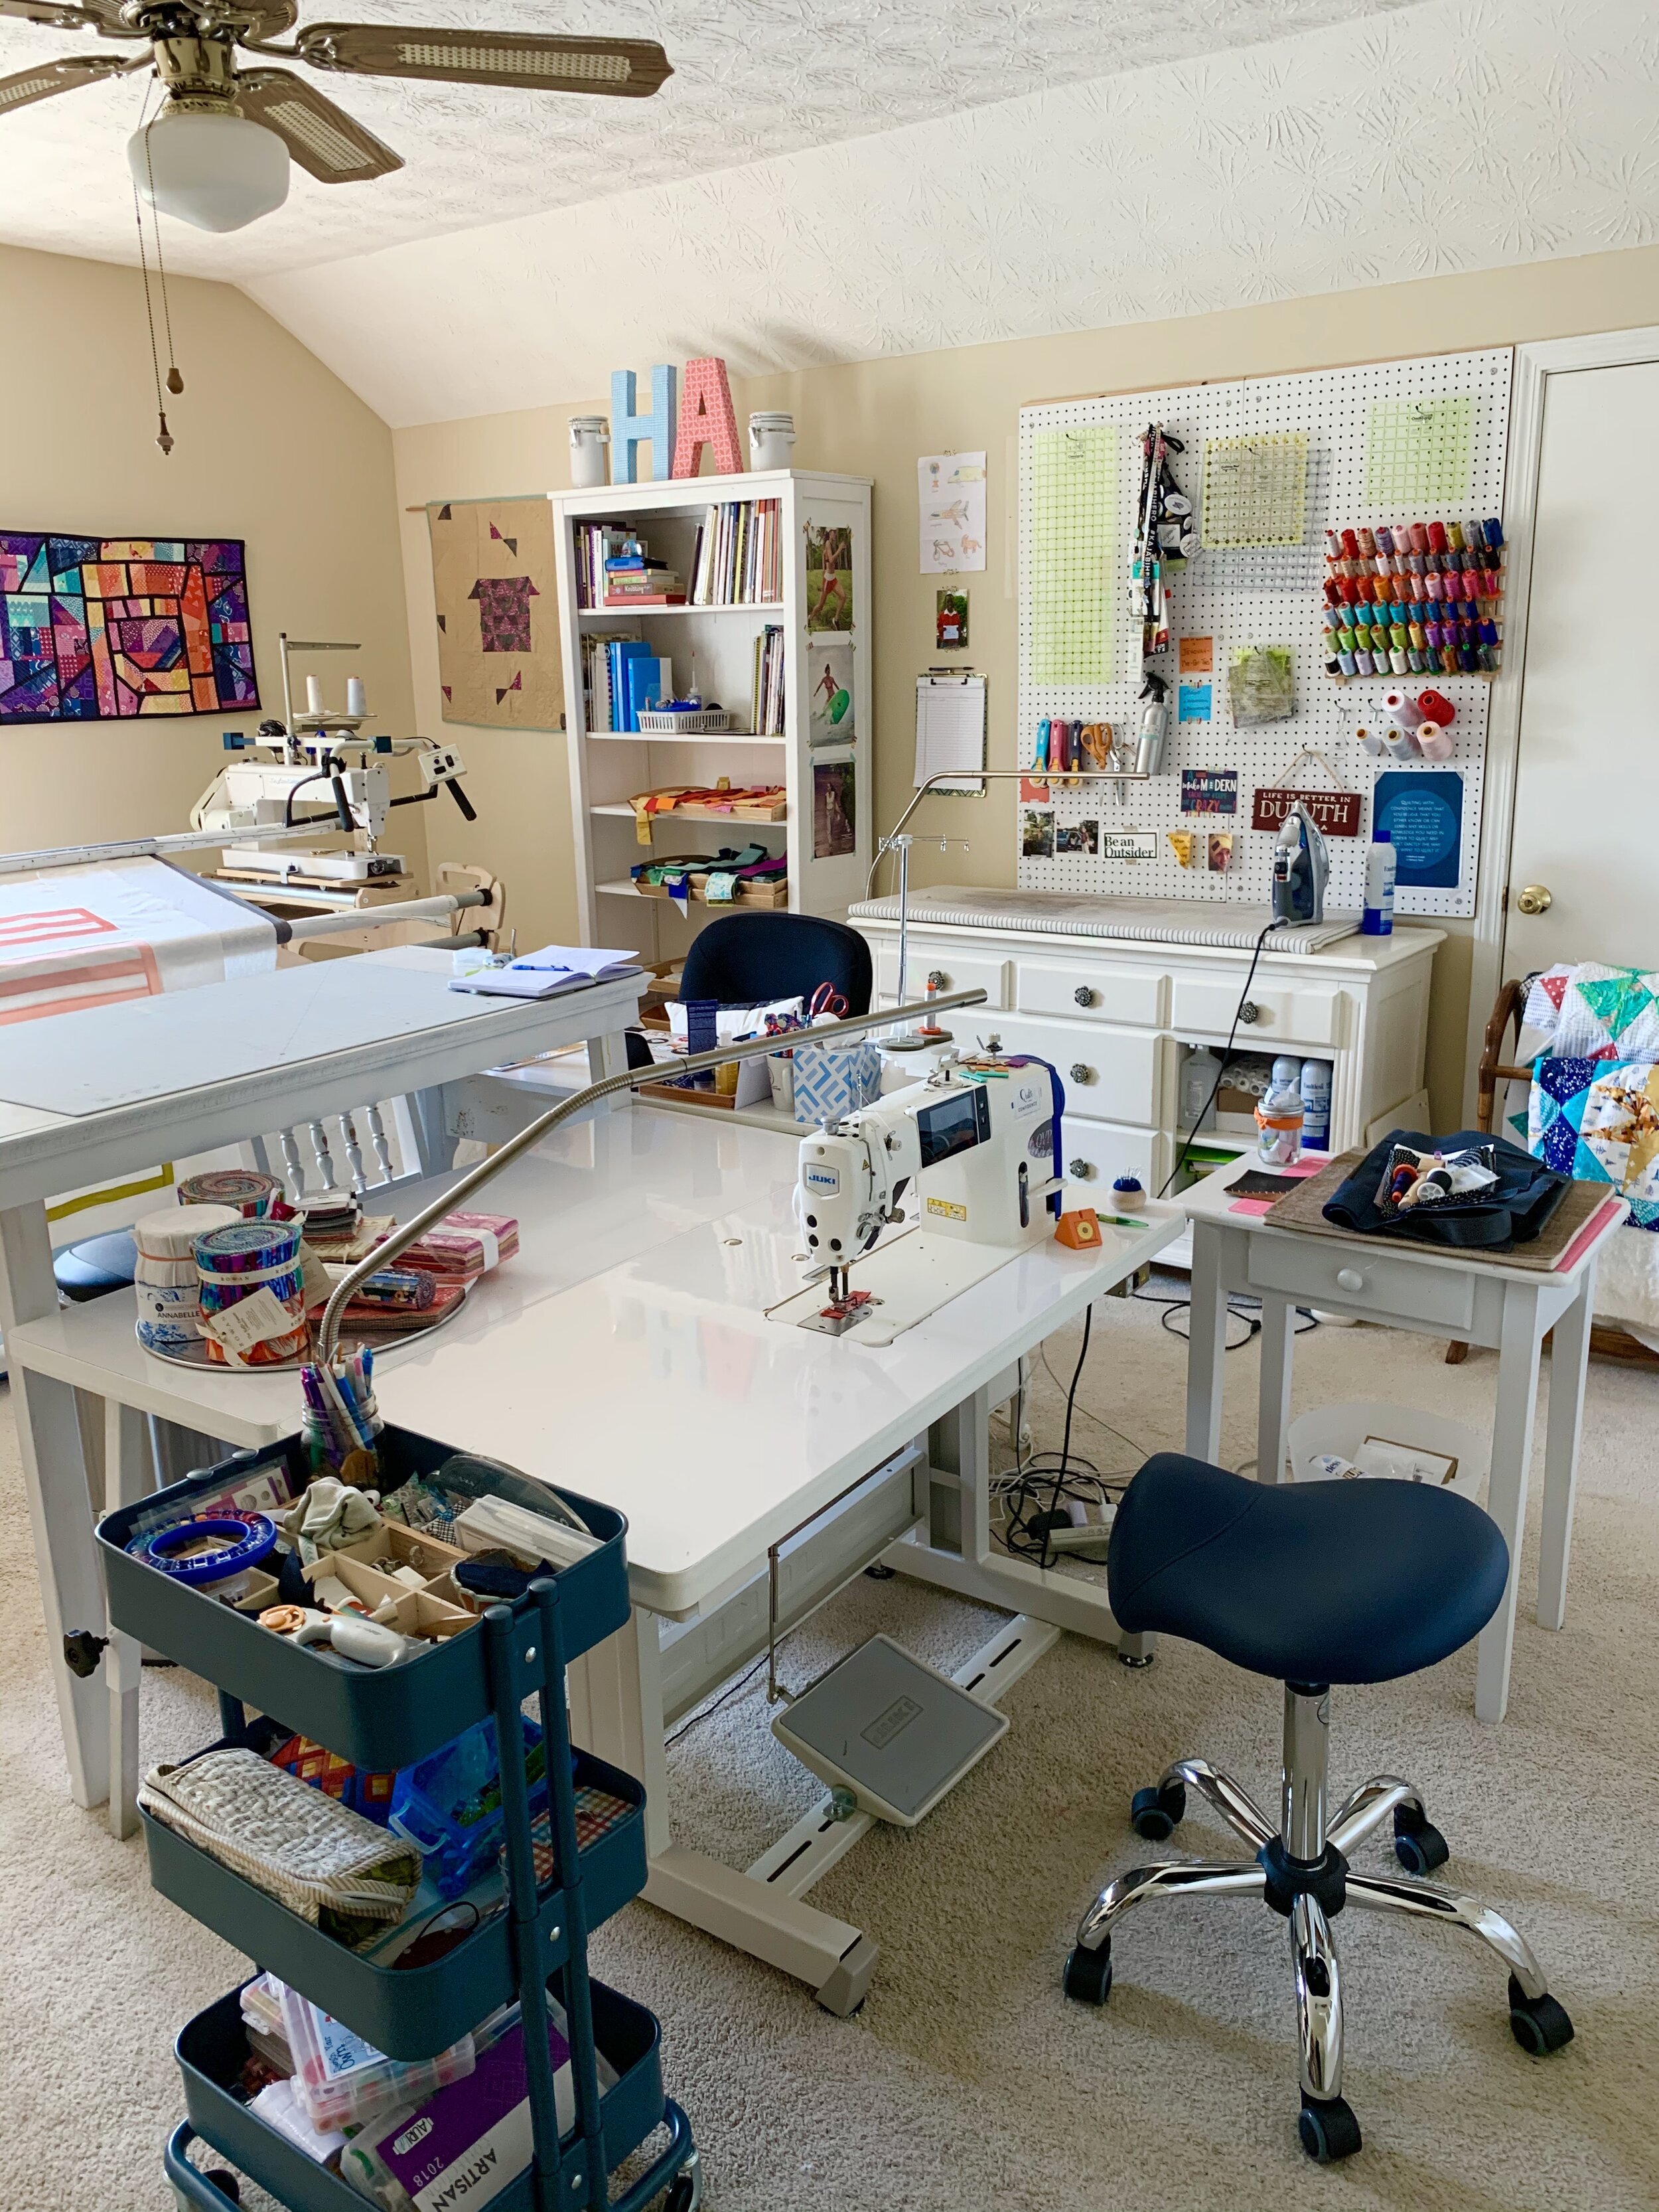
I keep my thread snips, seam ripper, and sewing pins right at my machine. I use them every single time I sit down, so I keep them as close as possible to where I work
Notions that I use routinely but not every time I work, like bigger snips, marking tools, sewing machine feet, quilting gloves, etc. live in a small cart right next to my work space. They are handy but also contained. I like the cart because it makes things easy to put back as soon as I’m done with them.
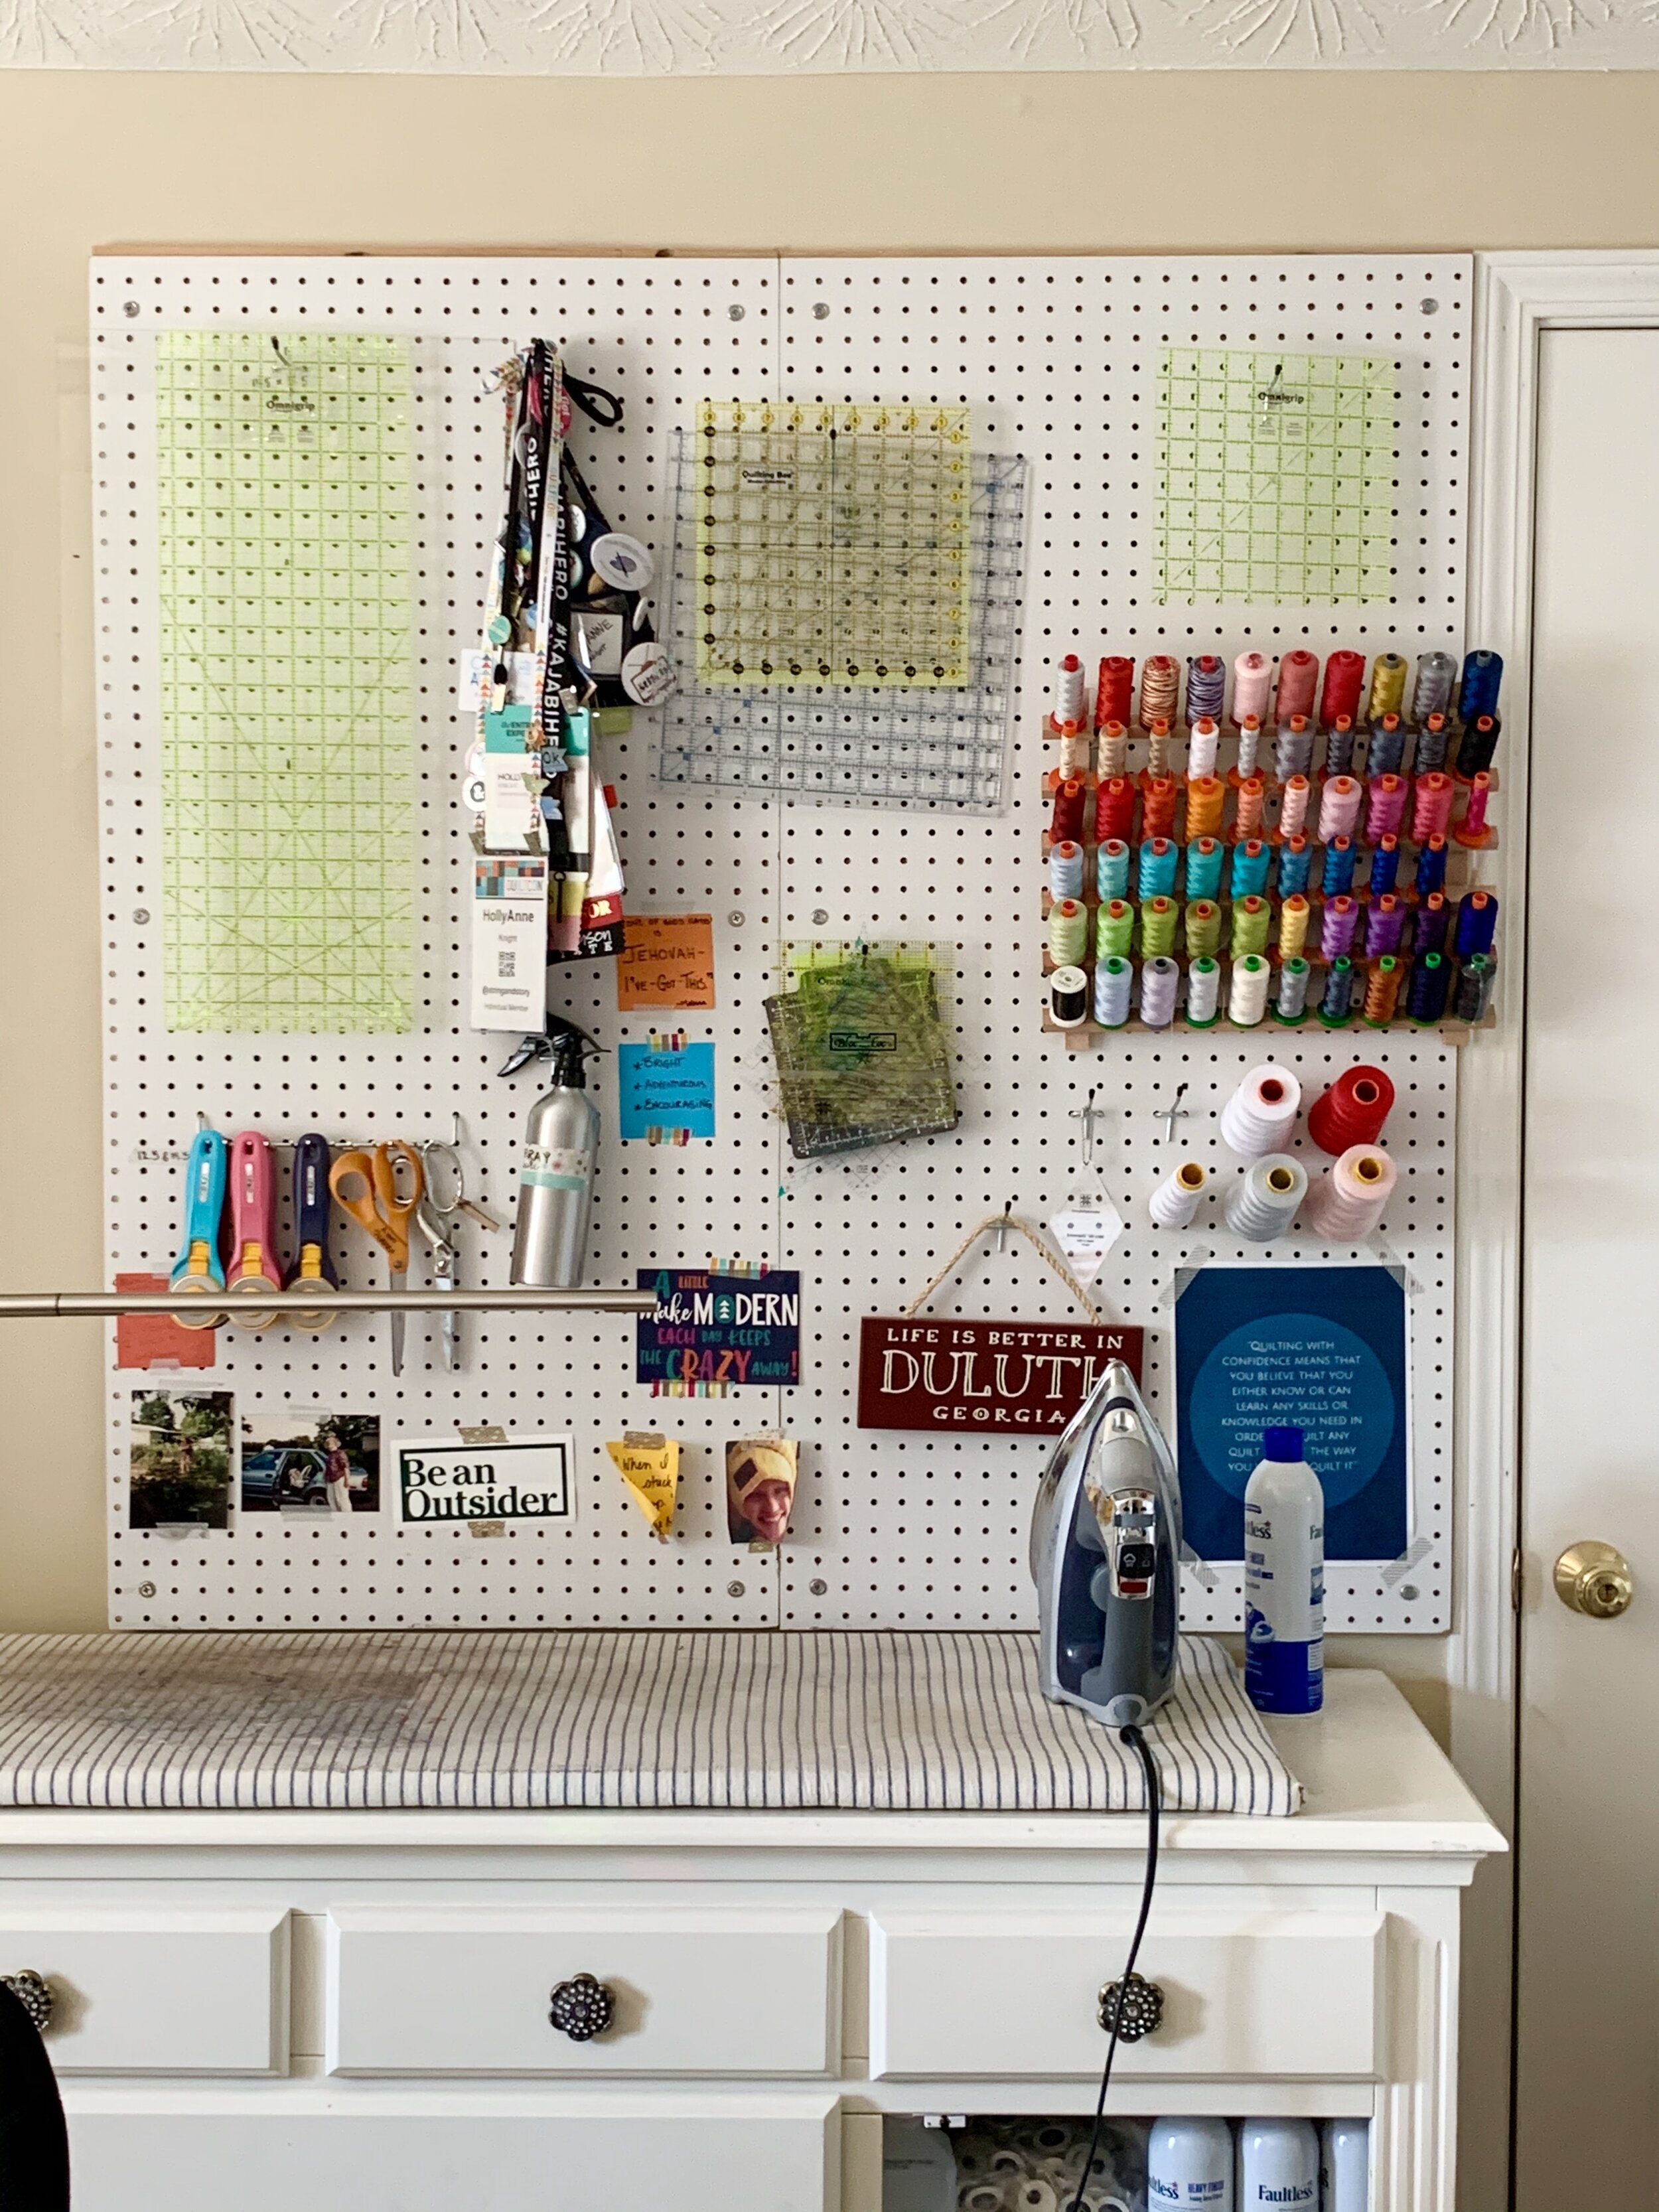
Thread, cutting rulers, and rotary cutters live on a peg board over my pressing board. Again, these are things I use regularly, so I like them in plain sight where they are easy to see, fetch, and put away. But since these are not tools I’ll be reaching for repeatedly within a short period of time, it’s okay to have to get up and cross the room to access them.
Longarm notions live in a small basket on a shelf by the machine. This keeps them nearby for both easy access and easy cleanup.
Rarely used notions live behind doors: my AccuQuilt is in the closet and the dies in a cupboard. So are zippers/ bag hardware and interfacings. I keep these items out of sight and out of the way unless I need them.
Most importantly, have a system of where tools belong and make it as easy as possible to both get what you need and put it away when you’re done. Unfortunately, our mom’s were right: cleaning up really is a lot easier if we just put things up as we finish with them.
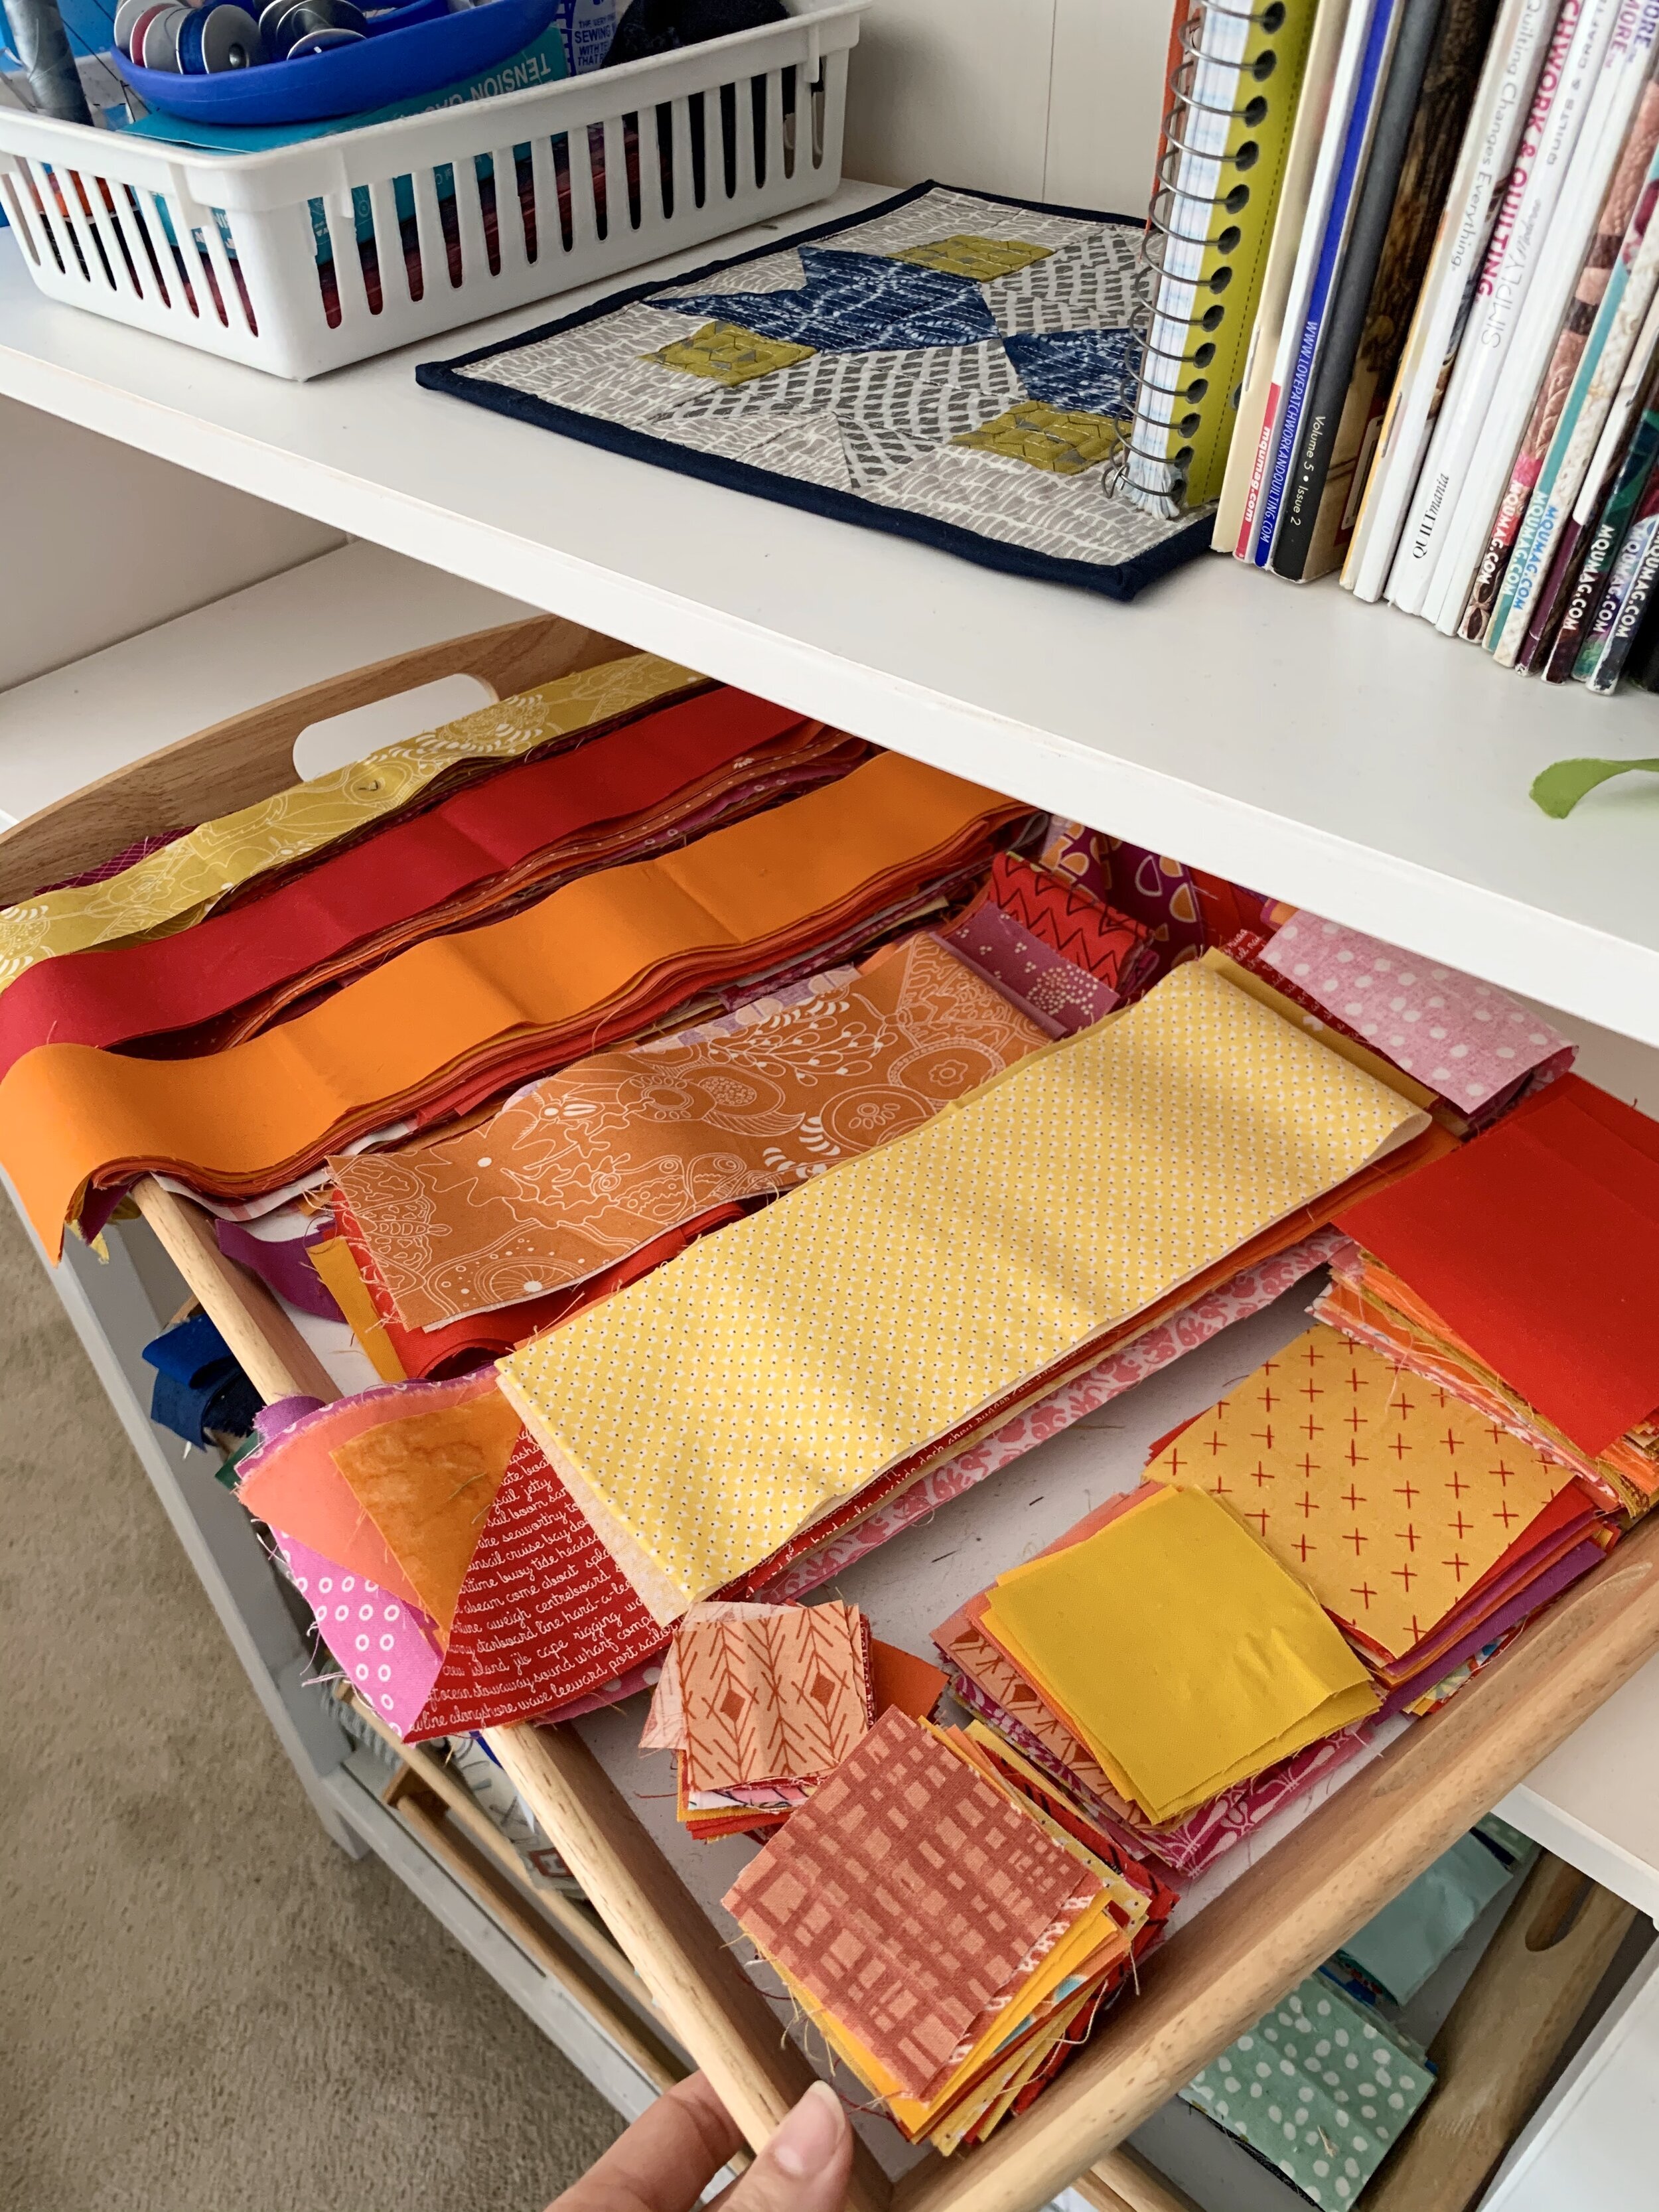
Fabric
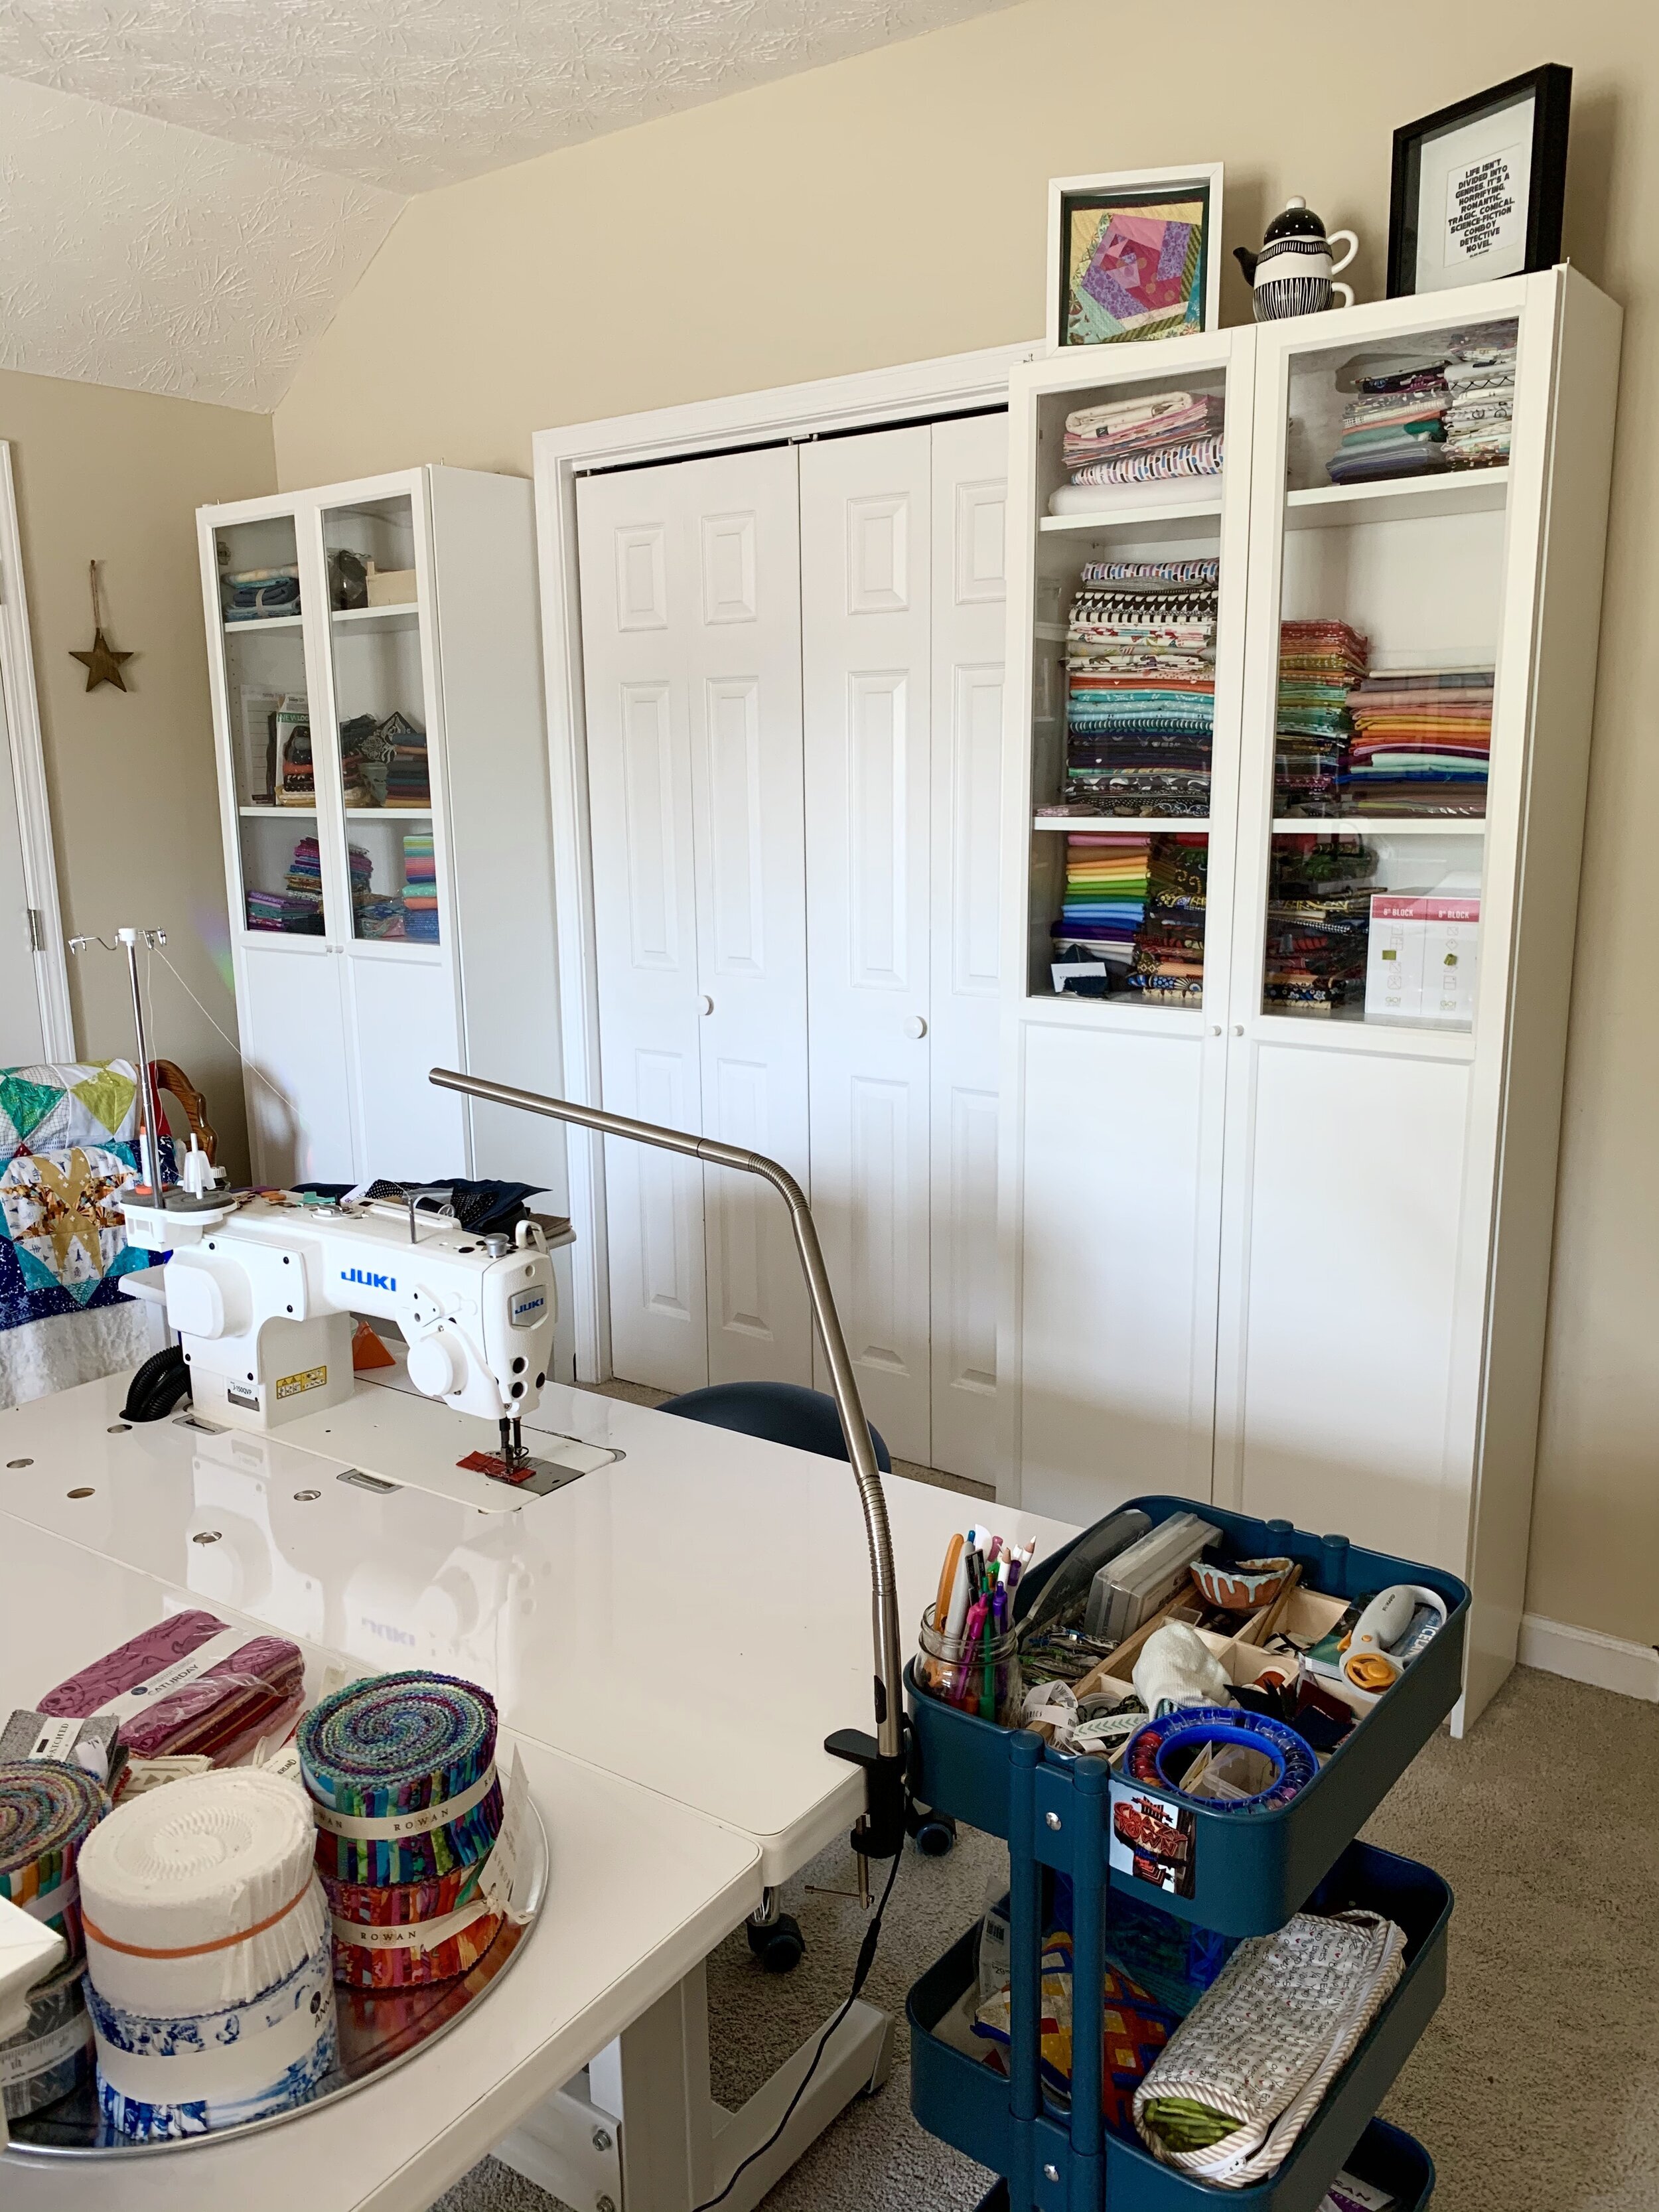
Personally, I’m an advocate for a smaller stash because I buy fabric to use it (read more about this unpopular opinion of mine here). This of course, means it’s easier for me to “contain” my stash because of it’s smaller size. Regardless, though, fabric is one of those things that can easily “explode” all over the place as you’re digging for that perfect piece. Here are a few tips:
Have a designated place for unsorted scraps (I use one of those wooden clementine boxes tucked into a cabinet), and have a plan for how you’ll use up scraps later (there are a bunch of ideas here)
When you dig though yardage to find what you want, put it all away afterward (click here for tips on organizing your yardage and here for tips on storing scraps)
Works in Progress
If you only tackle one project at a time, I don’t know if I should raise my eyebrows in disbelief or bow in respect. But, my guess, is that most of you are like me and have approximately 748495 things going at once in your space. Here are some ways I tame my WIPs:
My most current project sits on the side table by my sewing machine. Easy to pick up and return to
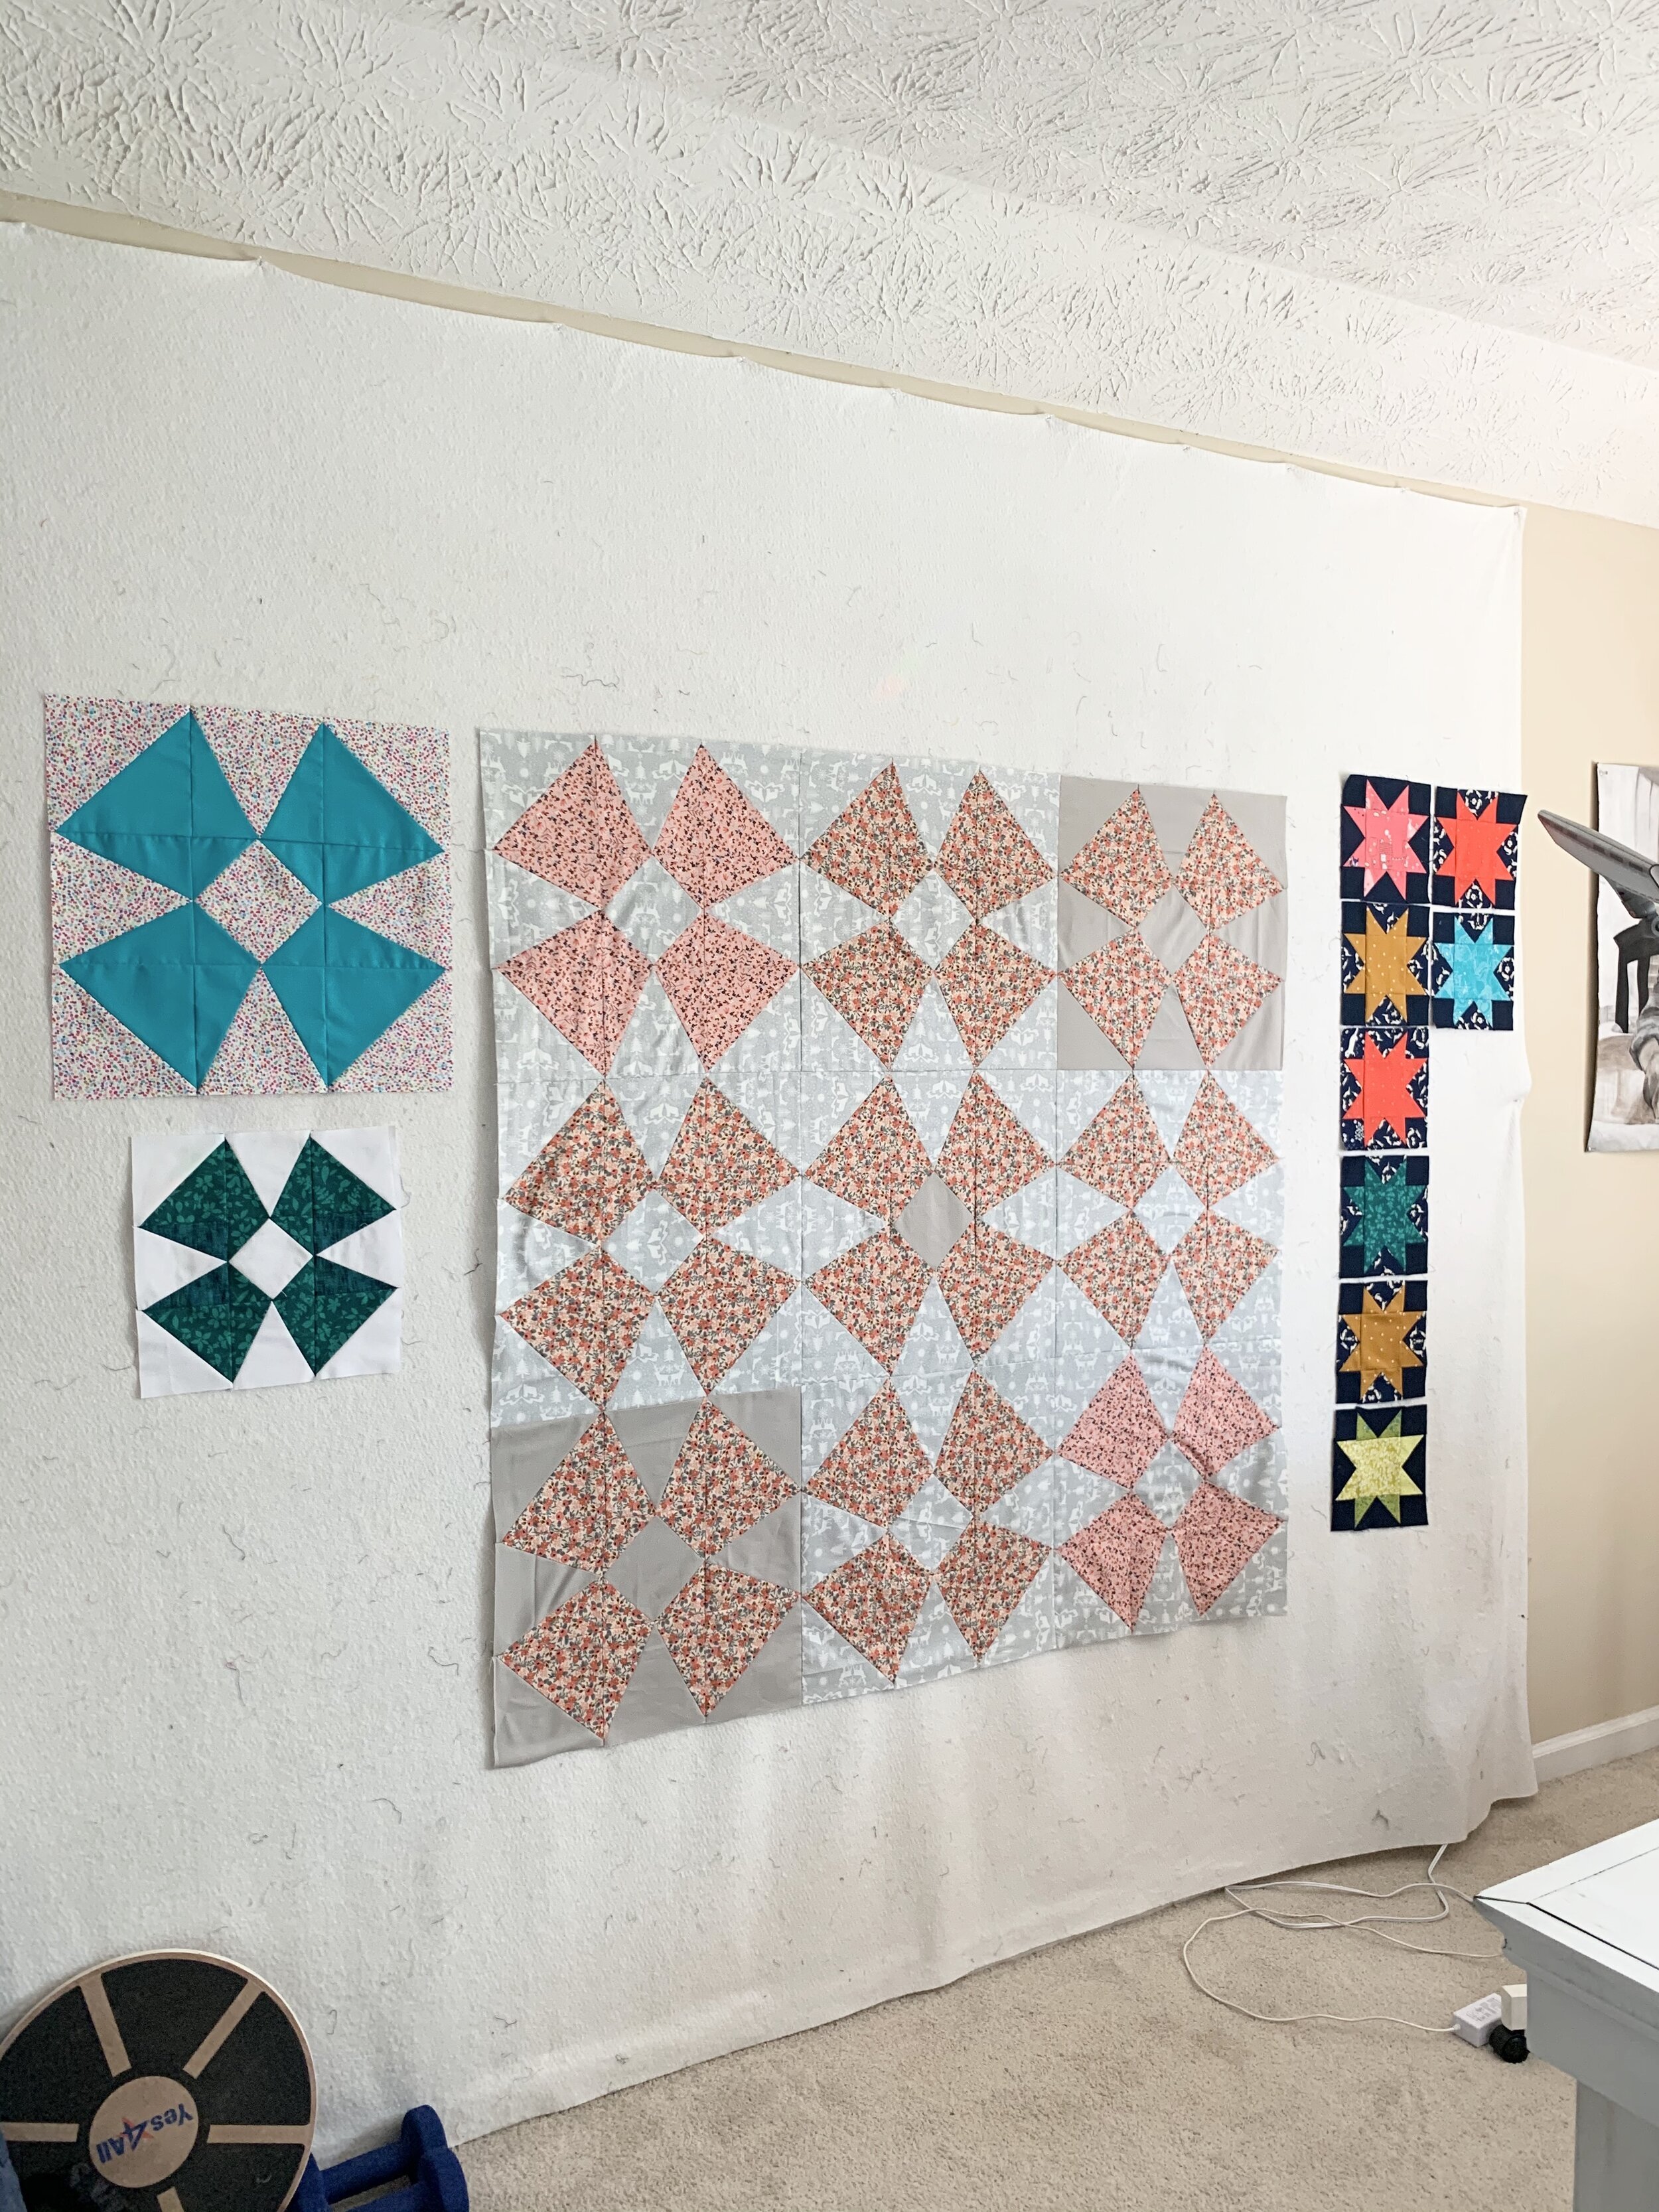
Blocks either live on the design wall (more current projects) or tucked into a clementine basket in one of my two fabric cupboards
Fabric not yet cut but already pulled for projects has a shelf in the cupboard
Finished tops drape on the longarm or the quilt rack
What if My Sewing Space is in a Common Space?
I am abundantly blessed to have a large, dedicated space for my quilting, but I know that many of you sew in your dining room or another common area of your house. What are some ways you can organize your spaces effectively?
First and foremost, minimalism is your friend. If you have notions/ tools you don’t use or fabric you hate, those things need a new home pronto. The less you have, the easier it will be to tuck things away in an orderly fashion.
Consider acquiring (or repurposing) a sideboard or bookshelf or china cabinet with doors. Doors hide a multitude of baskets and make it a lot easier to pull out what you need when you need it, and tuck it away again when you’re done.
Keep everything in baskets: notions, WIPs, scraps, yardage. Pull them out when you work, and toss it all back into the proper baskets when you’re done. Baskets will also help you make sure your things don’t exceed your storage space
Of course your cutting mat can slide behind a china cabinet or bookshelf, but did you know that your design wall could too? Check out this cool post from Kristin Esser about how to make a portable design wall.
Closing Thoughts
I’m sure you caught this, Rockstar, but the overarching theme here is to make the things you need most often easily accessible and make everything as easy to put away as possible. Your sewing room may not ever look like mine, and you may not like it that way— i recognize I’m an unusually orderly sewist— but I hope you’ve found at least one good tip to use in your own space!
Share this blog if you found it helpful: