
All About Quilt Backs
Quilt backs are one of the most efficient ways to bust some serious stash. Let's take a look at several options for making a back.
(This post contains affiliate links)

I thought about just writing about scrappy backs, but, really, we might as well do the thing properly. Thus, I'll start with the least scrappy back, and carry on from there. Bonnie Hunter likes to say that for every back you make, you get an 8 yard pass to buy more fabric. Whether or not you want to redeem an 8 yard "pass," the logic is sound: making backs uses a LOT of fabric. (if you have a lot of tops hanging around, you can tackle some UFOs and stash bust at the same time by making backs, basting them, and quilting them up! A win-win-win!)

Wide Back
This is the fastest back because these fabrics come in crazy sizes like 108" wide, making it extremely rare that you would need to piece them. Just measure, cut, and go. Solid backs with minimal piecing, like a wide back or a yardage back, show off the quilting the most. This will likely be your "jam" if you are a confident free motion quilter. If you are less sure of your quilting skills, a busy back (whether from piecing or prints) will show the stitching less.

Yardage Back
This is my go-to back. My quilts are almost always smaller than 80 inches long. That means that I simply measure the width and get that yardage times 2. I piece it in half, and I'm ready to roll. For example, if the quilt was 45 x 54 inches, I'd buy 3 yards of fabric, and piece with a single seam so that I have a piece measuring 2(WOF) x 1.5 yards. This gives plenty of room on the sides for the longarm, and all that extra can be used as binding or cut into useful scraps at the end. I like this method because it's fast, but it's more affordable than a wide back because I can get solids which are less expensive than other quilting cottons.
Yardage backs are also a GREAT option if you have yardage in your stash that you have fallen out of love with. If a quilt is for personal use, the top and the back don't necessarily have to match. Embrace this opportunity to smash some stash.
A note on seams: I'm not picky about how seams fall if I'm quilting on my domestic because I push and shove quilts through my domestics every which way. But, on the longarm, I like my seams horizontal as much as possible. That way, they don't bulk up and warp the quilt while on the rollers.

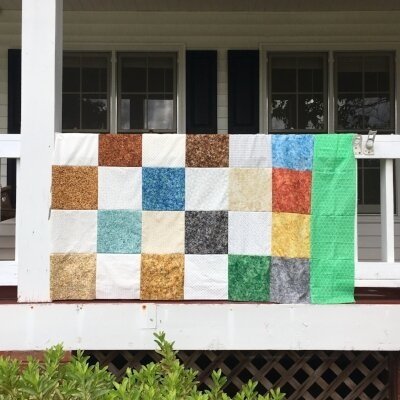
Scrappy Back
Now you're busting some serious yardage! A great place to start is with languishing 10" squares. It's easy to know how many you need. For example, a 60x70 quilt will need 56 squares in a 7x8 layout (always leave a little extra in the back. It's much easier to trim than to add on). Speaking of trimming, if you have long, skinny strips from trimming previous quilts, piece those together to make a back. Sometimes, it goes faster than scrap stashing them. Backs are also places to create secondary designs by mixing in extra blocks from the front or orphan blocks from other projects. This "back art" can actually add to the visual interest of the quilt.
Resources
FREEBIE: Quilting Rockstar Library (Confident FMQ workbook, etc)
SHOP: Fabrics, thread, notions, etc online here
Share this blog if you found it helpful: