
Quilting Basics: How to do Machine Quilt Binding
You’re almost done with this project! All that’s left is to bind it! Let’s talk about how to do a neat, easy, durable machine quilt binding.
(This post contains affiliate links)
Truth be told, binding is not my favorite part of the quilt making process. That’s why I usually bind by machine and why I have lots of tips for making this as painless as possible! Are you ready to finish up your project?
What is binding?
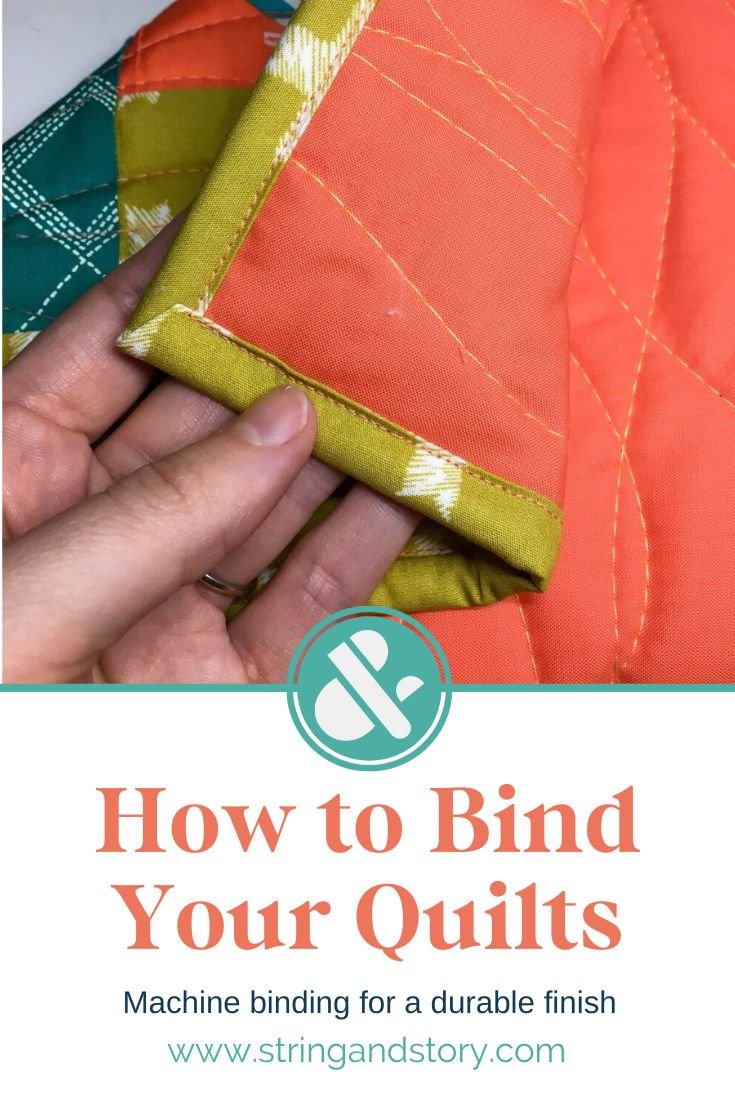
The binding is the fabric that creates a finished edge around the quilt and protects the raw edges of the top, batting, and backing from wear and tear. Binding is made by folding a strip of fabric in half, pressing, then wrapping around the edge and stitching to both sides. Let me show you how:

Video
Cut your Fabric Strips
Unless your quilt is very small or your fabric very long, you’ll need several strips of fabric. Cut enough strips to go all the way around your quilt edge, plus 12-15 inches (for corners and joining). Most quilters I know cut their binding strips at 2 1/4 inches wide, but I know folks who go as narrow as 2 inches or as wide as 2 1/2. You want the binding to fit snugly around the edge of the quilt without pulling on either the front or the back too much. I cut my binding 2 1/4 inches by WOF (width of fabric). This is called straight binding because my cuts are parallel to the grain of the fabric. Bias binding is cut on the diagonal and is preferred by some because you can cut longer strips at a time, and it may be less likely to wear and fray over time. In this tutorial, I’ll keep things simple by working straight of grain.

Make Binding
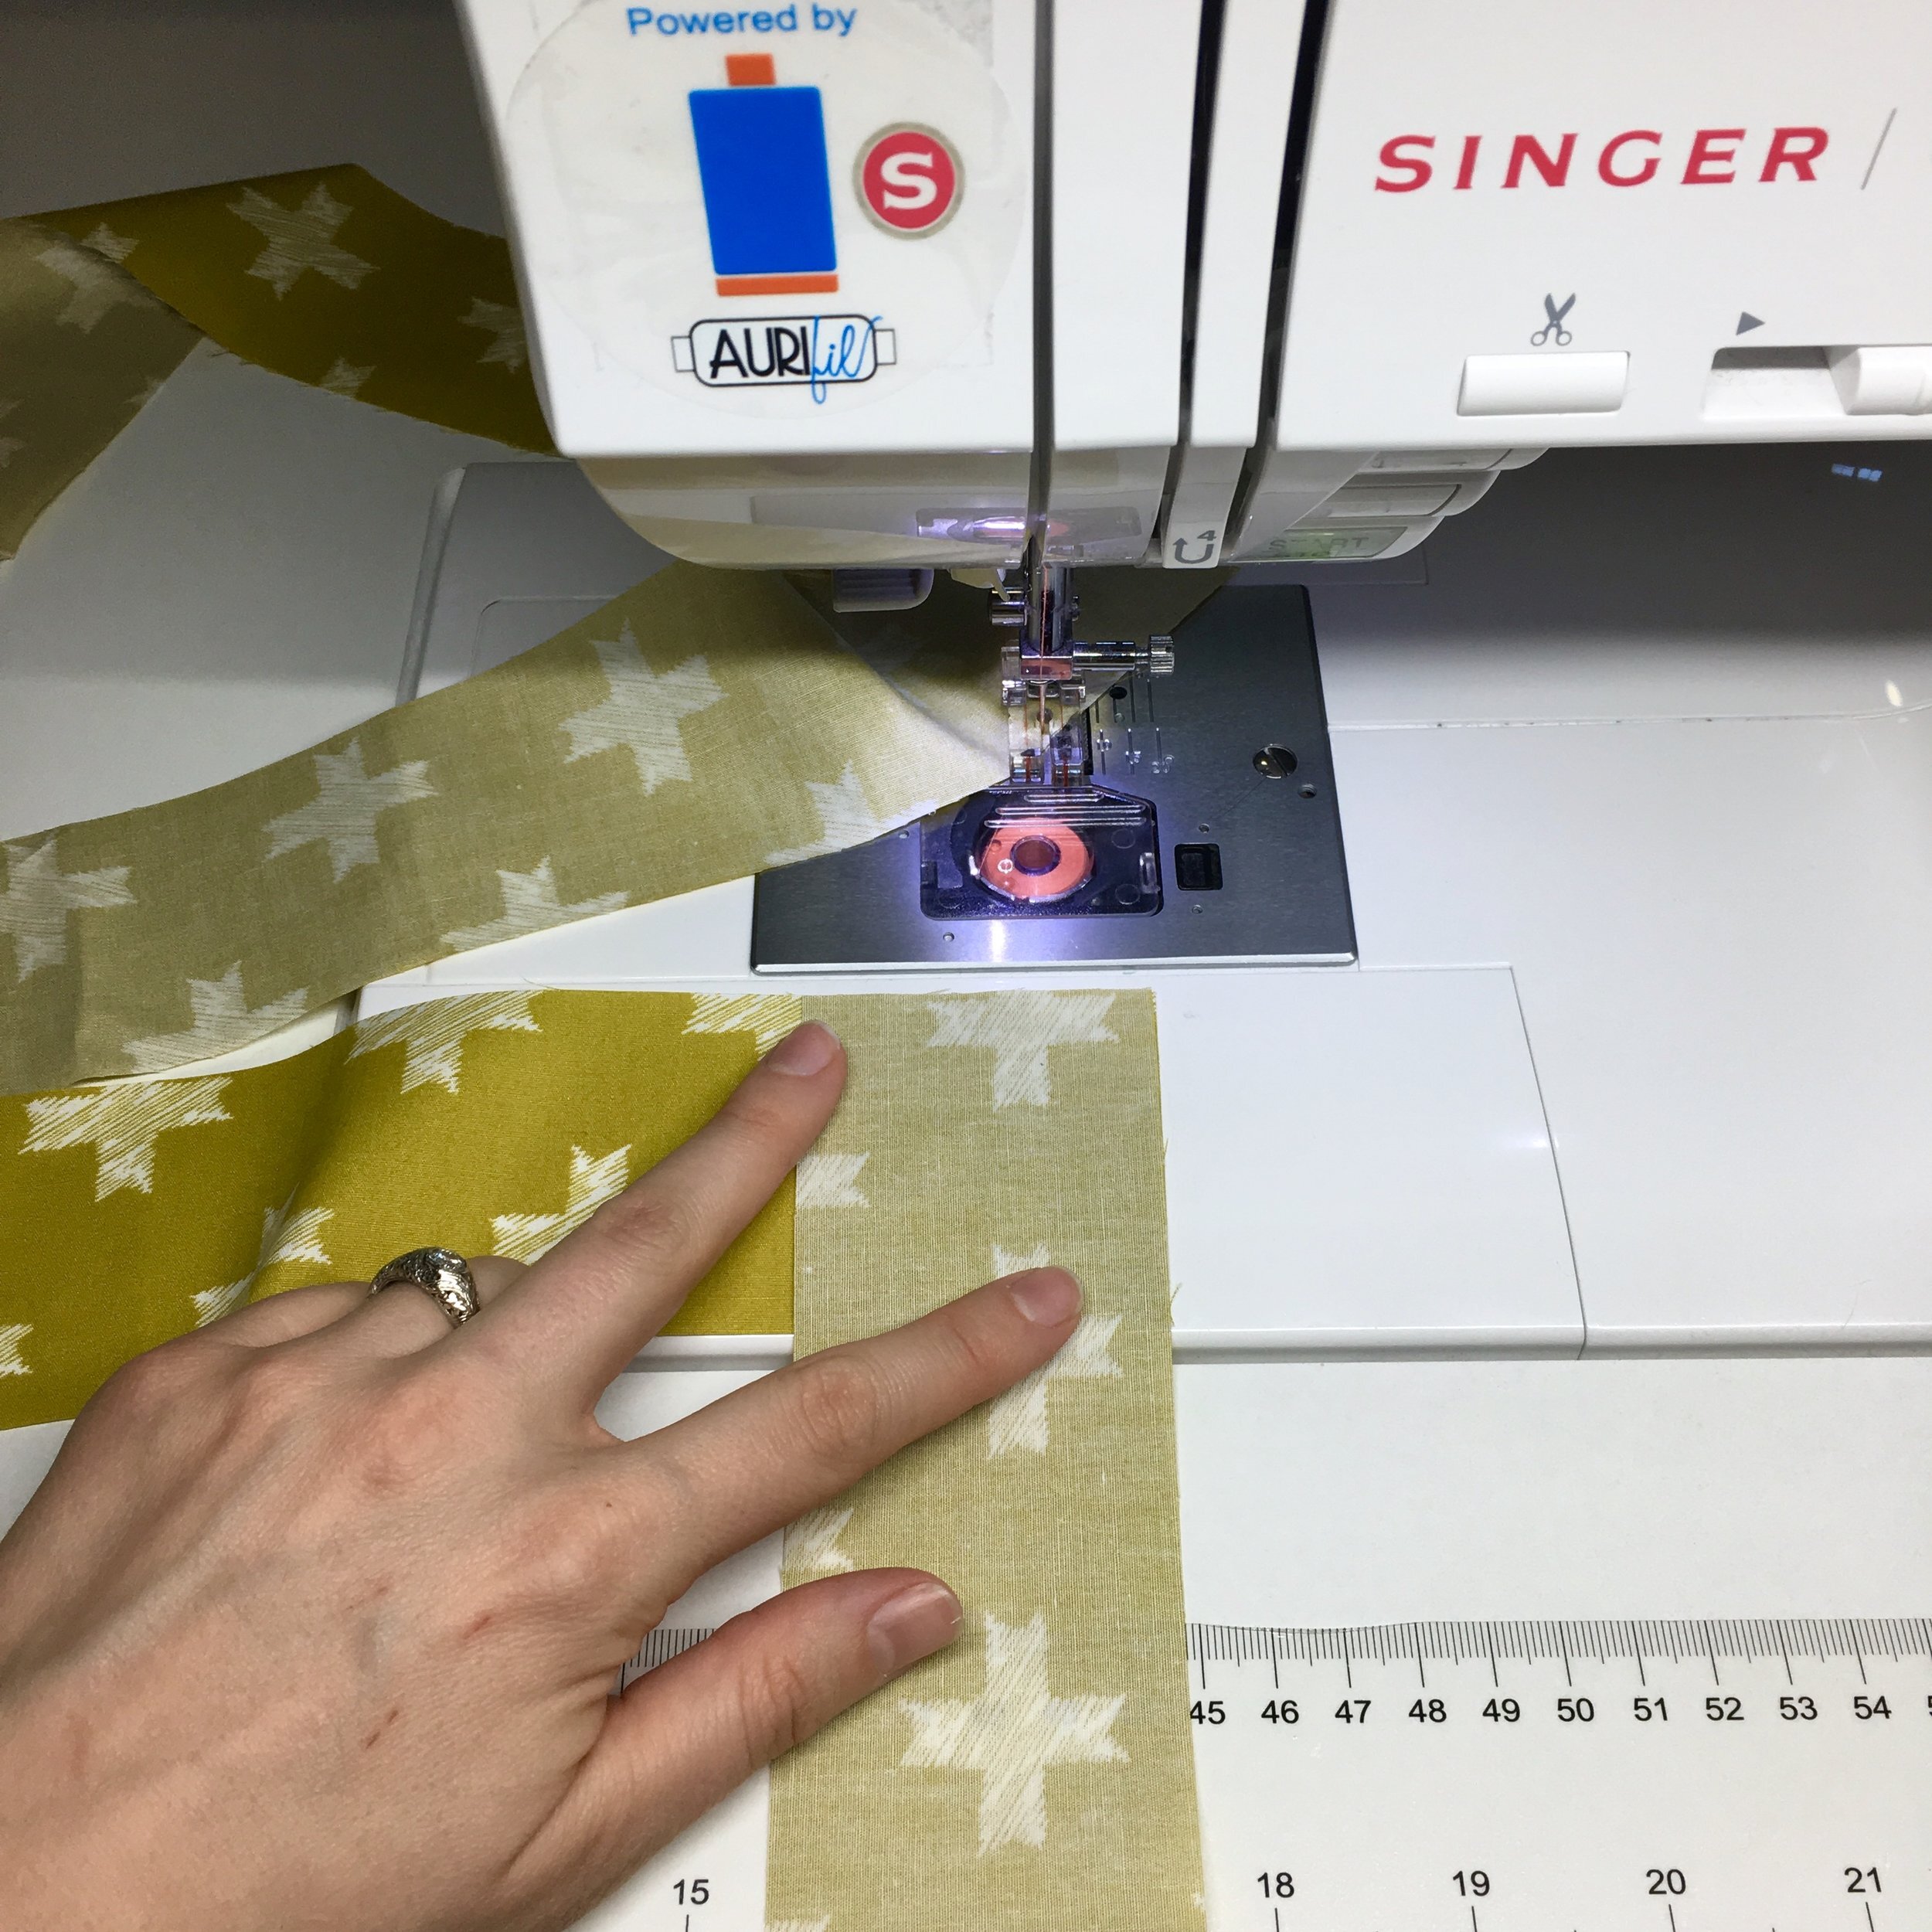
Now, let’s turn those strips into actual binding. First, connect the strips by placing the ends of two at a right angle to each other, then sew across the diagonal as shown (sew between my fingers). Next, being careful not to twist the strips, take the other end of the strip that is on top, and lay it horizontally right side up in front of your machine. Place a third strip right side down on top of it as shown. Again, sew on the diagonal between my fingers. Repeat this process until all strips are sewn end to end

Trim extra fabric away from joins, leaving 1/4 inch seam allowance; snip threads between joins, too. Now the strips are joined by neat, diagonal seams which are less bulky and less visible than straight seams.

Lay the strip right side down on your pressing board and press in half, starching as you go. Voila! A puddle (or roll if you’re neat and orderly) of binding ready to be attached to your quilt.
Attach to the Quilt
Traditional binding is machine stitched to the front of the quilt, then wrapped to the back and hand stitched down with a blind hem stitch. With machine binding, we have two options. We can stitch to the front, wrap, then stitch to the back, creating a neat row of stitches just inside the binding on the front (see top picture), or we can stitch to the back, wrap to the front, and topstitch.
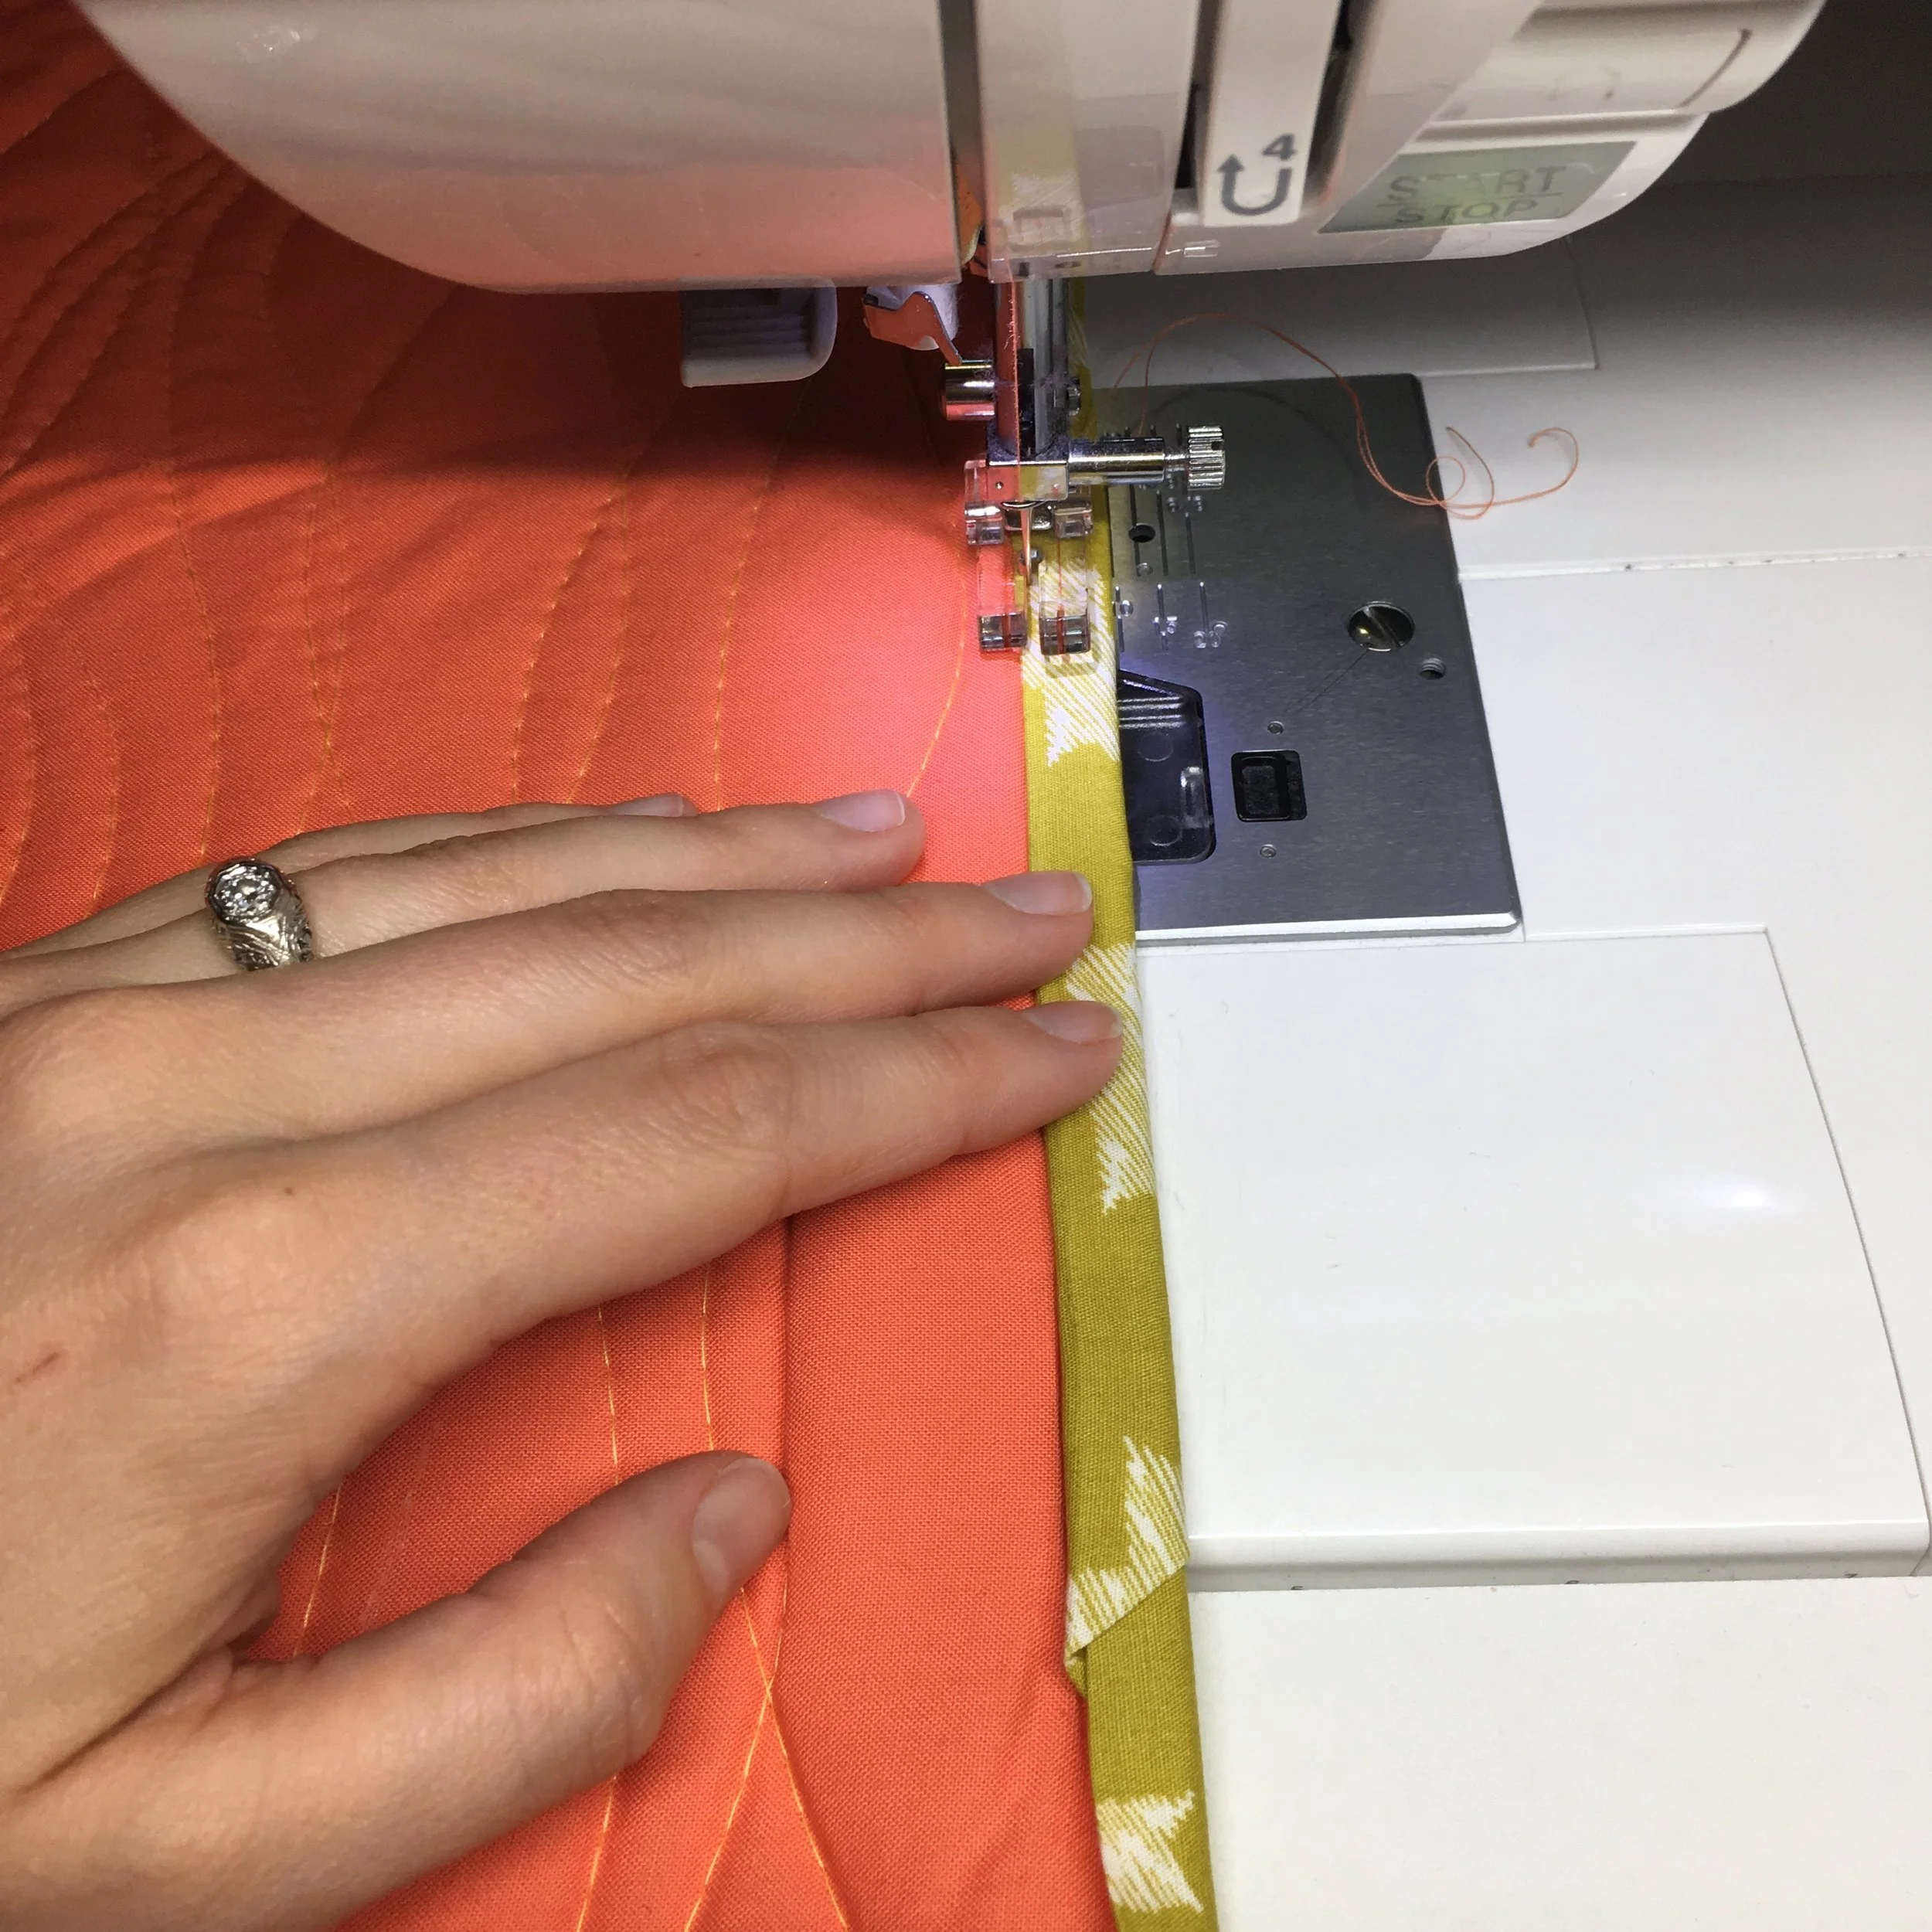
Whichever side you’re stitching on, lay some of the binding along one edge so the raw edges of the binding and the raw edges of the quilt match up. I begin stitching about 12-18 inches from a bottom corner, and I leave a 6-8 inch tail loose at the end, depending on how I plan to join the ends of my binding when I get back around. Stitch binding down 1/4 inch from the edge, beginning with a bit of back stitching to secure your work. Stitch until 1/4 inch from the next corner, then finish with some back stitching. Cut threads.


To make a nice mitered corner, we need to fold the binding at the corner before we resume stitching. Hold the quilt so the line you just stitched is parallel to the ground. Take your binding and fold it straight up resulting in a diagonal line to the corner. Then, fold it straight back down and line up the raw edges again. Pin these folds in place, then begin stitching at the corner with a back stitch and carry on down the next side of the quilt. Repeat with each corner until you get back to the first side of the quilt. Then, stop 10 inches or so from where you began biding, ending with a backstitch.
Join Ends
Fair warning: This is the part folks often find challenging. There are several ways to complete the loop of the binding so that it becomes one continuous piece all the way around the quilt. Straight joins are simpler but more bulky, and bias joins are more sleek but a little tricker. I’m going to show you a little short cut I just learned that is perfect if you’re getting started or if you’re just not a fan of wrestling with binding (that would be me! ha!).
If you followed along, you should have about 10 inches along one side of the quilt (you don’t want to be doing this right up against a corner; make sure you have a little room to work) that is not bound and two “tails” of binding that are more than enough to close the gap.


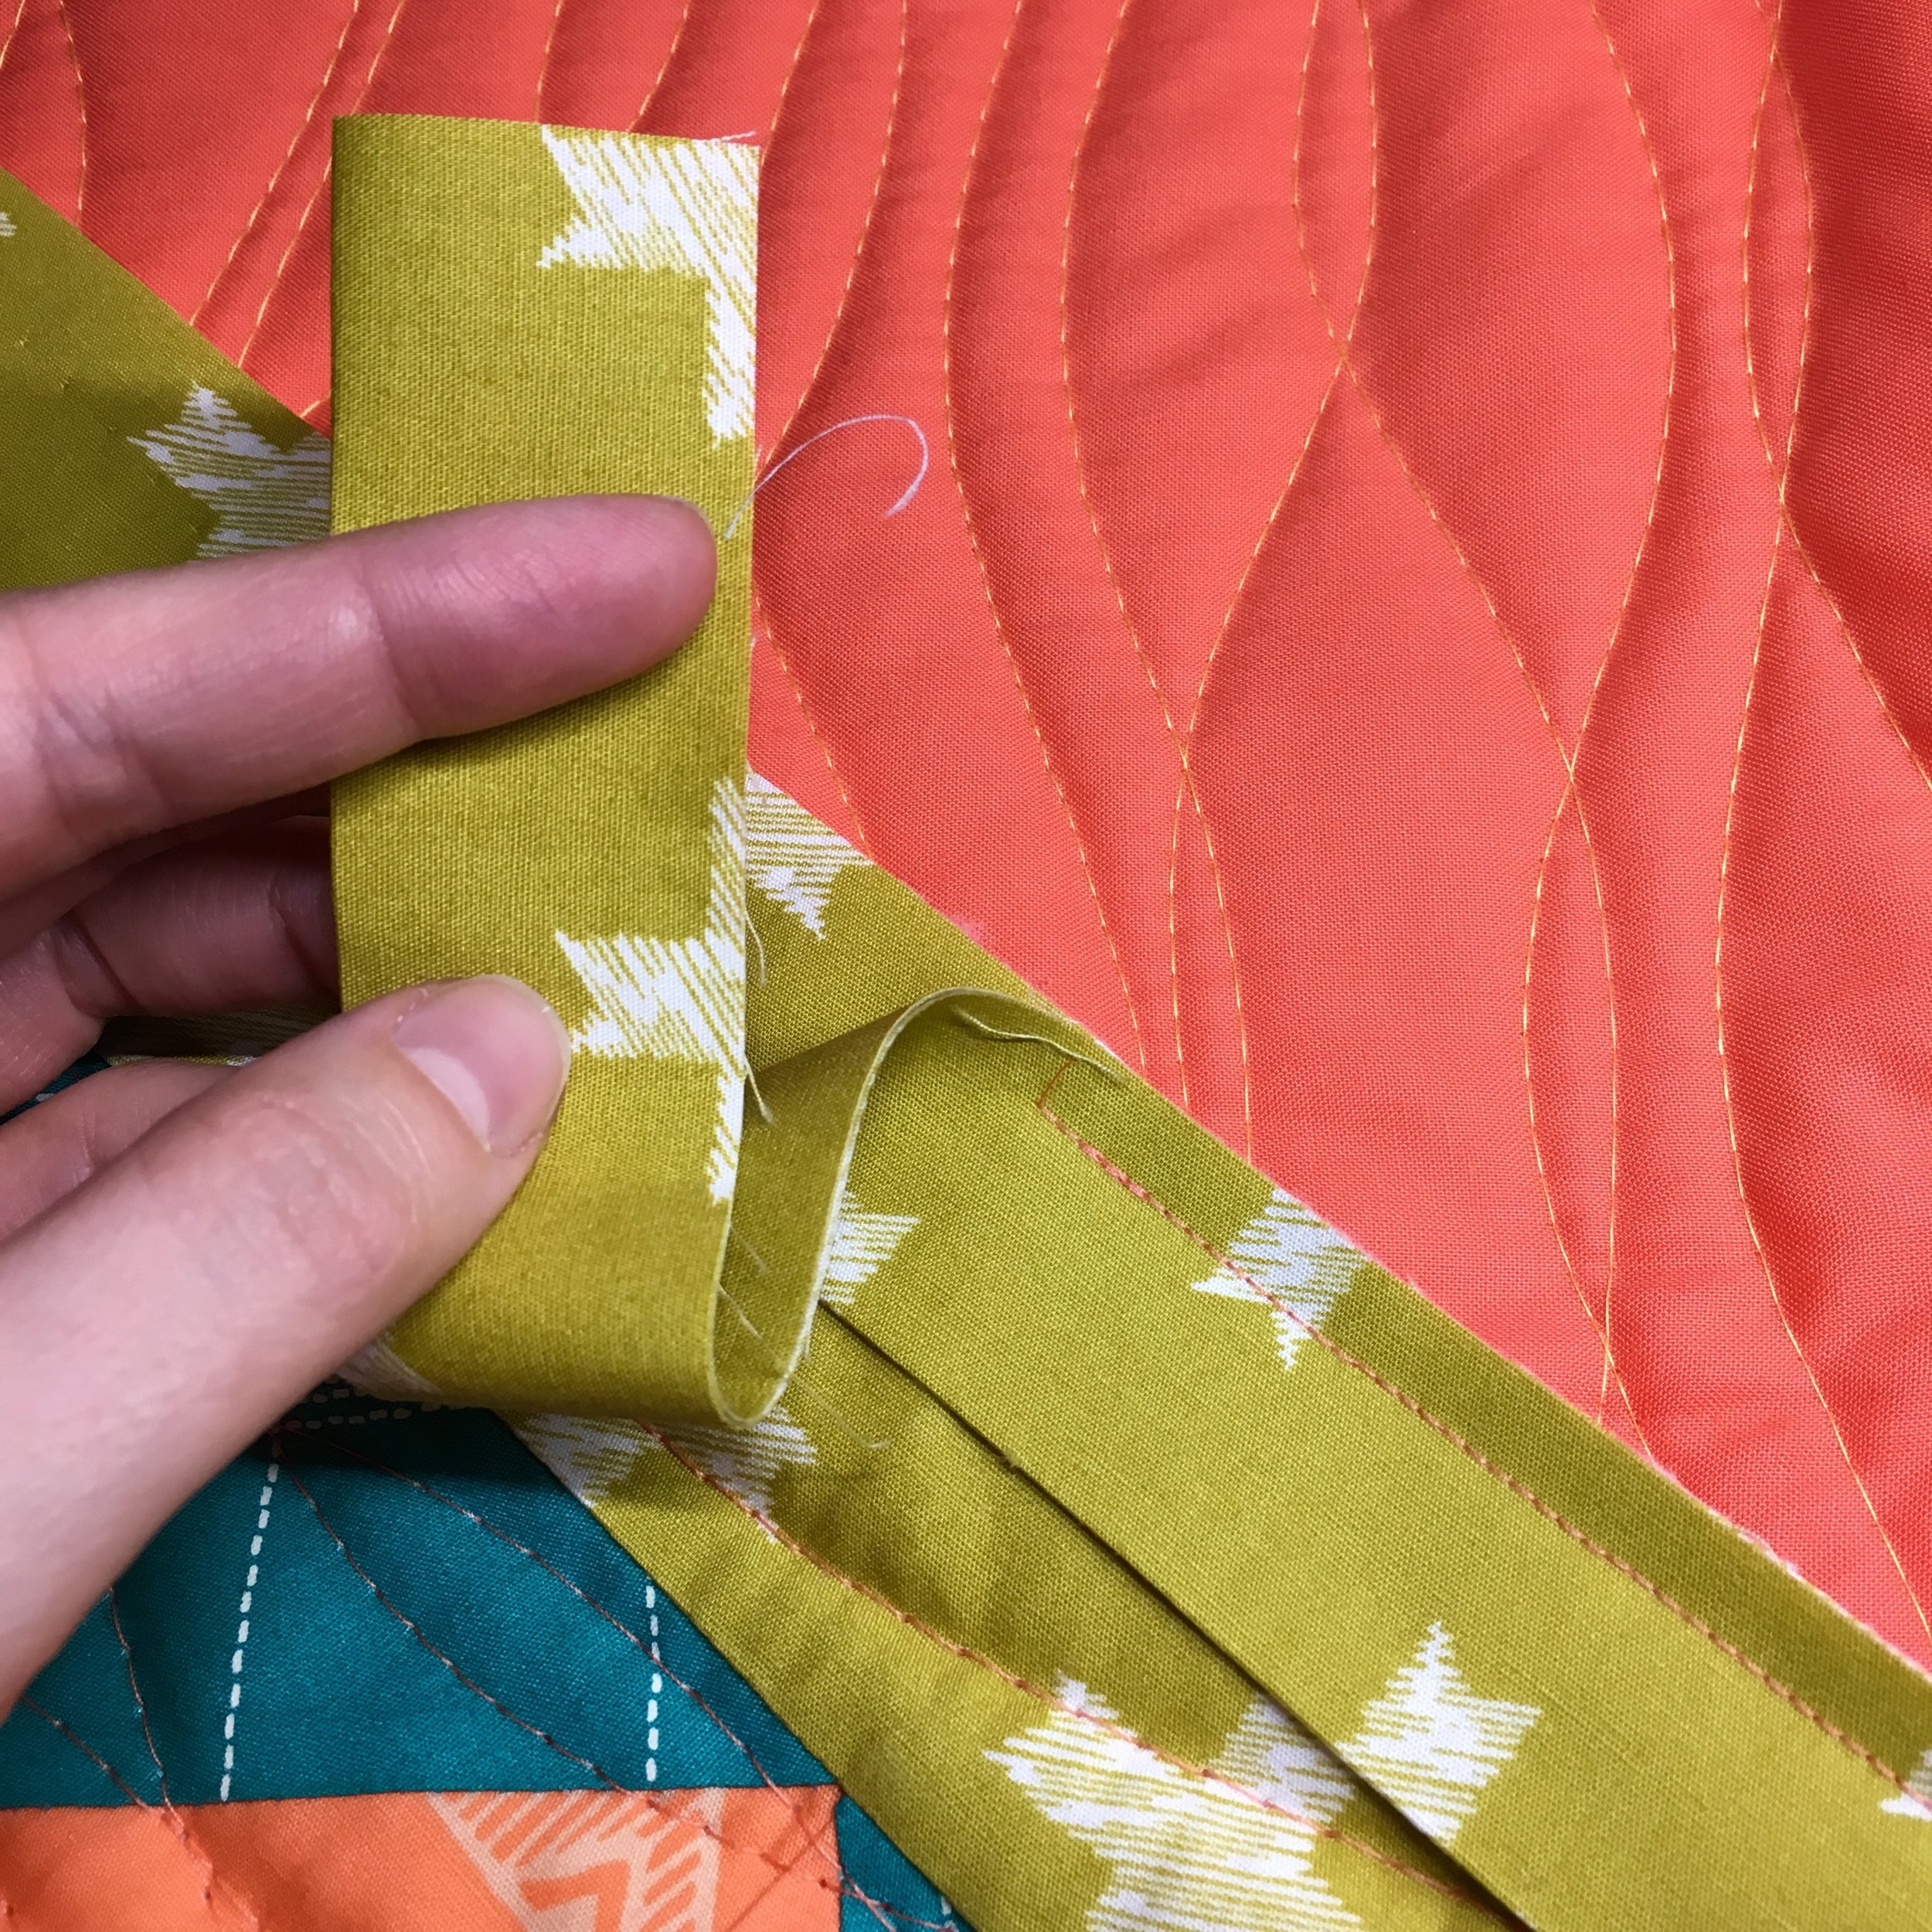
Lay the side of the quilt yet to have binding flat on a table. Lay the two tails on top of each other so that they overlap. Trim them so that they overlap by about 5 inches. This leaves a little extra to work with but gets rid of some of the extra floppiness. Take one end, unfold the binding, then refold the corner at an angle as shown. Slide the other end of the binding inside the fold of the first. Smooth the bindings out so there is no extra slack or anything— we want the binding to fit perfectly on the edge of the quilt. If there is extra overlap, you can trim the second binding end— just make sure that it fully overlaps with the angle of the fold of the first. “Sandwich” the second end in the fold of the first like a hot dog, smooth again, then pin to the quilt to hold it secure for stitching.

Stitch the remainder of the binding down, beginning and ending with backstitching to secure your stitches.
Wrap and finish
Before stitching the binding to the other side of the quilt, use your iron to gently press it away from the side you stitched the binding to. This creates a nice sharp crease where the binding folds back, but it also helps prevent you from over wrapping your binding as you flip it around.

After pressing, use your thumb to flip the biding all the way around to the other side. You want it to wrap closely against the edge of the quilt, but not tug on and distort the first side. Ideally, the folded edge of your binding will fall just beyond the stitching line made from sewing it to the first side. Begin sewing part of the way down one side 1/16-1/8 inch in from the edge of the binding, using a back stitch to secure your stitches.


As you approach a corner, pause and complete the mitered fold. First, flip the bottom binding up securely against the next side of the quilt. Then, fold over the binding of the side where you are sewing, enveloping the first edge and creating a neat miter. Hold securely, and continue stitching binding down until you just catch both inside corners of the miter. Stop sewing with your needle down, raise you presser foot, and turn the quilt 90 degrees. Continuing to fold over the binding as you sew, resume stitching, pausing to fold each corner as you come to it. When you have sewn all the way around the quilt, finish with a few more back stitches.


Final Tips
If you, like me, don’t find binding to be the most enjoyable part of the process (I am usually D for DONE by the time I get to this step), it’s tempting to rush to get it over with. Don’t. (preaching to the choir here). Slowing down and doing my best to enjoy the process makes SUCH a difference in the final product. Nice straight lines of stitching make a big visual difference with binding, so take your time and do it well.
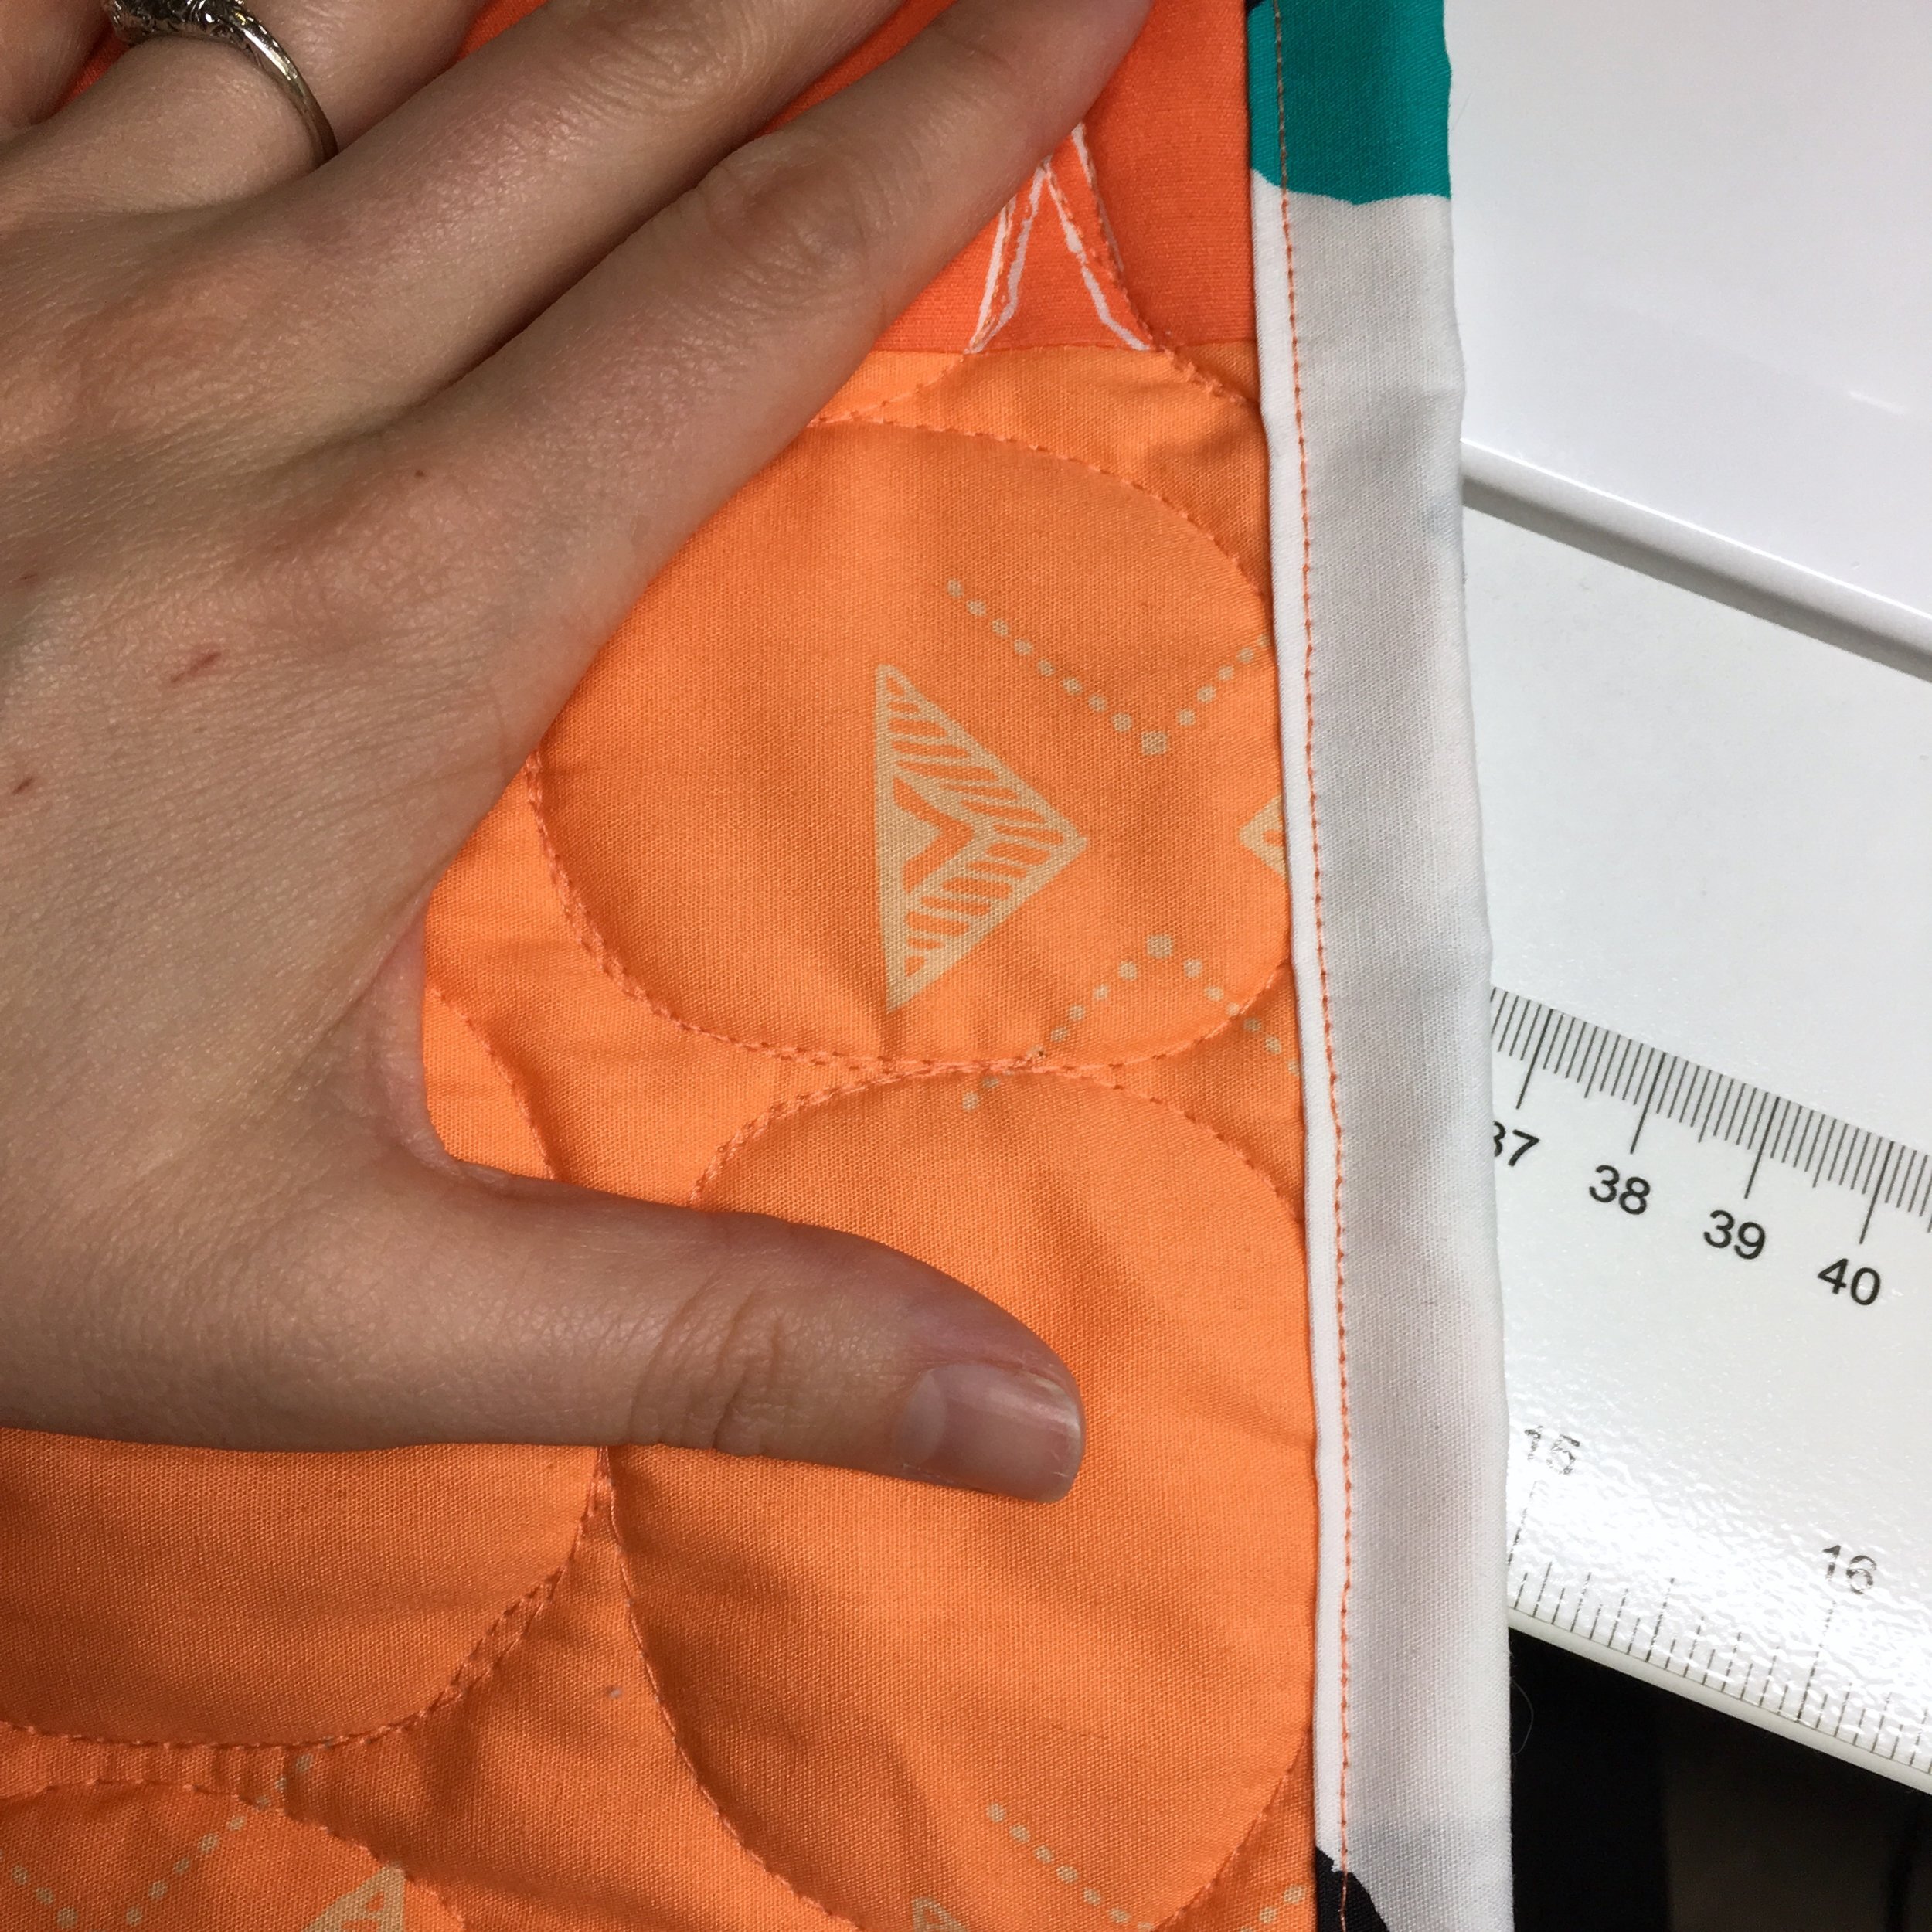
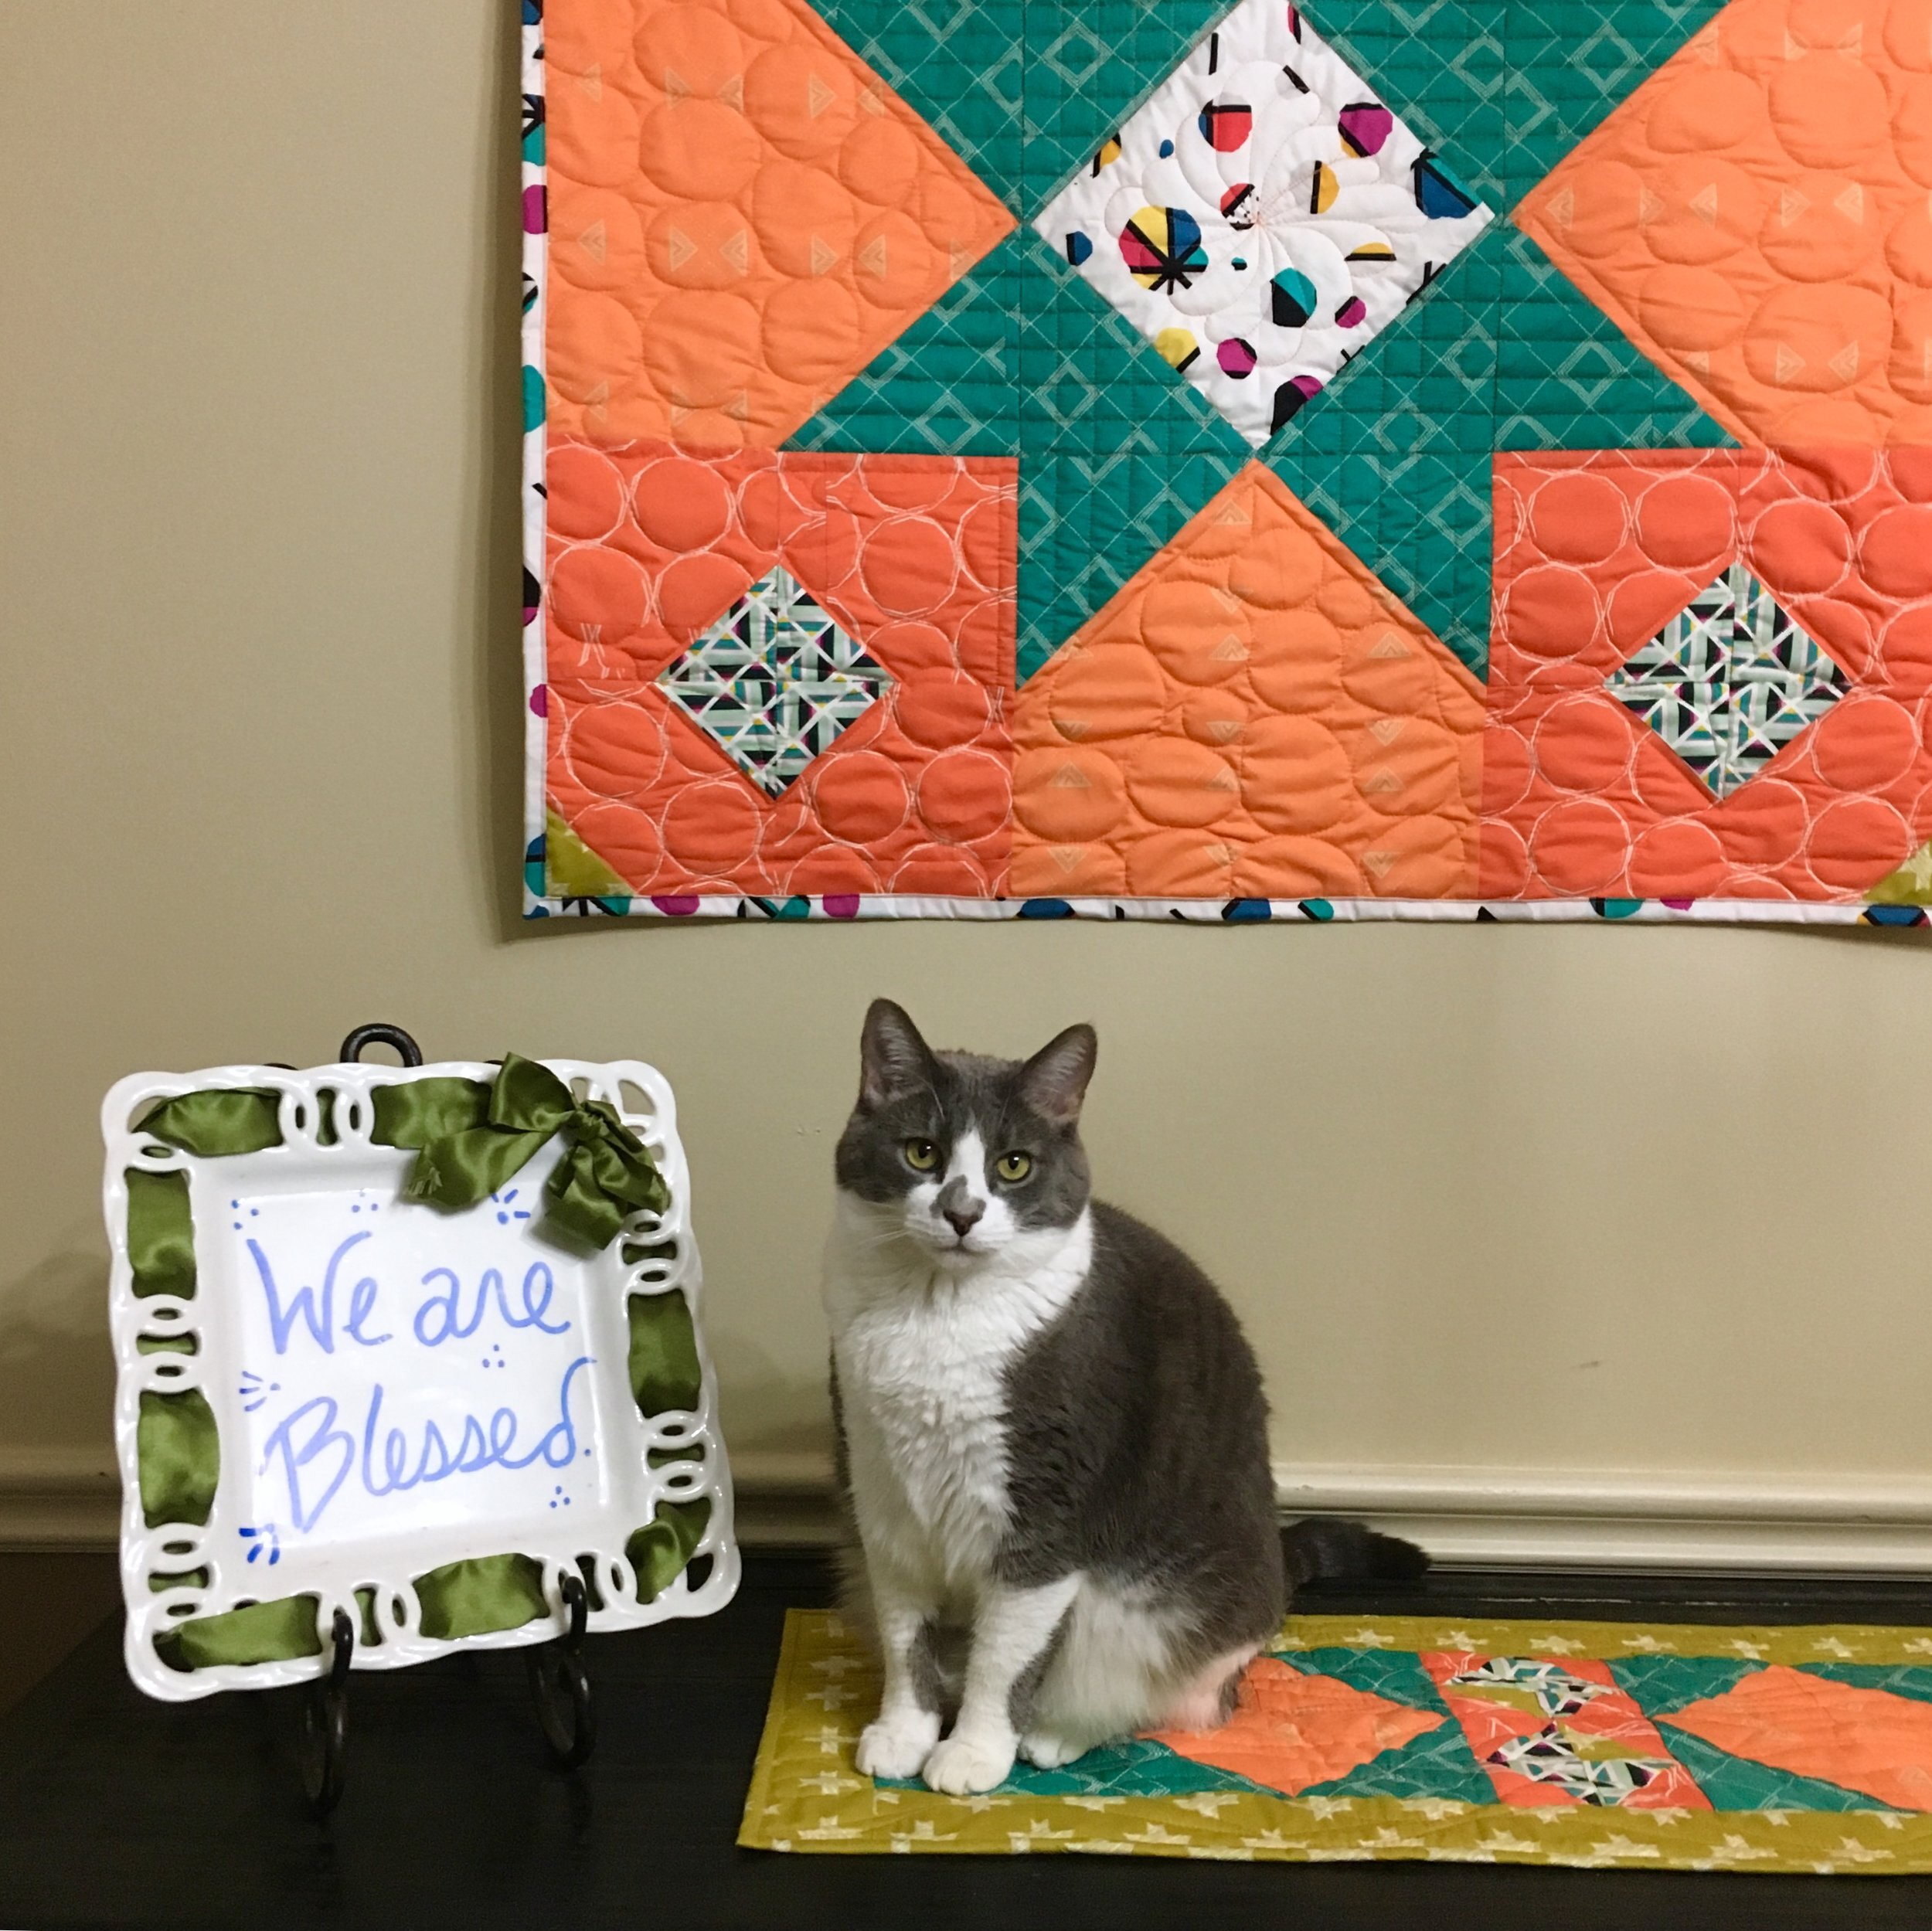
Throughout this tutorial, I was working with a 2 1/4 inch binding that was stitched to the front and flipped to the back. Here is an example of 2 1/2 inch binding that was flipped to the front. and topstitched. You’ll see that an extra quarter inch really does make a much wider binding. The topstitching on this quilt turned out exceptionally well, and the straight line of stitches I would have had from flipping to the back would have interrupted the look of the quilting, so I’m really pleased with how this binding turned out.
Resources
BLOG: Big Stitch Hand Binding
FREEBIE: Quilting Rockstar Library (Confident FMQ workbook, etc)
SHOP: Fabrics, thread, notions, etc online here
Share this blog if you found it helpful: