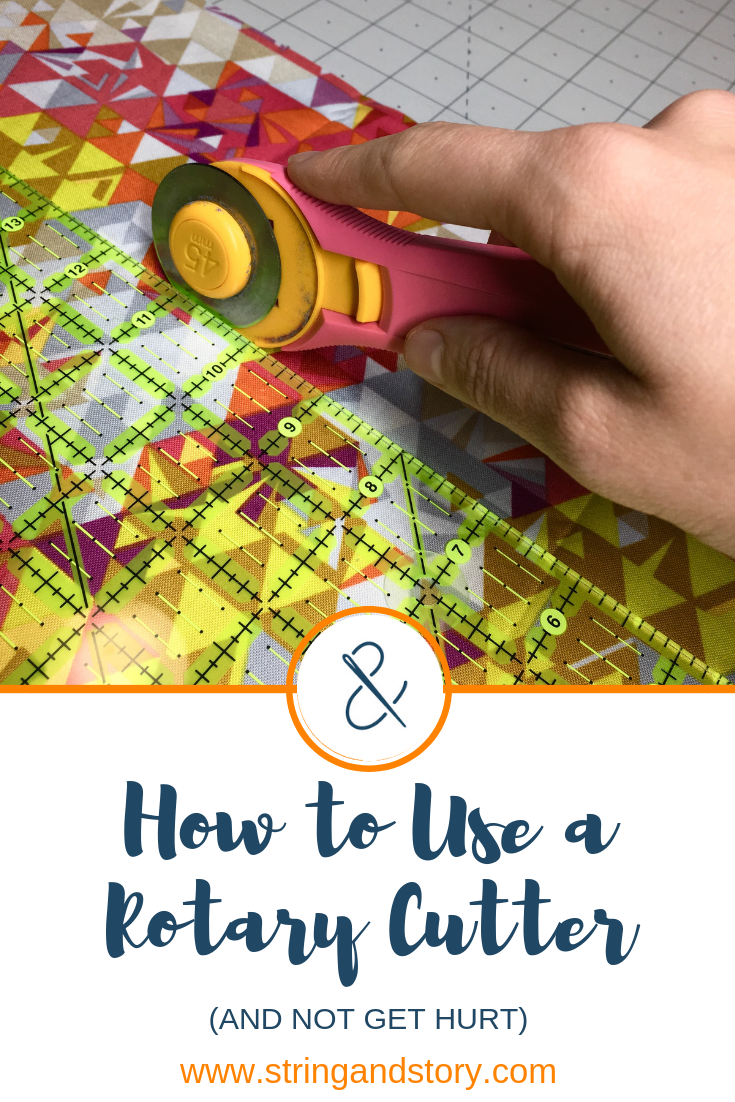
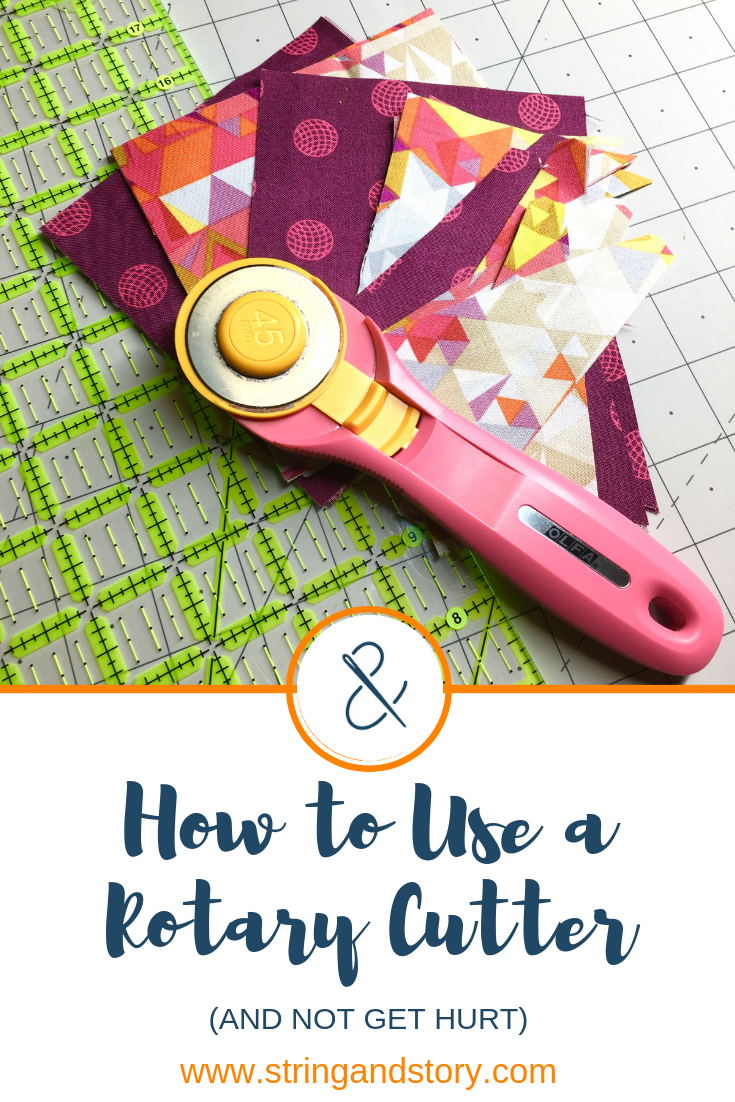
Quilting Basics: How to Use a Rotary Cutter
To a seasoned quilter, asking how to use a rotary cutter feels as basic as asking how to use a spoon. But this is a learned skill, and I think it’s important that everyone start with a basic introduction with this important yet respect-worthy tool.
(This post contains affiliate links)
If you’ve been quilting for a bit, I know it may seem almost silly to ask a question like, “What is a rotary cutter?” or “How do you use a rotary cutter?” But, my dear newbie quilter, you are not silly. We all asked these questions when we got started, and I remember asking them pretty vividly (there was blood involved). When I started in on my first quilt— a rag t-shirt quilt— I did not know that rotary cutters were a “thing.” So I was using scissors. SCISSORS. Can you imagine? Bless my heart.
Then, I saw this mysterious thing called a rotary cutter on Instagram and realized all my cutting woes had an answer. I got my booty to Ye Olde Big Box Craft Store and bought a rotary cutter. I had an (old, basically useless) self-healing mat from my scrapbooking days, and those expensive plastic rotary cutting rulers? I have a perfectly good metal art ruler at home, thank you very much…. Now, here we will momentarily leave our more seasoned quilting friends grasping their throats or covering their eyes in horror, and I’ll back up a bit to explain what is happening to you dear Newbies:

What is a rotary cutter?
If a pizza cutter and a scalpel had an affair, the result would be the rotary cutter. This blade-wheel is used on a self-healing mat and is capable of making precise cuts through several layers of fabric at once. For straight cuts, it is guided with a rotary ruler. You know that shhh-zing! effect you can get with scissors and wrapping paper? This kind of does that, but for fabric.
What is a self-healing mat?
With knives, we use a cutting board, but the board gets all kinds of scrapes and scratches worn into it by the knife. A self-healing mat serves the same purpose— to protect the table or countertop from the sharp rotary blade— but the mat is specially made to resist cuts and scratches to its surface so that it stays smooth longer. Side note: periodically clean your mat with room temperature water, a few drops of dish/ Castile/ OnGuard soap, and a soft bristle brush to remove fuzz, etc. and keep the surface fresh.
What is a rotary ruler?
This tool is marked as a ruler along the length and width, is made of thick plastic, and has three jobs: 1) Measure the fabric (that’s right— the grid lines on your mat are mostly for show) 2) Guide the rotary cutter 3) Keep the rotary cutter AWAY FROM YOUR FINGERS
This brings us back to my story of learning about rotary cutters (panicked quilters, you can rejoin us now). Do you know anything about metal art rulers? They’re thin, narrow, and entirely ill-suited to the three jobs of a rotary ruler that I just taught you. But ignorance is bliss, right? It’s all fun and games until someone is bleeding? Something like that. Exactly like that. My best friend was over, and we were chatting, probably snacking, and I was slicing away on a pile of t-shirts. It was perfect. Until that thin little ruler failed me. My cutting hand wobbled and that scapel-sharp blade jumped right over the edge of the ruler and into my fingertip. Blood.
One glance at April told me she was totally freaking out, so naturally I did the logical thing: I acted completely calm, made sure there was no blood on the quilt-to-be, wrapped my finger in a paper towel and carried on. CARRIED ON. Facepalm. Thankfully, I didn't cut myself again. Thankfully, Hubster came home shortly thereafter, informed me that I probably needed stitches, and promptly superglued my finger back to wholeness (we were broke; yes it worked; no, this is not a medical recommendation). After April left, Hubster turned to me and informed me that I must be missing something about this rotary cutting nonsense. Needless to say, I discovered that night the beautiful world of ACTUAL rotary rulers and bought one the next day.
Rotary Cutter Safety
Use the proper equipment. Keep your fingers well away from the blade (see above). You will have to change the blade periodically— follow the directions that come with your cutter, and do this very, very carefully. Never, ever cut when you’re tired, upset, jittery, or tipsy. EVER. Consider using a protective glove on your ruler hand if you’re nervous or unsteady with knives. ALWAYS cut away from your body.
Also, ALWAYS, and I mean ALWAYS, close the blade guard when you set your rotary cutter down. Just a brush from your arm (or your pet’s paw or a kiddo’s finger) can result in a cut.
Extra note for folks with kids: keep these tools very far away from your kids. For us, they are amazing and a bit dangerous. For kids, they are super duper dangerous. Keep them high, out of sight, locked away, something. Also, please exercise extra caution if your kids are around while you’re cutting. Make sure they can’t reach up and grab the cutter from the countertop or wander within range of the blade. I’m not much of a nervous type, but I don’t joke around about rotary cutters.
How to Use a Rotary Cutter
As I mentioned above, use the ruler, not the mat, to measure your fabric.
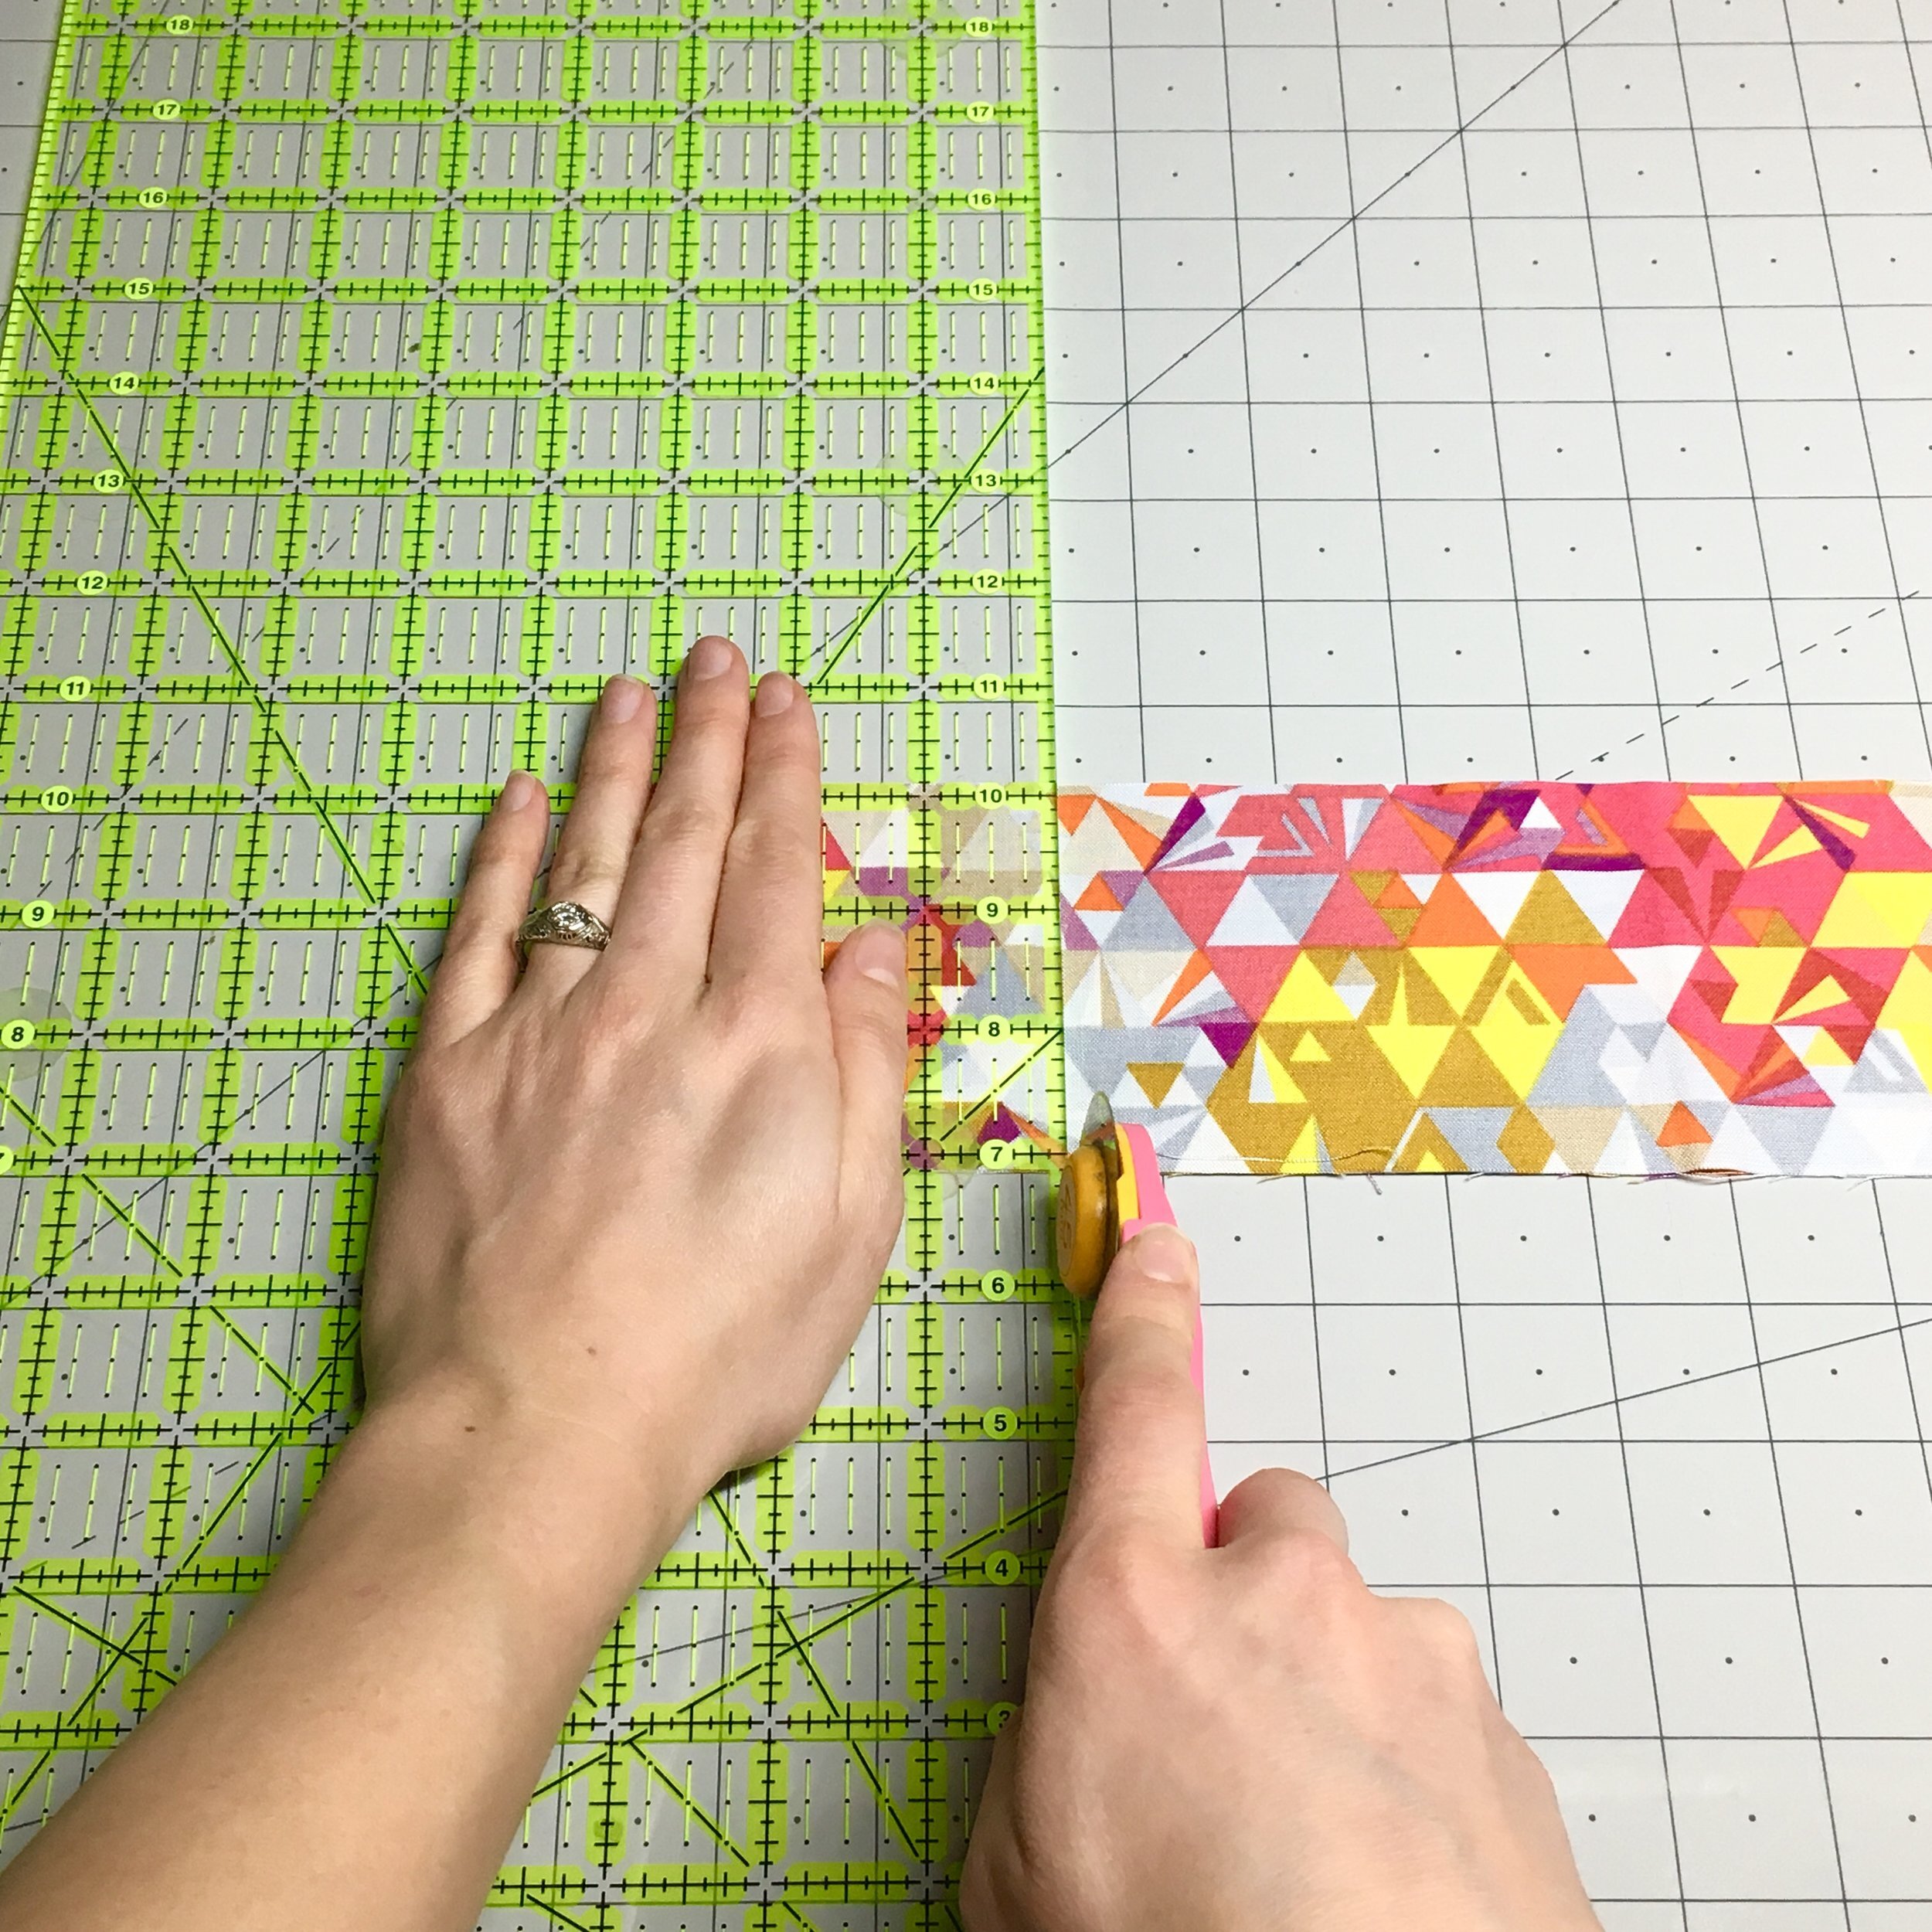
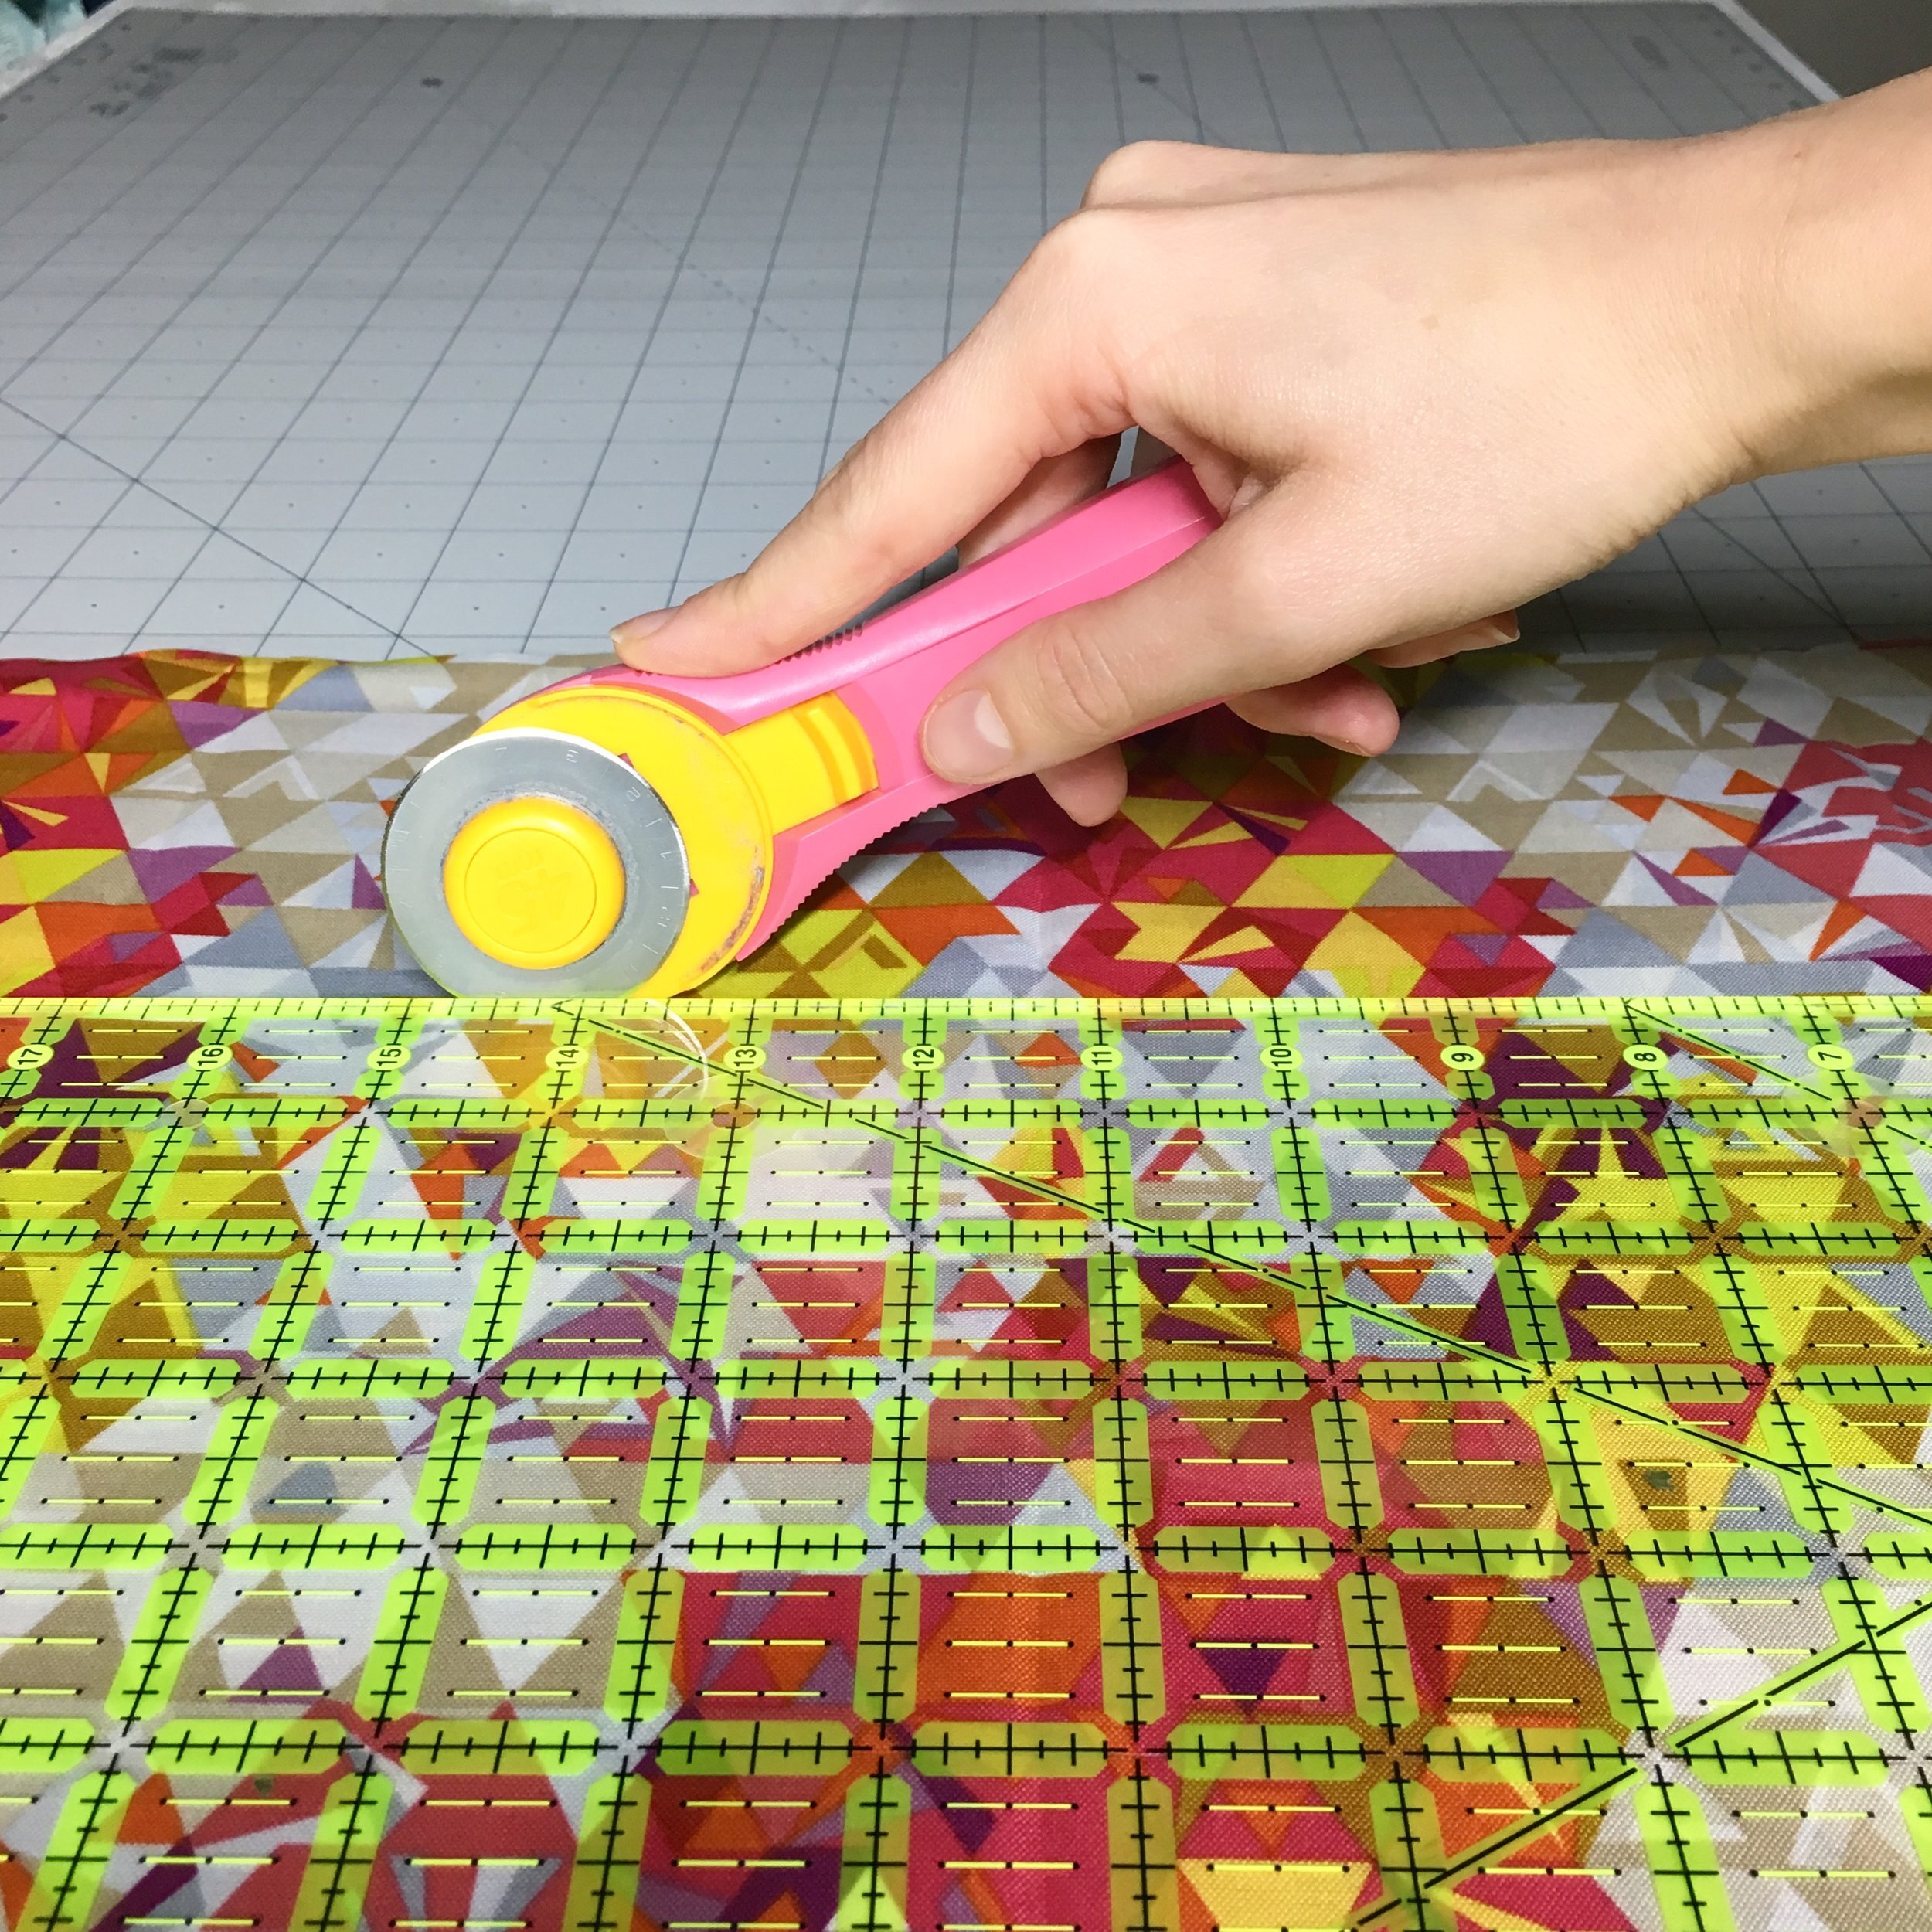
First, make sure the leading edge of your fabric is straight with the grain. I use the markings on the mat as cross-reference for this— lining up the fabric on the mat, then using the ruler to make sure the edge is cut straight. Next, line up the ruler to cut your fabric. Lay the ruler so it is on your mat next to your fabric. You’re going to count from that front edge of the ruler as you slide it across the fabric.

Here, I’m cutting a 3 1/4 inch square, so I’m going to slide the ruler over the fabric until the three and a quarter inch line is ON the fabric. The fabric should not extend past the line, but the line should be ON the fabric. I’m moving from left to right because I use my right hand to cut. If you use your left hand to cut, you’ll begin at the other end of your mat and work from right to left, following the same steps.
Hold the ruler firmly in place with your non-dominant hand, keeping your fingers well away from the ruler edge
Position the rotary cutter at a 45 degree angle to the mat, rest the blade against the ruler, and, with a smooth motion, cut the fabric. I cut up to 4-6 layers of fabric at a time. (If the cut is jagged or you have to “saw” the fabric, change your blade).
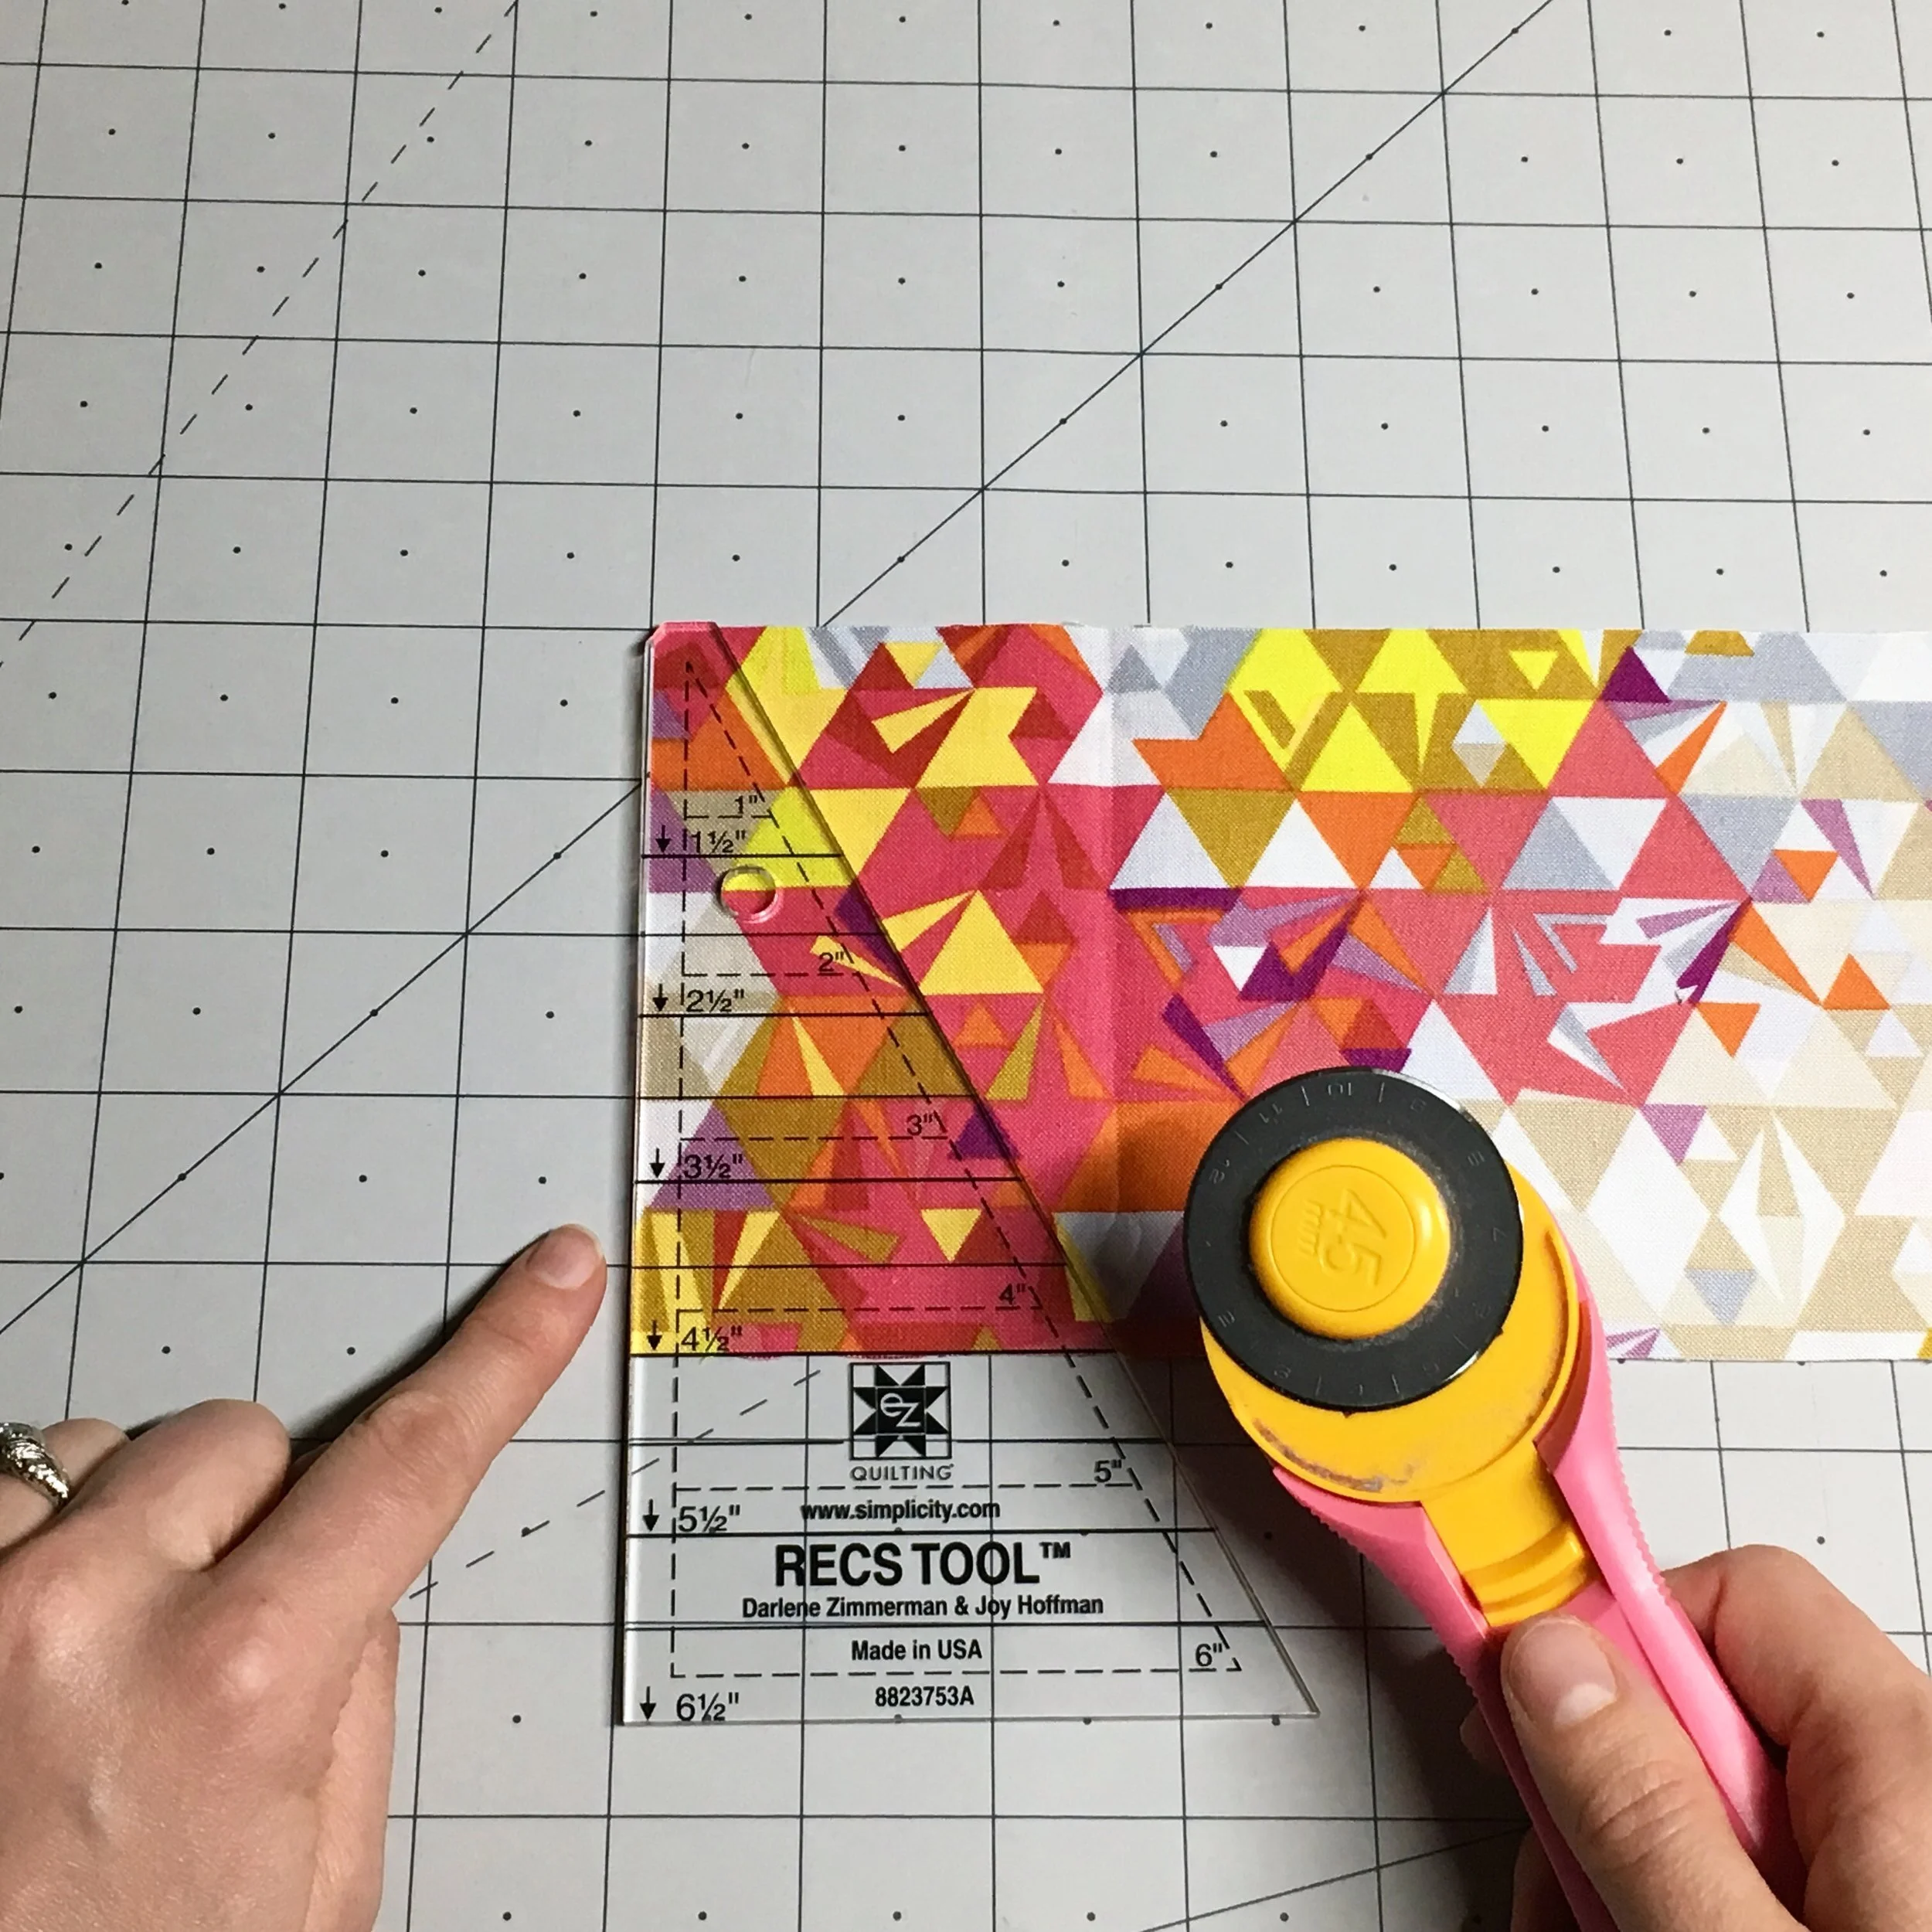
One last note: If you are using a template ruler (where the ruler edges help create the measurement), make sure the edge is fully on the fabric, just like the line.