
Quilting Basics: Walking Foot Quilting
Straight-line and wavy line quilting are both wonderful ways to finish a project simply and cleanly. These lines are also versatile and can be used to create more complicated textures when layered together. Today, learn the basics of finishing your quilts with straight (ish) lines.
(This post contains affiliate links)
Most sewing machines come with a walking foot which makes this the easiest way to first learn how to finish your quilts.
What is Walking Foot Quilting?
When I talk about “walking foot quilting” in this post, I’m talking about quilting done with a walking foot (or sometimes a regular presser foot)— straight and gently waving lines that could be parallel, could be in a grid, etc.
Are there other types of quilting?
Yes! The quilting we’re doing today is more broadly known as quilting on your domestic/ home sewing machine or “domestic machine quilting.” The other type of quilting you can do on your home sewing machine is called free motion quilting. It uses a hopping or darning foot and is kind of like doodling with thread. If you are curious about free motion quilting, be sure to check out the Confident FMQ Workbook here.
There is also longarm quilting. This uses “those big quilting machines” which is basically a giant sewing machine turned 90 degrees and put on rollers on a big frame. When long arming, you move the machine instead of the quilt.
As part of this series, I’m introducing you to walking foot quilting because it’s so easy, and I want you to know from the beginning of your quilting journey that you can finish your own projects with confidence!
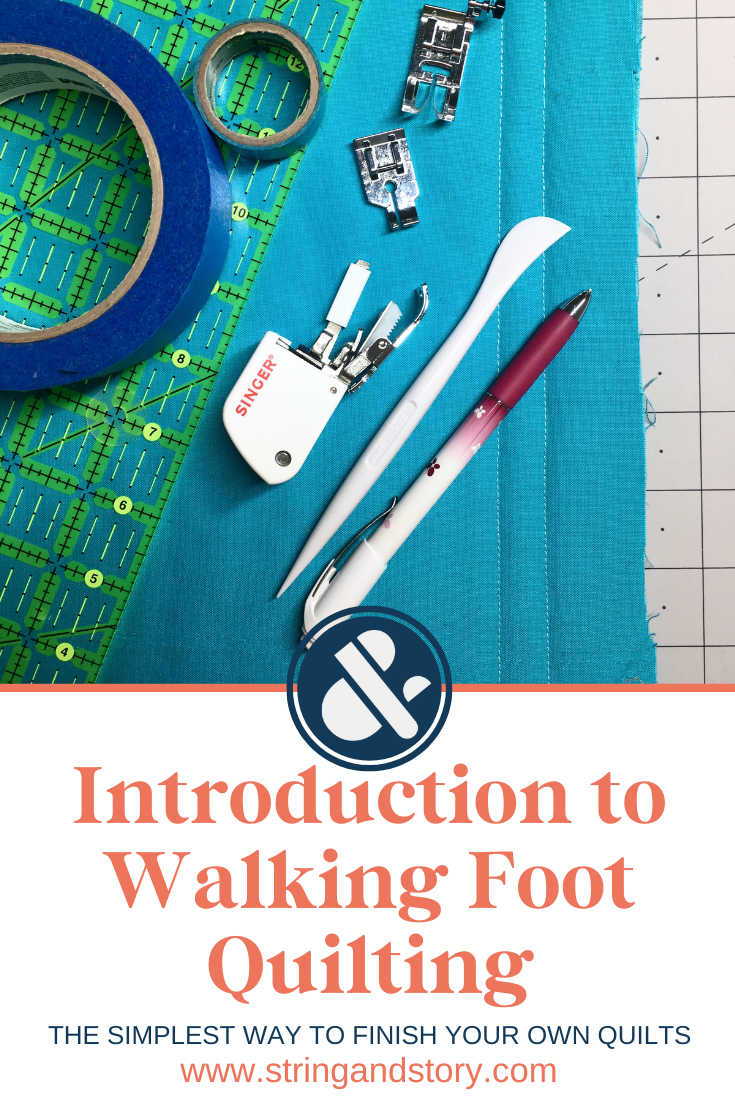
Supplies for Straight line quilting
(See picture at top)
A machine foot- walking or regular piecing foot (make sure the bottom is nice and smooth; a piecing foot is my preference for small projects like this) or piecing foot with dual feed
Marking tools: tape (low tack tape like painters tape or washi tape; available in various widths), rulers and chalk/ ceramic pencils and/or a Hera marker
Before you begin stitching, use a little practice sandwich to test your thread tension. If you’re not sure how to do that, check out my post here for a tutorial.

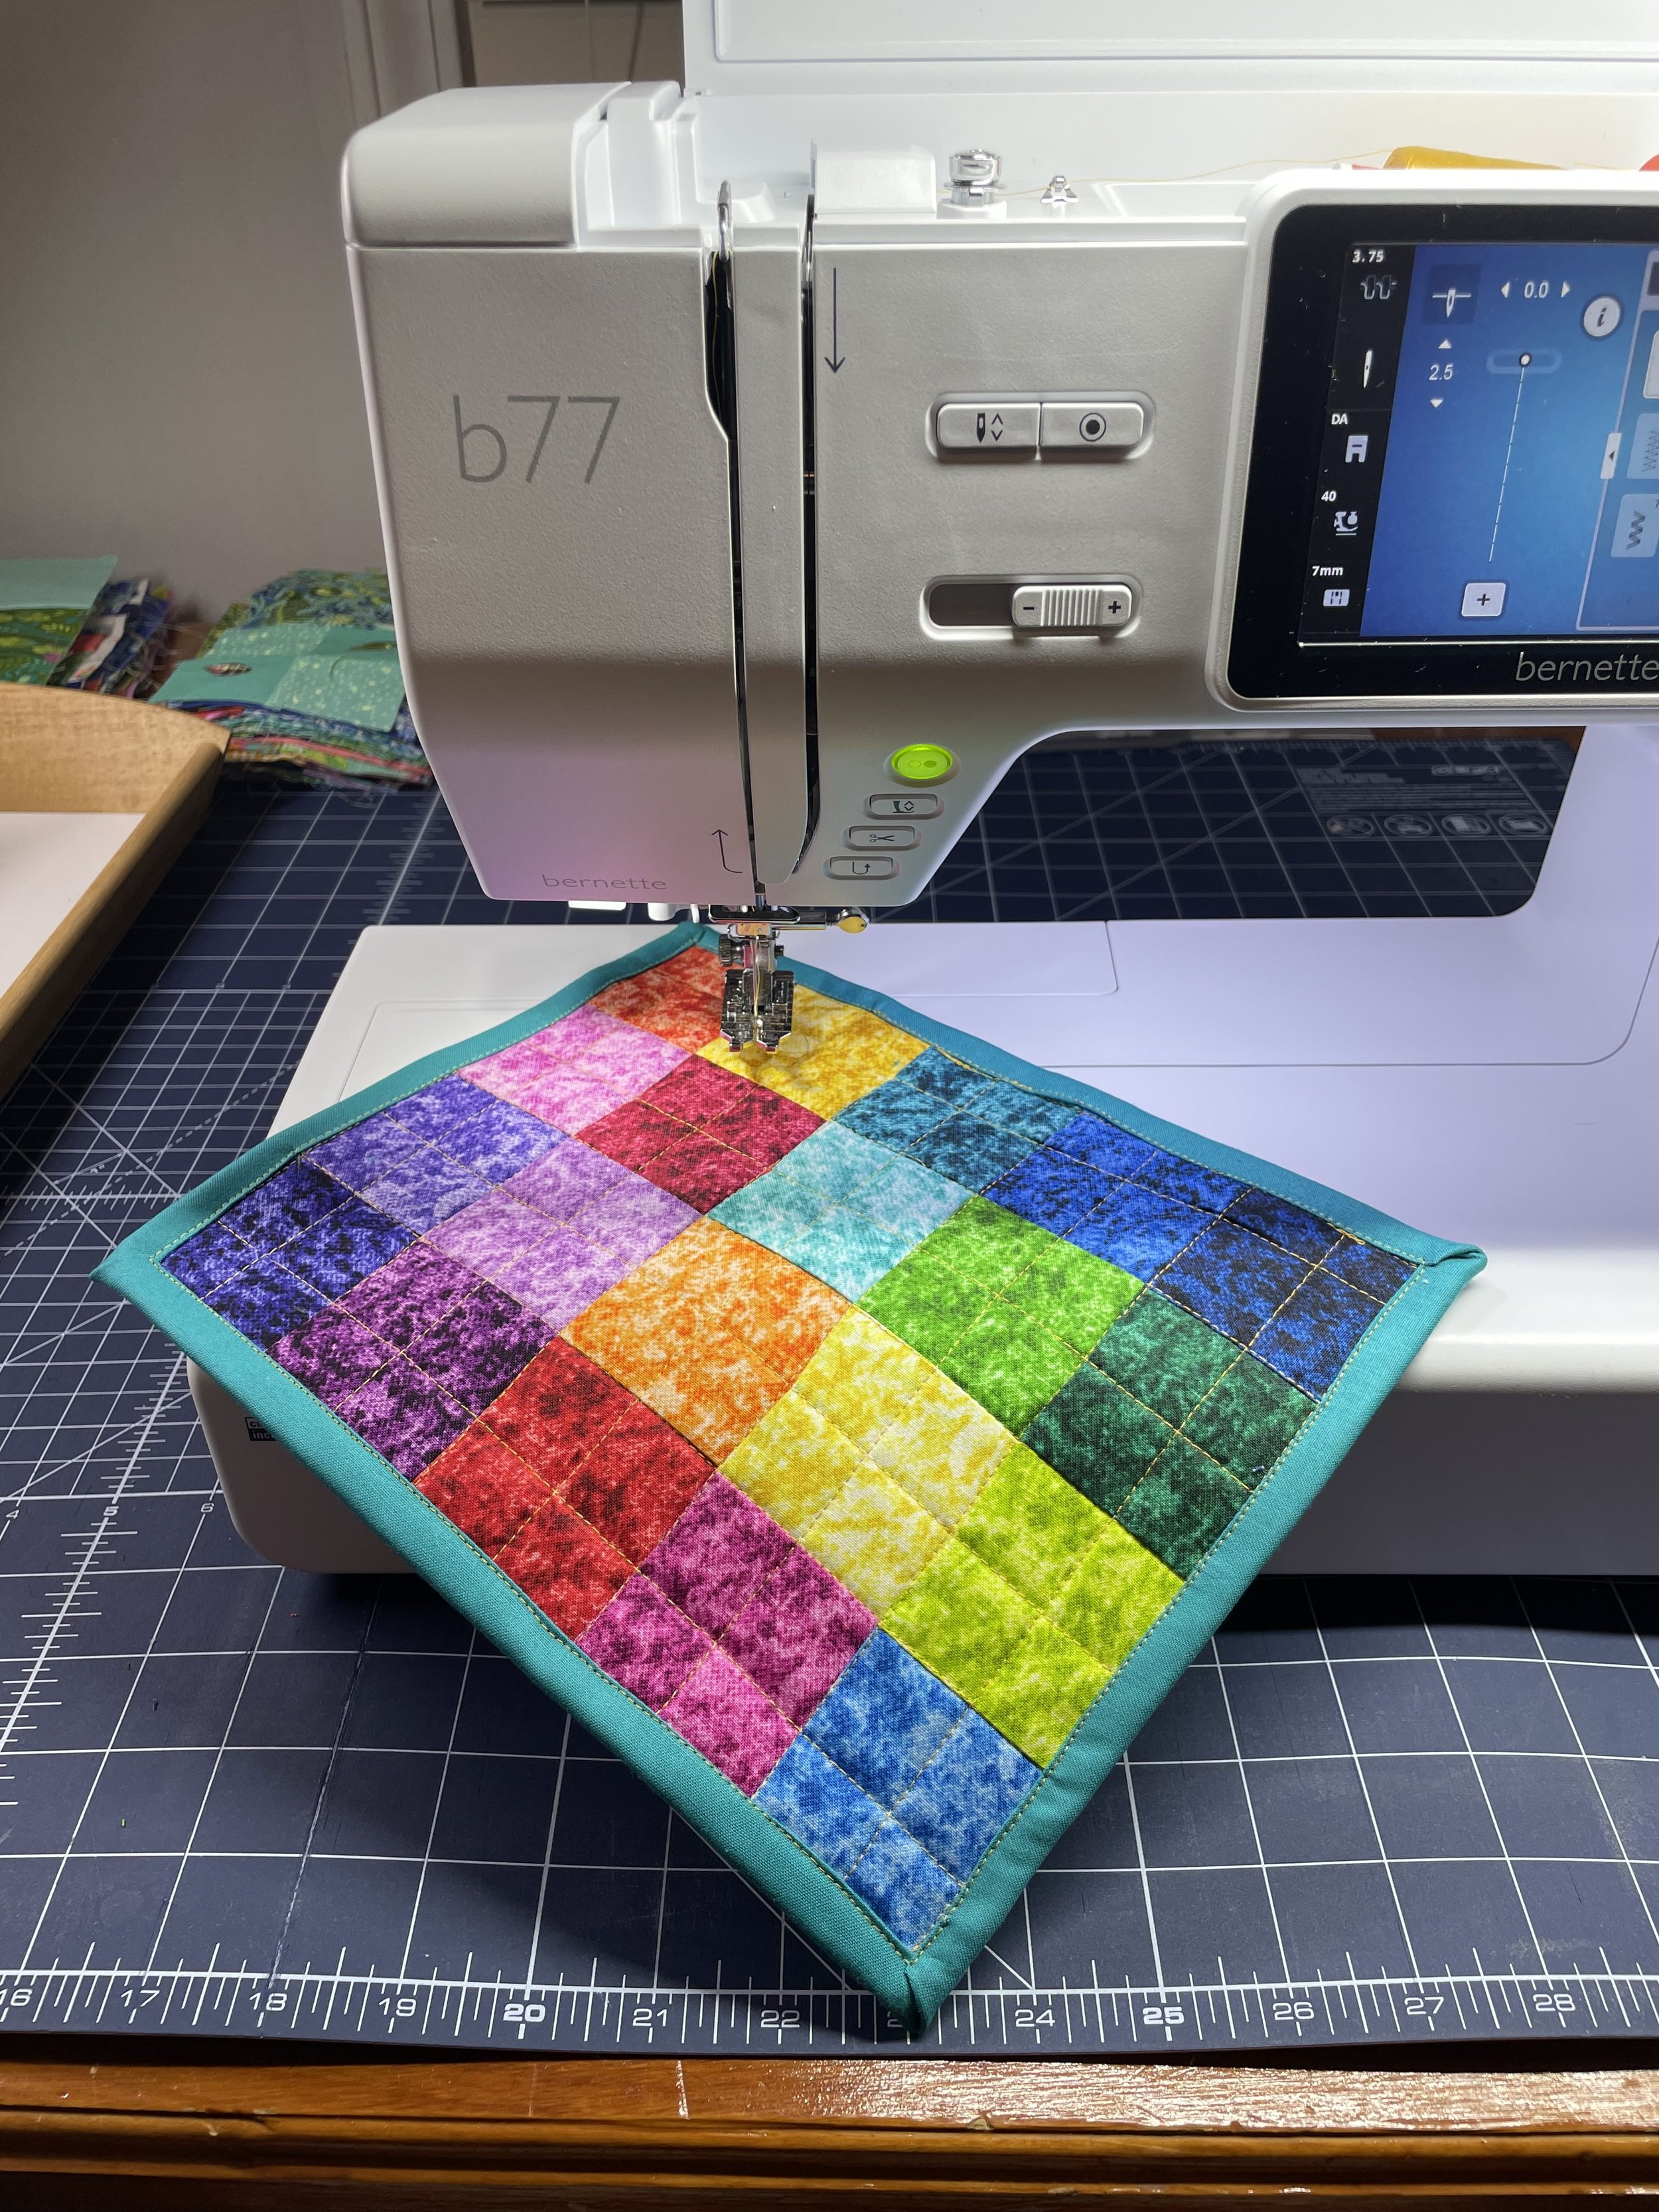
For small projects, begin stitching 1/8-1/4” in from one edge. For larger projects, start in the center and work out to one side, then return to the center and work out again. Change stitching direction with each pass, and stitch at a steady but not too fast pace to reduce shifting and potential puckers. Remember, it’s called a walking foot, not a running foot. If you check your tension and take it easy, you’ll be brilliant!

Resources
FREEBIE: Confident FMQ Workbook
BLOGS: Summer Stash Busting 2023
Share this blog if you found it helpful: