
How to Have Perfect Sewing Machine Tension for Free Motion Quilting
Balance your sewing machine tension to create beautiful stitches and have a seam-ripper free quilting experience! Truly, this is a foundational, sanity-saving skill for free motion quilting, so take a few minutes with me to learn how to do it well!
(This post contains affiliate links)

TENSION. When all is well, tension helps us sew beautiful stitches, but when something goes wrong, nothing brings out the sailor in me quite like tension problems. UGH. In fact, one memorable fiasco that started with an hour of happy quilting resulted in four hours of frustrated unpicking. That fiasco made me passionate about proper tension, and I'm going to share this information today because it is absolutely critical to your quilty success.
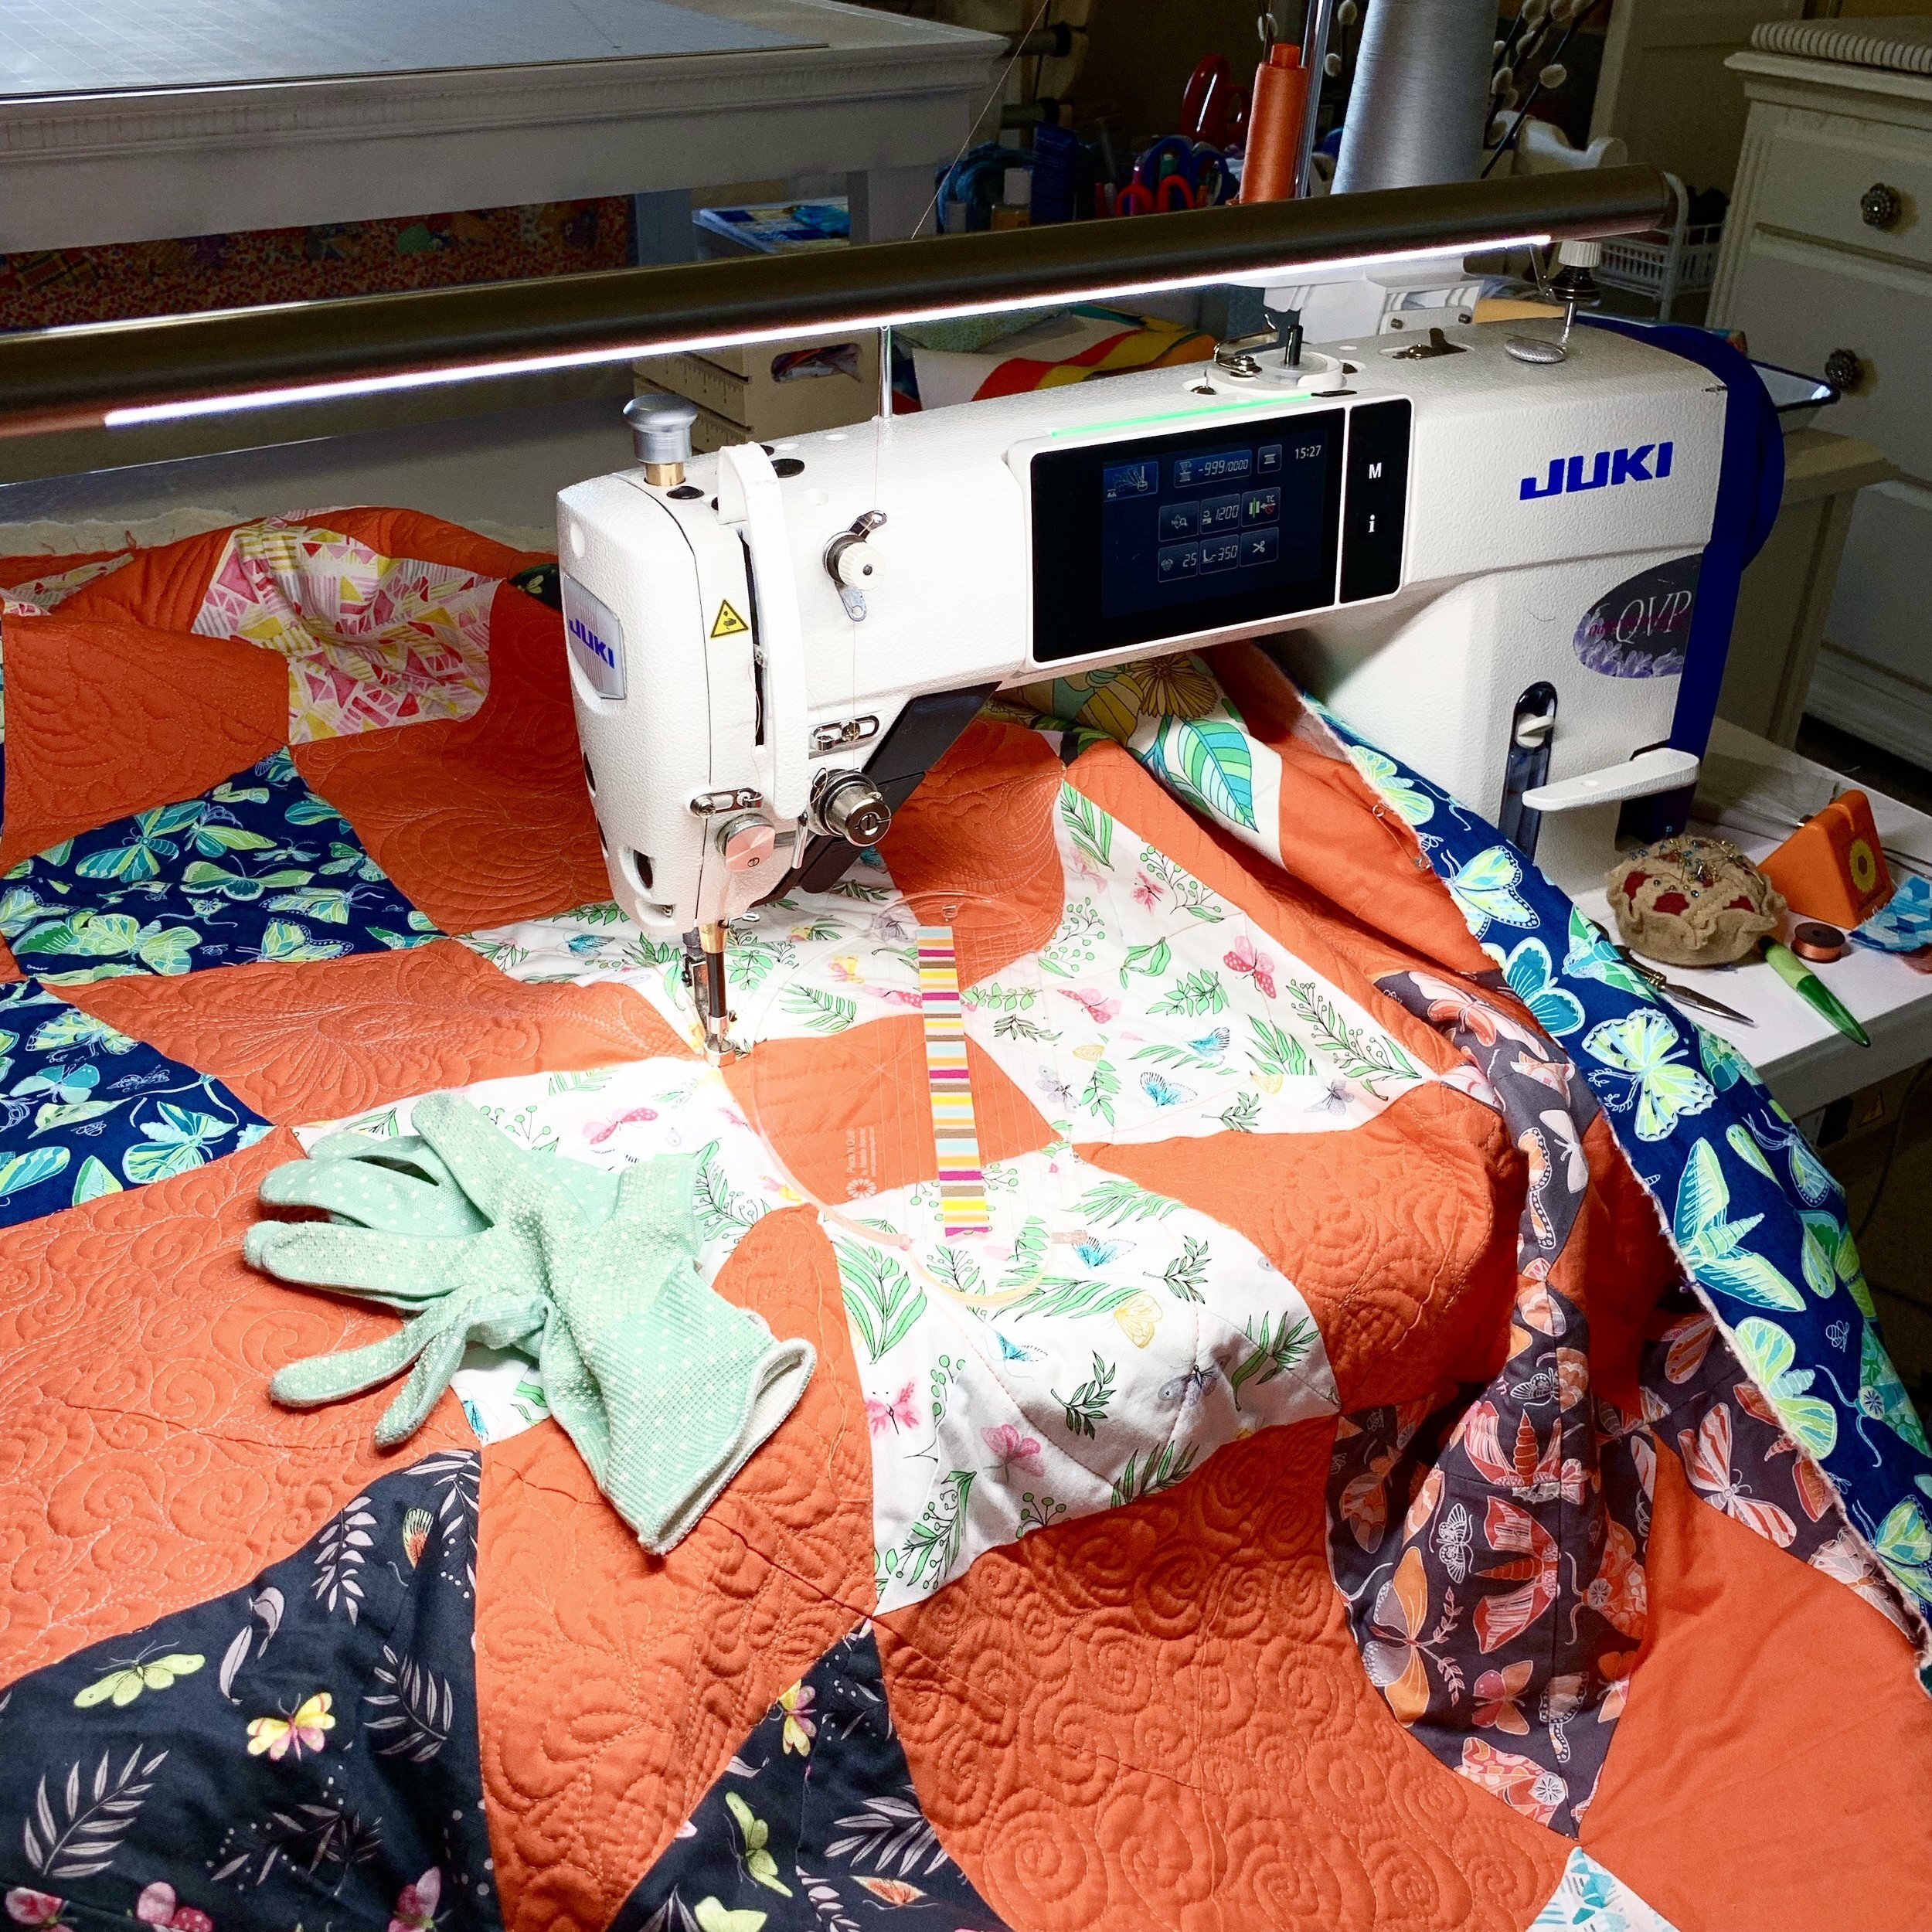
A brief note: I am adjusting the TOP TENSION at all times during this video and throughout the post. Bobbin tension is a totally different thing that is usually managed by your service technician unless you are working on a longarm or industrial machine and is beyond the scope of what I’m talking about here. In nearly all cases, tension troubles for free motion quilting can be solved with the steps and tips I will outline below and adjusting the top tension only. The buttons and knobs on your machine indicated as tension adjustment per your manual are for the top tension— use those as you work with me today. Remember, a larger number means tighter top tension, and a smaller number means a looser top tension.
Videos
When Should I Check My Tension:
1) Anytime you start quilting a new quilt
2) Anytime you start a new bobbin or a new thread color or new needle
3) Anytime you are returning to quilting after turning your machine off and back on
I know this sometimes means a thread break where we wouldn't otherwise have one (taking a quilt out from under the needle to test tension), but it's worth it. Burying a thread only takes moments, but unpicking can be hours.
When testing tension, be sure to do some loops and zig zags because tension issues show up best on curves and at points.
Before you fiddle with your tension, but can't seem to get it quite right, make sure you have a fresh needle in your machine, that it is threaded properly, and your bobbin housing and machine bed are well cleaned (learn about machine care and cleaning here).
Common Tension Woes

Eyelashes
When most people think of poor quilting tension, eye lashing jumps to mind. There are three causes for eyelashes: First, make sure your presser foot is properly and completely down before you start quilting. Leaving it up will make nasty nests on the back of your quilt (ask me how I know!). Second, eyelashes on the top of your quilt (less common) is caused by your top tension being too tight and pulling the bobbin thread through. Finally, eyelashes on the back of the quilt (most common) are caused by your top tension being too loose and pulling to the back. Too often we don’t catch these eyelashes because our tension looks great on the front of the quilt. Always, always, always, take a second to flip your quilt over and double (triple, quadruple) check your tension on the back after you start quilting.

Floaters
Floaters are threads that sit at the surface of the fabric and can be harder to spot than eyelashes. They’re just as problematic because they can easily snag and break, but they look less awful. Essentially, a proper stitch puts the “twist” of the bobbin and top threads squarely in the middle of the batting out of sight, making gorgeous stitches on both the top and the bottom. Eyelashes pull that twist all the way to one side of the quilt making it obvious that the tension is off. Floaters are sneaky, though. When a thread is floating, the twist is just above or just beneath the fabric, but not properly in the batting. If the top thread is floating, loosen your tension. If the back thread is floating, tighten it.
Broken Thread
The final woe is frequent breaking of the top thread. This can be caused by several things, including a burr on your needle plate, poor thread quality, and an incorrectly threaded machine. More common, however, is the over tightening of the top thread. While too loose tension on the back is more commonly seen via eyelashes or floaters, eyelashes on the top are not as common— often, the thread will just snap. If this happens, ease up on the top tension, and remember to keep an eye on the back of the quilt to be sure things don’t get too loose.
What do I do if my tension is bad, and I don’t catch it right away??
Oh babe, I’m so sorry! Personally, I find a glass of wine and a bit of hollering to be a great place to start since discovering unbalanced tension late in the game is nothing short of heartbreaking. After whatever catharsis floats your boat, it’s time to unpick.
To remove unbalanced quilting, you need your seam ripper, tiny thread snips, and a lint roller (and maybe another glass of wine and a good show on Netflix, depending on how much you need to do). Flip the quilt over and work from the BACK for this process. This helps protect the front of the quilt from the pokes and prods of snips and seam rippers. If, heaven forbid, you catch the quilt and need to add a patch, it’s a LOT better to do that on the back!
From the back, take your thread snips, and carefully cut every 3-4th stitch for the entire area you want to remove . Then, flip the quilt over, take hold of the thread tail for the TOP thread, and un-ziiiiiiiiiip those stitches (so satisfying). Finally, use the lint roller to clean up your quilt (there will be thread bits everywhere), rebaste the freshly unquilted sections if necessary, and resume quilting (after a thorough tension check, of course).
Need a Cheat Sheet?
I’ve got you covered with this easy, PDF freebie!
Closing Thoughts
Don’t be overwhelmed or intimidated by tension. It can be revealing— about machine maintenance habits (dusty bobbin races and dull needles make it hard to get pretty stitches) or about the need for higher quality thread— but it isn’t complicated. Be patient with yourself as you figure yours out, check it often, and remember that everyone has to use the seam ripper sometimes. Taking the time to check your tension as often as I described above can feel tedious, but it is one of the best time investments you can make in your gorgeous quilting!

PS Don’t forget to pin this post so you can find it later!
Share this blog if you found it helpful:
Want more free motion quilting tips?
Join my free 12 Days of FMQ FAQ email series for answers to all the entry-level questions free motion quilters commonly have.