
How to Get Even Quilt Stitches (without a stitch regulator)
Even stitches are what elevate quilting designs to the next level. While uneven stitches are a normal practice state all quilters experience (and far from a moral failing), even stitches communicate an ease and expertise with your quilting. Many quilters believe they need to invest in an expensive stitch regulator to create even stitches, and on a longarm, I’d recommend it. But if you’re quilting on your domestic machine or a hoop frame, you can create gorgeous, even stitches without a stitch regulator, and I’m going to show you how, using just the handy speed slider control on the front of your machine.
(This post may contain affiliate links)

Even stitches isn’t mystery magic. Even stitches are created when your hands and needle move in rhythm with each other. It's a lot like playing piano. In order for the song to sound right, the rhythm of your right hand and the rhythm of your left hand have to work together— and when they don't, everything sounds stilted and out of whack. Same deal here. We want the needle working in concert with your hands.
A stitch regulator manages that relationship by speeding the needle up and slowing it down to chase your hands. Your speed slider lets you do the opposite: lock the needle to one steady speed, and the only thing left to manage is your hands. One variable instead of two— and the one you're left with is the one that practice actually improves.
Video
First, Rule Out the Other Variables
Do y'all remember chemistry class, or algebra, and those equations where you had to get all the other stuff out of the way so you had one variable sitting by itself on one side of the equal sign? Same energy here. Before we touch the speed slider, we want to make sure that what we're seeing in our stitches is actually a speed problem.
So take care of your sewing machine first (brush the lint out of your bobbin race, put in a fresh needle, rethread your top and bobbin threads), and get your tension balanced on a practice sandwich. Keep this important distinction in mind as we go forward:
A tension problem shows up as loosey-goosey stitches sitting up off the fabric, eyelashing on the back, thread breaks, or skipped stitches. These are issues that arise from the tug-of-war between your top thread and your bobbin thread being unevenly matched.
A stitch length problem shows up as stitches that are all different sizes, but otherwise well-formed and looking the same on the front and the back. This is about rhythm, not how the thread is coming off the spool.
If tension makes you tense, check out this blog for some of my best tips, and get your tension as balanced as you can before continuing.
Supplies for Quilting
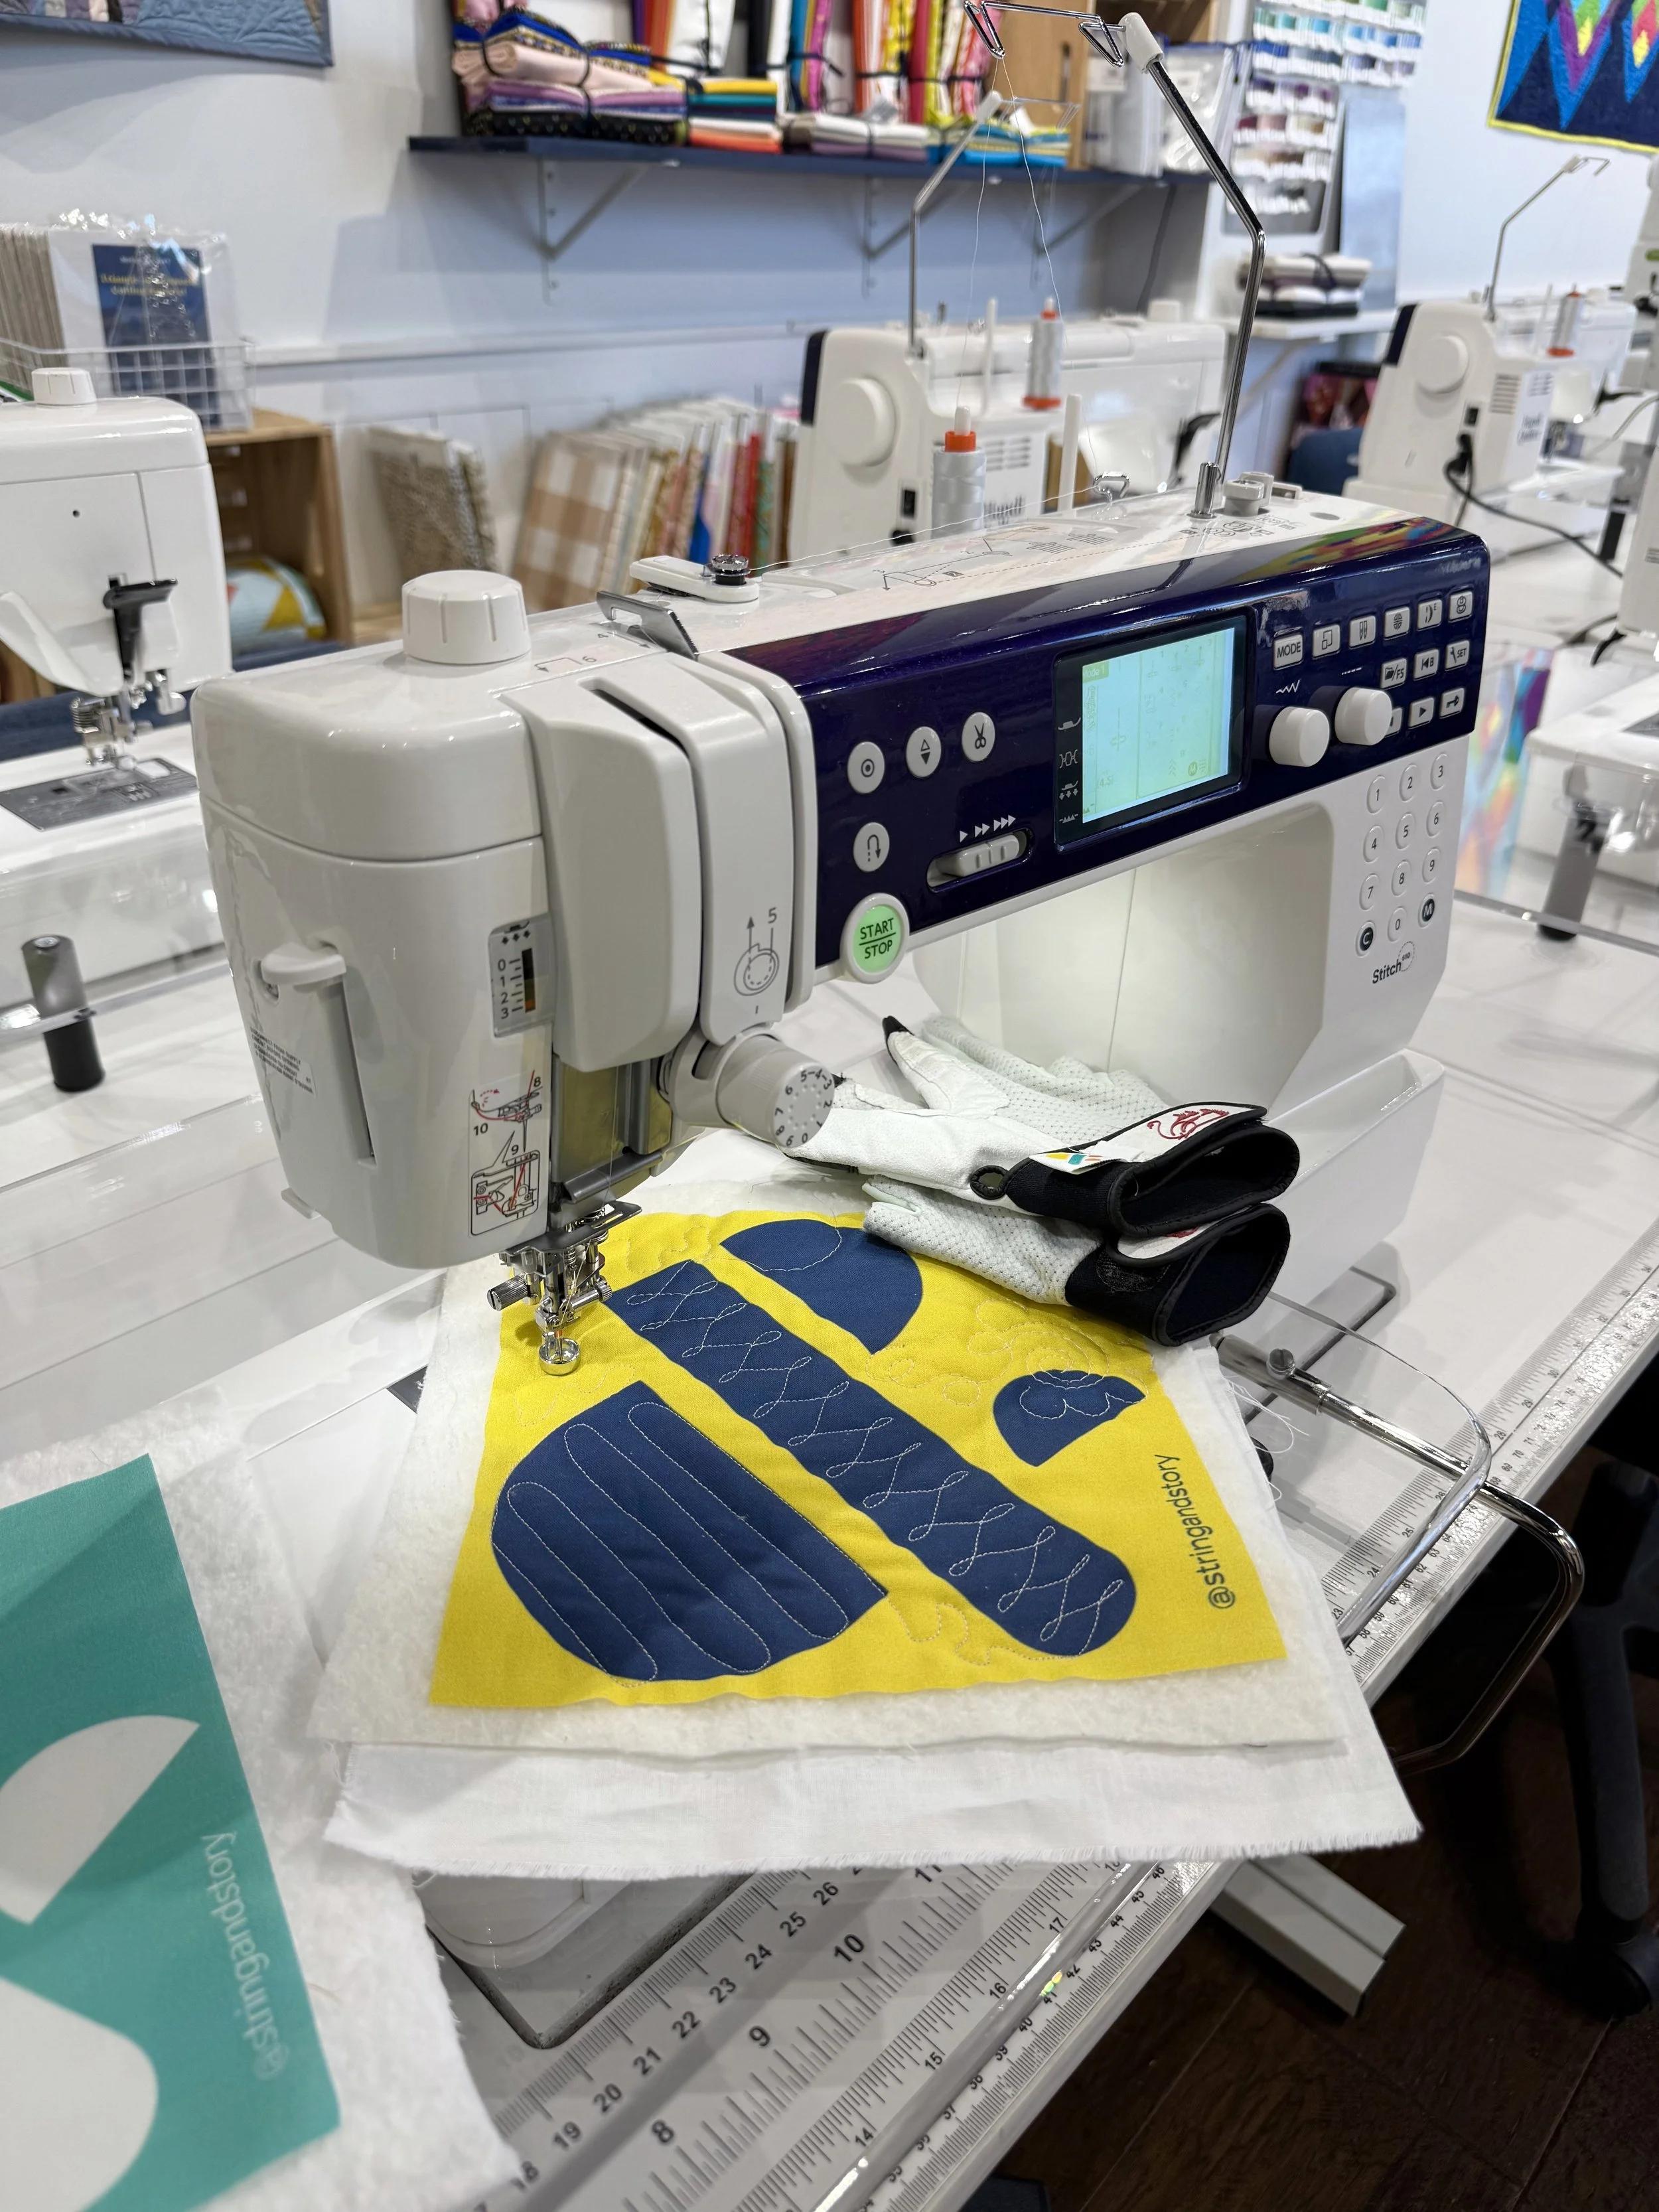
Your sewing machine, clean and freshly threaded, with a new needle
A speed control slider or a max speed setting (check your manual— some machines allow you to throttle speed in their digital settings, even if you don’t have a slider)
A free motion foot or ruler foot
A practice sandwich: two pieces of muslin and some batting sandwiched together will do the trick, or dig deep to the back of your stash for that fabric you don't even like anymore.
Thread you can actually see— a contrasting color makes reading your stitches much easier, but don’t go too stark or your brain gremlins will get loud
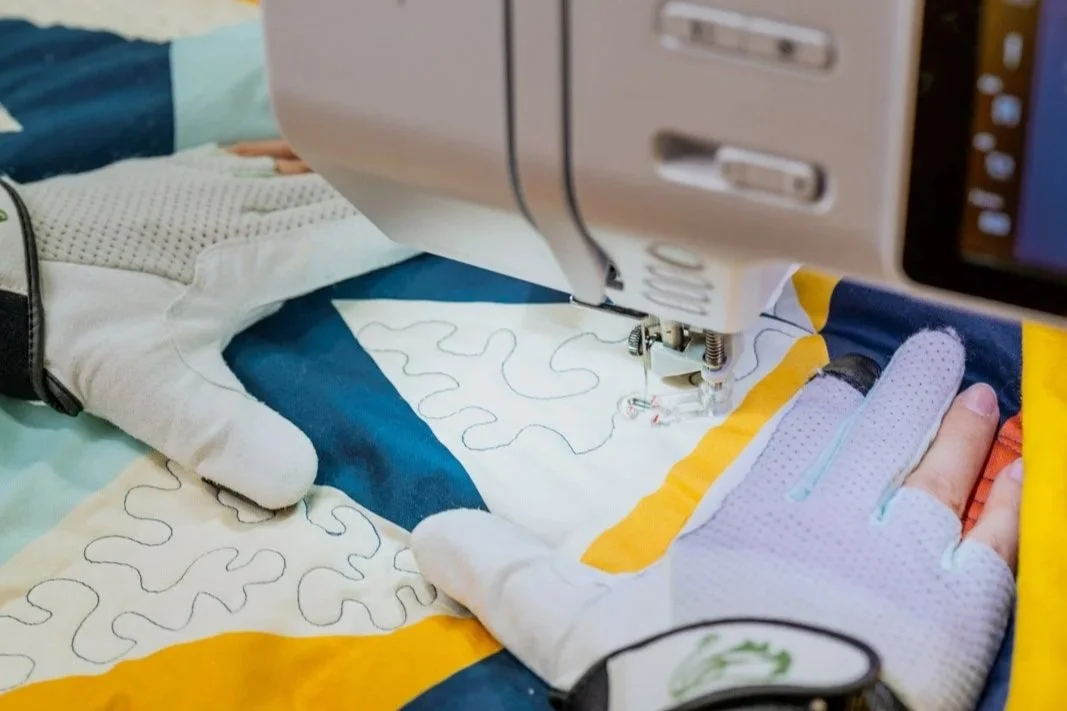
Quilting gloves (I love Swan Amity)
Directions
Set your machine up for free motion quilting. Set your stitch length to zero or drop your feed dogs (on some big box machines, dropping the feed dogs does something funky to the tension, so try both and do whichever you like best)
Find your speed slider. On most machines it's a lever on the front. On some computerized machines it lives in the settings menu as a max speed. Either way, it will cap the top speed of your needle, so "pedal all the way down" means that capped speed instead of full throttle.
Set the slider to the slow end of the middle. Not the slowest setting, not halfway— just under halfway. That's my starting point almost every time, and then I adjust from there.
When you quilt, put your foot pedal all the way to the floor and leave it there. This is the actual trick, and it feels uncomfortable the first time. Most of us control needle speed with our ankle, which means all those little muscles in your ankle and calf are doing precision work for hours— and they get tired, and tired muscles are not consistent muscles. When the pedal stays down, your needle holds one steady pace all by itself, and gravity pulling on your foot can do most of the work.
Engage your core. Sitting up over your work and using larger muscle groups to move your quilt will create a much smoother motion.
Let the machine take a stitch or two before you move. It takes the needle a second to get up to speed, so if you move immediately, you get a couple of big “toe grabber” stitches right out of the gate. You don't need to be a coiled spring of anxiety here— if you don't touch the sandwich, it's not going anywhere. I would much rather have a couple of stitches stacked in one spot than a toe-grabber that's a full quarter inch long.
Quilt a line, then adjust. Stitch a little section of a simple meander, then stop, take your hands off, and actually look— do you like how your stitches look? Are they reasonably even?
Adjust the slider before your hands. Most of us will find a natural hand rhythm, so we want to adjust the needle speed to match. Stitches too small and crowded means your needle is outrunning your hands: slow the slider down. Stitches too long and stretched out means your hands are outrunning your needle: nudge the slider up. Adjust, then stitch another line (and don’t forget to breathe!).
Re-check whenever the job changes. Dense fills, big open loops, and ruler work all want different needle speeds. Come to a complete stop, move the speed slider, carry on. Huzzah!
There is no correct number on that slider, by the way. The right speed varies from person to person, from day to day, and from motif to motif. The speed that feels right to you tonight may be much slower than the speed that feels right to you six months from now, and that's the point.
How to Read Your Stitches
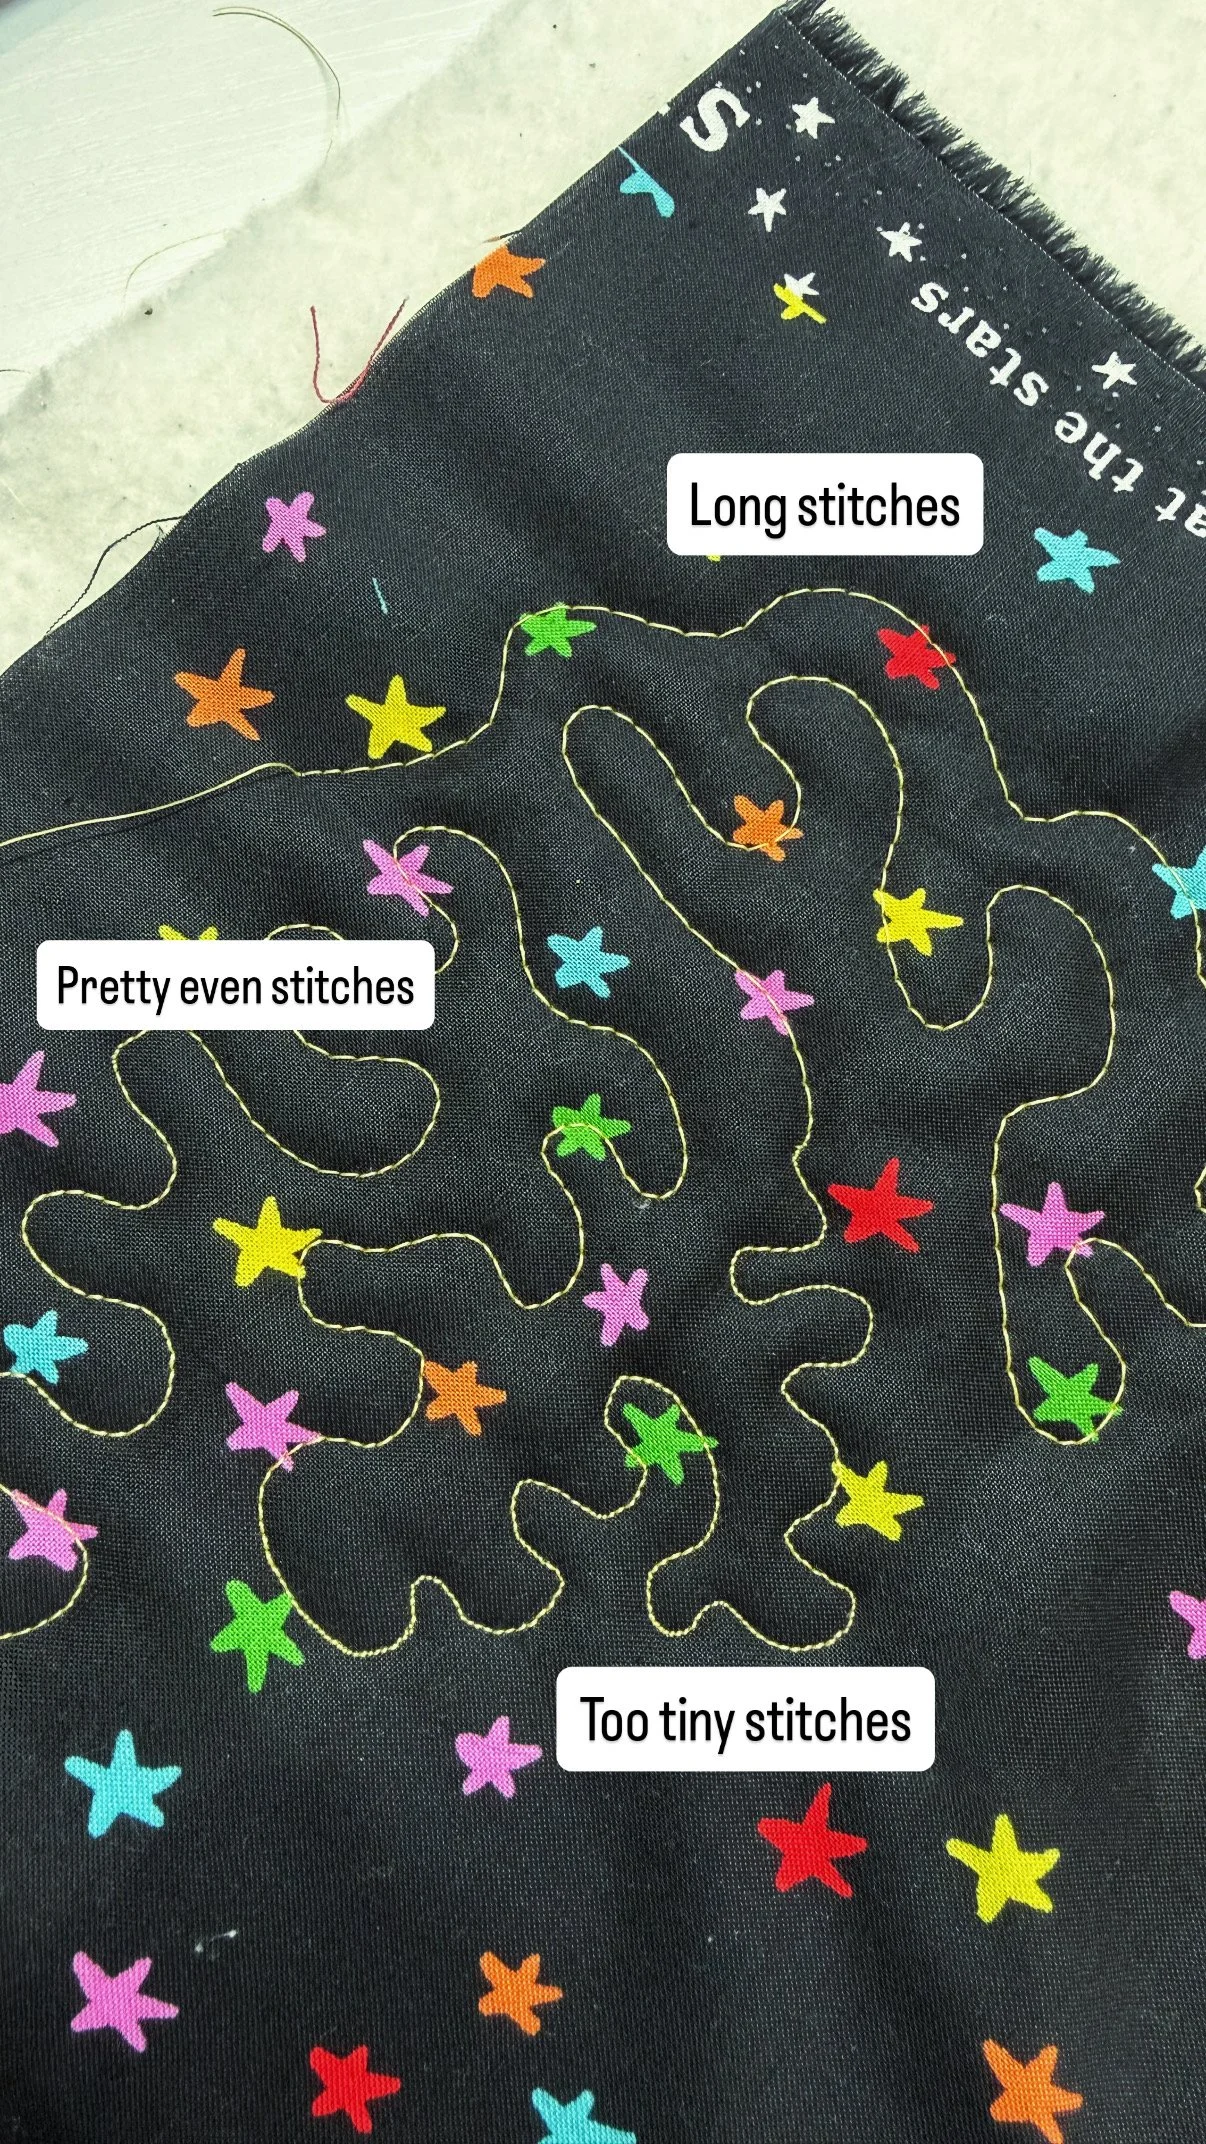
We are not chasing identical stitches because we are not robots. We're chasing consistent enough that nobody's eye snags on it. Here's what your stitches are telling you:
Tiny, crowded, piled-up stitches: your needle is faster than your hands. Slow the slider down— or, if you like that needle speed, practice moving a bit quicker.
Long, stretched-out stitches: your hands are faster than your needle. Nudge the slider up.
Spiky, pointy curves: this one is sneaky. When you get a little nervous coming into a curve, you tend to ease off the pedal without realizing it. The needle slows, the stitches lengthen, and since you're essentially drawing with a dotted line, fewer dots around a curve gives you a pointy corner instead of a smooth arc. Keep that pedal down through the curve and let your hands do the slowing.
That last one is worth sitting with, because it's the thing most people are actually fighting. Every line of quilting is a dotted line. Needle speed is your resolution— more stitches per inch of travel means smoother curves.
But What If…
…your stitches start getting long
Here's my favorite part. You'll be quilting along, minding your business, and you'll notice your stitches stretching out. Come to a complete stop and nudge that speed slider up a little. Long stitches mean you're starting to outrun your self-made stitch regulation, which means you're moving more smoothly and more confidently than you were an hour ago. You've earned more speed, so inch that slider to the right.
…you’re quilting with a ruler
When I switch from a meander to ruler work, I back off. I'm not putting that pedal all the way down anymore, because ruler work asks for precision over pace and because I need to keep the presser foot in contact with the ruler the whole time. I'll slow down even further as I come up on a ditch line so I can land exactly where I want to. Attempting to stitch too quickly will result in herky-jerky motions and broken thread (or worse, a chipped ruler and broken needle!).
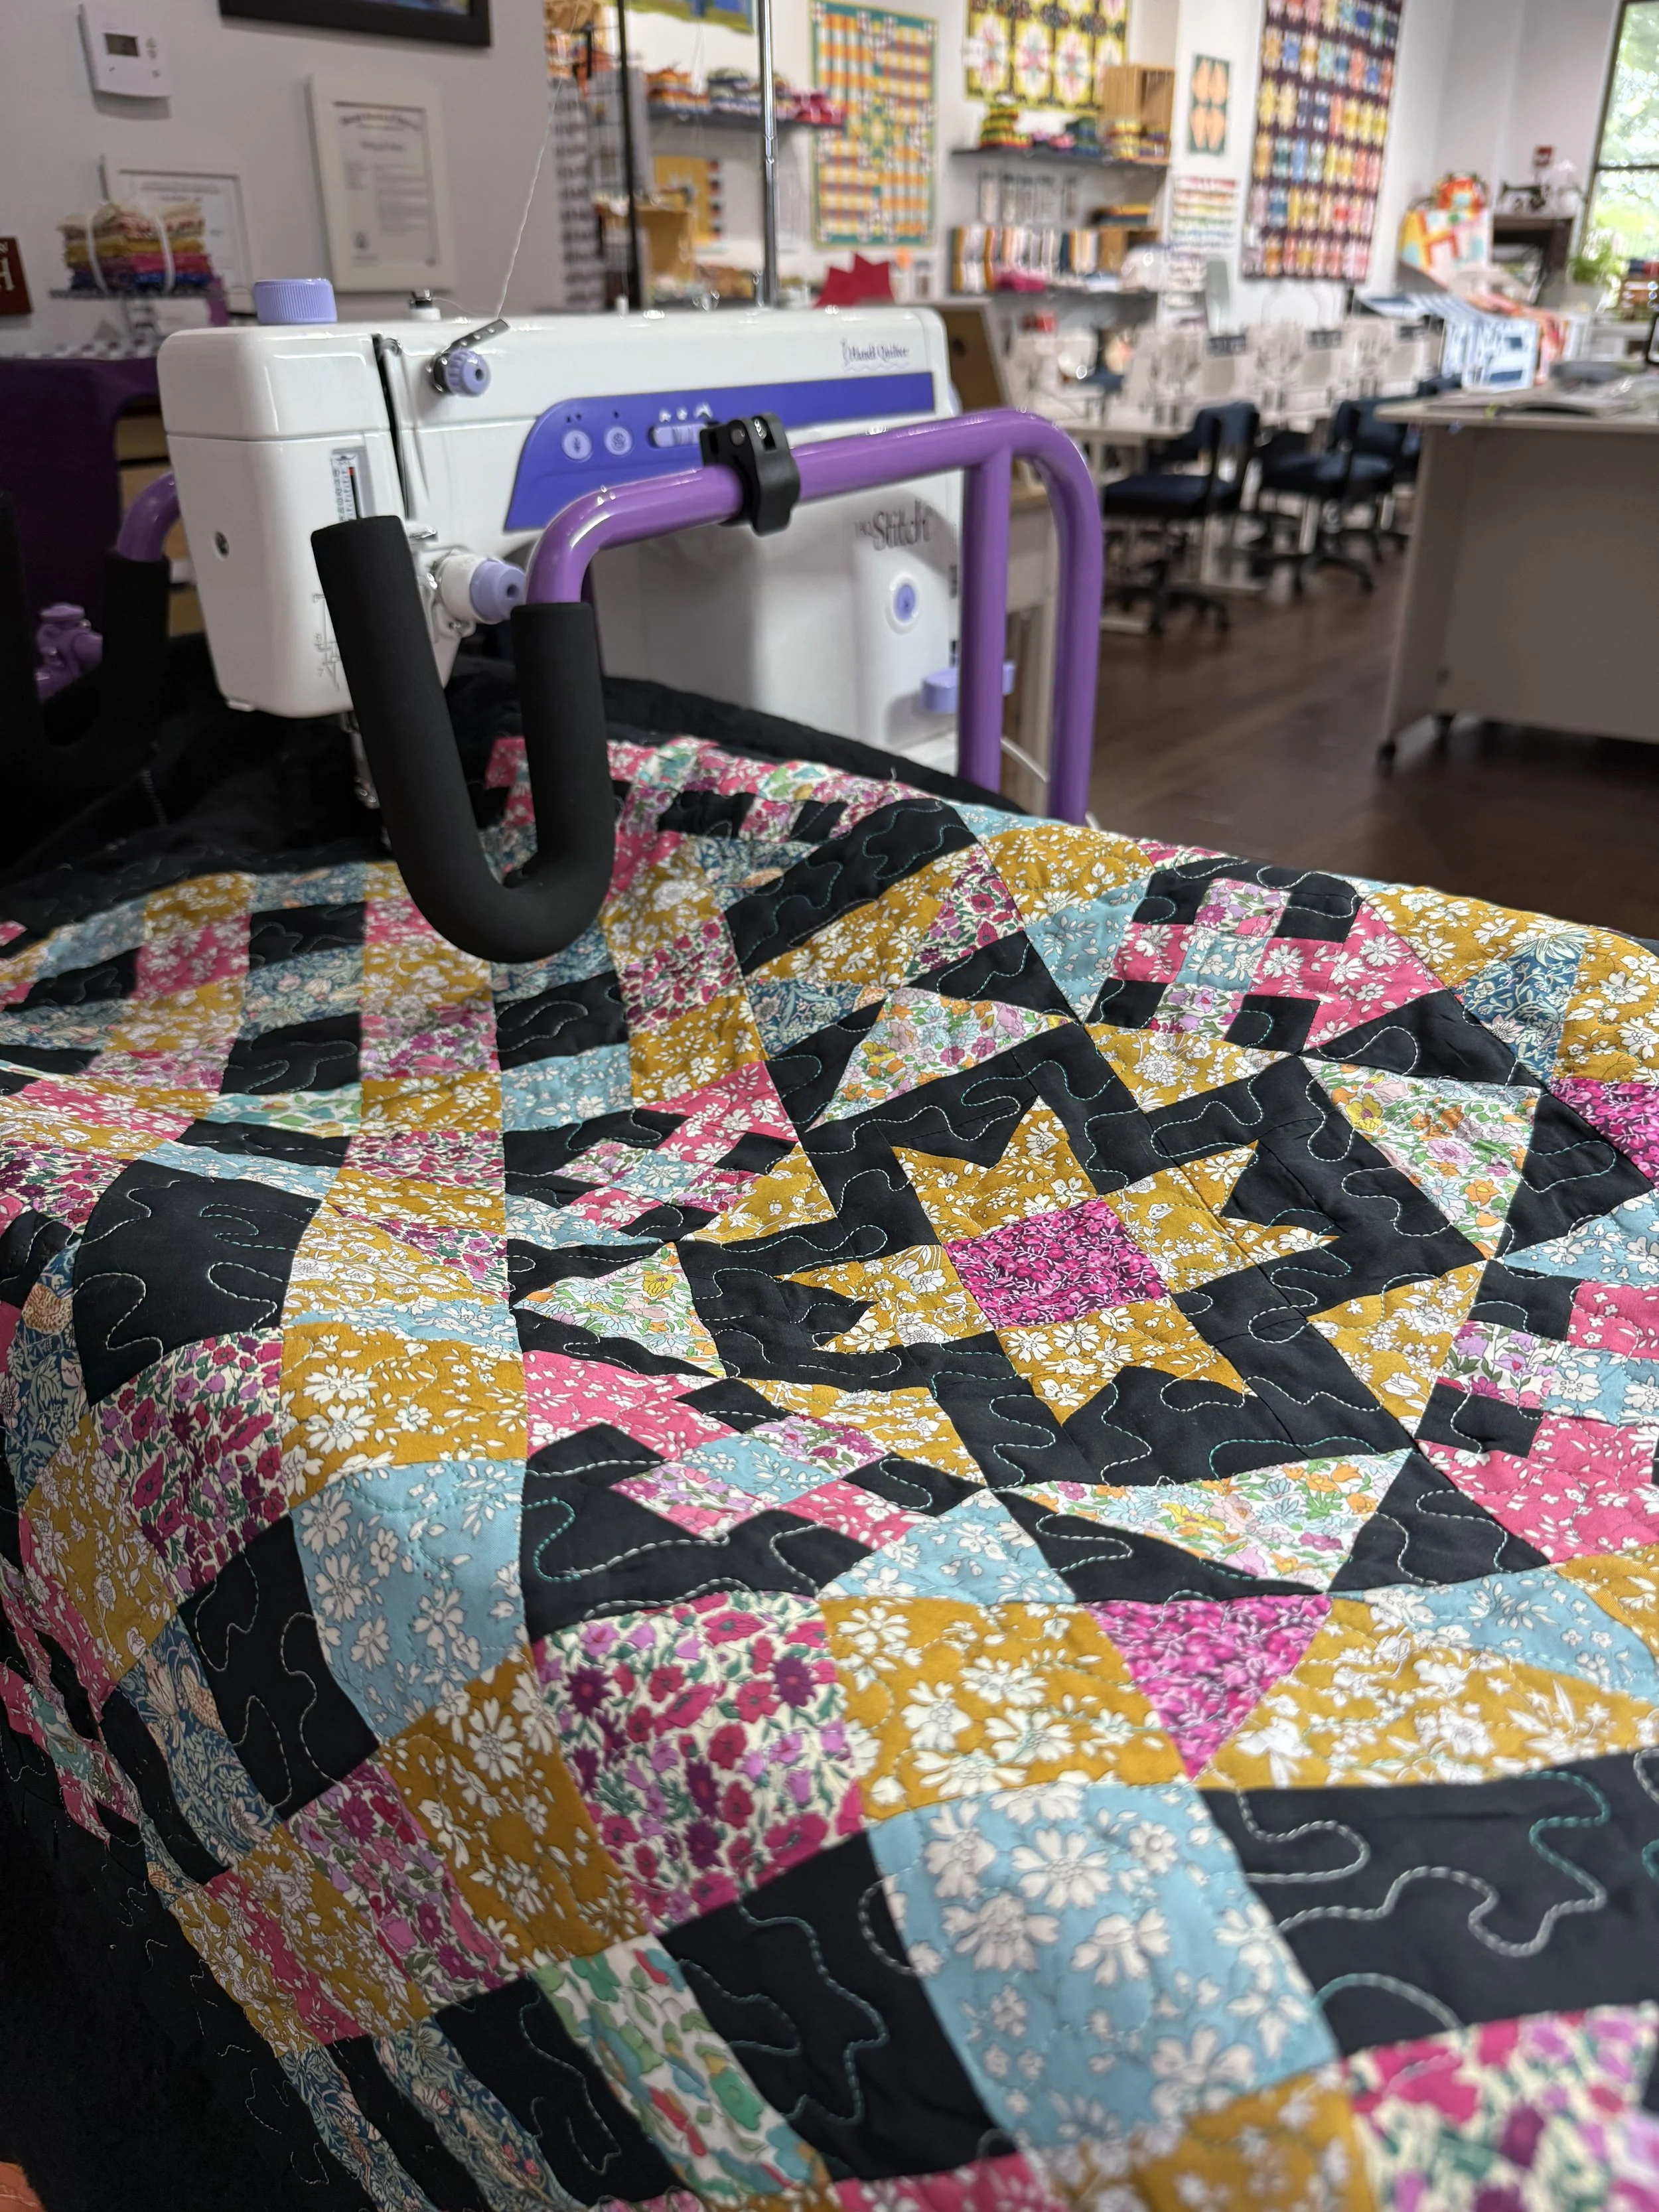
…you’re on a longarm
If you’re on a longarm, you will probably have a stitch regulator (I recommend it), but you still have different modes of stitching that are connected to what we’ve been discussing here. Cruise mode does something very similar to what the speed slider does on a domestic: it keeps the motor engaged at a consistent pace, which is why I find it much less likely to give me toe-grabbers or broken threads on an all-over design. Precision mode stops the motor when you stop, and it is perfect for when you need to place a single stitch at a time.
And remember that your longarm is essentially a giant Etch A Sketch drawing with a dotted line. If you try to quilt curvy motifs while moving too slowly, you'll get that same jerky, pointy effect. Curves want flow.
…your hands aren’t moving smoothly
A constant needle speed only gets you halfway. The other half is smooth movement, and that comes from your whole body.
Sit up tall over the bony parts of your bum— those are your ischial tuberosities, and they're basically little kickstands at the bottom of your pelvis that you're designed to prop on. When you sit back on the meaty part instead, you collapse your core, and an unstable base cannot produce smooth movement. Engage your core like you’re bracing for a big hug from a running-at-you child to support the movements of your arms and shoulders.
You can only manage what's between your hands. Make a little paper football goal with your hands— that four-by-four-inch triangle is the only part of the quilt you can control right now. The rest of it is none of your business.
And pause as often as you need to. Social media trims out every single pause and reposition, which quietly teaches people that stopping means you're doing it wrong. I stop and kerfuffle with my quilt constantly. Every pause is also a chance to breathe, drink some water, and take an emotional lap around the sewing room.
…you don’t have a speed slider
Check your settings menu first— on a lot of computerized machines, max speed is in there rather than on the outside of the machine. If it truly isn't available, then your ankle is your regulator, and the goal shifts from full pressure to consistent pressure. Pick a comfortable speed, rest your heel on the floor so your foot has a stable pivot point, and practice holding that spot. Plan on shorter practice sessions too, since those small muscles fatigue faster than you'd think.
Remember: This works on hoop frames, too!
Final Thoughts
Even stitches elevate the final effect of your quilting on your project, but you don’t need an expensive aftermarket add-on to create gorgeous, even stitches. You can even out your stitches by using your speed control on your machine and mindfully adjusting your posture. Before you know it, you’ll see a huge difference in your stitches and be prouder than ever of your hand-guided quilting.