
How to Make a Design Wall
A design wall is an ideal way to store and arrange blocks while making your quilt. There are many ways to make a design wall, but this tutorial will show you how to make three simple, yet visually appealing walls that can be customized to any space
(This post contains affiliate links)
My friend Frances loves to say: “Make visual decisions visually.” When we are piecing blocks for our quilt, one of the easiest ways to see how the quilt layout will come together is by putting the blocks up on a design wall. Simply put, a design wall is a space where there is fabric or a board hung that blocks will cling to (a la those old felt story boards) so that they can be arranged, reviewed, etc.
Today, I’m going to talk you through three different design walls you can put up in your sewing room in order to more easily arrange your quilts. All of these can look lovely— deciding which is best for you will be a matter of personal preference, budget, and time.

Method 1: Just a Batting
This was my go-to design wall for the longest time. I found myself a coupon for the big-box store, bought a pre-cut queen batting, and push pinned it to the wall. Easy, peasy, lemon-squeezy! It was affordable, fast, and I could reasonably size it to my wall by choosing the appropriate sized pre-cut batting. This worked (with the same batting) for years! Eventually, though, I wanted something a little more sleek and customizable.
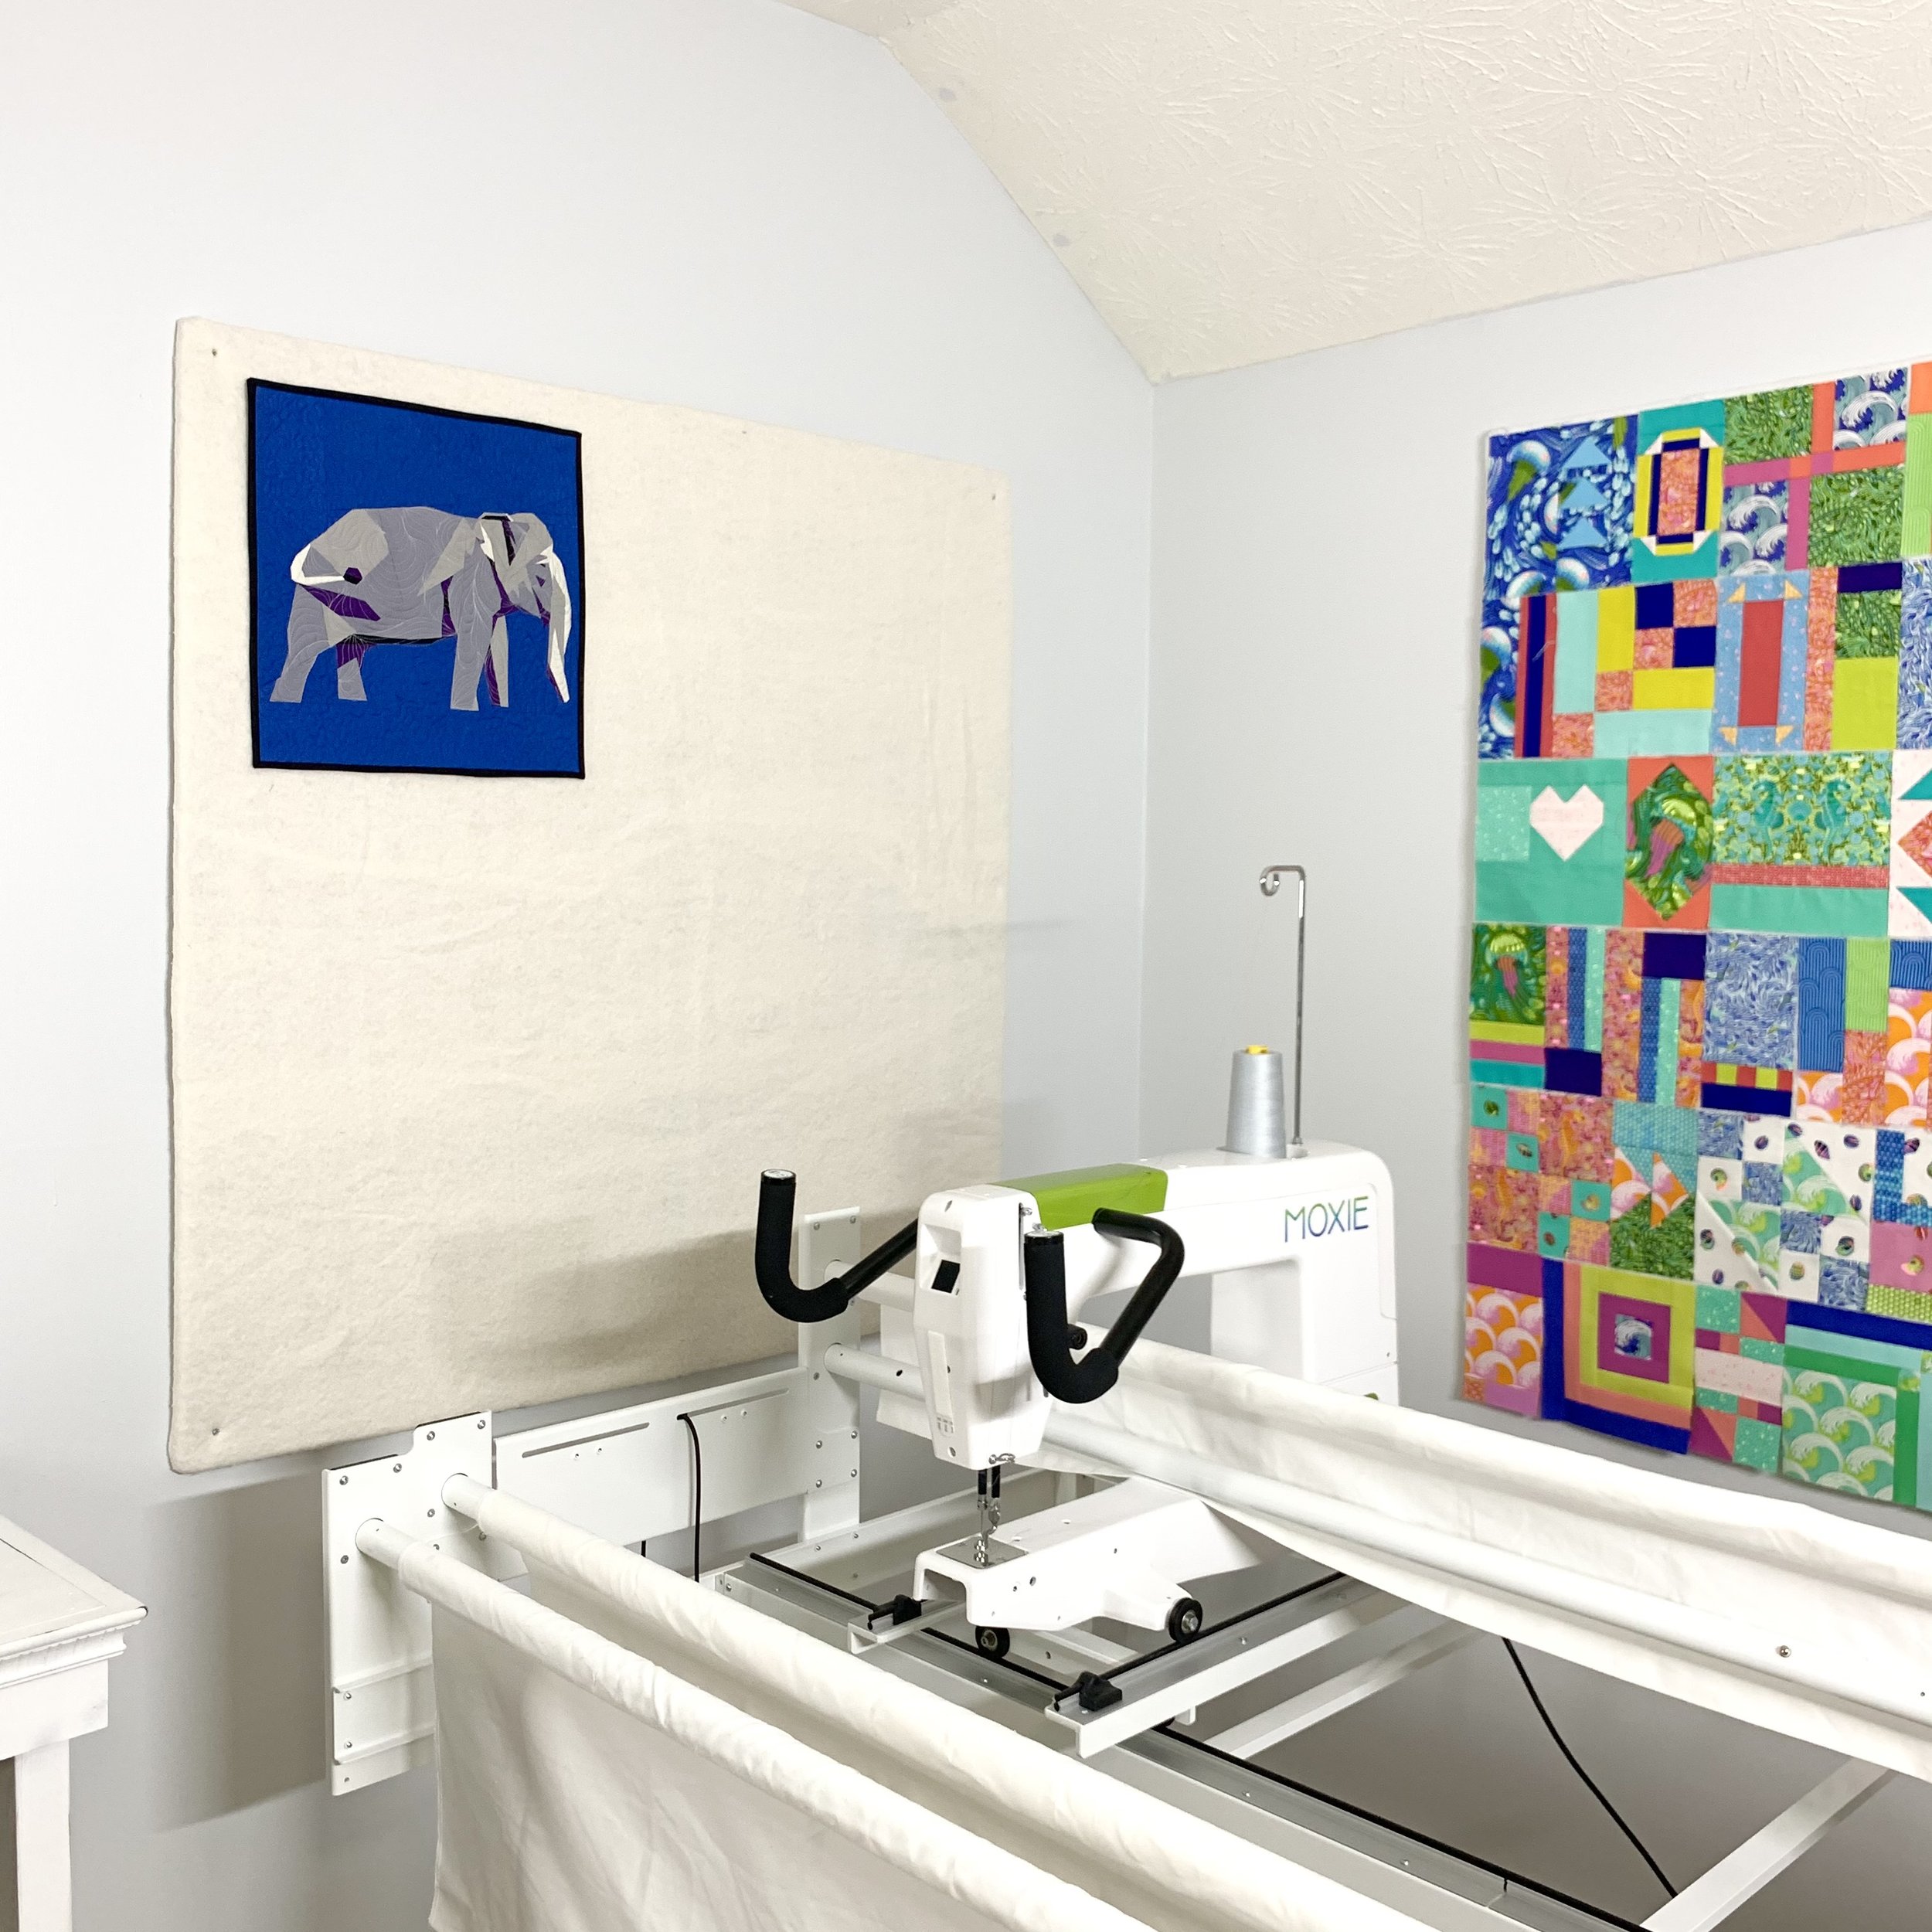
Method 2: Wrapped Boards
As I mentioned, for years now, I’ve simply had a big ol’ batting push pinned up on my wall as my design space. When I rearranged my sewing room, though, I knew I wanted something a little tidier, up off the floor, and generally more polished in appearance. What’s even better, is that this design wall could also be “portable”-- ie, made to be tucked in a closet or behind a piece of furniture instead of hanging it on the wall as I’ve done.
Materials
Insulation foam board or Foam Project Panels (½ inch thick foam core)
Cotton Batting or flannel large enough to wrap the board
Duct tape
Velcro Command Strips or Screws
Instructions
I have two of these design walls in my studio. I made both from the 8 ft by 4 ft insulation foam available at your local home improvement store. I bought two boards and had them each cut into 2 ft by 4 ft rectangles to make them easier to man handle. I have one design wall that is 8 ft by 6 ft and used 6 panels pieces, and a second design wall that is 4 ft square that used two panel pieces.
Step 1: Clear enough floor space to build your design wall. Lay out your panels and make sure your batting or flannel will fully wrap around the front of the board with about 6 inches of wrap to the back
Step 2: Duct tape the panels together, front and back. If using printed insulation boards, make sure all the heavily printed sides are on the back so they don’t show thru your batting/ flannel.
Step 3: Wrap the board with batting/ flannel and tape into place. I recommend having a second person to help with this part so that you can get the board wrapped snugly
Step 4: (if desired) Attach the board to the wall. You can use velcro command hooks or a few screws. The board isn’t heavy-- it just needs to be held flat to the wall
Step 5: TA DA!! Put some quilt blocks up and start playing!
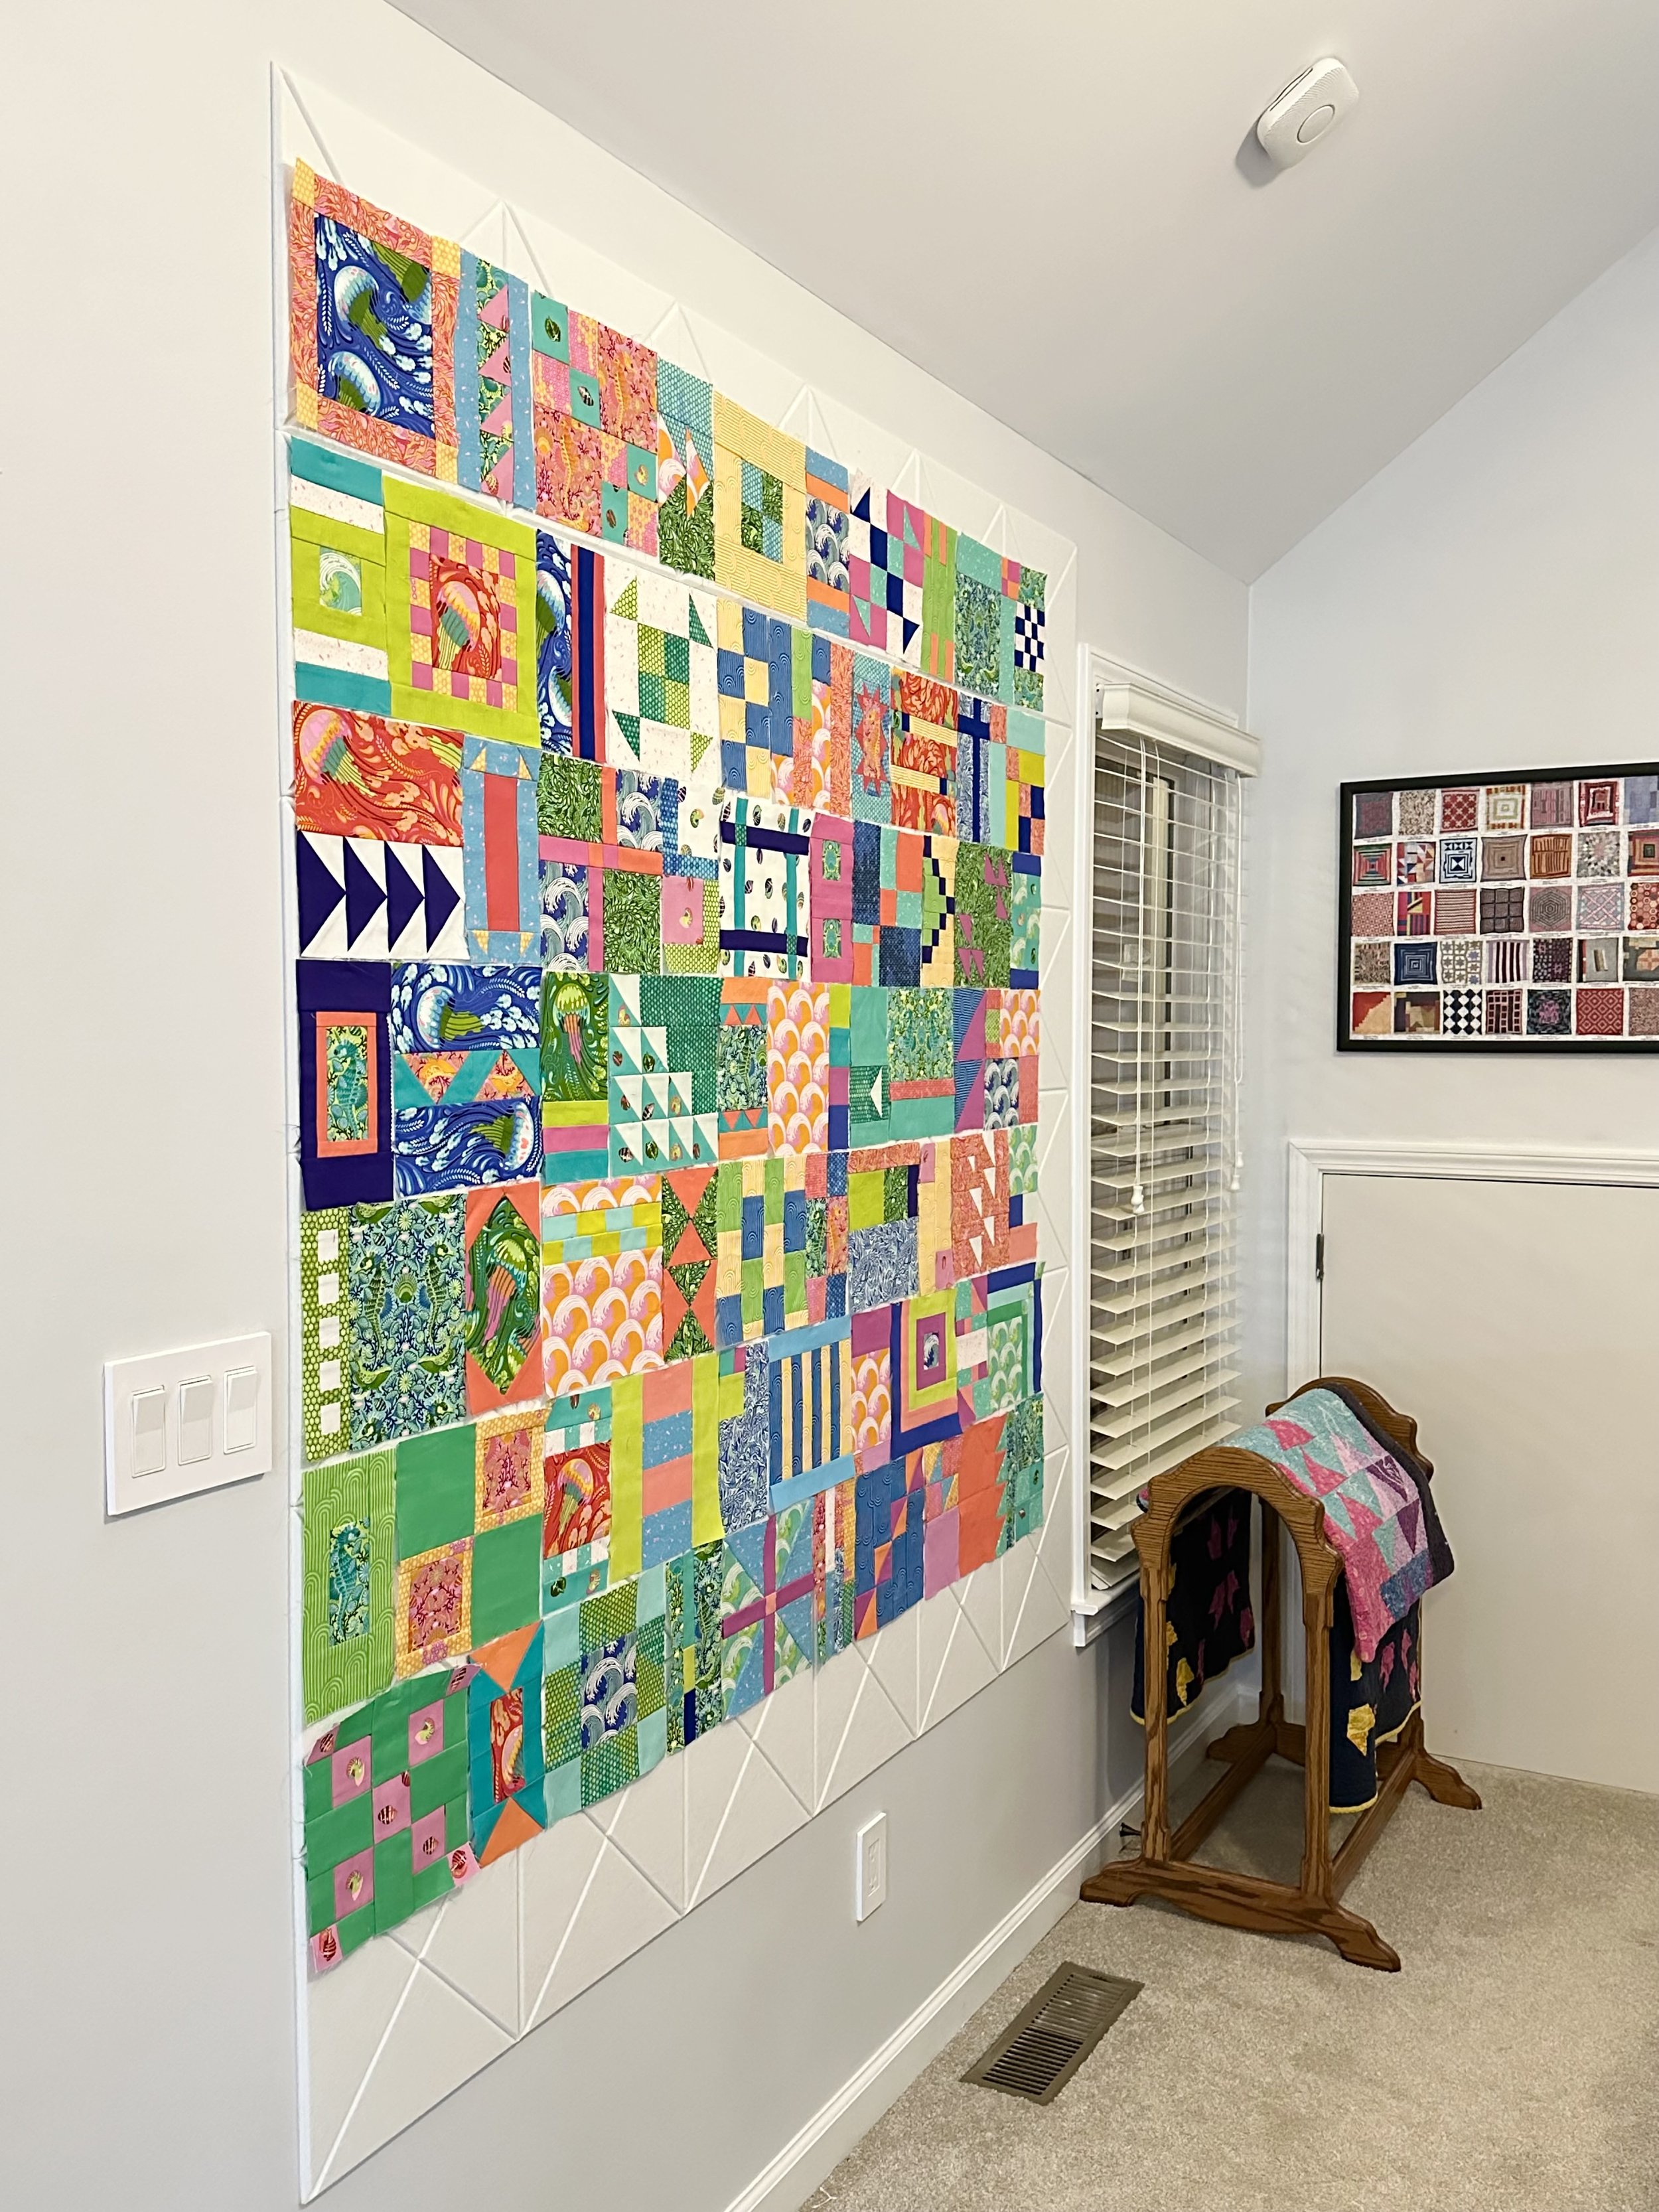
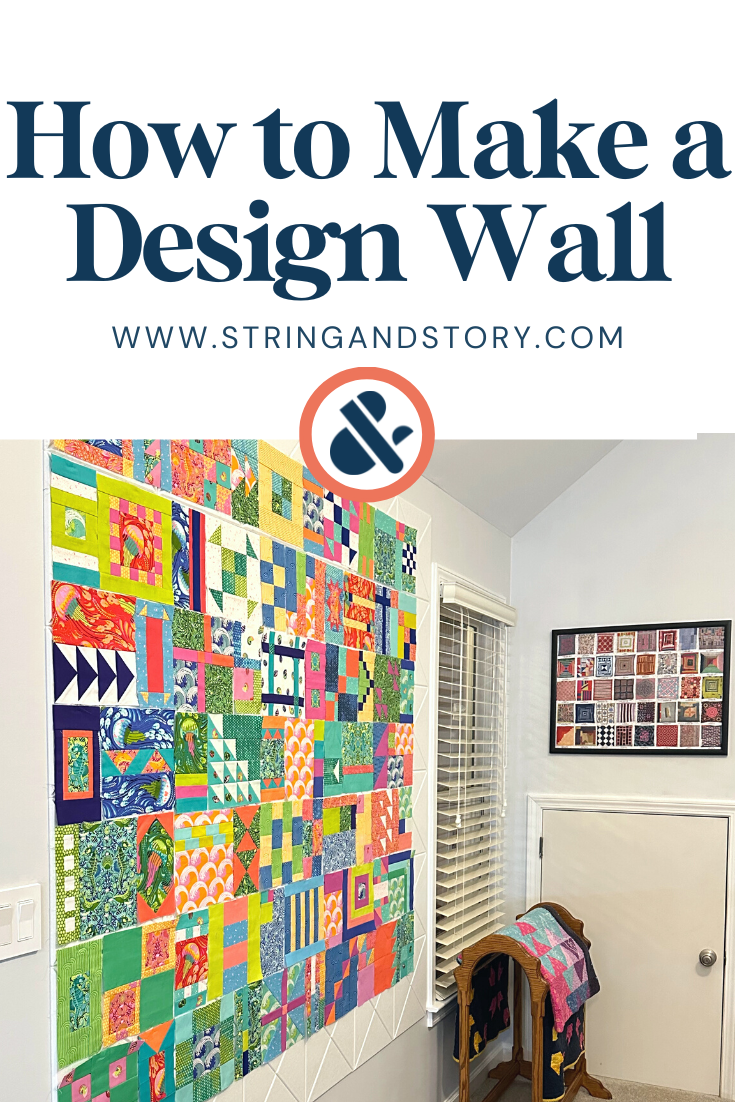
Method 3: Felt Sound Panels
Most recently, I’ve been seeing more and more ads for felt panels. These are generally designed as noise-dampening panels, to reduce echo in open spaces, etc. However, I’ve also seen a few folks try them as design walls. My current home sewing space is in our loft. I have a nice, empty wall, but it’s in a pretty high traffic area. Not only do I walk by daily, but it’s the only way onto our rooftop patio when we have friends over several times each week. I really wanted a design wall that would look add to the decor, even when I don’t have quilt blocks on it.
I chose white, 12” tiles with an X detail on them, available through Amazon. (If you are Amazon-averse, there are other companies like Felt Rite that offer these). I chose them because they were the most affordable ones I had seen. Since I wasn’t sure if I’d like them, I didn’t want to break the bank.
Each tile is self-adhesive, and with the help of a laser level, it only took me about half an hour to put up my 6 x 6 foot wall. Plus, it looks amazing! Huzzah! As expected, quilt blocks don’t stick quite as well to these as to batting due to the slicker surface. However, adding a pin here and there to hold blocks secure doesn’t bother me at all— especially as it is a high traffic area and there is a floor vent blowing on the wall too. All in all, I’m pretty obsessed— I’d missed having a design wall at home, and I love how this looks!
Closing Thoughts
My easy, push pinned design wall worked great. And, admittedly, was a bit bigger than even these design walls I have now. But I love how both the wrapped board method and the felt tiles keep my blocks up off the floor (Havana LOVED to tug on the bottom of that batting wall!), and it looks so polished in my sewing room! Regardless of exactly the recipe that makes your perfect design wall, I hope this inspires you to make one and enjoy that creative feeling of making visual decisions visually!
Resources
SHOP my affiliate link for felt tiles here
FREEBIES: Check out our collection of free, educational ebooks here in our Quilting Rockstar Library