
Three Ways to Finish Your Seams
When sewing your own clothes or cosplays, properly finished seams add additional polish to the completed item and extend its life. Contrary to popular belief, you don’t need a serger to have gorgeous seams— let me show you how!
(This post may contain affiliate links)

In February of 2020, I went to QuiltCon with my (then new) friend Darcy. At the time, Darcy didn’t quilt. She was (and is) an accomplished knitter and garment sewist. Throughout the show, she would inevitably find the other garment sewists in the crowd, and they would discuss all the details of their me-made outfits. I also noticed that the first thing she and other sewists would do was grab a corner of their garment and show the other the inside seams.
“What’s up with looking at the inside of clothes?” I asked her at one point.
She laughed: “It’s a way to flex about what a good maker you are. For quilts, if the seams are wonky it doesn’t really matter— they get sandwiched into the quilt. But for garments, the seams are what rub up against your body. Beautifully finished seams are less likely to itch and fray— making the garment more comfortable and less likely to come apart with wear and washing.”
It makes perfect sense, right? So how do you have gorgeous seams that you can’t wait to show off to all your friends?
Video
Three Ways to Finish Seams
Disclaimer: this is not all the ways to finish seams. But these are three ways to get you started and can be your “bread and butter” methods, especially if you’re a new sewist.

Pinking Shears
When finishing your seams, the two goals are 1) garment durability and 2) garment comfort. To achieve these, you want to make sure the seam will say sewed (no broken threads) and the fabric doesn’t fray (because it can be itchy or cause the seam to split if it frays all the way to the stitches). No matter what sewing machine you have, you can finish your seams with a straight stitch and pinking shears (Pinking shears are the scissors that make a zig zag cut edge).
First, sew your seam as instructed in the pattern. I like to then add a second line of straight stitching about 1/4” further out into the seam allowance (I move around a lot in my clothes and like that extra security that I won’t bust a seam wide open). Trim the seam allowance with the pinking shears to minimize fraying
Pros: Easy, accessible, can be done with even the most basic sewing machine
Cons: Not as strong as other methods, may result in some extra bulk
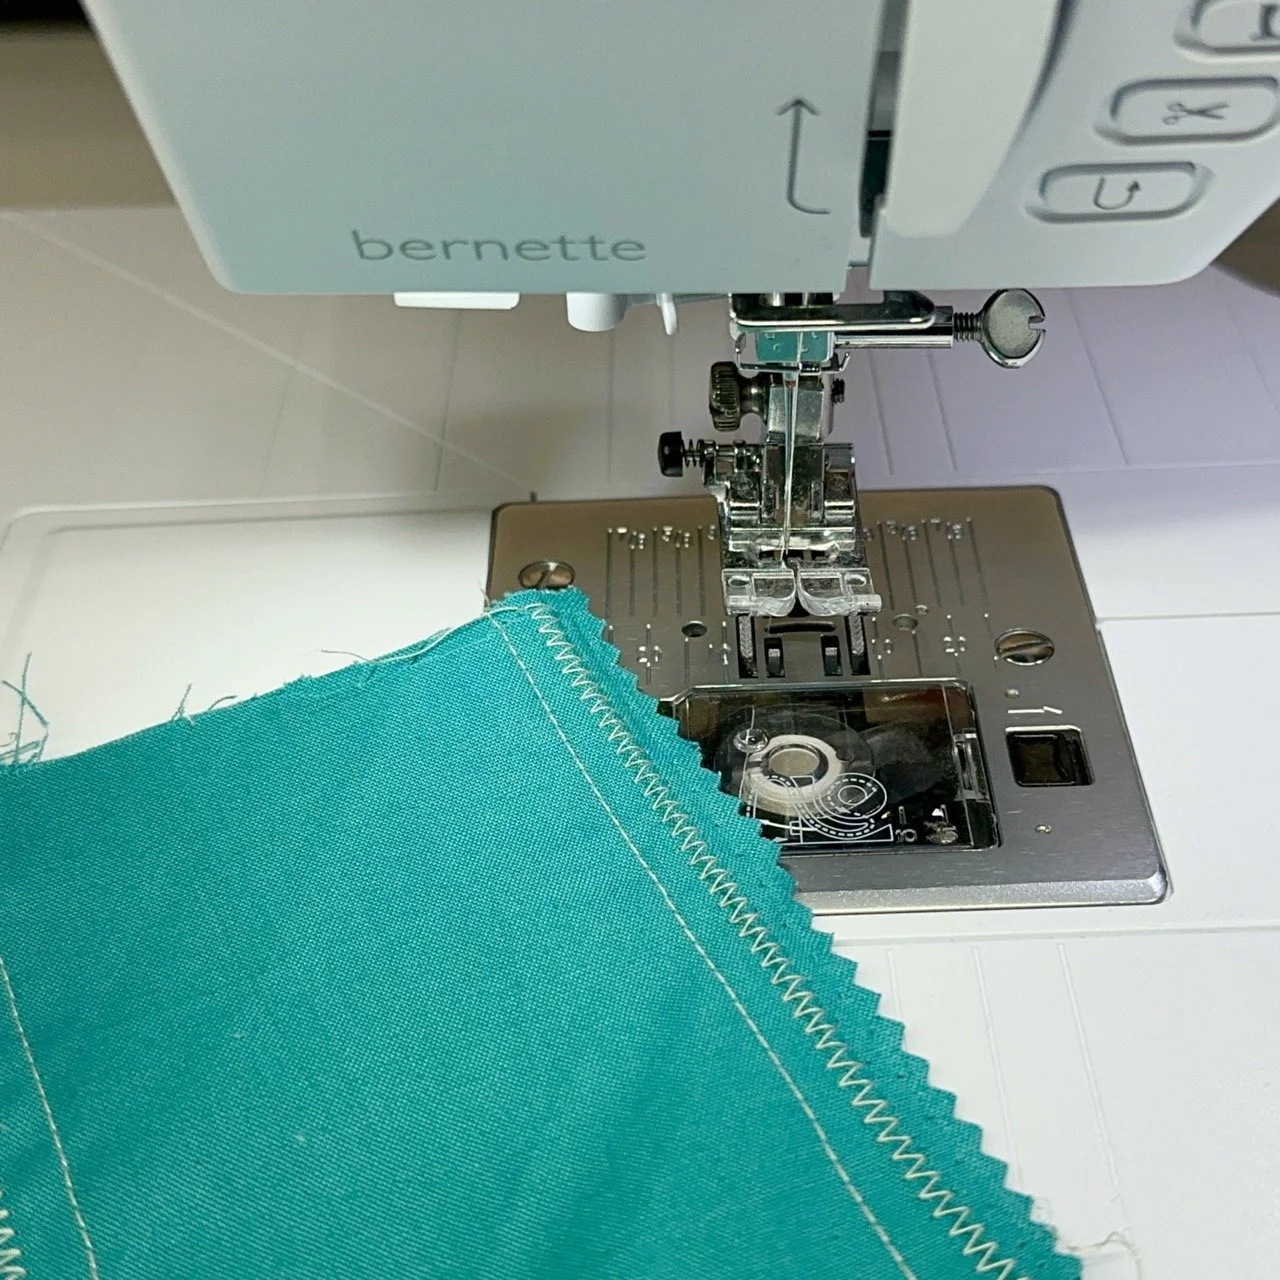
Zig Zag Stitch
This method is very similar to the straight stitch & pinking shears method except that you’ll use a narrow zig zag for your second line of stitching. Zig Zag about 1/8” from your seam, then trim the seam allowance. Use pinking shears for extra protection against fraying.
Pros: Still very easy and doable on most machines, stronger than the straight stitch method
Cons: Still causes a little extra bulk

Overlocking
This, of course, requires and Overlocker/ Serger/ Combo machine (such as the Bernette b64 overlocker or the b68 combo machine). In this case, use a 3 or 4 thread overlock stitch to trim and completely encase the edge of the fabric beyond your seam.
Pros: The strongest, neatest, and most professional finish
Cons: Requires a specialty machine

Resources
If you’re brand new to sewing garments, I hope this leaves you feeling more confident about beautiful finishes for your seams. Here are some more resources you may find helpful:
FREEBIE: The Confident Garment Sewing Workbook
SHOP: Check out our selection of bernette sewing machines and overlockers (use code SSBERNETTE for 25% off) as well as beginner friendly garment patterns & supplies
COURSE: Garment Sewing Academy is our online capsule wardrobe class designed to teach you the basics of garment construction from the comfort of your own home. Click here to learn more and join the wait list