
How to do Big Stitch Binding
Big Stitch Binding uses thick thread and a running stitch to create a visible, and rather decorative stitch, as you secure the second side of your binding. It’s been rather in vogue lately, adding a homey touch to the edge of your quilt. Today, let’s go step by step to create this technique.
(This post may contain affiliate links)

To be honest, I usually prefer machine binding— it’s fast and durable, and binding is not, as I often repeat, my “spiritual gift.” Recently, however, I’ve seen more and more quilters using thick thread to create “big stitch binding” by sewing the second side down with a visible running stitch. I love the effect! So, I finally gave this new-to-me binding technique a try, and I’m excited to share it with you!

Supplies
The tools for big stitch binding are remarkably simple, and similar what you may already have on hand for invisible hand binding.
12 wt Aurifil thread
hand sewing needle with a larger eye
thimble (optional)
needle gripper (optional)
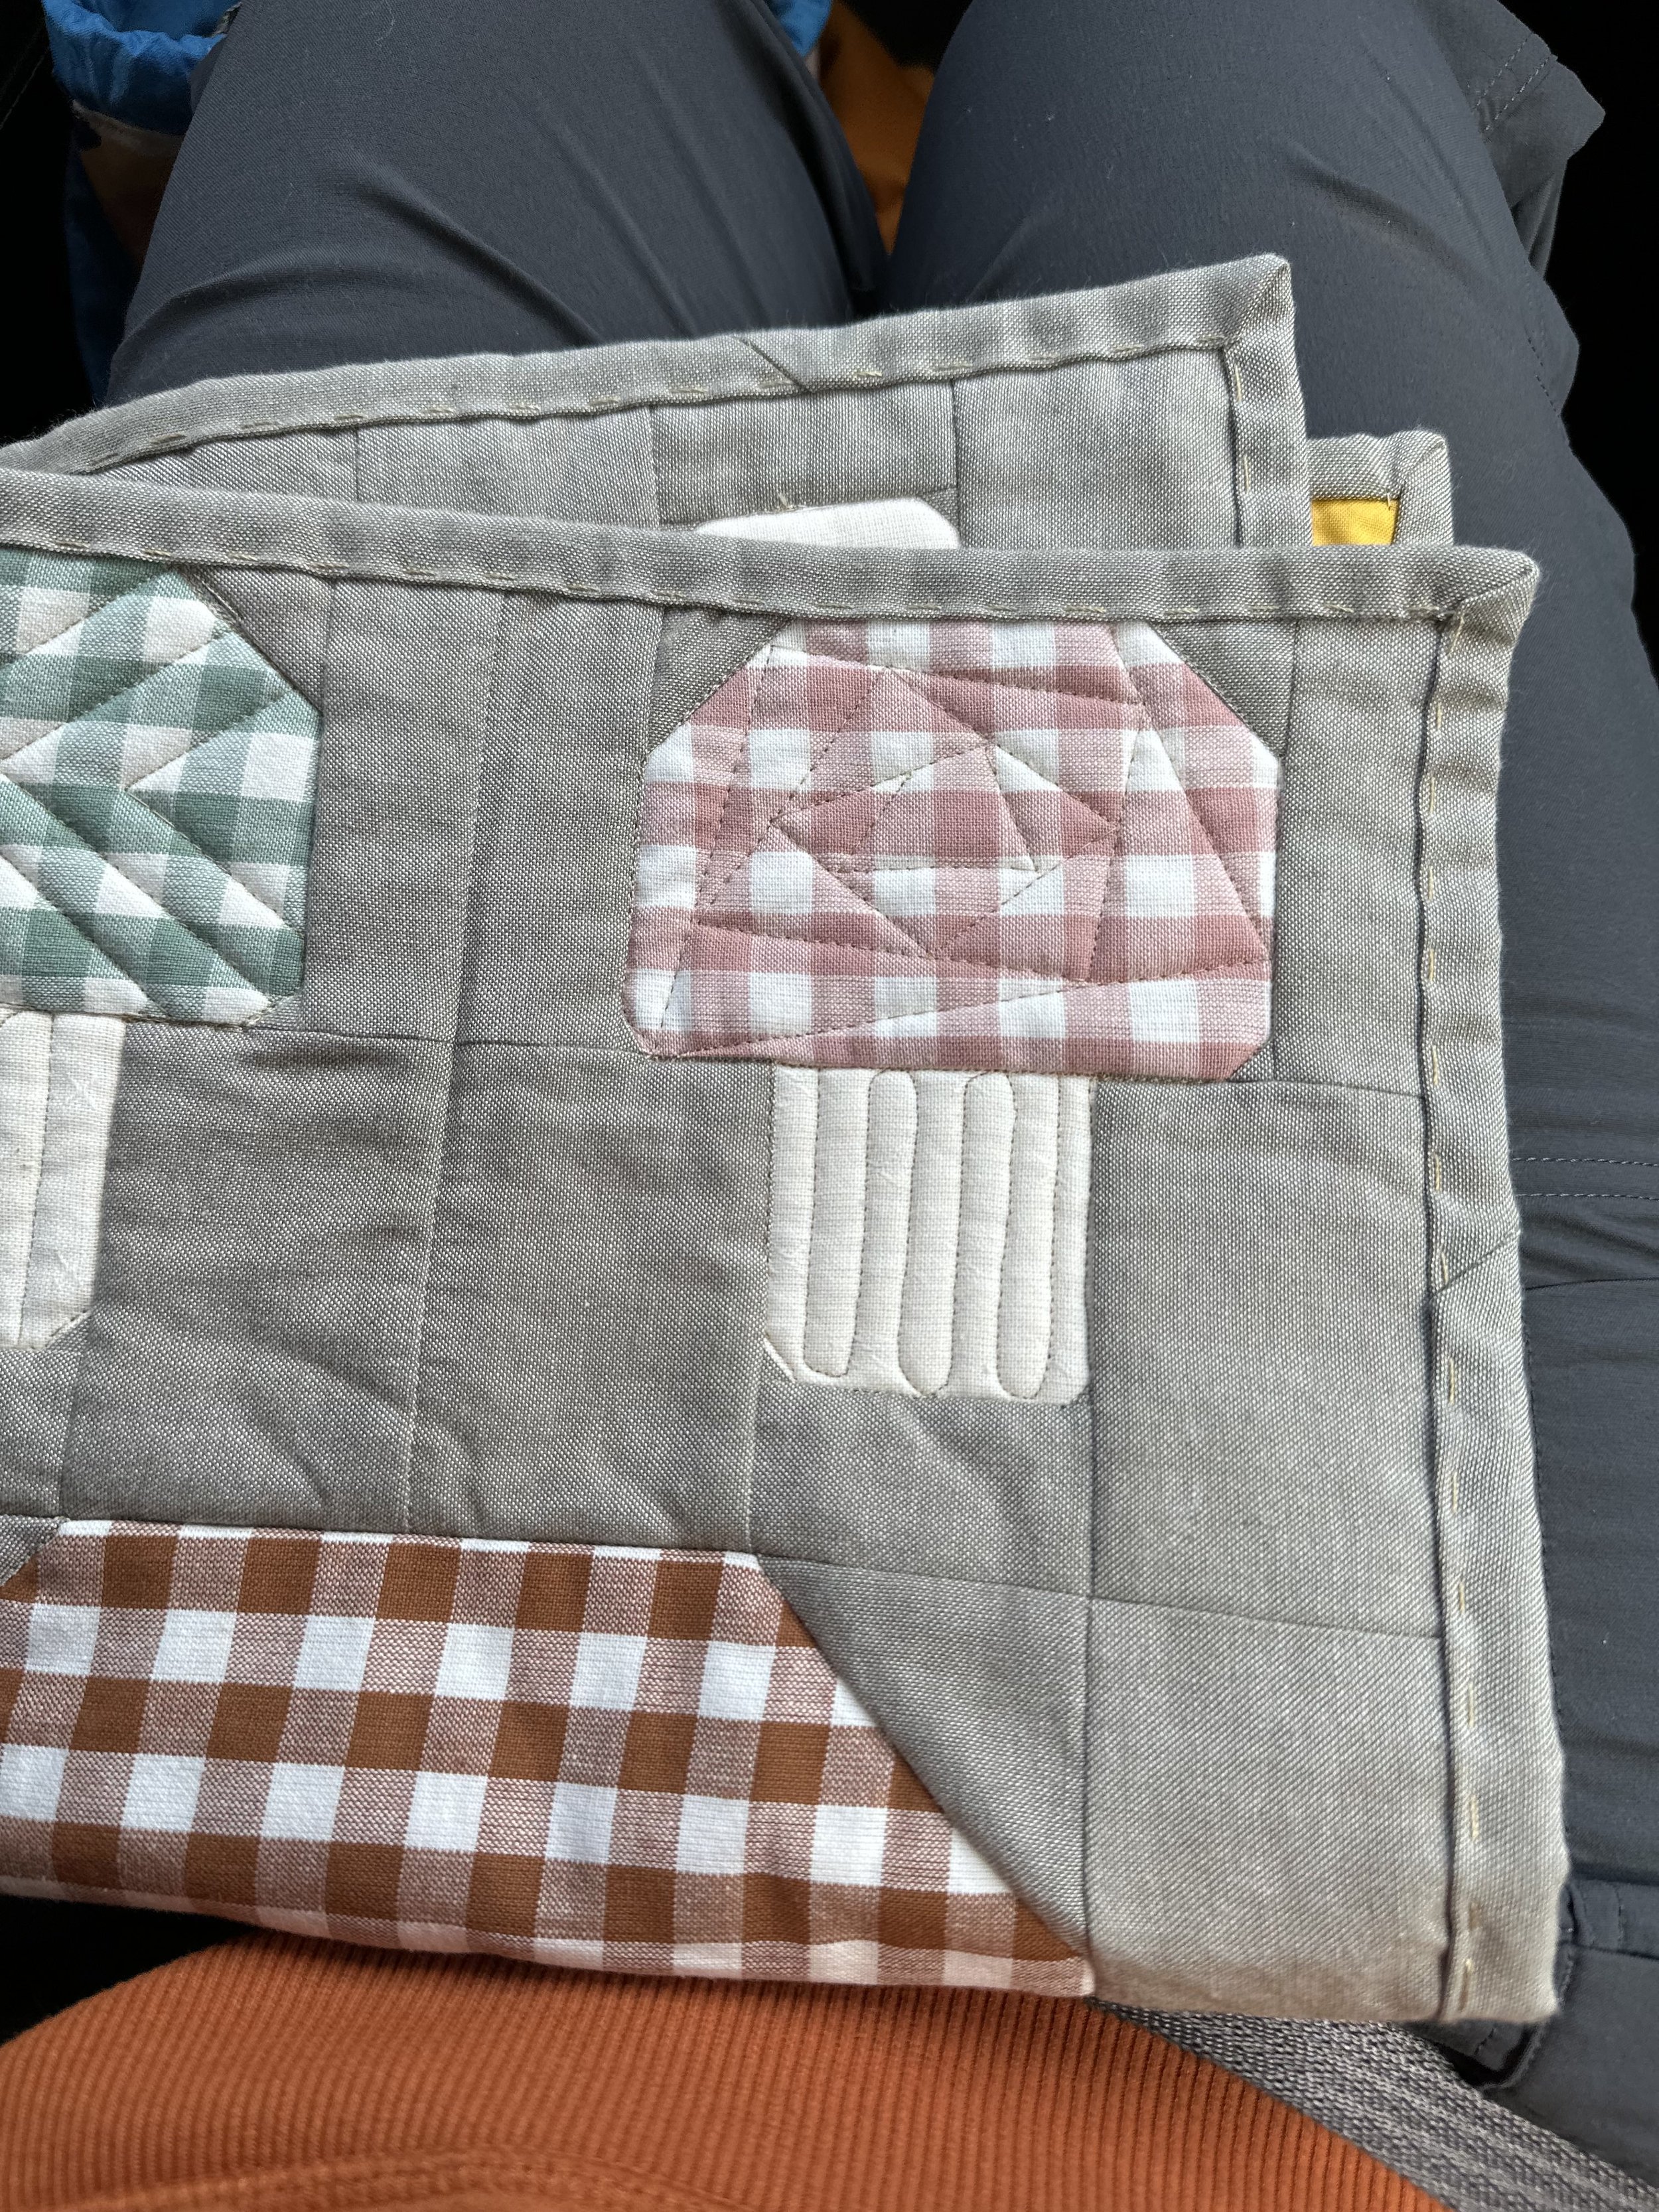
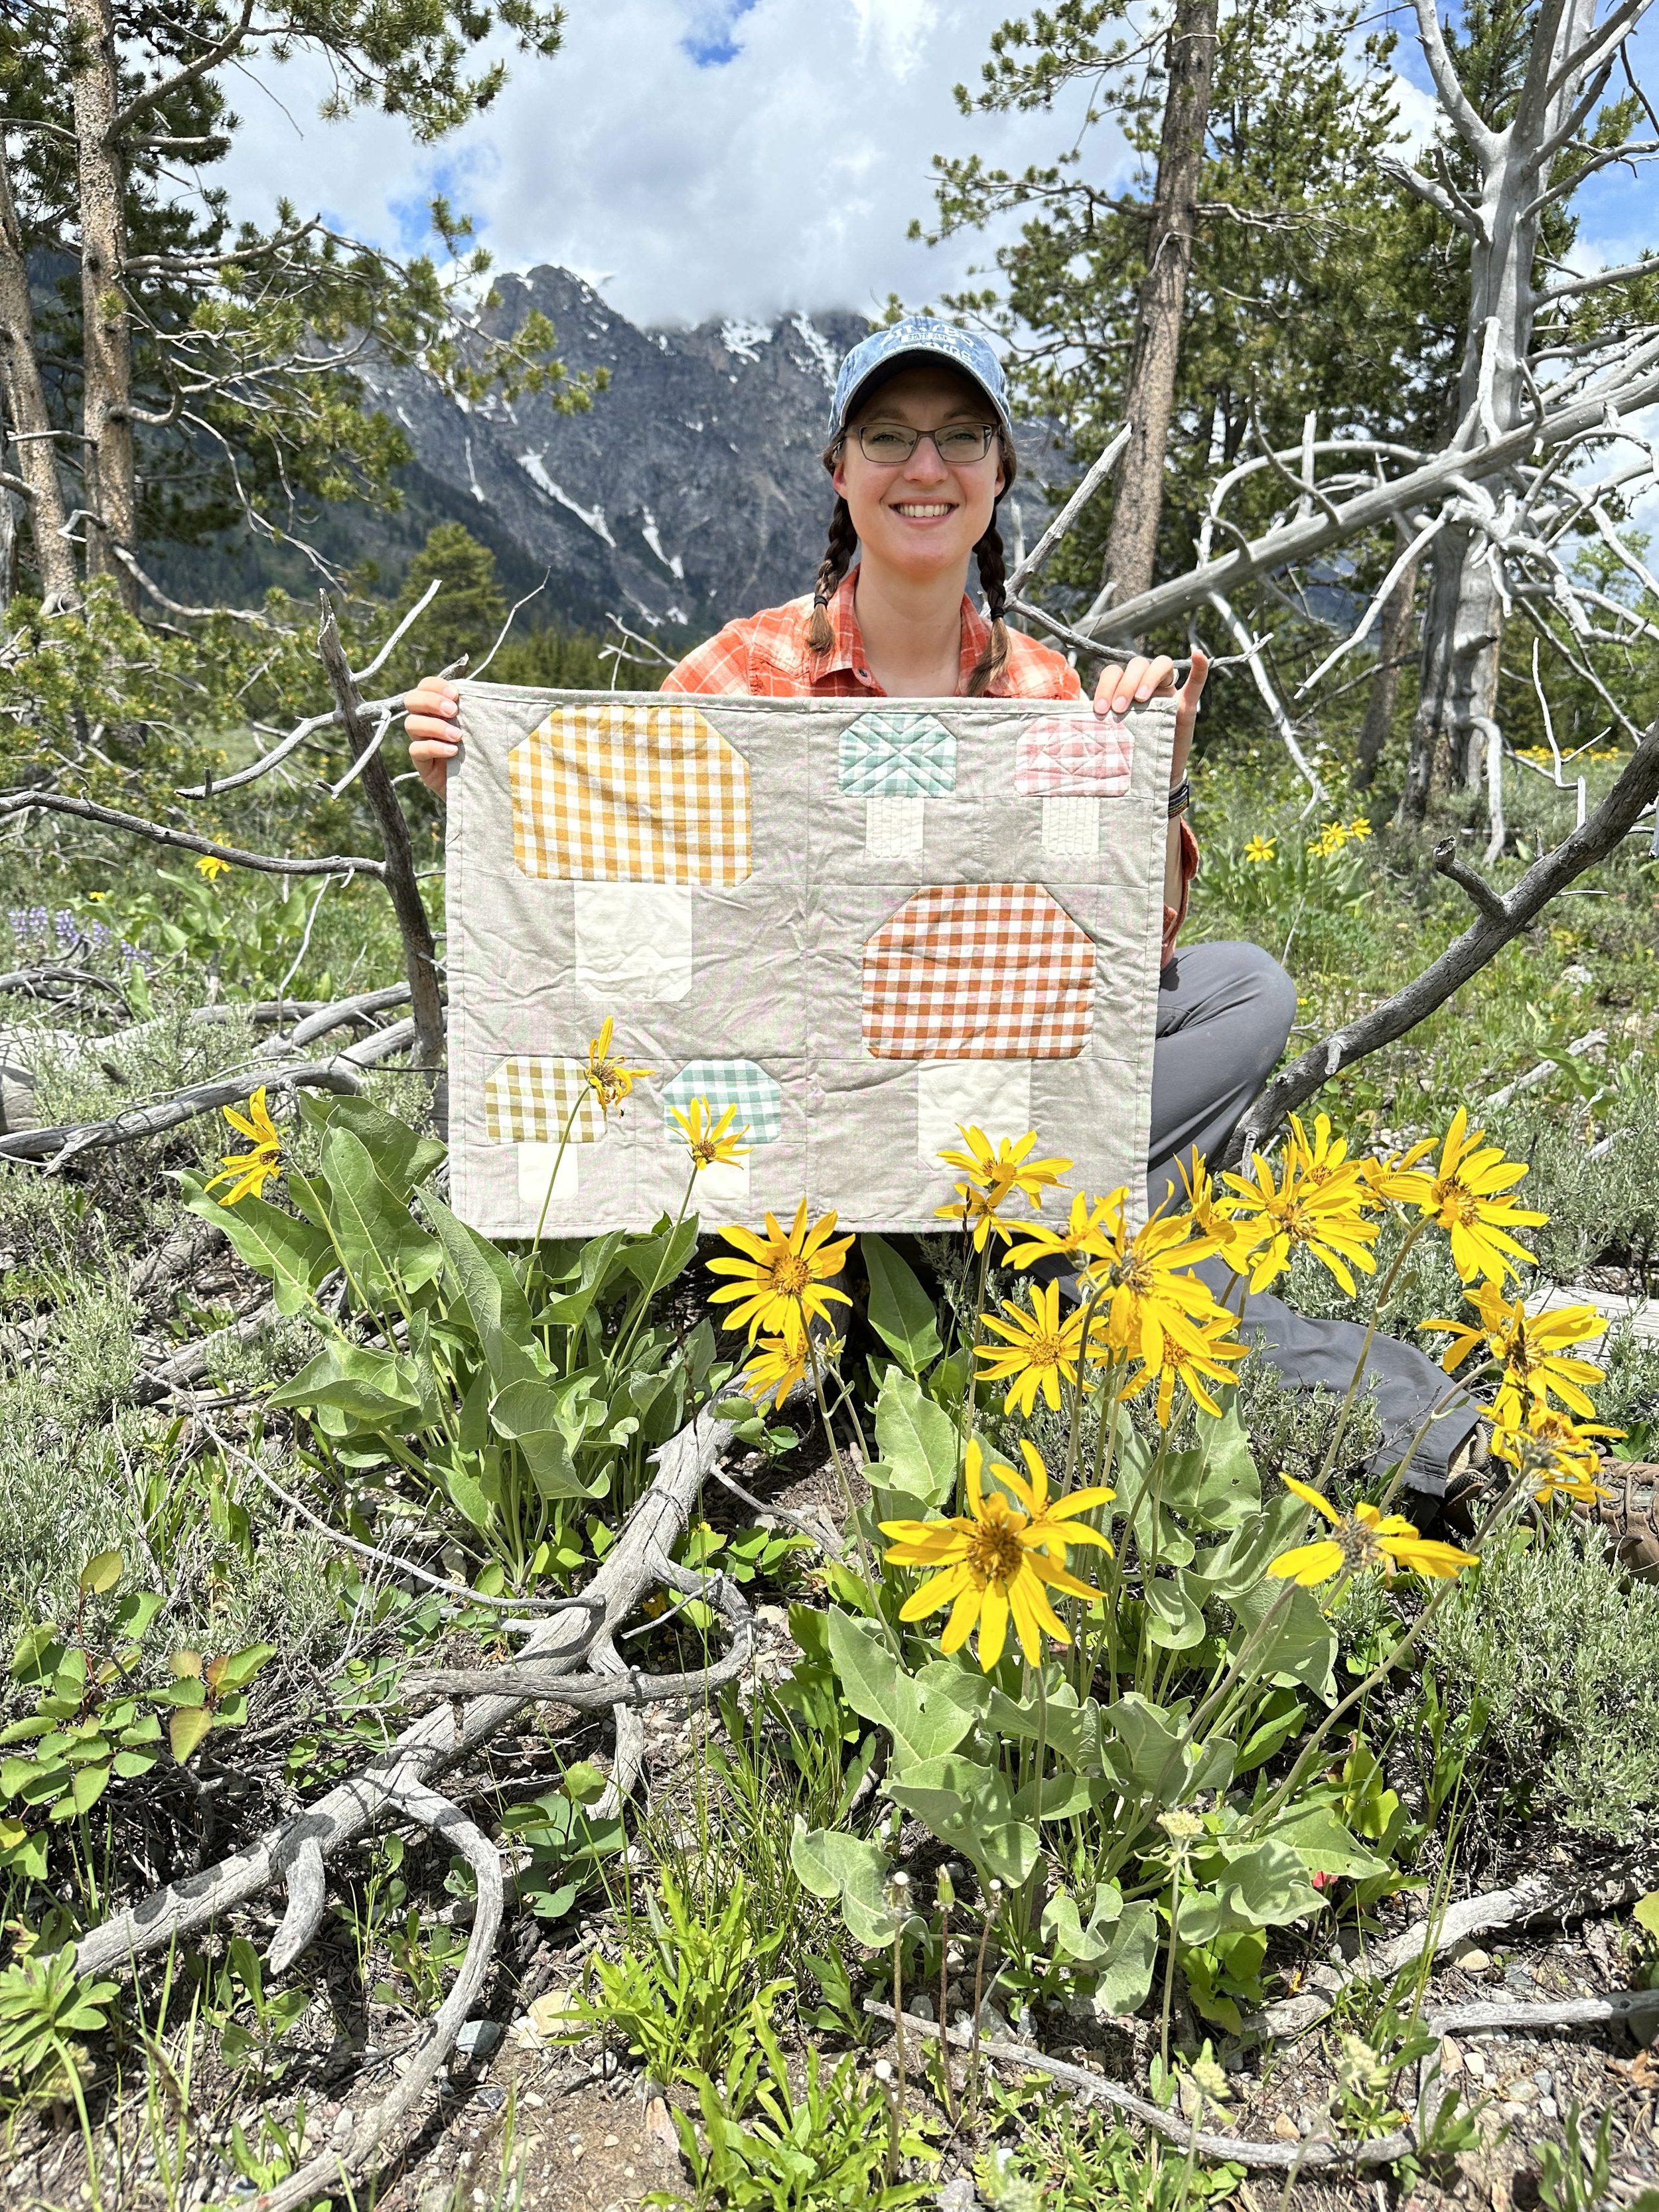
Note: the quilt shown here is Calico Mushrooms from Lori Holt’s Scrappiness is Happiness. I used Fableism Everyday Chambray, Sprout Wovens, and Camp Ginghams from our shop.
How to do Big Stitch Binding
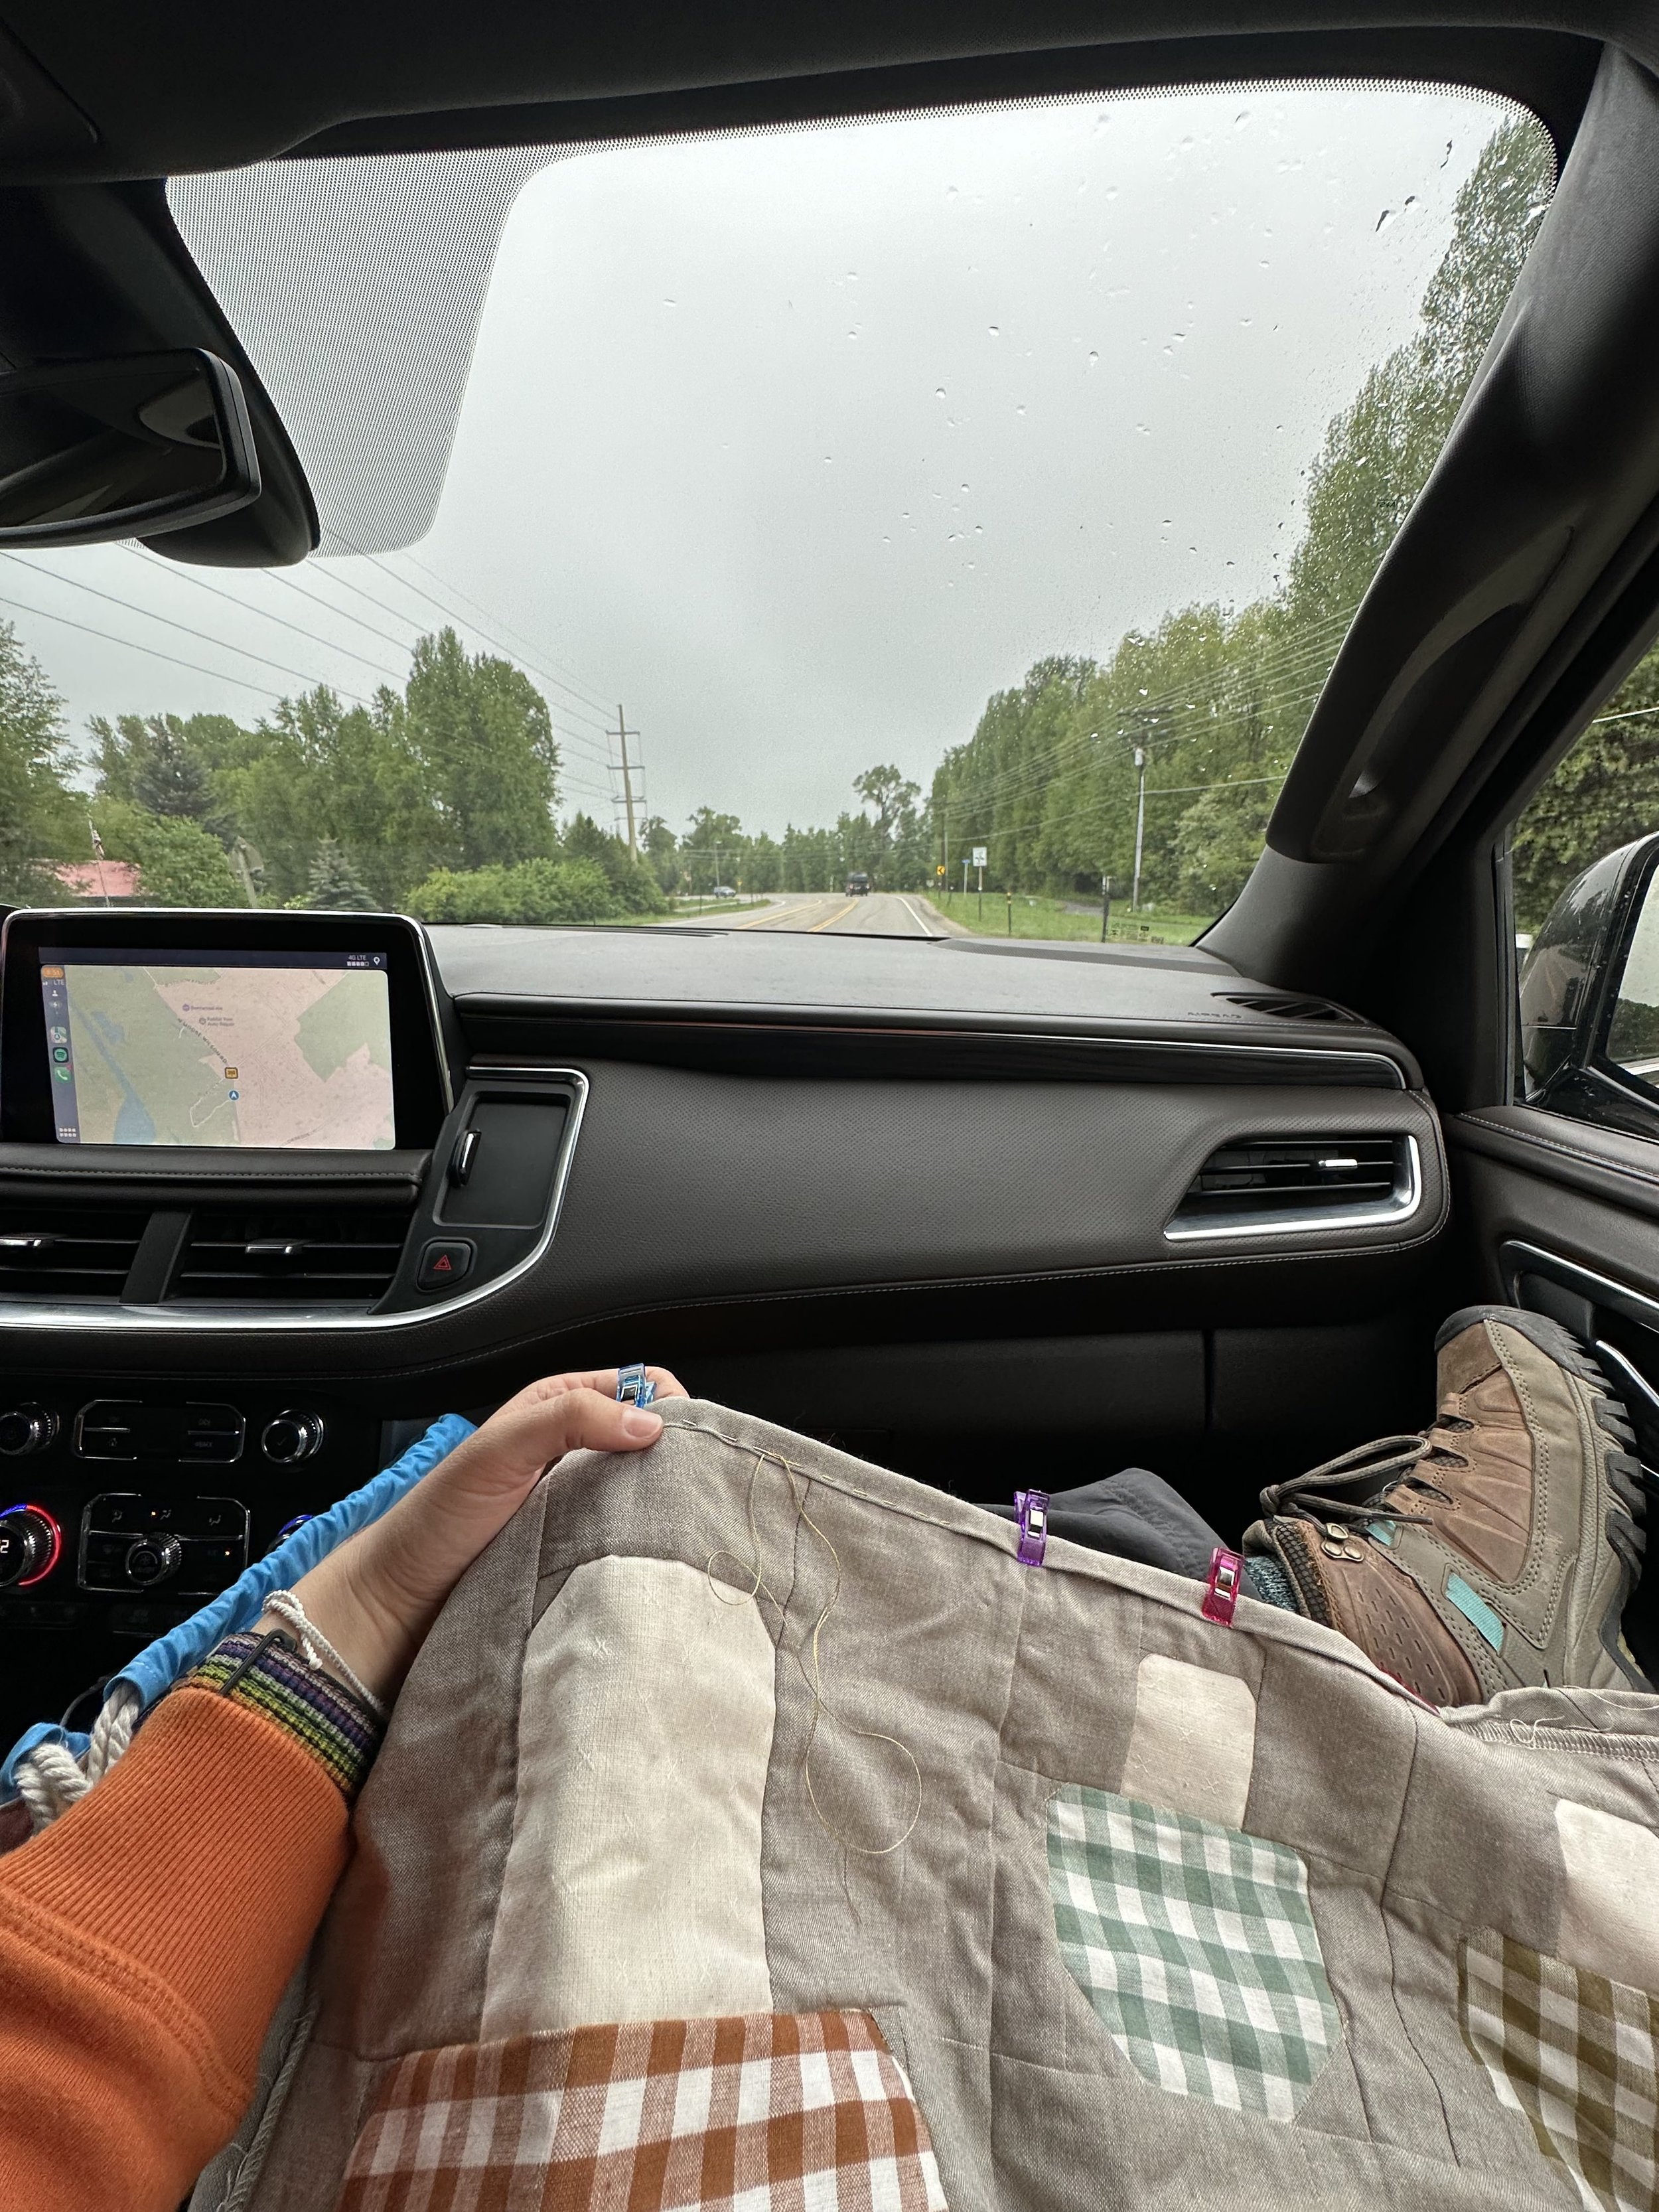
Make your binding and attach it to one side of your quilt (use this machine binding tutorial if you’re new to making binding). I decided to attach my binding by machine to the back so my hand stitching shows on the front of this cute mini quilt
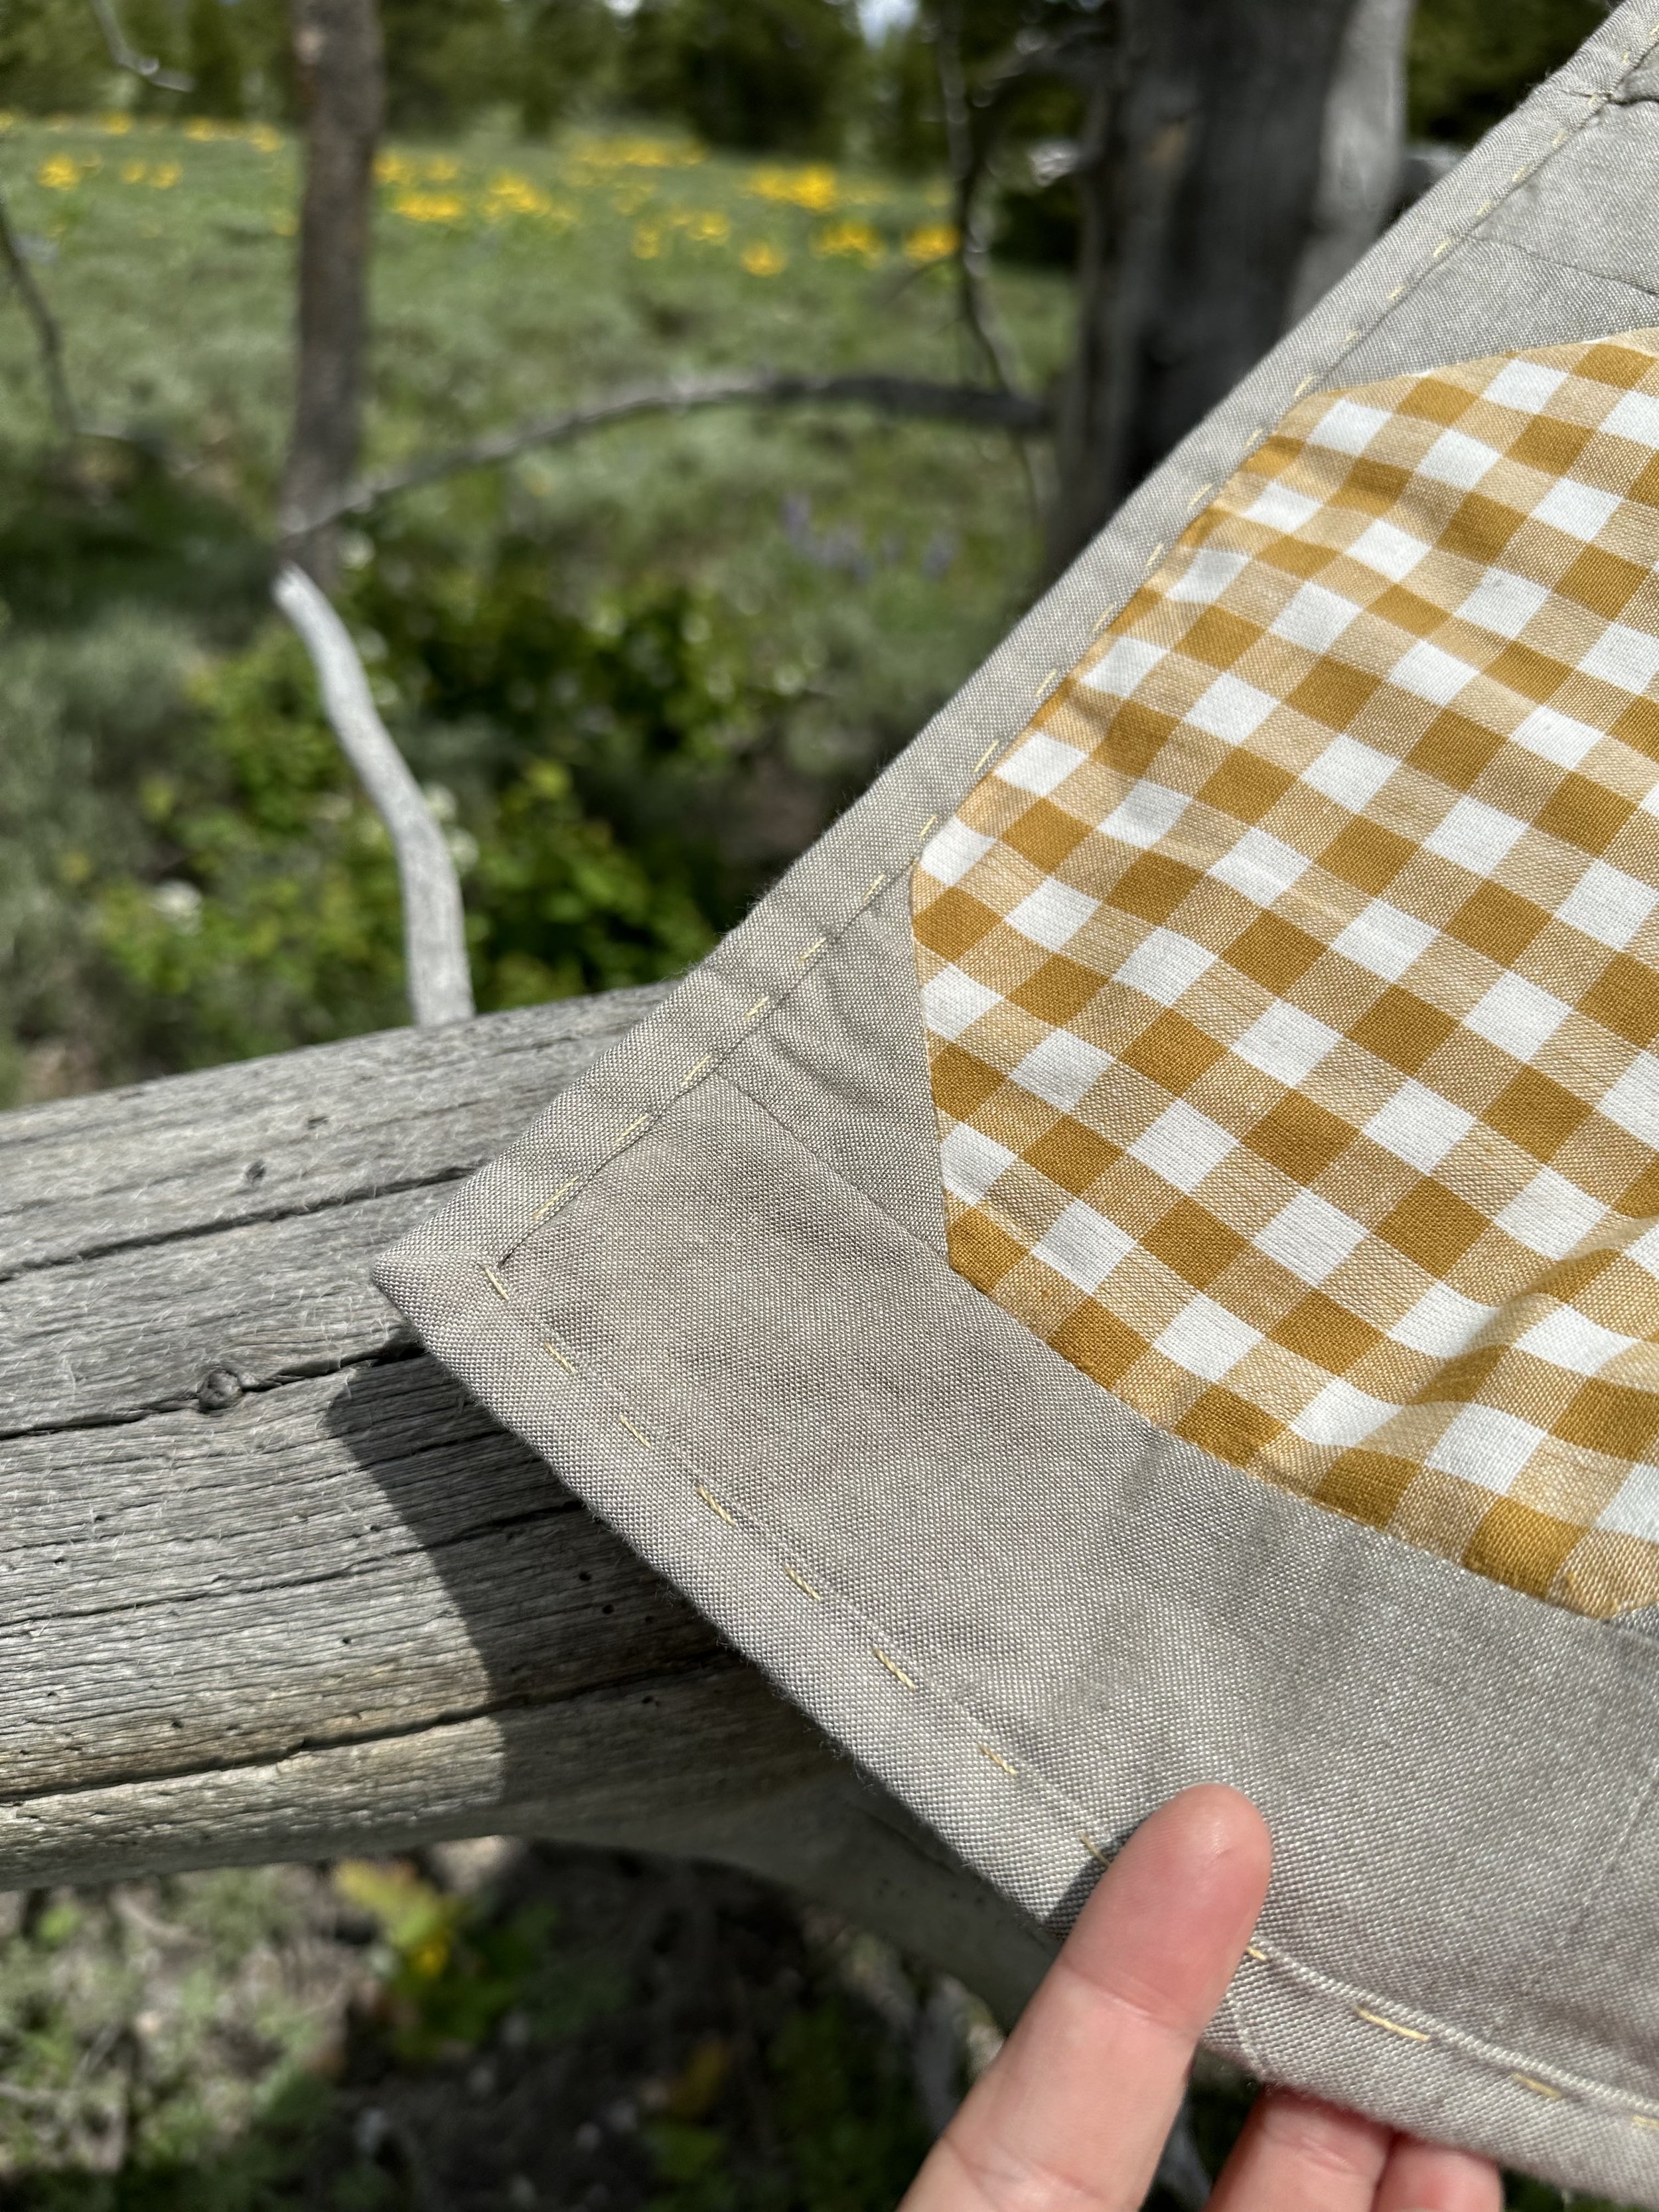
Press the binding away from the first side to create a sharp crease. Begin wrapping the binding to the second side and secure with binding clips. (I like to start 6-8 inches before a corner, clip around the corner, then clip 6-8 inches down the next side. Move the clips as you hand sew)
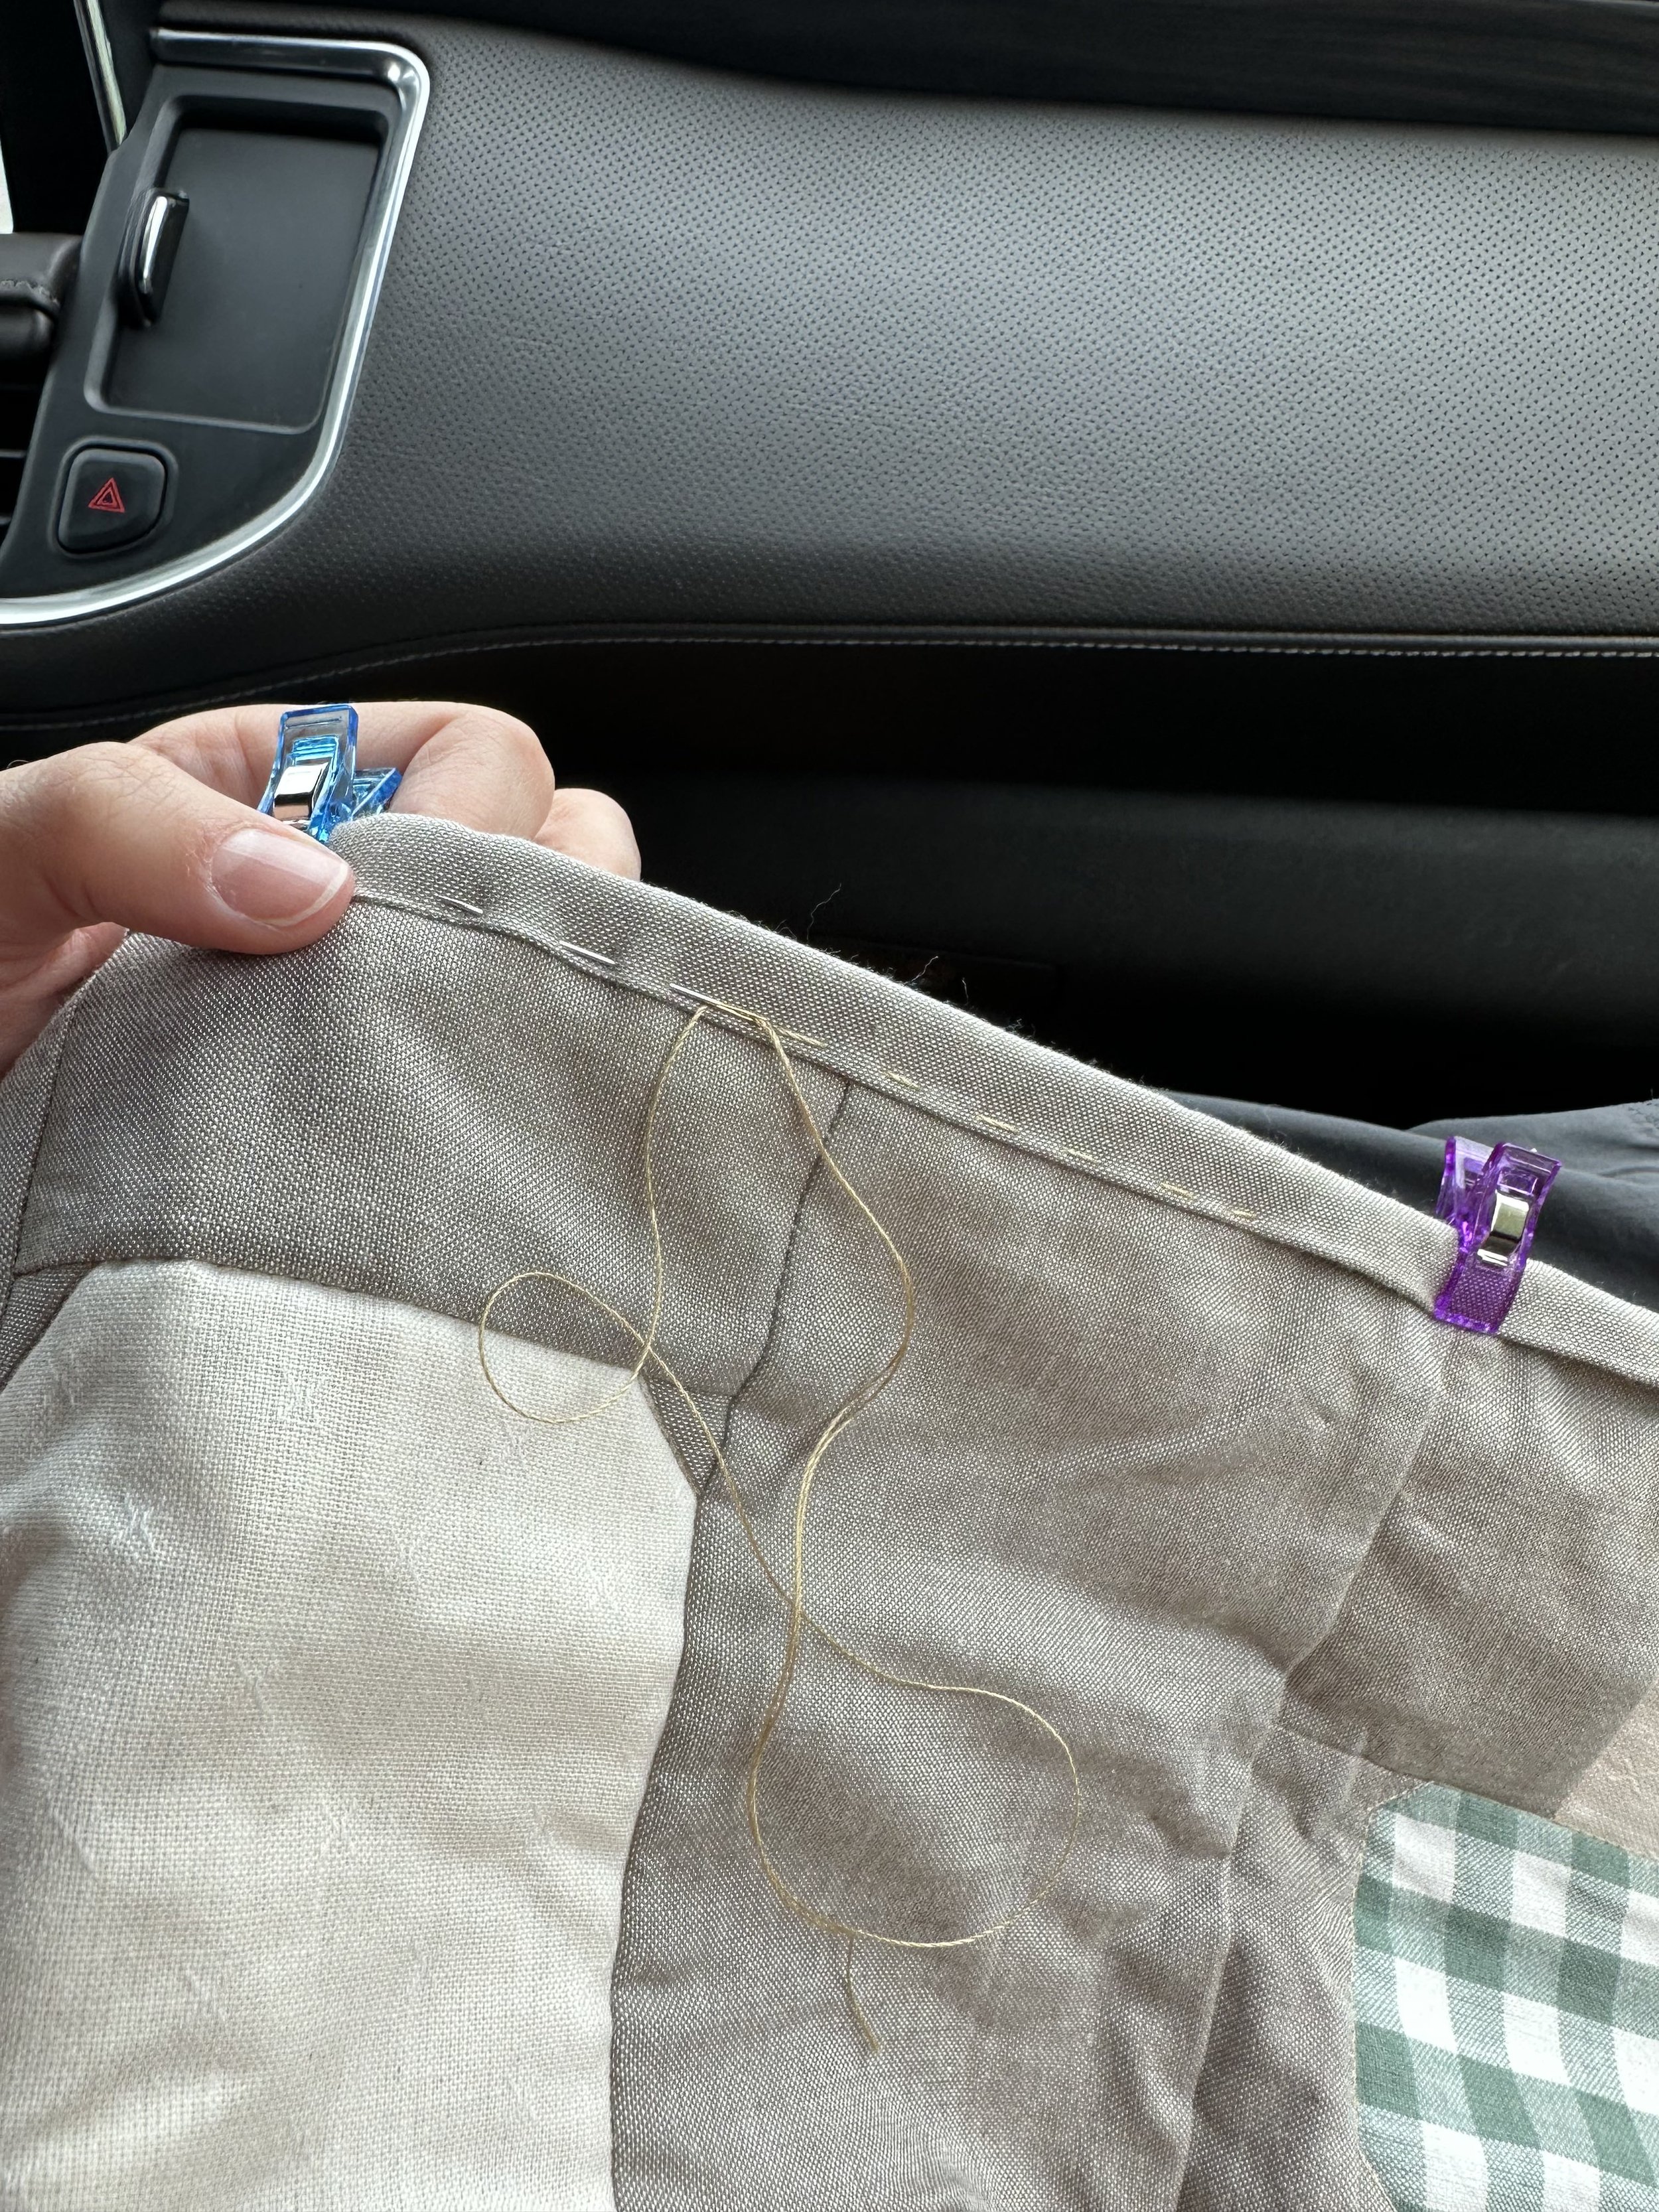
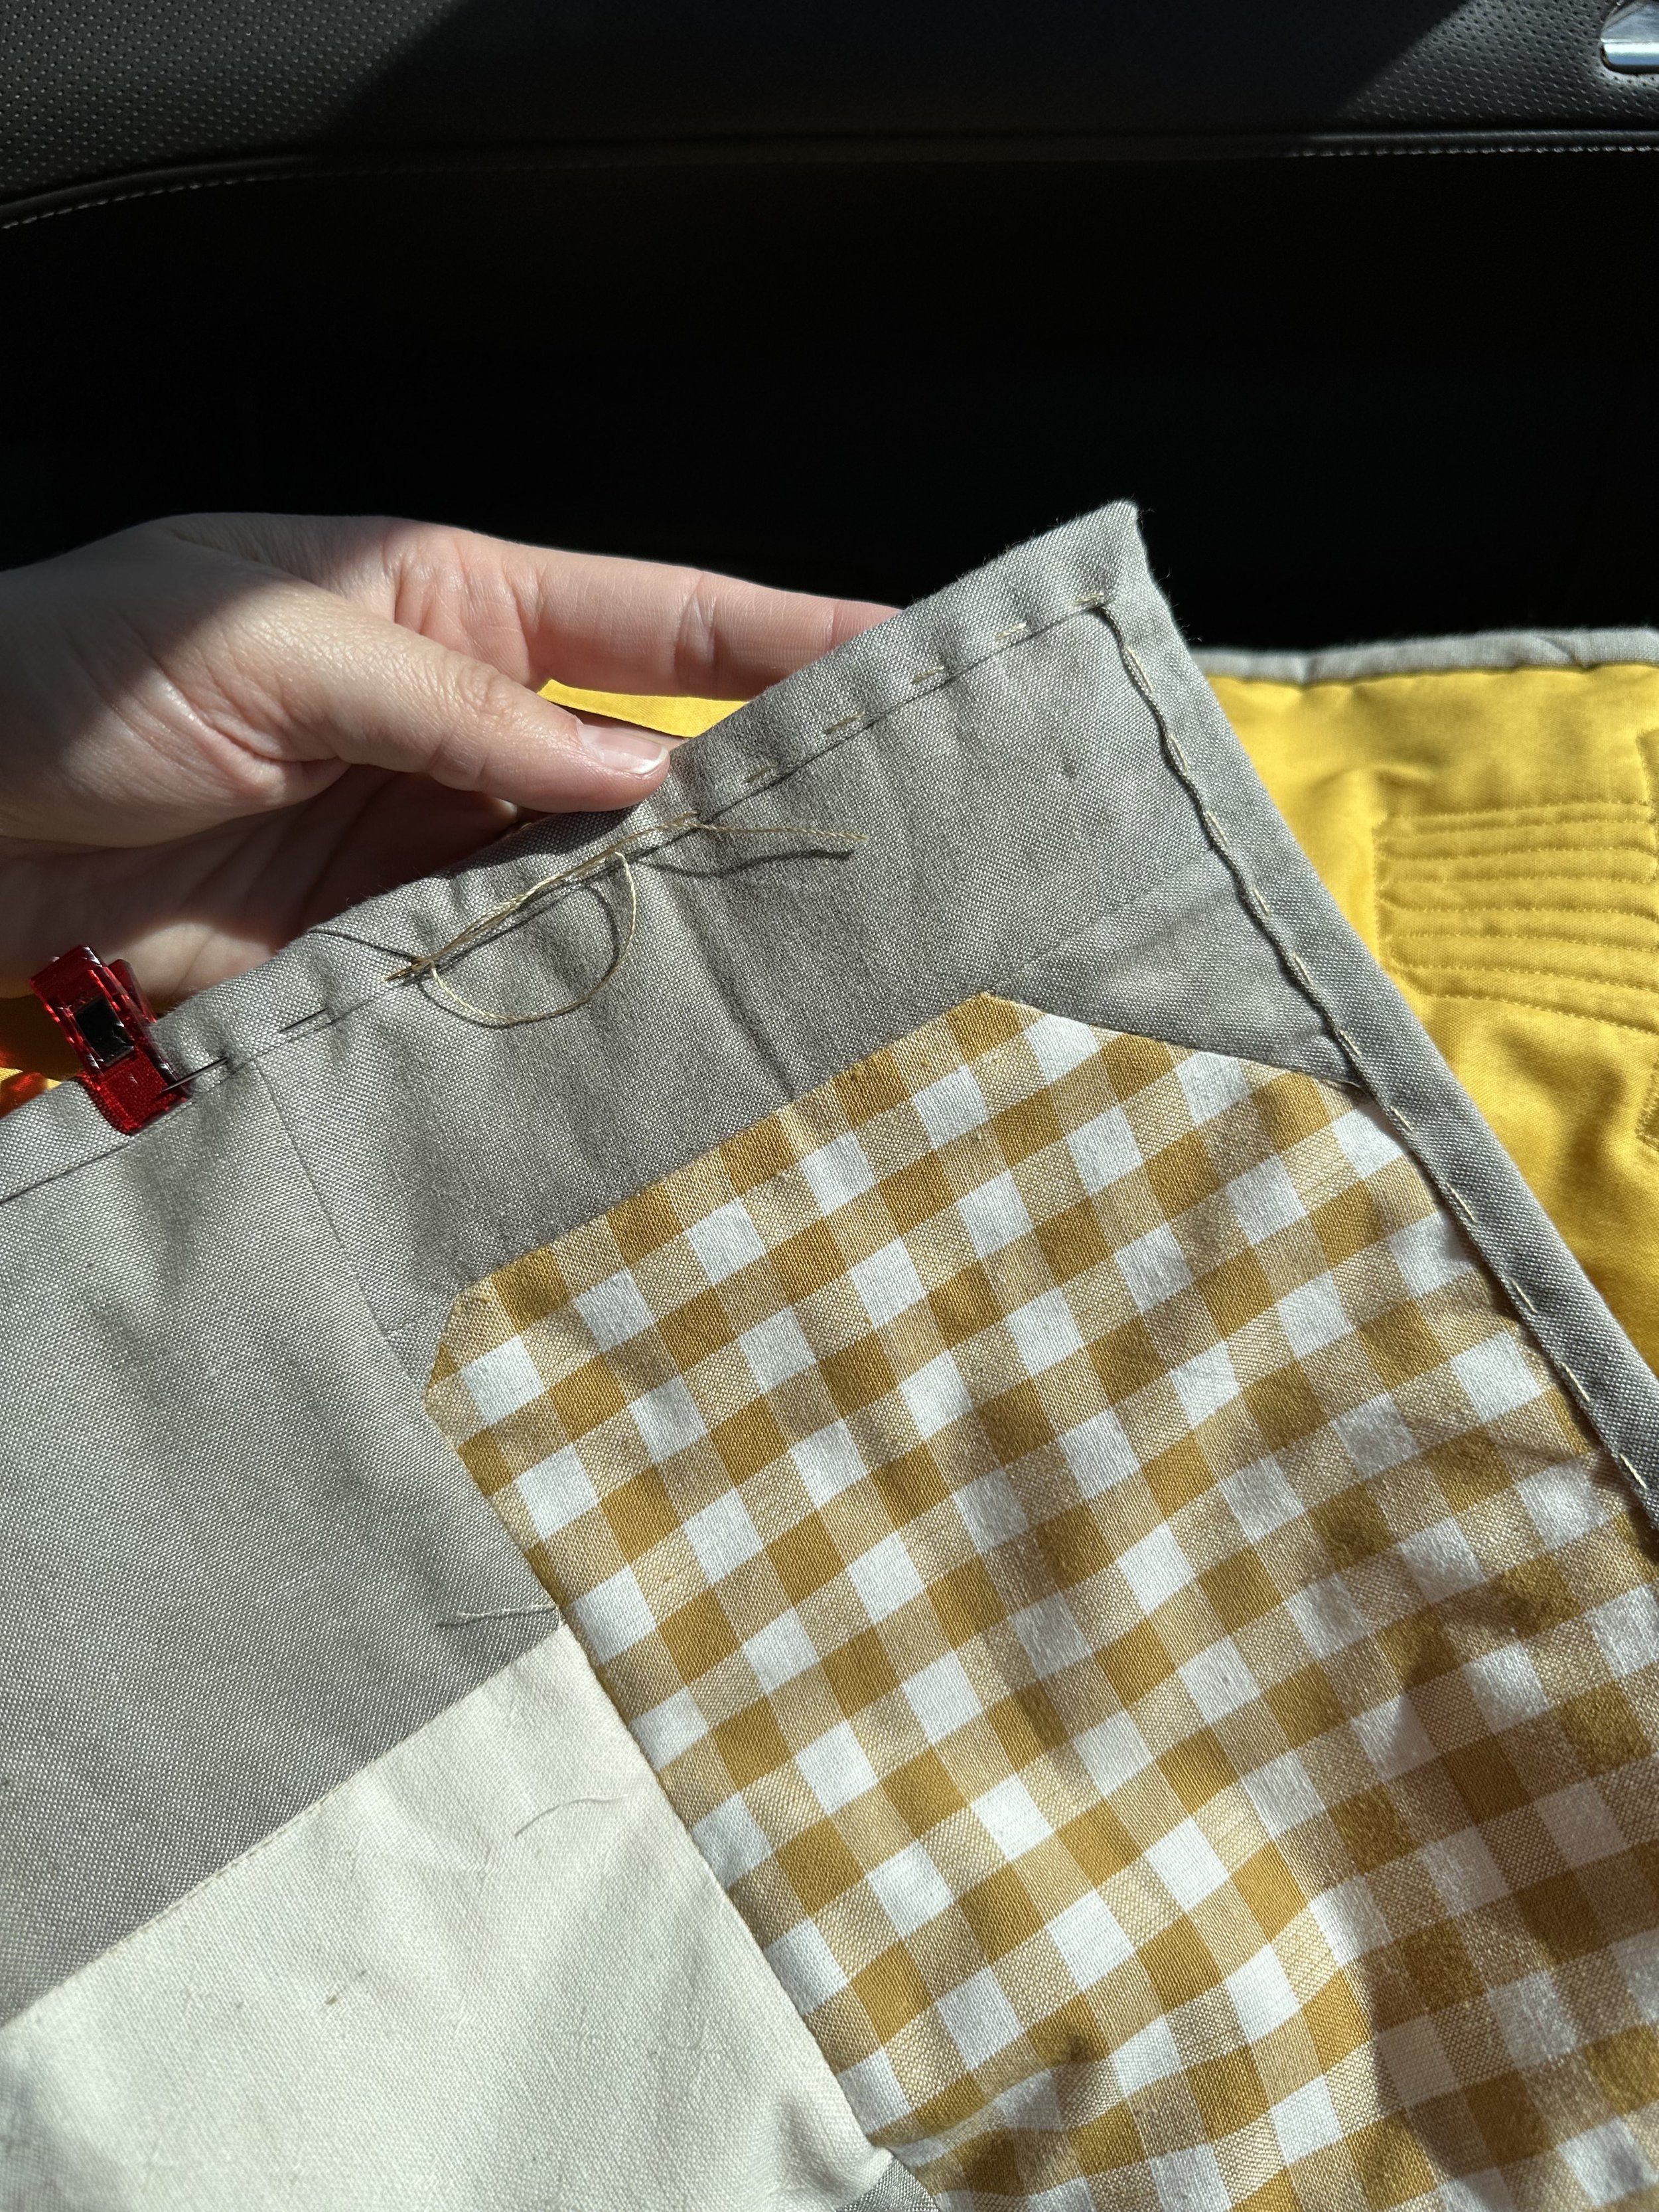
Thread your needle with 12wt thread (single or doubled according to your preference) and secure with a knot. Begin stitching under the binding, then thread thru the folded over binding so the knot is hidden
Pass the thread up thru the binding, then down again 1/8-1/4” later— passing only thru the nearest side of the quilt and batting before bringing the needle up again. Create stitches that show on the binding but not on the opposite side of the quilt with the gaps between stitches being slightly smaller than the stitches
When you reach the end of your thread, hide the knot under the binding as before and begin again with a fresh length of thread. Be sure to add an extra invisible stitch through each corner to keep that crisp fold
Carry on until you’ve stitched the whole binding— huzzah!

Resources
Summer Stash Busting 2023 full lineup
FREEBIES: If you’re wanting to try your hand at FMQ or use up some scraps with foundation paper piecing, you’ll love our Quilting Rockstar Library Resources
Share this blog if you found it helpful: