
How to Foundation Paper Piece
Foundation paper piecing creates sharp edges and corners, and it is a great way to bust some scraps!
(This post contains affiliate links)
I sort of "stumbled" into foundation paper piecing for a commission I received a few months back, and was surprised to discover that I really enjoy it. I'd always heard that FPP was kind of like being Ginger Rogers-- having to do everything Fred Astaire did but backward and in high heels. In some ways, this is true, but it's also true that, once you find your rhythm, dancing is dancing and it's hard not to have fun with it!
Band Camp: Learn to FPP with Me
Gadgets
I don't normally think of myself as a gadgety quilter, but there are a few tools that will make FPP a lot easier:
Daylight Company Wafer Light Box - The Wafer 1 is a modest 9 x 12 inches which is big enough to do most FPP blocks, and conveniently small enough to keep right next to your sewing machine while you work
Daylight Company Wafer Cutting Mat - PLUS, Daylight also makes clear cutting mats to go on their light boxes so you can trim your seam allowances right there on the light box by your sewing machine
Rotary Cutter - This is a must for basically everything, right? And if you don't go the Daylight Wafer route, definitely make sure you have a small cutting mat to sit by your machine so you don't have to get up after every seam to trim
Seam Roller - I don't press my FPP blocks until the end because I don't want to get up and down that often. I usually just finger press my seams, but if you want a little gadget, a wooden seam roller will do the trick.
Add A Quarter Ruler - I didn't think that this little ruler would make that big a difference, but it really does help trim the seam allowances faster and more accurately
Aurifil Thread - As always, I do my piecing with 50 wt cotton thread, usually in 2600, the world's most perfect gray
Step-by-Step
This tutorial jumps you straight into a "proper" quilt block. If you'd like an easy way to get the rhythm of the "stitching and flipping" of foundation paper piecing, check out my tutorial on string blocks here.

1) Start with a basic familiar pattern for your first time foundation paper piecing. Being able to visualize the final block will help you line up your fabrics correctly. I will be demoing on a simple diamond in a square. If you'd like me to send you this exact pattern, just drop your email here, and I’ll send you the Confident FPP Workbook for free!

2) Pull some fabrics - many FPP patterns will have a "background color" and a "main color." In this diamond in a square block, there are 4 "rounds," so I chose a different fabric for each round. Also, shorten your stitch length to 0.8-1.2.

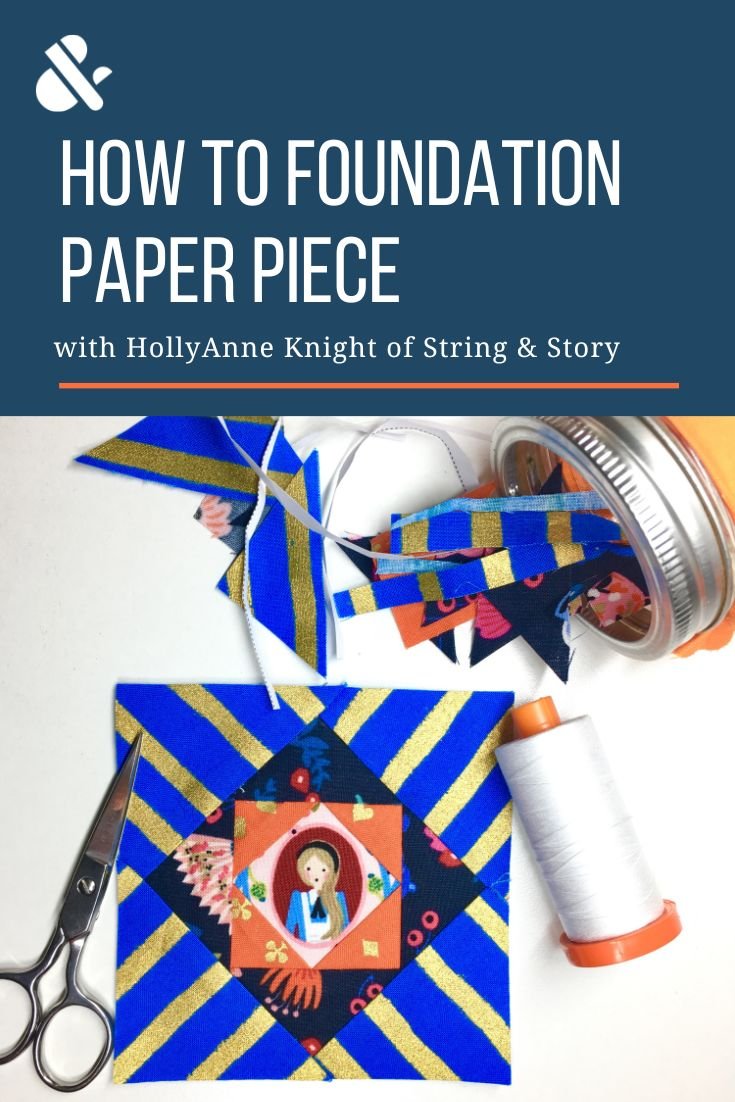
3) Line up the first piece of fabric (labeled with a 1) with the BACK of the fabric to the BACK of the paper (the right side of the fabric is facing DOWN when laid on your table or light box). Make sure that the fabric extends a quarter of an inch past the lines in every direction. (You can use any piece of fabric for the center-- since this design has a clear center, and I have this adorable Alice fabric, I'm choosing to create a little "fussy cut" shape)


4) Line up the second piece of fabric so that the RIGHT SIDES of the fabric are together and the outer edge extends about 5/8 inch beyond the seam line. The bulk of the fabric will be laying on the previous piece, and it will flip open in place after you sew. Again, make sure the piece of fabric is bigger than the space it will fill by at least a quarter of an inch in every direction. Carefully hold or pin the second piece in place, then sew ON the line between spaces 1 and 2.


5) Trim threads, then flip piece 2 open and make sure that it filled the space properly. If it did, pause to cheer for yourself, then, flip it back against piece 1, fold the foundation paper out of the way, and trim the seam allowance to 1/4". Flip piece 2 open again and finger press the seam. If you have a lot of extra fabric flopping around, you can also trim that off now, too. Just make sure that the piece that remains continues to cover the marked area with at least a 1/4 inch excess


6) Repeat the process of lining up fabric, stitching, trimming, and pressing for each piece of your block going in numerical order (In this case, going 1-13)

7) NOTE: as you get close to the edges, make sure you pieces extend all the way through that outer seam allowance. If they don't, as demonstrated above, the block will be at risk of a "blow out" (seam coming loose or exposed) when the block is pieced together with other blocks

8) Finally, square up the entire block, leaving the 1/4" seam allowance around the outer edge and press it
9) After your block is pieced with other blocks or pieced to sashing, you will gently remove the paper from the back. You can use tweezers to get little pieces if they give you a hard time. Completely remove the paper before you baste your quilt.
Congratulations! You and your sewing machine can now dance backward in high heels! Now bust those awkward little scraps and turn them into lovely blocks instead! By the way, don't forget to pin this post so you can find it later and so that your friends can find it on Pinterest. You can find me on Pinterest @stringandstory.

Share this blog if you found it helpful: