
Marking Tools for Free Motion Quilting
“Marking” a quilt is a way of giving yourself visual reference points to make sure your free motion quilting comes out looking like and spaced as you desire. There are a variety of pencils, pens, and other products available: let’s take a look at the ones I consider the best.
(This post contains affiliate links)
Before we even get started, a confession: I don’t mark my quilts very often. Sometimes it’s because I’m using the piecing as my reference. Sometimes I’m just not overly picky about placement. But a LOT of the time it’s because I’m super careful about making marks on my quilt. There’s always a chance something could go wrong and the marks don’t come out (we’ve all heard the stories!). So, first, a caution:
Be very careful about making marks on your quilt. I encourage avoiding ink and color at all costs. Yes, this includes Frixion Pens, Crayola Markers, water soluble markers, disappearing inks, and colored chalks. Sooner or later, something will go wrong. So just don’t use these on your quilt.
(Sorry to raise my voice, but, y’all— I’ve heard and seen ALL THE HORROR STORIES)
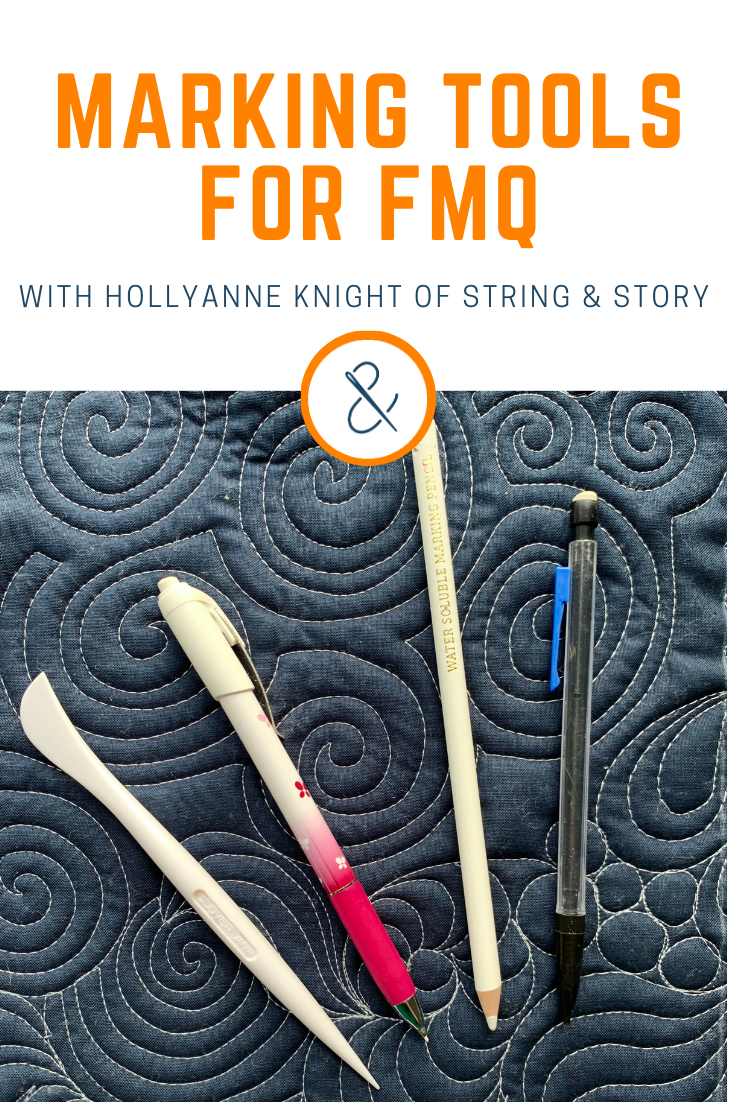
That being said, here’s my top 4 marking tools!
Favorite Marking Tools
Hera Marker
It’s possible you’ve used a ruler and the back of a butter knife to mark straight lines on your quilt before. The Hera Marker is basically the same Idea— create a little bit of friction on the fabric to create a crease, that will settle/ wash out just fine later. This is my favorite tool for marking lines.
Ceramic Pencil
For dark fabrics, I like the ceramic pencil. It’s basically a mechanical pencil with a white ceramic “lead.” It allows me to create pretty precise lines, and rubs/ washes off easily.
Chalk Pencil
White only— I don’t want to risk the dyes staining. Other than that, I use this pretty much the same as the ceramic pencil, but the lines are less precise
Regular Ol’ Pencil
For light fabrics, I literally grab a good Dixon Ticonderoga #2 or a handy mechanical graphite pencil. These lines do need to be washed out or erased off (which can be rough on fabric), though, so keep your markings as minimal and light as possible.
When To Mark A Quilt
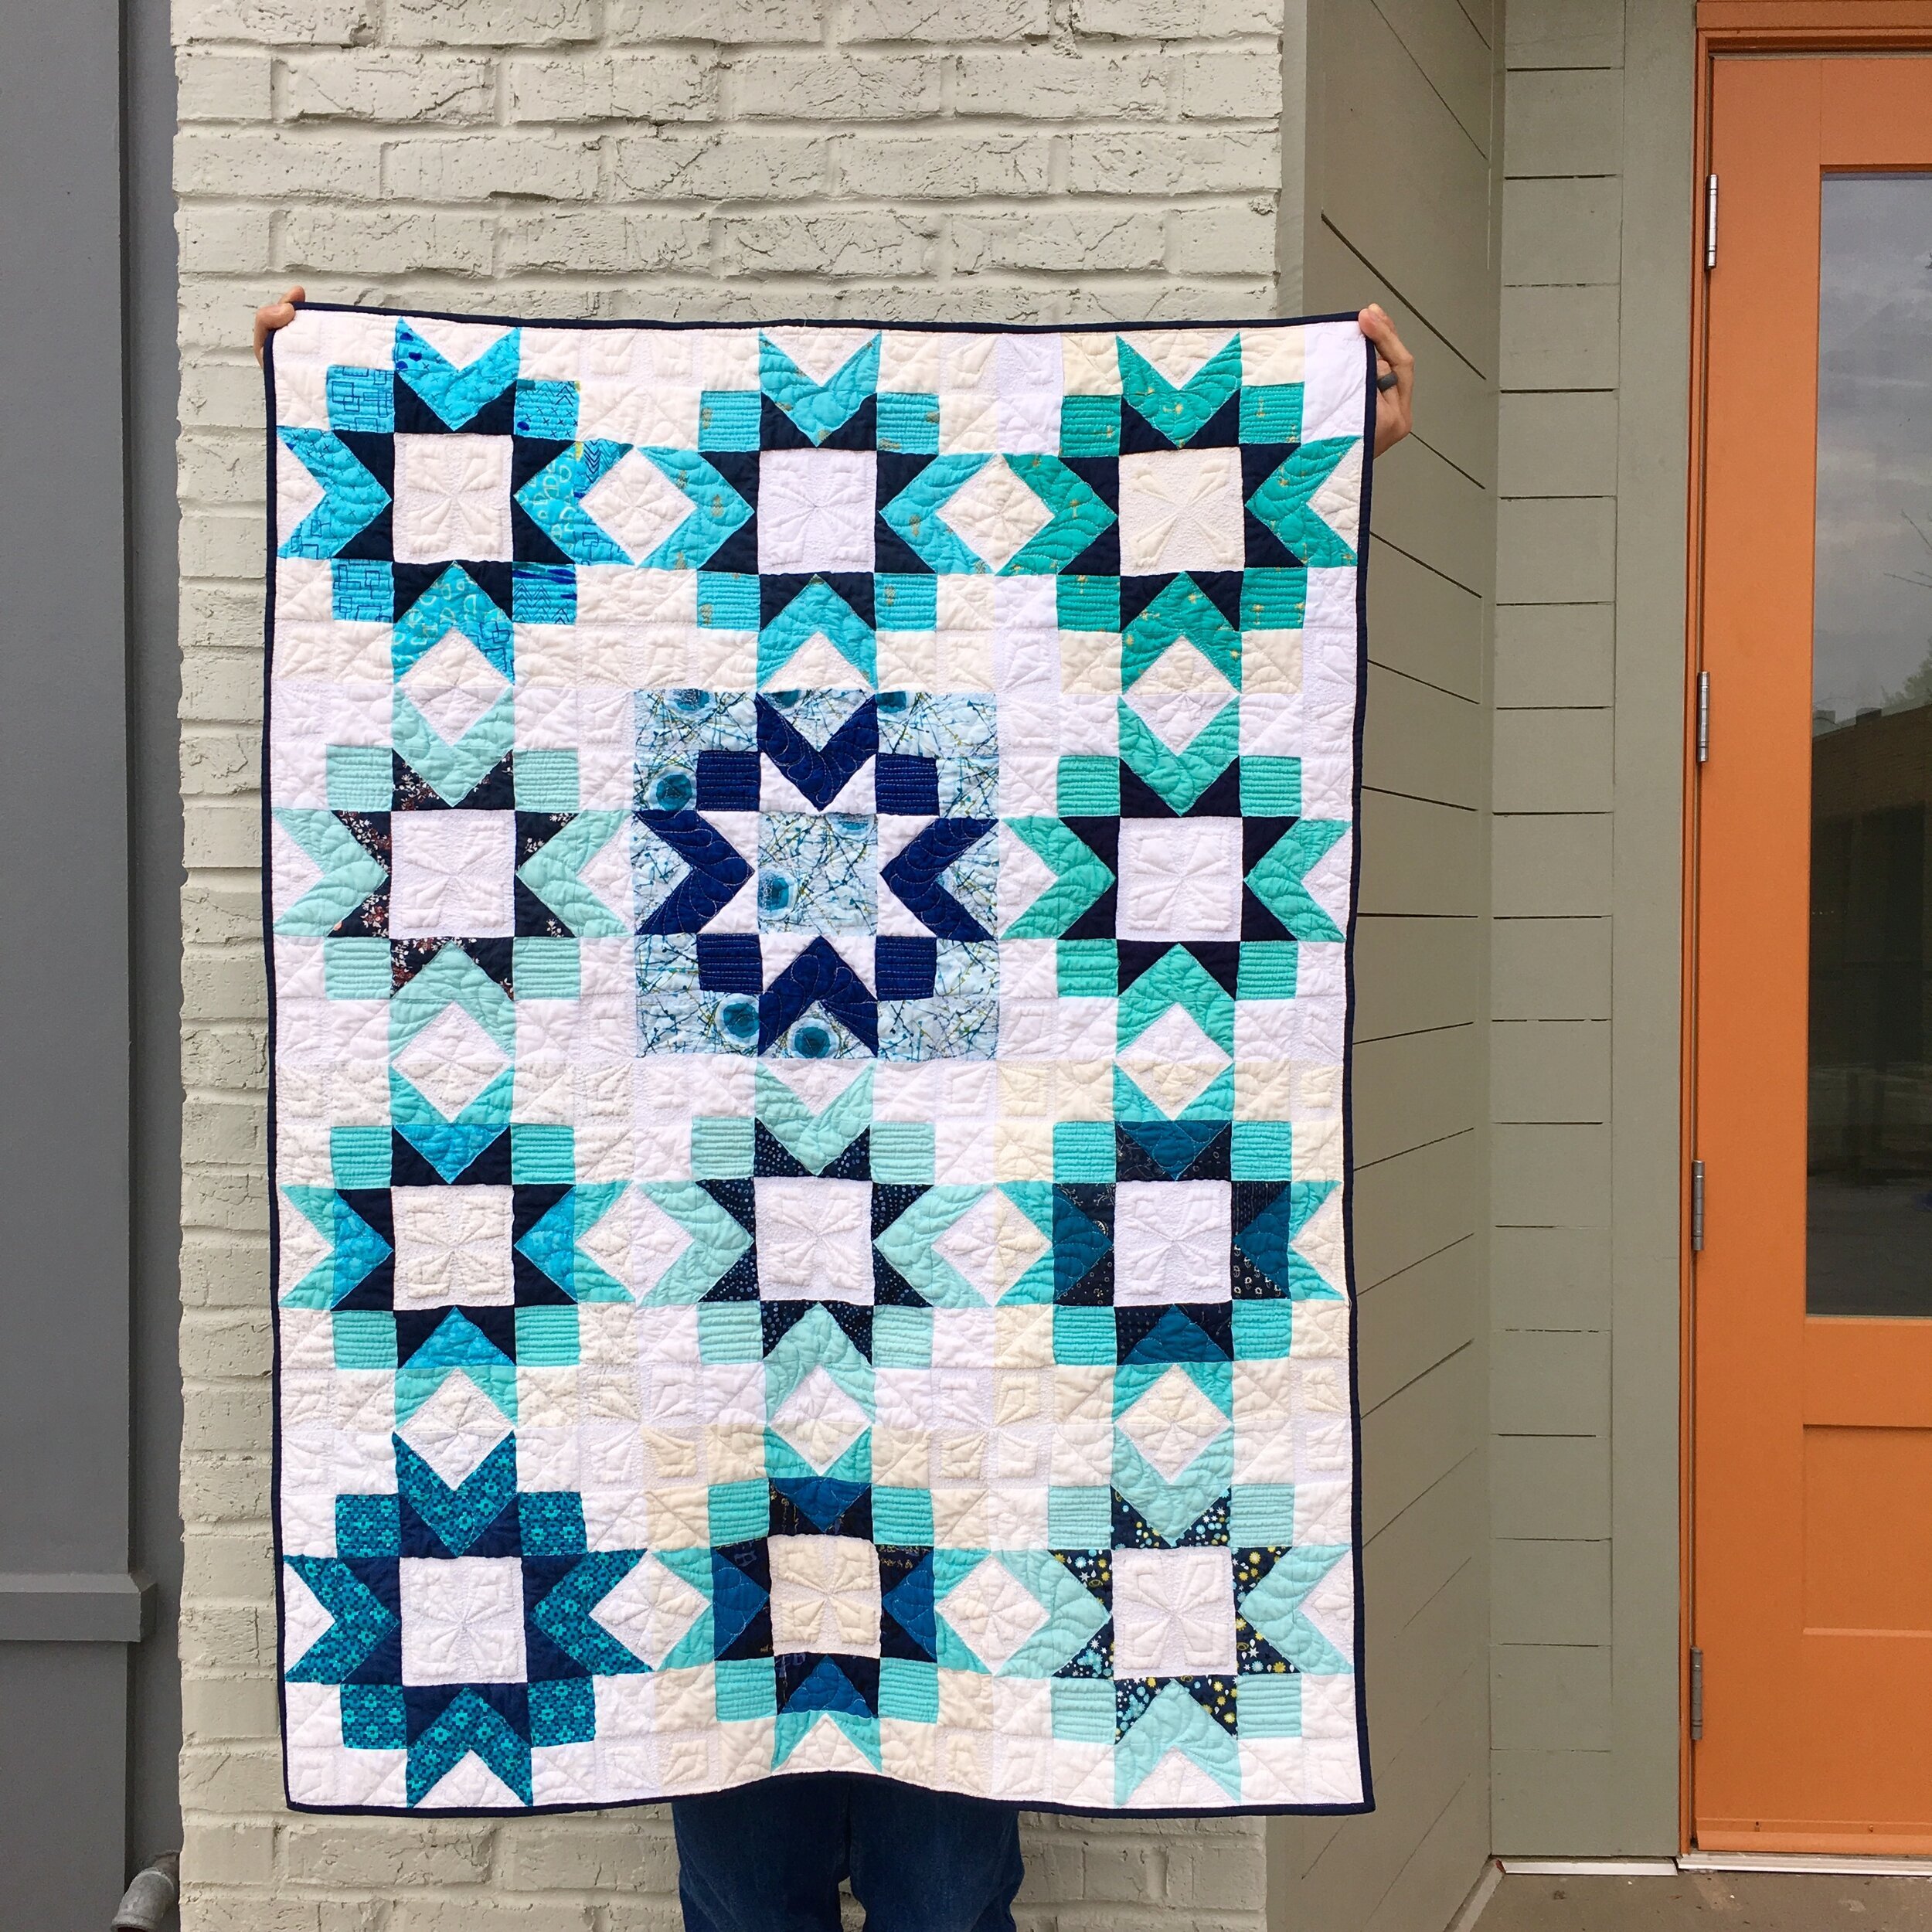
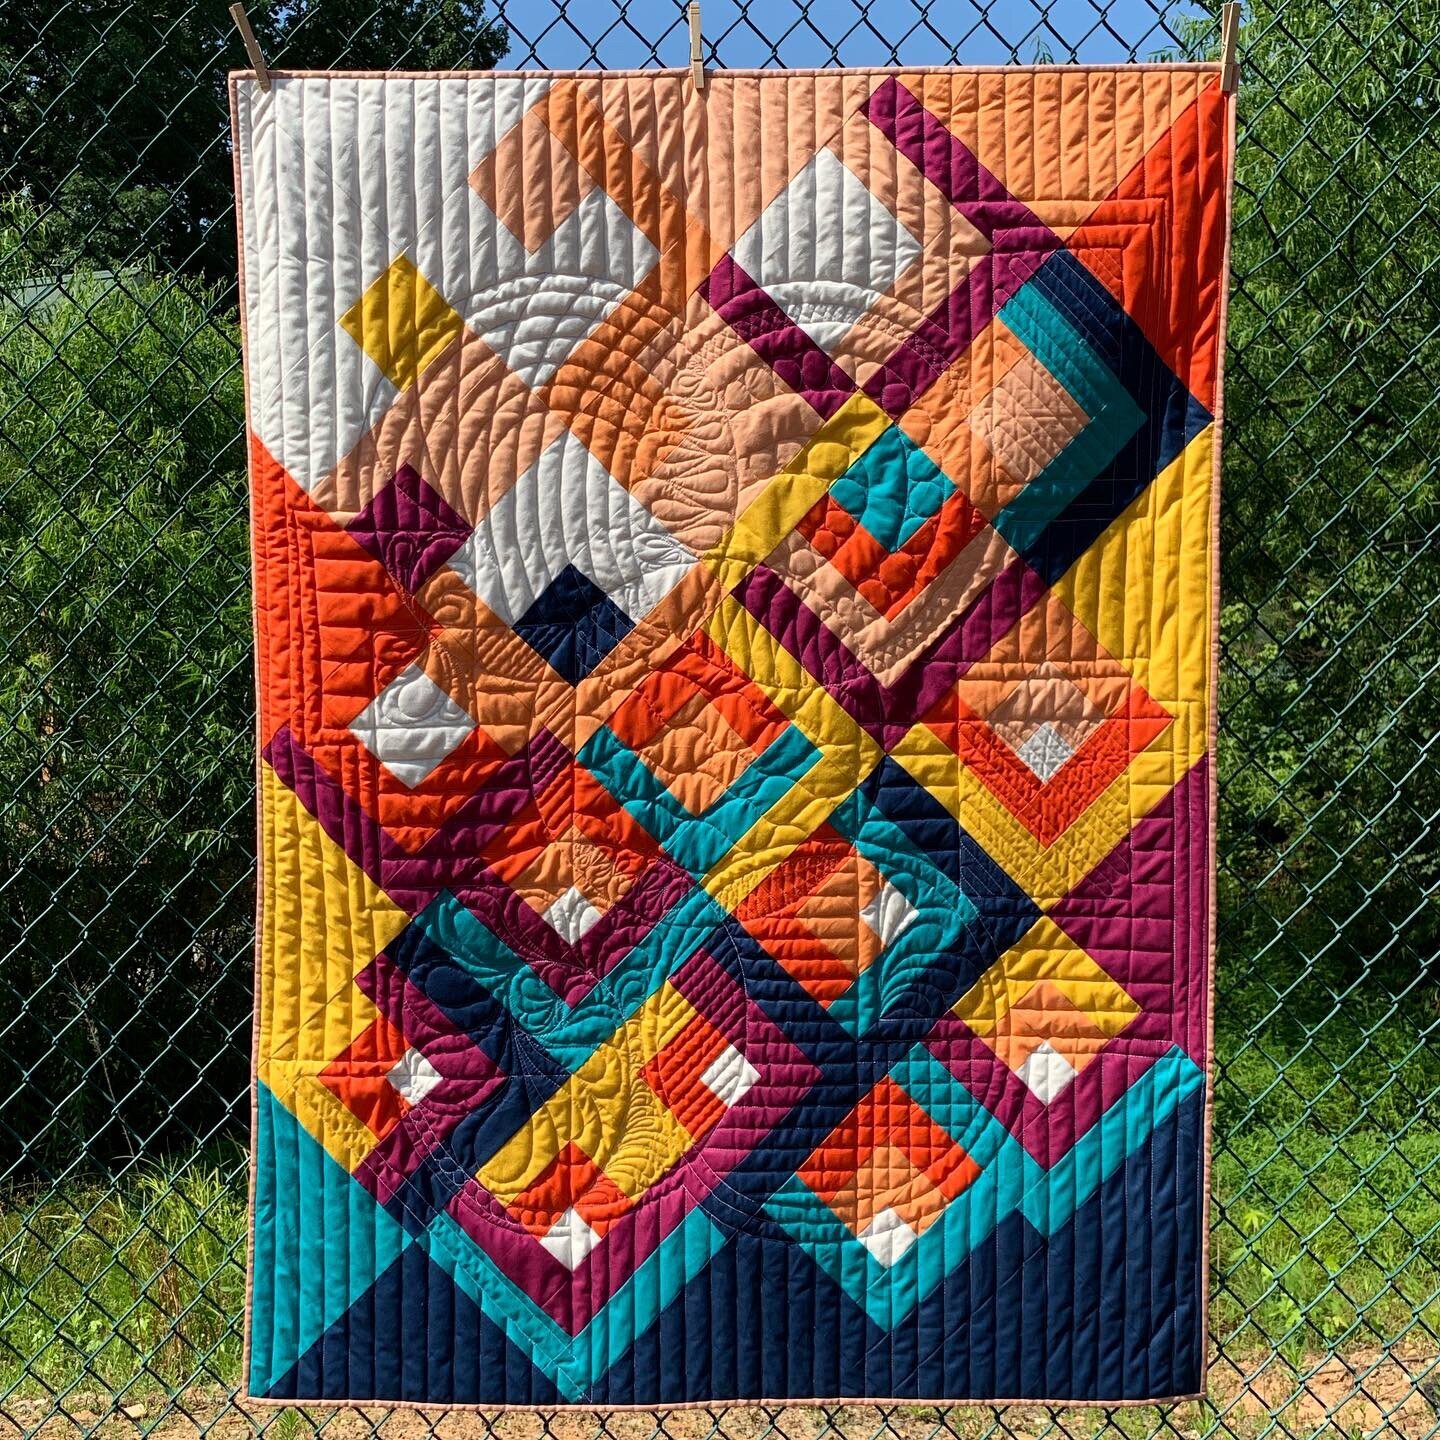
As I mentioned at the top, marking is done to create visual reference points for a particular quilting plan. I almost always draw out my quilting plan on paper before I start quilting (Click here to read about making quilting plans). Even so, I will mark a quilt if I’m working in an area where there is no piecing for reference or if I’m doing something that contrasts with the piecing like these quilts:
On the whole, how much marking you do will be determined by your comfort level and style— as with many things in quilting, there is no right or wrong answer here.
Concluding Thoughts
On the whole, I don’t have strong opinions about when, where, or how much you should mark your quilts. But please be careful with WHAT you use to mark your quilt to keep your gorgeous work from undesirable stains due to inks and dyes.