
How to Baste a Quilt
Getting all three layers of a quilt smooth can be a challenge for any quilter. Join me as I show you how to do basic pin basting so that you can quilt with confidence!
(This post contains affiliate links)

In between making your quilt top (piecing) and actually quilting your quilt is basting. Basting is taking your backing, batting, and top and making them into a quilt sandwich. In concept, it’s pretty simple, but it can feel tricky to get all three layers smooth and free of wrinkles. Wrinkles mean your quilt will be lumpy and bumpy after it is quilted, and we definitely don’t want to do that. Let’s talk about the different ways you can baste your quilt, then I’ll show you how to pin baste.
Types of Basting
There are three primary methods of basting: thread basting, spray basting, and pin basting.
Thread basting uses long temporary stitches (sometimes done by hand and sometimes done with a longarm). This is the most traditional form of basting, but it is probably the most rare today.
Spray basting uses a temporary fixative to stick the three layers of quilting together. Most people who spray baste do so with an aerosol like this one. Store bought bastes are generally fast and easy, but they can be expensive, stinky, and the overspray can be a mess. Personally, I prefer Homemade Spray Baste. It takes longer, but I love how smooth it makes my quilts.
The final, and probably most common method of basting, is pin basting. This method uses safety pins to hold the three layers together, and you remove the pins as you quilt. Safety pins are easy to come by (you may even have some at home already), so this is often the first basting method new quilters try. Let’s take a closer look at how to pin baste:
How to Pin Baste Your Quilts
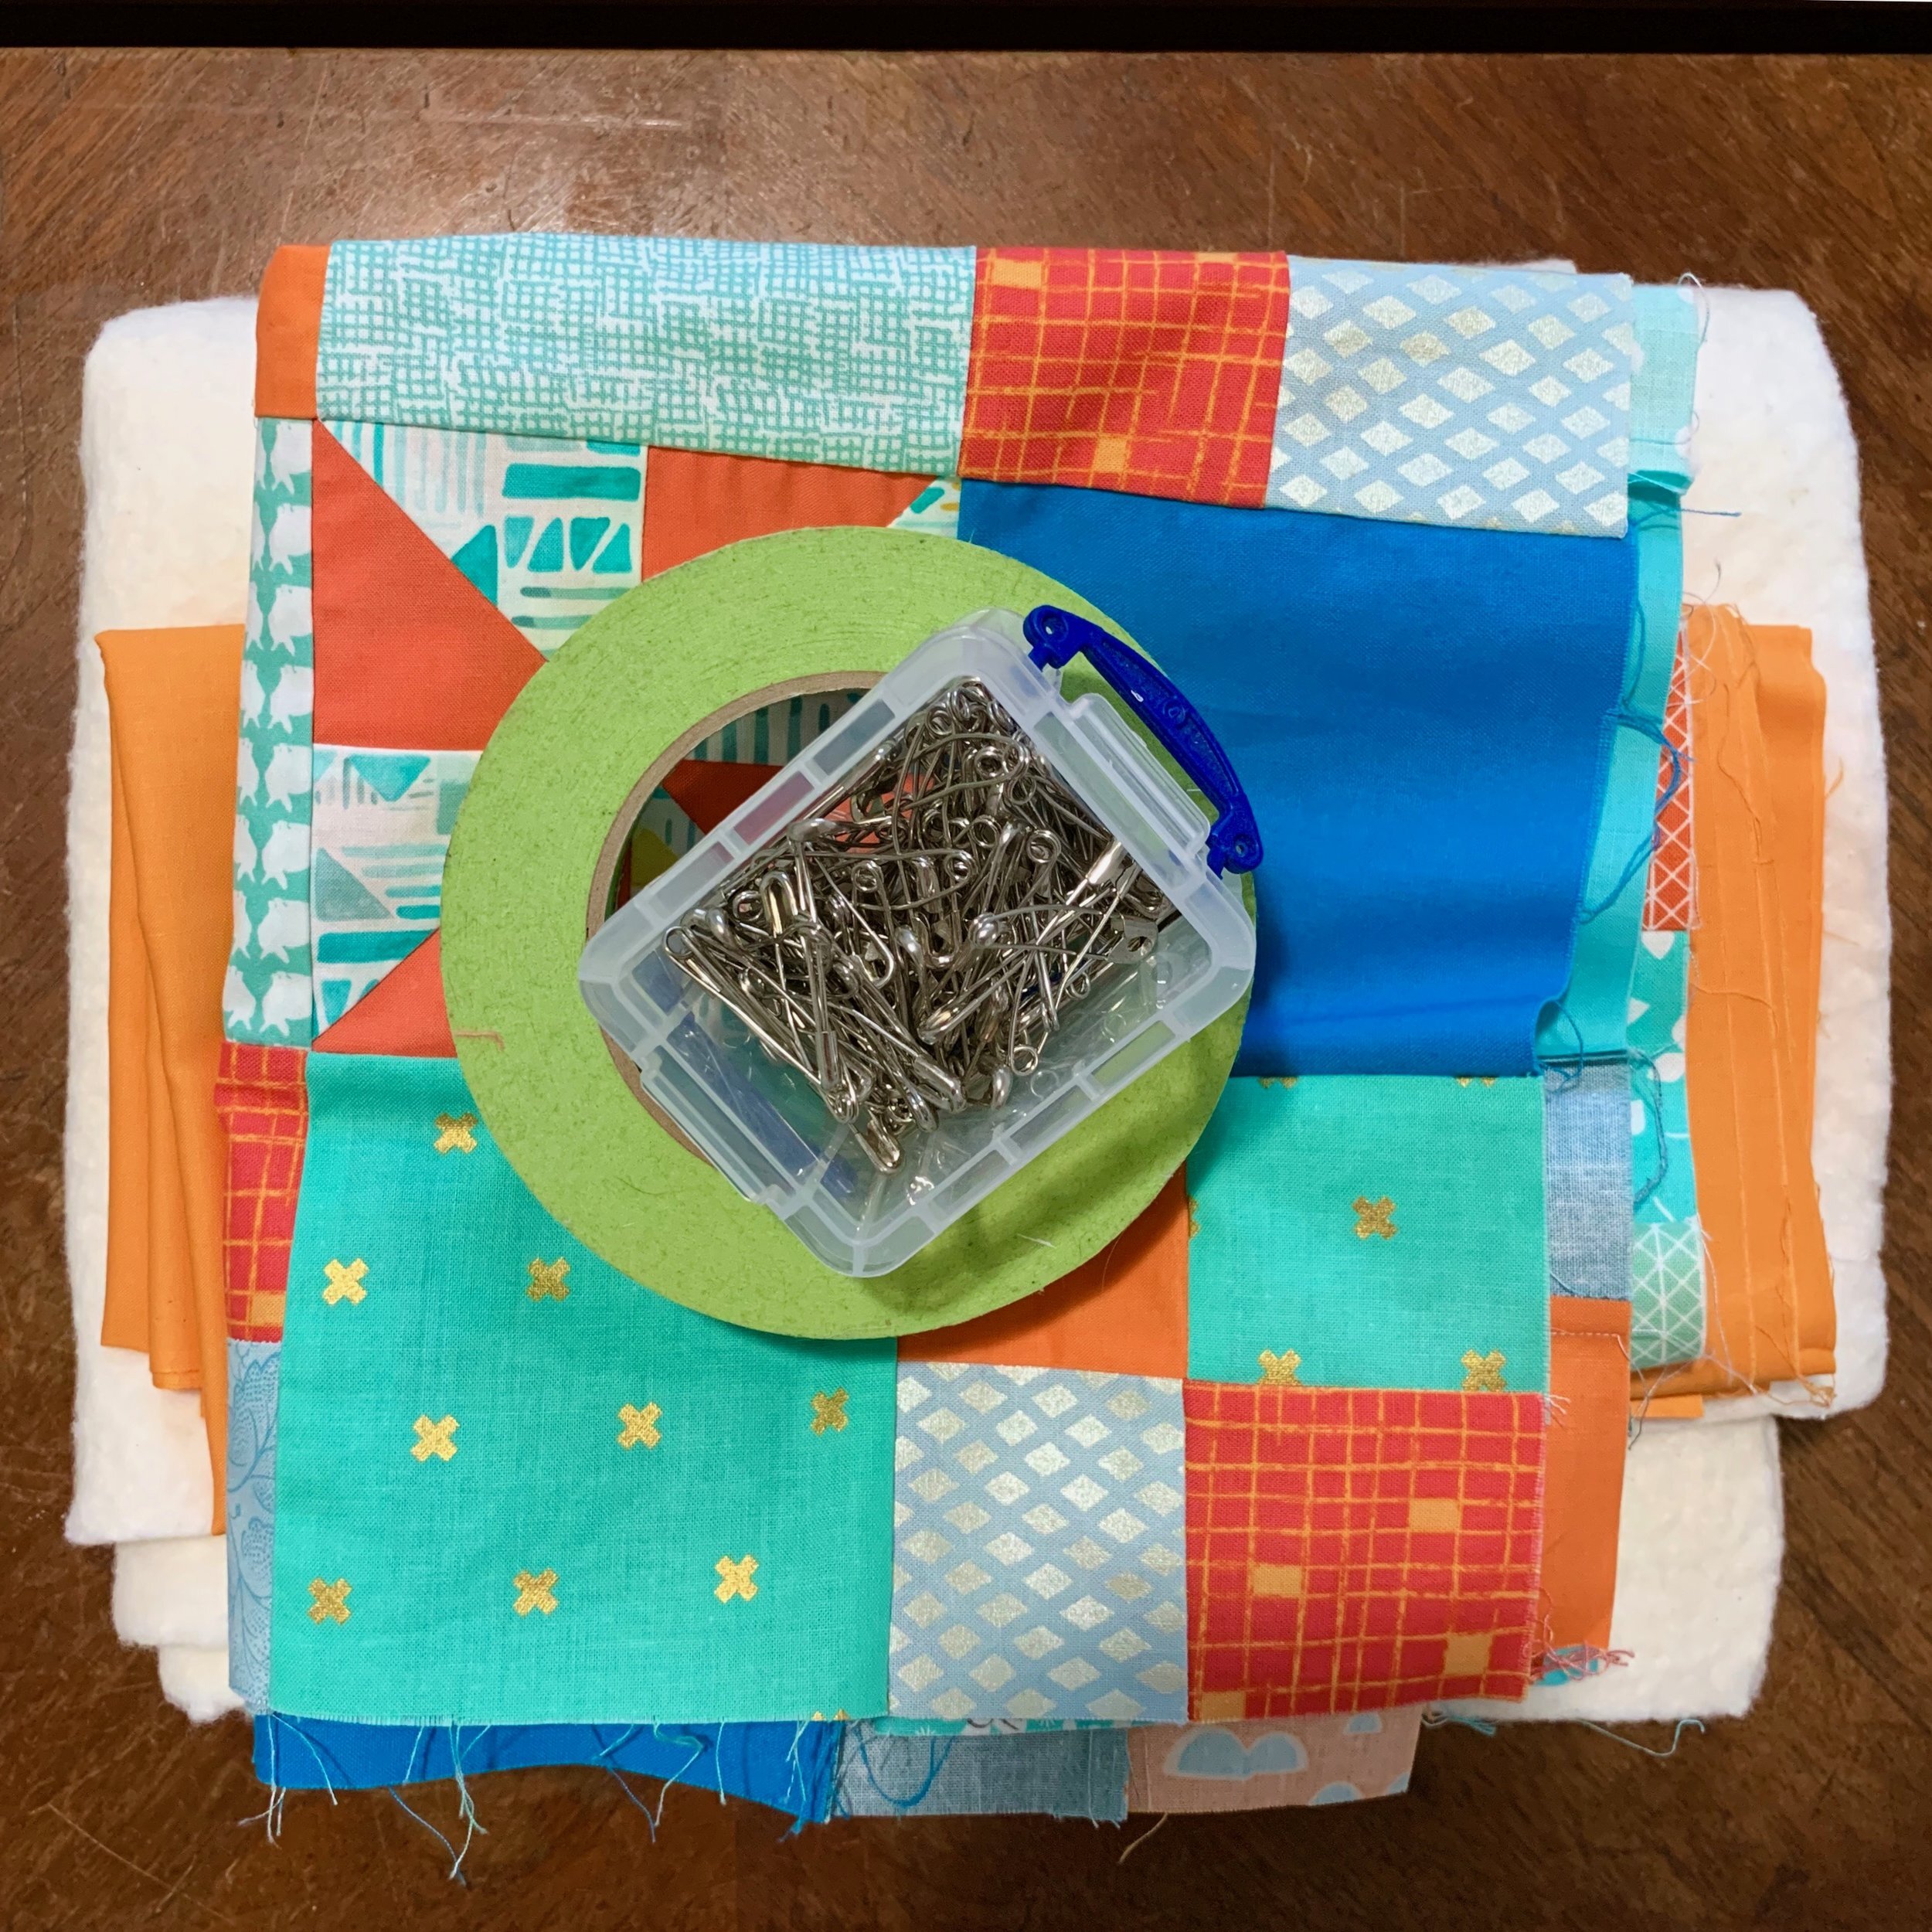
Step 1: Gather Supplies. You need your quilt back, batting, top, safety pins (curved ones if you want to be all fancy!), a nice clear space of floor, and maybe some painters tape (the green tape is stickier if you need a more secure hold without leaving residue on your quilt). Make sure your batting and backing are 2-4 inches bigger than your quilt top all the way around. It makes it easier to baste, and it also gives you a little extra to hold on to while you’re quilting


Step 2: Spread out your backing. This is where you’ll probably want the painter’s tape. Whether you are working on a smooth surface or carpet, painters tape holds your backing flat and wrinkle free while you spread out the other layers. If you’re doing something quite small and basting on carpet, you might be able to skip the tape, but just remember that wrinkles on your quilt back are no fun whatsoever.
Step 3: Spread out your batting. Smooth out your batting over the backing. No need to tape this as it will slip around a lot less. If your batting is larger than your backing, take a moment to carefully trim the batt to match the back. This will make it a lot easier to center your quilt top in the next step. If you do this a lot, you may find special bent handle scissors to be handy.
Step 4: Spread out your top. Smooth it real good, and double check that all edges have both batting AND backing underneath them. There is nothing worse than getting to the end of your quilting and realizing that your top was off center and the last inch has now backing (ask me how I know!)
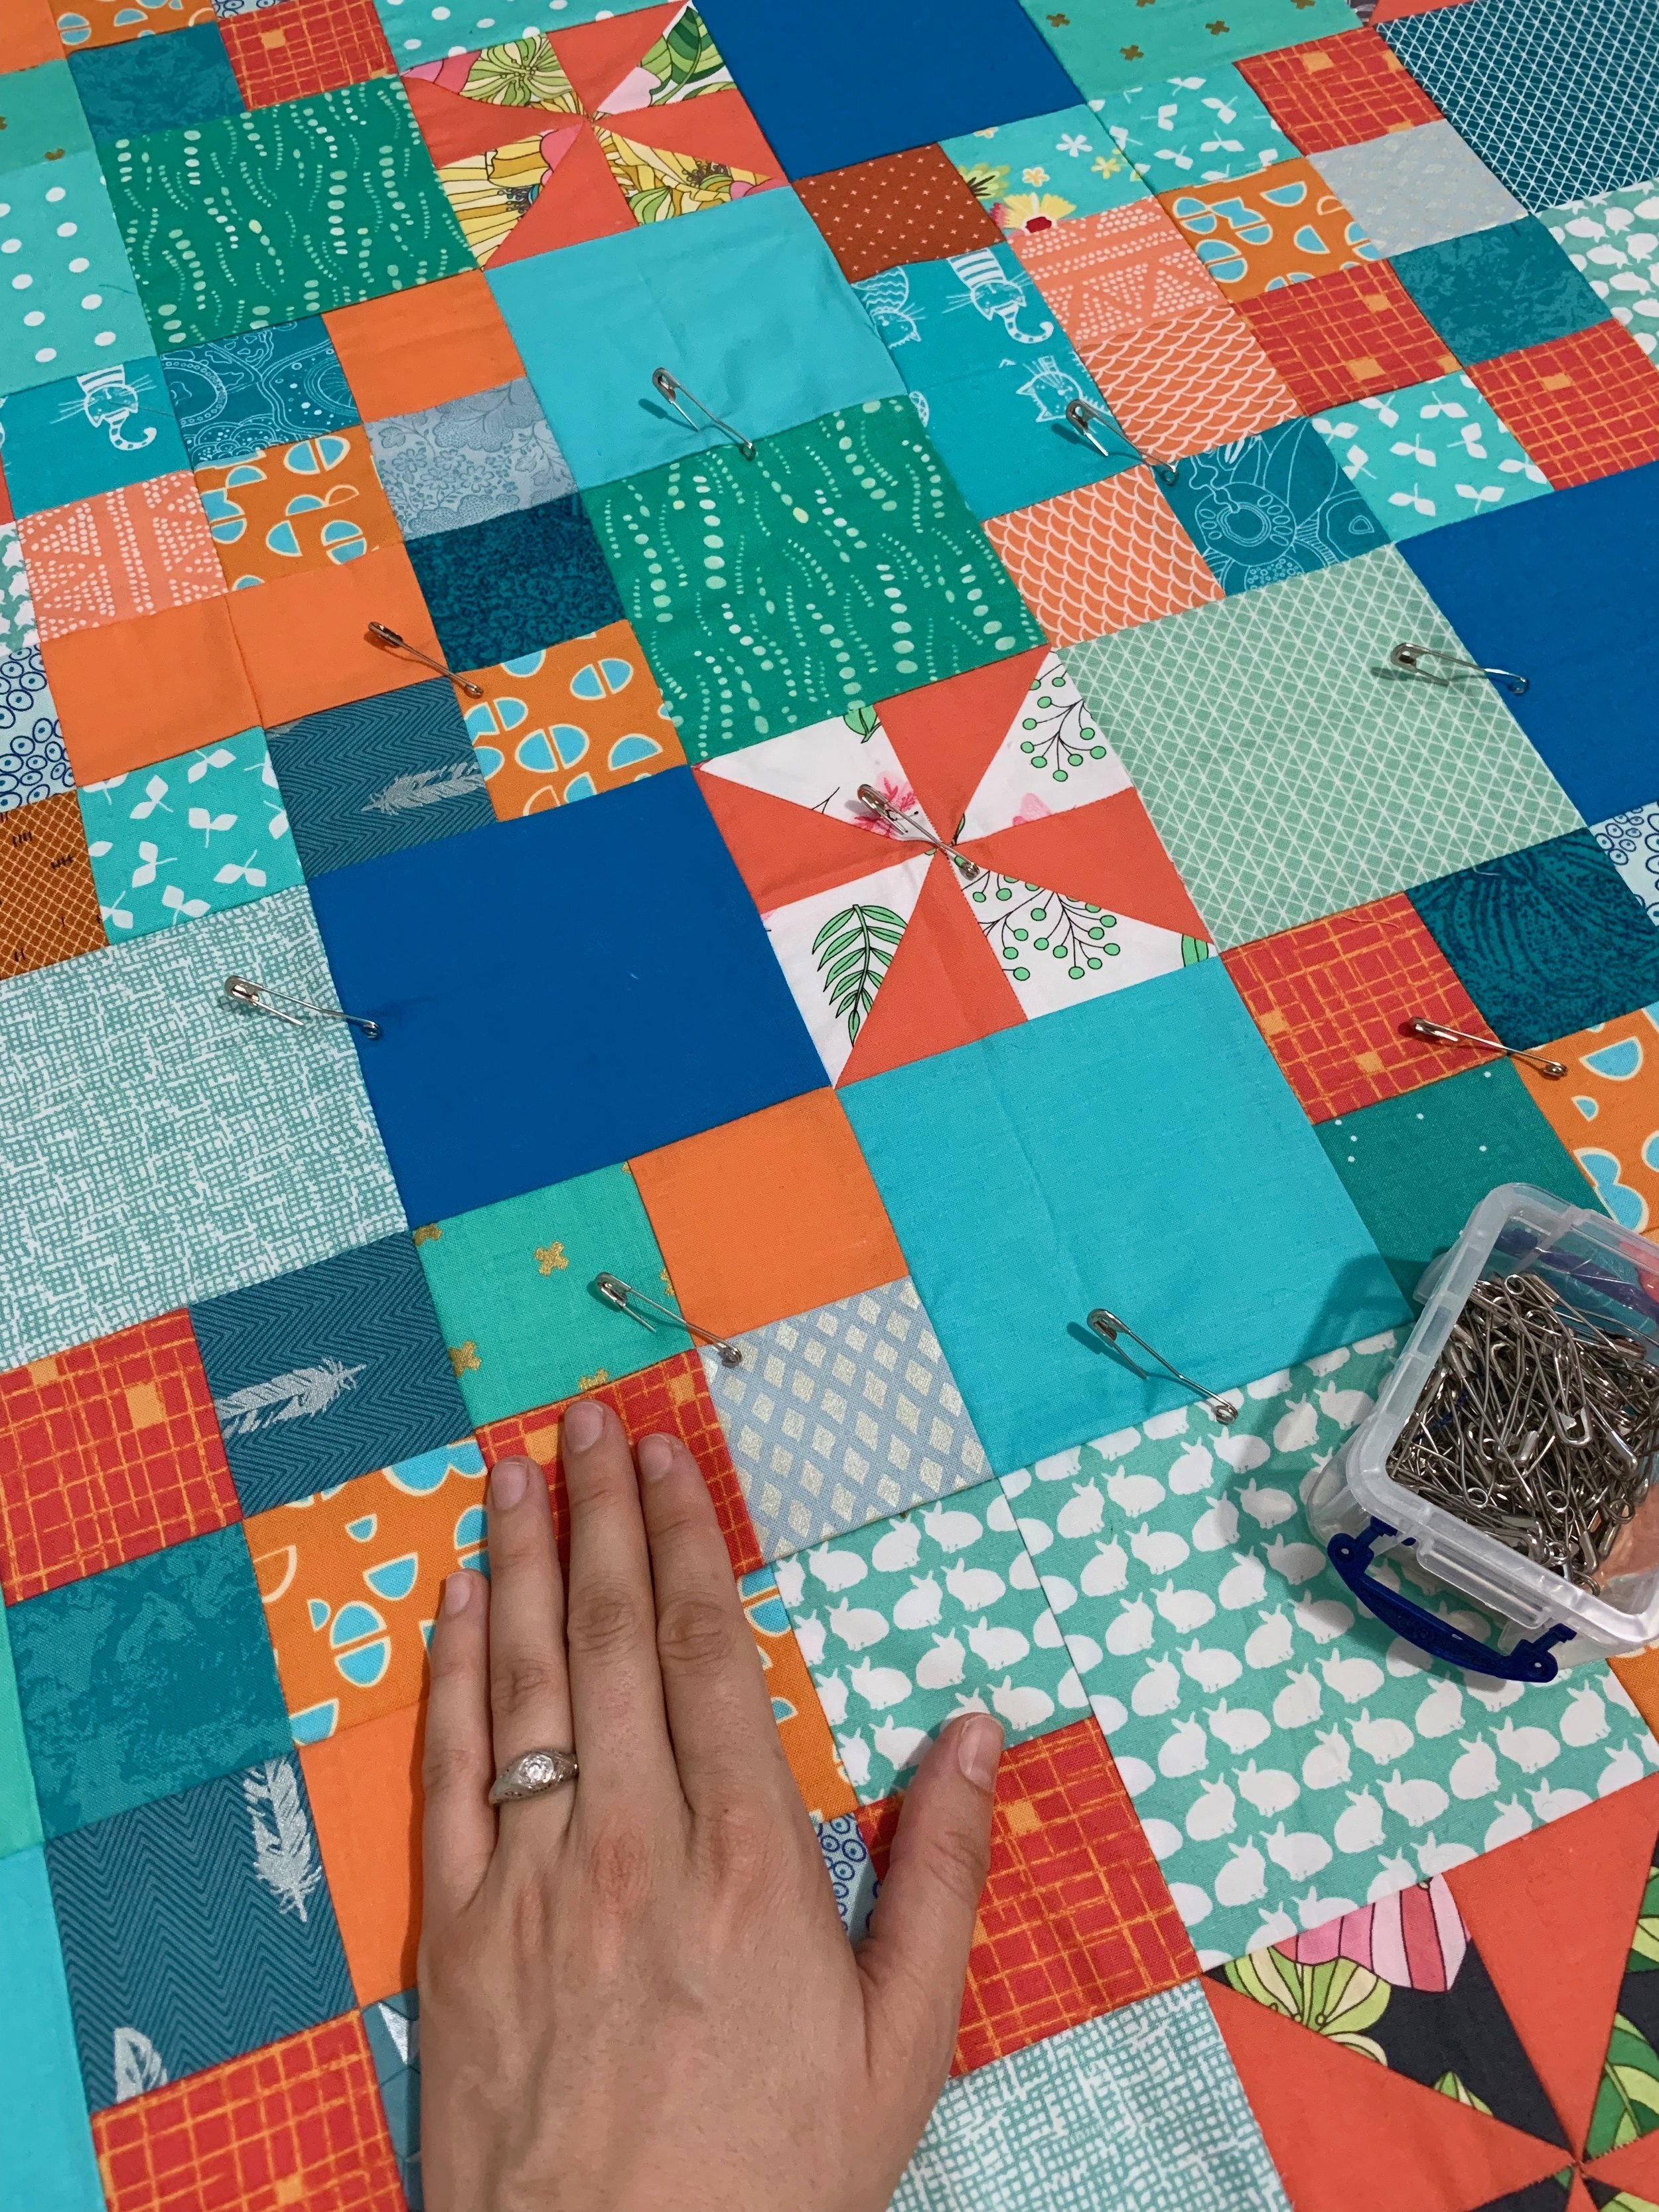
Step 5: Pin, pin, pin, pin, pin, pin, pin, pin. Your hands hurt? pin some more! Seriously, though, it takes more pins than you think. Starting in the center, begin safety pinning the three layers together (try not to pin your carpet to the back or scratch the hardwoods in the process). Make sure you catch all three layers! Pin every three to four inches, in all directions, working from the center out. As you go, smooth, smooth smooth. When in doubt, use more pins. The bigger the quilt, the more pins (and consider putting them a little closer together as bigger quilts mean more opportunities for shifting while you’re quilting). After pinning, remove the tape from the backing edges, flip the whole thing over, and make sure there are no wrinkles, pleats, or puckers. If there are, either begin again, or figure out a way to smooth it out by removing a few pins at a time and working the wrinkle off the edge. it’s a pain in the butt, yes, but re-basting is a looooot easier than having to take out quilting stitches because those pleats or puckers got worse while you were quilting


Additional Tips for Pin Basting
-If possible, quilt from the center outward as well as it minimizes the effects of shift and keeps everything as smooth as possible
-Remove pins as you quilt just before you approach them. DO NOT run over pins while you’re quilting. Nothing good, and very possibly some very bad and dangerous things, can come from this
- Check the back of the quilt often as you’re stitching to make sure your thread tension is still good and to make sure there are no wrinkles, etc in the backing.
-Basting, like everything else, gets better with experience and practice
-All basted but not sure how to quilt? You can get started with my free Top Three Tips for Successful Free Motion Quilting, or, if you’re ready to get serious, I’d love to teach you in my online course, Free Motion Quilting Academy
PS Don’t forget to pin this post so you can find it later (haha— see what I did there?!)