
Quilting Plans for Sampler Quilts
You know what’s great about sampler quilts? Getting to make a dozen or more different blocks— the piecing stays interesting because every block is unique, but when it comes to quilting, all that “unique” can turn into a giant pain. Do you have to custom quilt any blocks? How the heck do you pick motifs? Are there any rules? Shortcuts? Don’t worry, Rockstar— I’ve quilted enough samplers to have some great tips for you!
(This post may contain affiliate links)

Sampler quilts are like puzzles— you work on this bit and that part and then all at once it comes together— WOW! The sense of accomplishment when you unfurl that finished top is real. Well done!
But if you quilt your own quilts, the next emotion may come just as quickly: “How the heck do I quilt it??” As with any quilt, you have three options: 1) an all over design/ pantograph 2) A semi-custom quilting plan and 3) fully custom quilting. And, yes, I do have some specific tips on how to do each type of quilting plan when working with a sampler.
All Over Design
My very unofficial poll results suggest that this is the most common choice folks make when quilting their own samplers. You’ve put so much into the piecing that 1) You’re ready to snuggle that quilt already! and 2) You are nervous that if you don’t love the quilting you choose then it will “ruin” your quilt— or at least leave you feeling frustrated and out of love with something that took a heck ton of work. If all over designs or pantos are generally your jam (especially those cool pantos Jess Zeigler makes), rock on with your bad self! But if you know that you’re leaning towards a simple quilting plan out of fear or uncertainty, keep reading!
Semi-Custom Quilting Plan
A Semi-Custom Quilting Plan just means that you’re using 2-3 motifs. It’s not a fully custom, more is more situation, but it’s got a little sparkle. For many samplers, this means you’ll choose a motif for each block, a motif for the sashing, and a motif for the border. That could change a bit if the quilt has a funky layout, but you get the idea. Let’s look at a couple examples:
Case Study: Grandma’s Kitchen Sampler
I joined this quilt along with Pat Sloan a few years ago to make this sampler for my mama because the pattern reminded me not only of mom but also my Grandma (You can find the pattern here— I chose just a selection of the blocks for my quilt). I laid my blocks out in a very traditional format: rows and columns separated by sashing and framed with a wide border. The blocks were 12” square, so I quilted several swirls in each, added wishbones for the sashing, and feathers in the border. It was pretty efficient to quilt this way because I was able to move from one section of the quilt to another without breaking thread. In fact, check out this blog post to see a demo of how to move around a quilt this way, whether you’re working on a longarm or domestic machine.
Custom Quilting Plan
As the name probably tells you, these quilting plans are rather THE MOST— at least that’s how they look. These are the ones that make you step closer when you see them hanging because you want to figure out exactly how the quilter did that sashing and what stitches made that cool texture in the border. While some custom quilting plans are every bit as complicated as they look, I’m going to show you two that are a bit more like the “dump cake” version— you know, the cake that looks and tastes great but is so much easier to bake than you thought? These two quilts use methods that are very similar to the semi custom plan, so they’re pretty straight forward to stitch even though they look extra fabulous at the end.

Case Study 1: Noah & Matilda Sampler
A couple years ago, I had the pleasure to quilt this Dawn Ronningen Noah & Matilda quilt for my client Karen Beigh. It may not look like it at first glance, but I used almost exactly the same quilting plan for this quilt as I did for the Grandma’s Kitchen quilt above. Look closer— there’s swirls in the blocks, wishbones in the skinny border, and feathers in the wide border. So what makes this quilt a bit more extra? Let’s break it down:
Appliqué- on the Grandma’s Kitchen quilt, I stitched right over the appliqué. It was exceedingly inexpertly done, and I wanted to be sure it wouldn’t fall off! Here, however, Karen has created stunning appliqué, so the first step for every block was to stitch around her flowers. In a few cases where the baskets, etc were too large to leave unquilted, I mimicked the fabric pattern to create “weaving” and added a feather rosette to the center block.
Sashing- This sashing fabric already had a lovely rope design printed on it that was framed with some cream negative space. While the semi-custom quilting plan included stitching the blocks and sashing one after the other, I quilted all the blocks on this quilt, breaking thread each time, then quilted the sashing separately so I could stitch in the “ditch” along the negative space then trace over the “rope.” I added tiny swirls in the corner stone bits because, why not??

3. Borders- Like the Grandma’s Kitchen Quilt, I added feathers to the border. I continued the theme, though, of allowing my quilting to imitate the fabric Karen chose, so I did a tighter, curvier feather that followed the central design of the border, then framed it with some simple scallops, again tracing the fabric design.
Overall, the key skill difference between quilting this quilt and quilting the Grandma’s Kitchen quilt was patience. I broke thread often on this quilt, but the motifs themselves were nearly identical. Custom quilting certainly can be the result of extremely advanced quilting skills, but you can significantly elevate the skills you already have by taking some time to add a few more details.
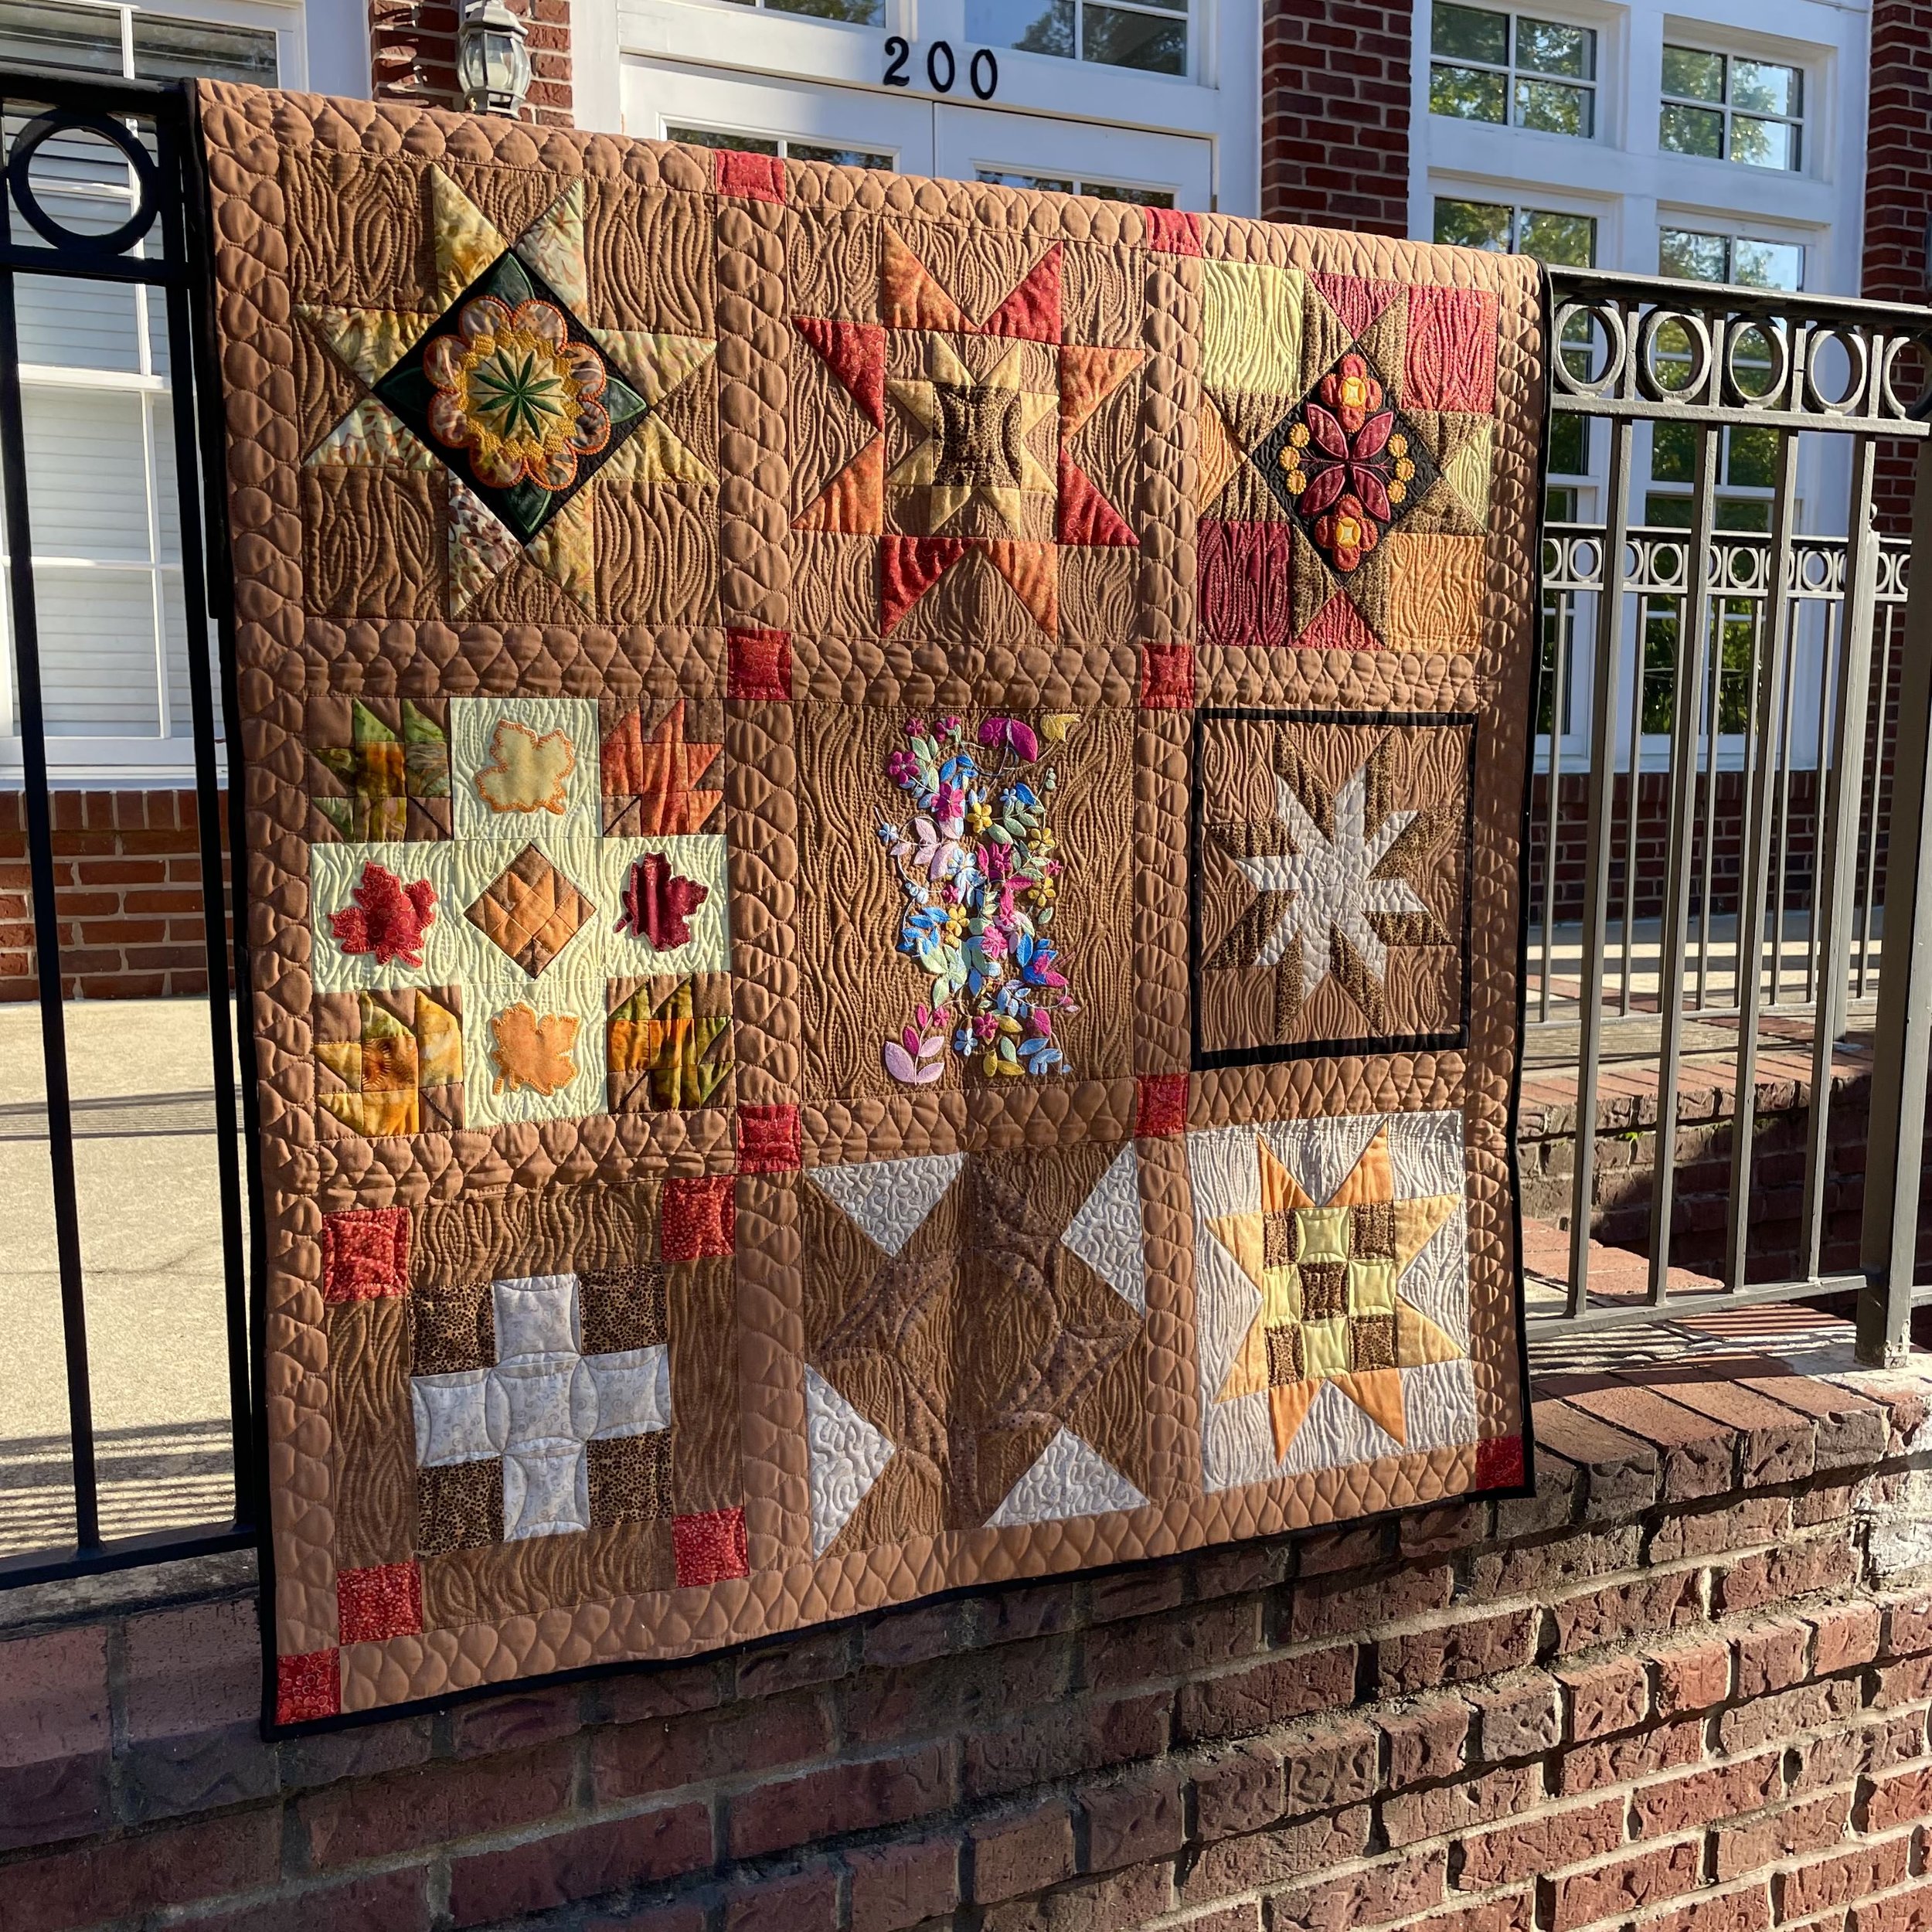
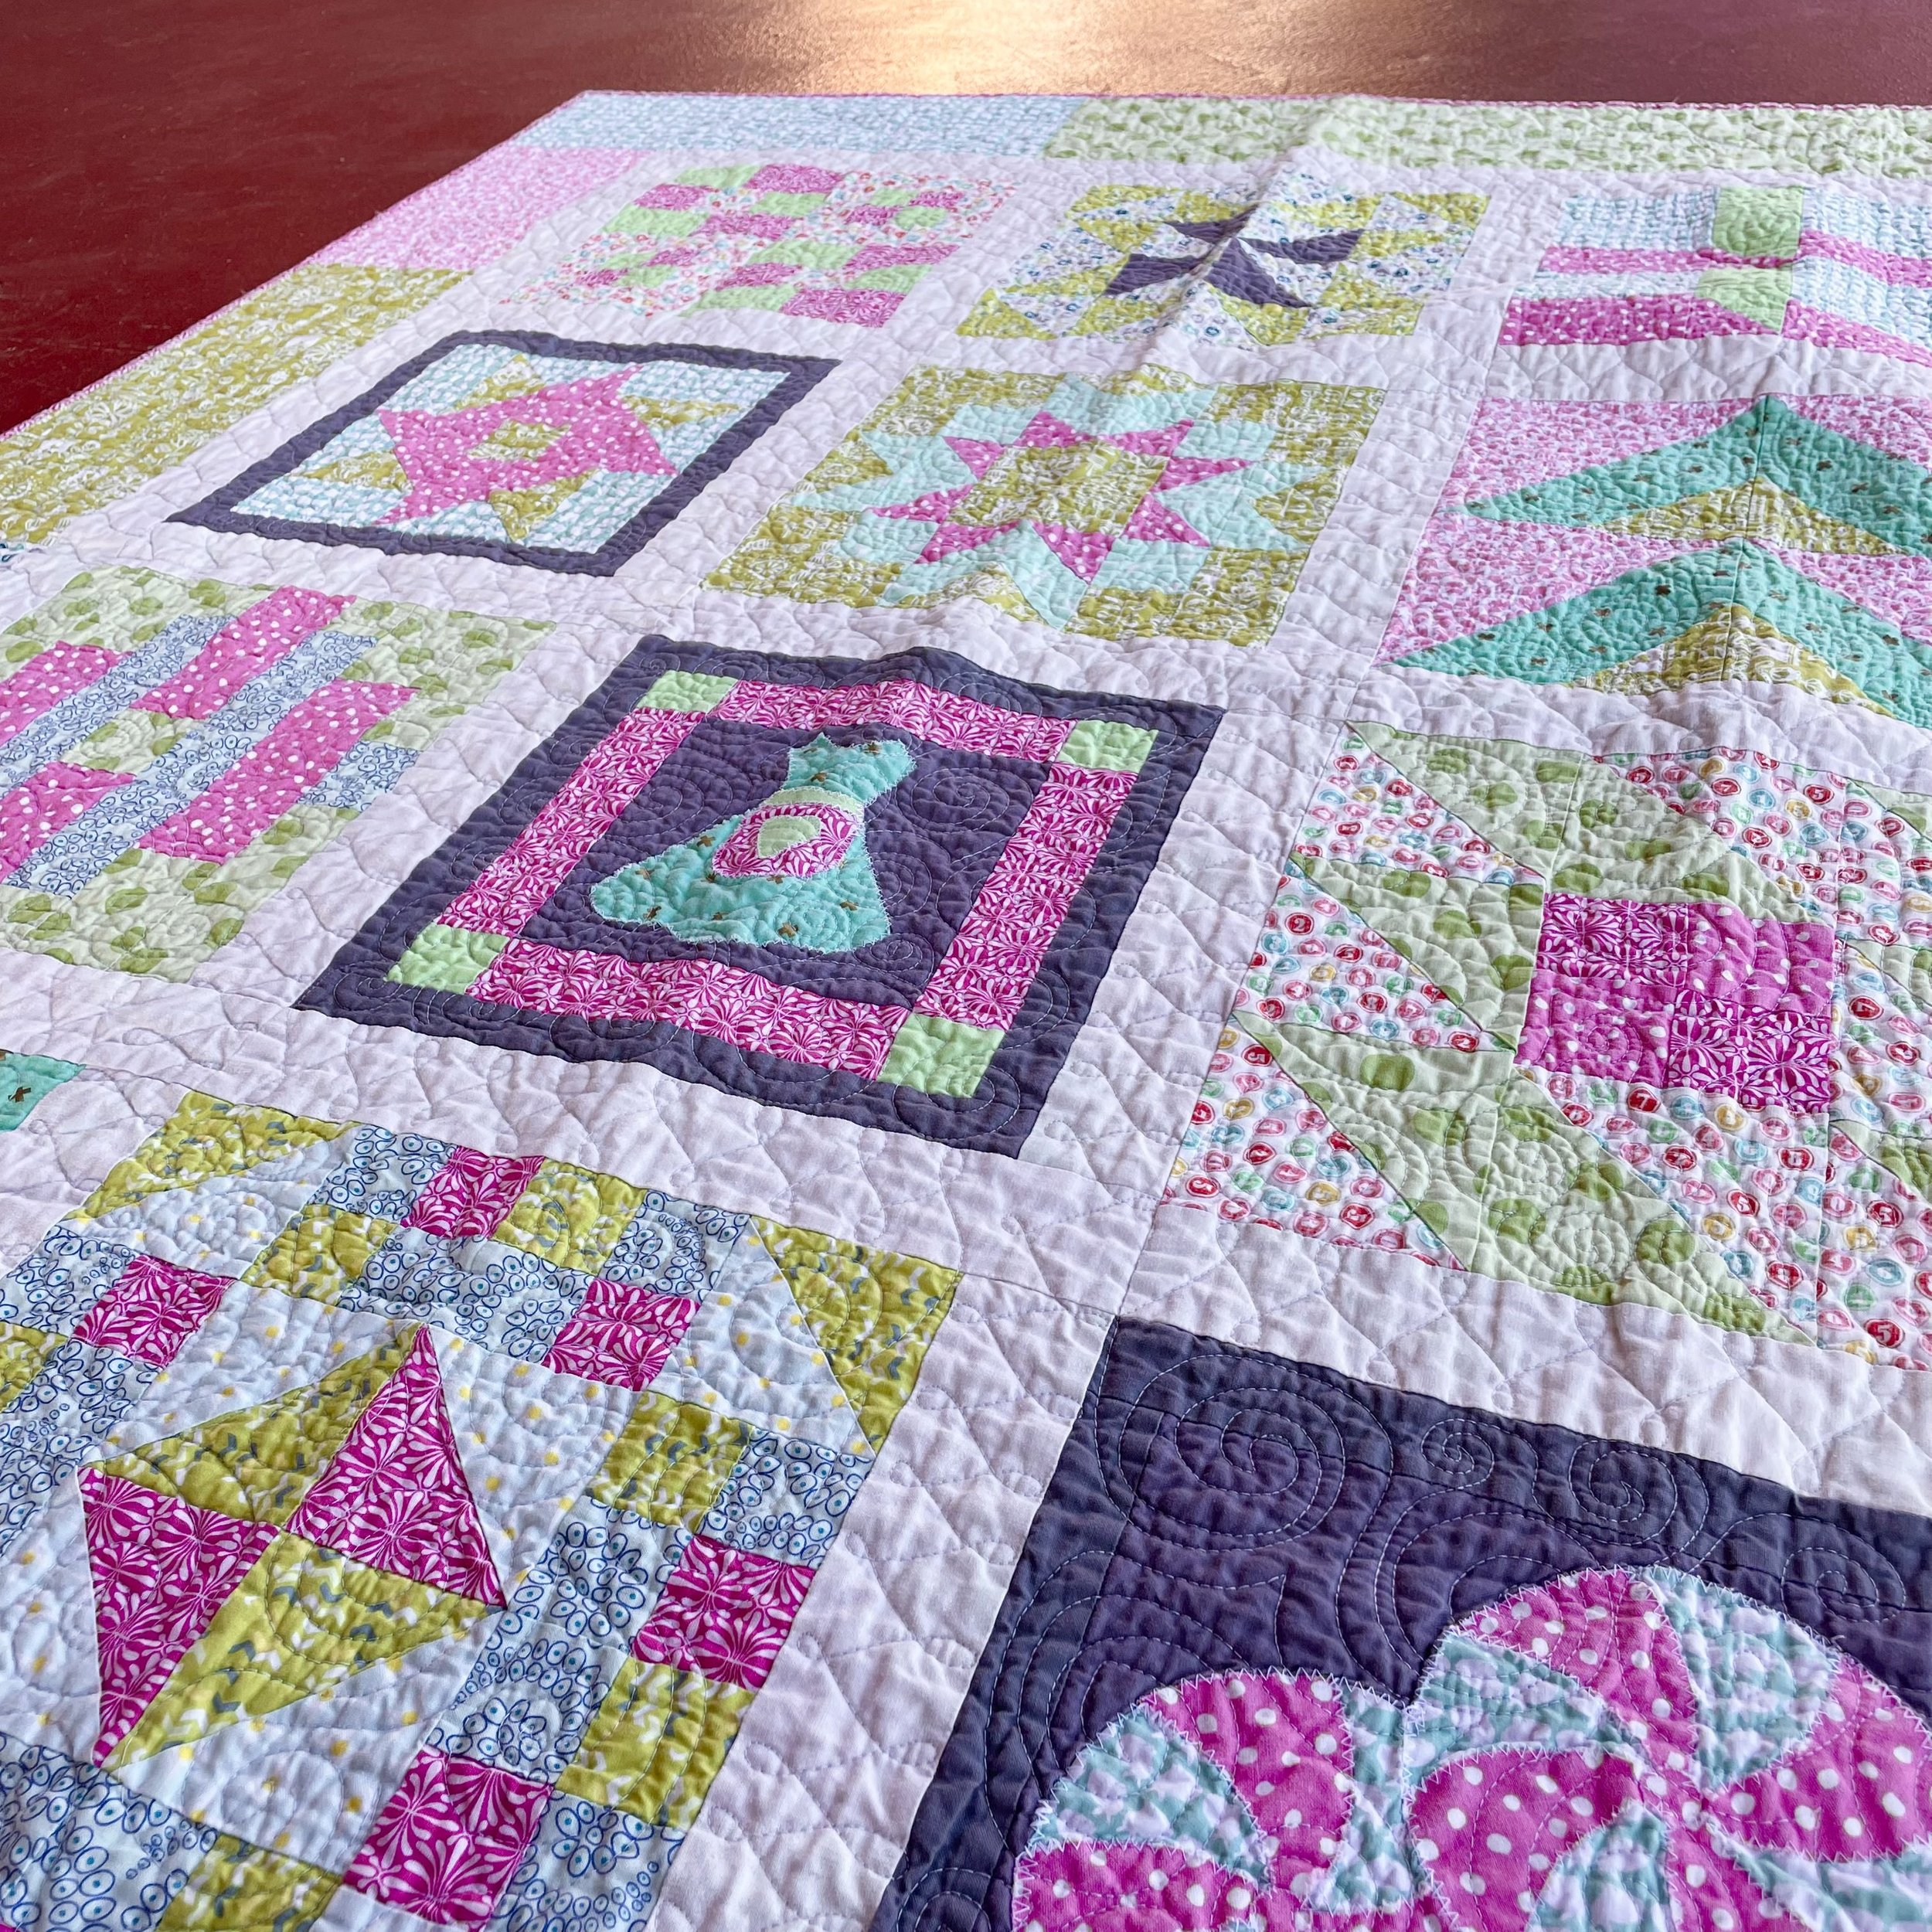
Case Study 2: Sue’s Fall Quilt
I quilted Sue’s Fall Quilt in 2019 as part of the Quilting Rockstar Guild. These quilt blocks were pieced, appliquéd, and embroidered by a quilting circle in Canada, and the blocks and fabric for this quilt were generously sent to me by Rockstar Sue Ryckman to quilt so I could demonstrate navigating a sampler as well quilting blocks with appliqué and embroidery. Thanks, Sue!
Let’s talk about my strategy with this quilt: every block was very, very different. When I started to draw a quilting plan ahead of time, my brain went blank! So many options— and such a variety of blocks! Instead of doing a whole plan ahead of time, I decided to make my plans as I went (GASP). Instead of having the whole quilt planned, I instead chose a “palette” of quilting motifs to mix and match as I went: ribbon candy, continuous curves, wishbones, woodgrain, and meandering. In addition, there were three “rules”: ribbon candy was for the sashing, woodgrain was for the background, and meandering was for the backgrounds around the two more intricate appliqués. Wishbones and continuous curves could be mix and matched.
As you can see, even without a detailed quilting plan drawn out, these motifs and rules created enough boundary that it was quite straight forward to take each block as it came. I worked without breaking thread as much as possible, moving from block to block, much like I would with a semi-custom quilting plan. In fact, here’s a peek at how I quilted the first block:
Conclusion
Not gonna lie, I hope that after reading this, you’ll be excited to do something a little more adventurous on your sampler. Getting creative with quilting each block of a sampler can be just as fun as getting to piece something a little different each time. Oh, and just in case you’re wondering about the density of quilting— I keep even my most custom quilted quilts squishy and soft by using natural fiber batting (usually cotton, sometimes wool) and Aurifil 50wt cotton thread. A wash or two and even “quilted to death” projects become buttery soft.
If you enjoyed the process of creating your sampler block by block, I can’t wait for you to enjoy quilting it in a similar way!
Additional Resources
Longarm Prep(eratory) is a digital course all about helping you feel comfortable using and navigating a quilt on your longarm. Click here to read more details and get your name on the waiting list!
Read more about quilting appliqué in this blog post
Want to learn more about quilting plans? I have a whole collection of blogs for you here