
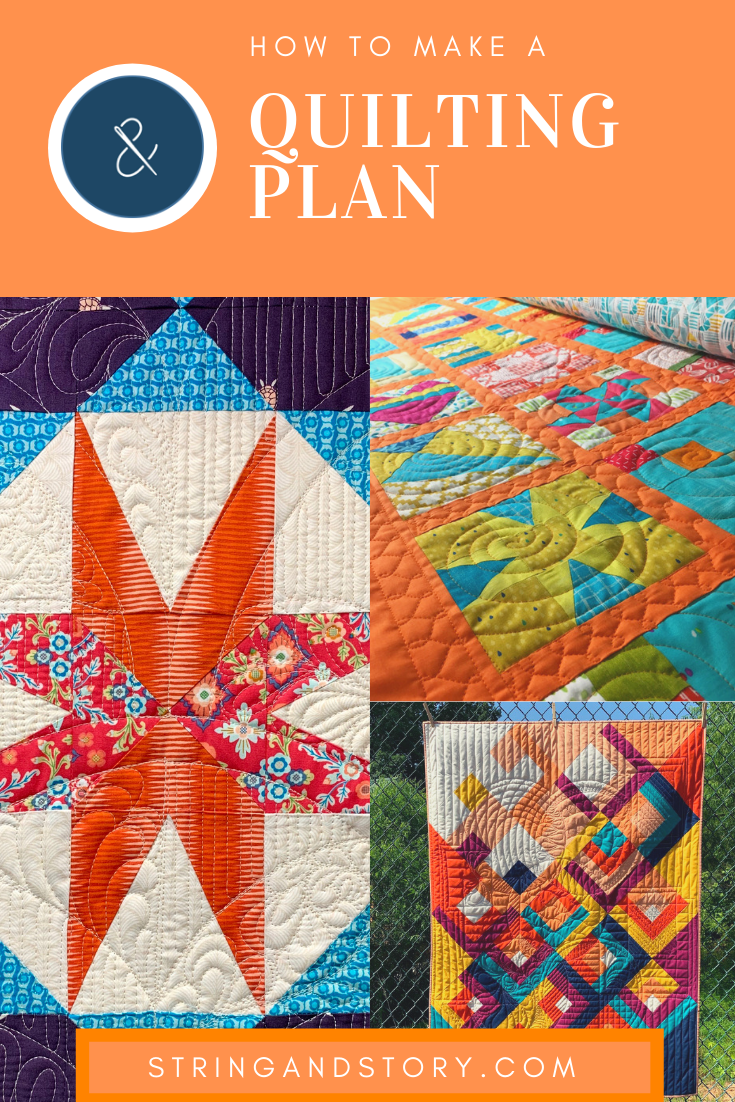
How to Make a Quilting Plan
A key step in quilting with confidence is taking the time to make a plan before you start quilting. If you know exactly what to stitch where, you can relax and enjoy the process! Keep reading to learn the steps of making a quilting plan!
(this post contains affiliate links)
I’m kind of obsessed with quilting plans. It’s such a simple tool— a little doodle or drawing, sometimes sketched out on a scrap of paper and sometimes drawn over an outline of the quilt— but it makes a world of difference. Honestly, the hardest part— listen to me— the HARDEST PART of quilting your own quilts is deciding what to quilt where. This is why I love quilting plans. When you make a quilting plan, you do this hardest part, all this decision making, with a paper and pencil, NOT on your precious quilt. Pencil can be erased a lot easier than stitches can be picked out! Then, when it is time to start quilting in earnest, you’ve made yourself a lovely map
Now, how do you go about making this lovely map? Let’s start with the big picture:
How to Quilt a Quilt
1) Piece: Finish your quilt top and CELEBRATE how gorgeous it looks
2) Style: Decide on a style of quilting (continuous curve, all over design, walking foot quilting, other free motion quilting, etc).
3) Make a Plan: Draw part of your quilt top on graph paper and use a pen or pencil to try out your chosen quilting design. Repeat Step 3 until you a) have a quilting design you love and b) feel confident drawing your plan
4) Self Talk: Remind yourself that a finished quilt is the goal, even if quilting the top feels like a big task. Remind yourself that practice makes progress and that it's time to practice. Even if the quilting on this top doesn't fulfill all your wildest dreams, you will make progress and you will have a finished quilt in the end. Those are huge accomplishments.
5) Quilt! You can do it!

Tackling Step 3: Making the Quilting Plan
As I mentioned above, I always recommend drawing your ideas before you start stitching. This is the step in the process that I consider to be the most difficult. With time and practice, stitching different motifs will become basically second nature, but decision making is decision making, and it always takes a bit of effort. When you draw the plan, you’ll make a few decisions:
Whether to quilt within the seam lines (kind of like coloring inside the lines) or ignore them (or a mix of both)
What part of the quilt top to emphasize
What motifs to use where
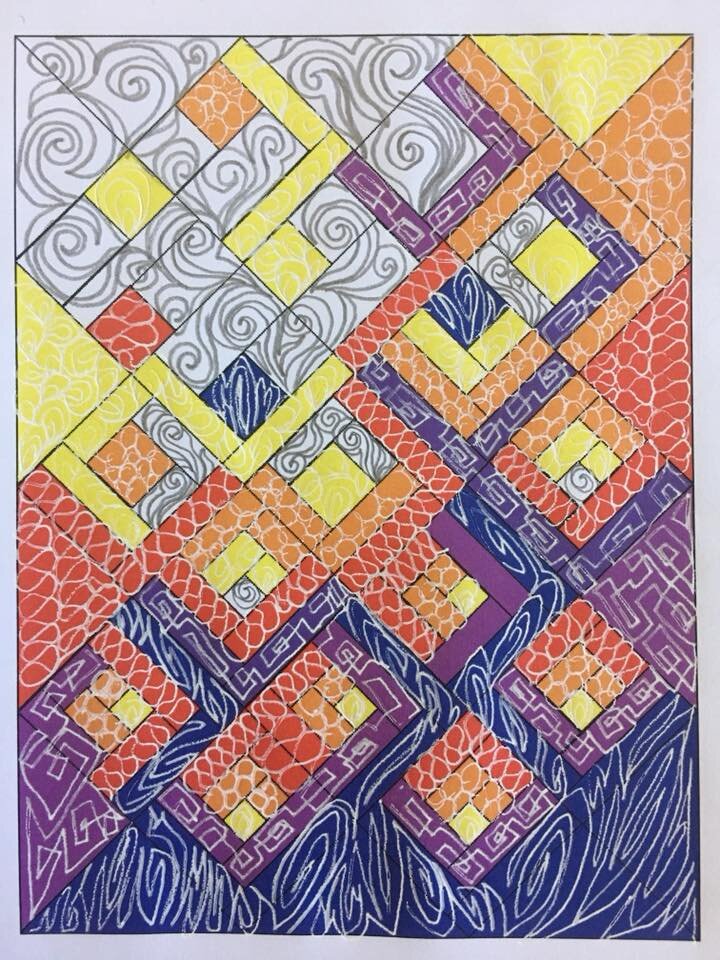
First, decide whether or not you will “contain” your quilting within the seam lines. Sometimes, you might be totally in love with the piecing and want to use your quilting to show it off (like the quilting plan for Lanterns of Hope immediately above). Other times, you may want to enjoy creating quilting texture that is separate from the piecing (like the Lanterns of Hope quilt at the top of this section).

Second, if quilting within the seam lines, pick your favorite part of the quilt top. It might be the “obvious” focal point (the star in a star quilt, for example), or it might be some bit of the background where you used your favorite color, or it might be an interesting secondary design. This is the part that you will quilt the least. If it’s small area, you might even leave it unquilted. (notice in these quilting plans for Star Island that I emphasize a different part of the piecing with each potential plan, playing around with what I like best)
Finally, decide, and draw, what you will quilt where. If there are areas that will be only lightly quilted, decide on that first. I often use continuous curves or some simple straight lines if there are areas I want to emphasize but that are large enough to require some stitching. Small emphasized areas may just need to be stitched in the ditch. Next, pick a motif for the areas right around the emphasized bits, usually something a bit denser to allow the focal point to “puff.” Then, choose motifs for the other areas of the quilt. I recommend drawing out two or three (or more) different ideas, then deciding on a final quilting plan. This plan will become your map while you are quilting, allowing you to be free to focus on your actual stitching rather than on other decisions.

Creating Contrast in Quilting Motifs
As you are choosing different quilting designs for the sections of your quilts, take a moment to consider contrast. Just like light and dark, warm and cool create contrast with color, so we can create different types of contrast in the quilting as well. Some types of contrast include:
Geometric Designs Vs. Curvy Designs
Density of Quilting (choosing designs with more "breathing room" or even leaving small areas entirely unquilted if you want an area to rise to the surface)
Complexity of quilting (meandering vs feathers)
You don't necessarily need to use all of these at once, but they're guidelines to keep in mind to create visual distinctions between different areas of the quilt.
Closing Thoughts
As you can imagine, this is just the beginning of all that could be said about the wonderful world of quilting plans. Hopefully, it helps you understand why they are important how to start drawing your own to make it easier to quilt your own quilts. With this, as with anything else, practice makes a big difference! Doodle quilting plans for blocks and quilts you like to build up your creativity in this kind of thinking. If you want to learn more about what motifs I like to learn in certain shapes, and how to quilt those motifs, I recommend my online class Free Motion Quilting Academy. I’d love to help you achieve all your FMQ dreams!

The quilts featured in this post are the Lanterns of Hope and Star Island Patterns. You can find them here in my shop.
PS Don’t forget to pin this post so you can find it later!
Want more free motion quilting tips?
Join my free 12 Days of FMQ FAQ email series for answers to all the entry-level questions free motion quilters commonly have.
Share this blog if you found it helpful: