
How to Make Fabric Swatch Chips from a Color Card
Fabric color cards are pure eye candy, but being able to move the fabrics around, lay them next to each other, and mix and match is key to choosing a color palette you love. Join me as I show you how to take your color card apart and create a gorgeous (and useful) swatch display in your sewing room
(This post contains affiliate links)

Have you ever gone to the home improvement store, picked out a gray or white paint, bought a sample, and painted part of your wall only to realize that paint was actually blue or green or yellow? Those undertones weren’t obvious when you were looking at the chip, but they became really obvious when near your green couch or mustard armchair. Fabrics are the same way-- the best ways to spot the undertones and subtleties of a color is to put it with the other colors you want to use.
While color cards all arranged in rainbow order are gorgeous, they can be tricky to use for selecting a mix of colors to use together-- which is exactly why I chopped mine up! Now, I can mix and match swatches on a nice clean background to get a clearer idea of how they will actually look together on a quilt. Ready to give it a go?
Materials
Color Card (I’m using a Paintbrush Studio Fabrics card)
Card stock
Paper cutter (or a ruler, pencil, and scissors… or a ratchet rotary cutter you don’t mind using on paper)
Square, self adhesive magnets
Glue stick
Paper scissors
(I recommend checking local shops for these supplies, or you can find my Amazon links here)
Instructions
Keep in mind that each color card is going to be constructed a little differently and thus may need to be deconstructed a bit differently. Pay attention to the size of swatches on your card, how you’re going to keep fabric and the name/ label together, etc and adjust the process outlined below accordingly.
Step 1: Cut your cardstock into 1” by 1.5” rectangles (ultimately, you’ll need as many as you have colors on your card. I just cut a whole bunch to get started and then cut more as I needed them
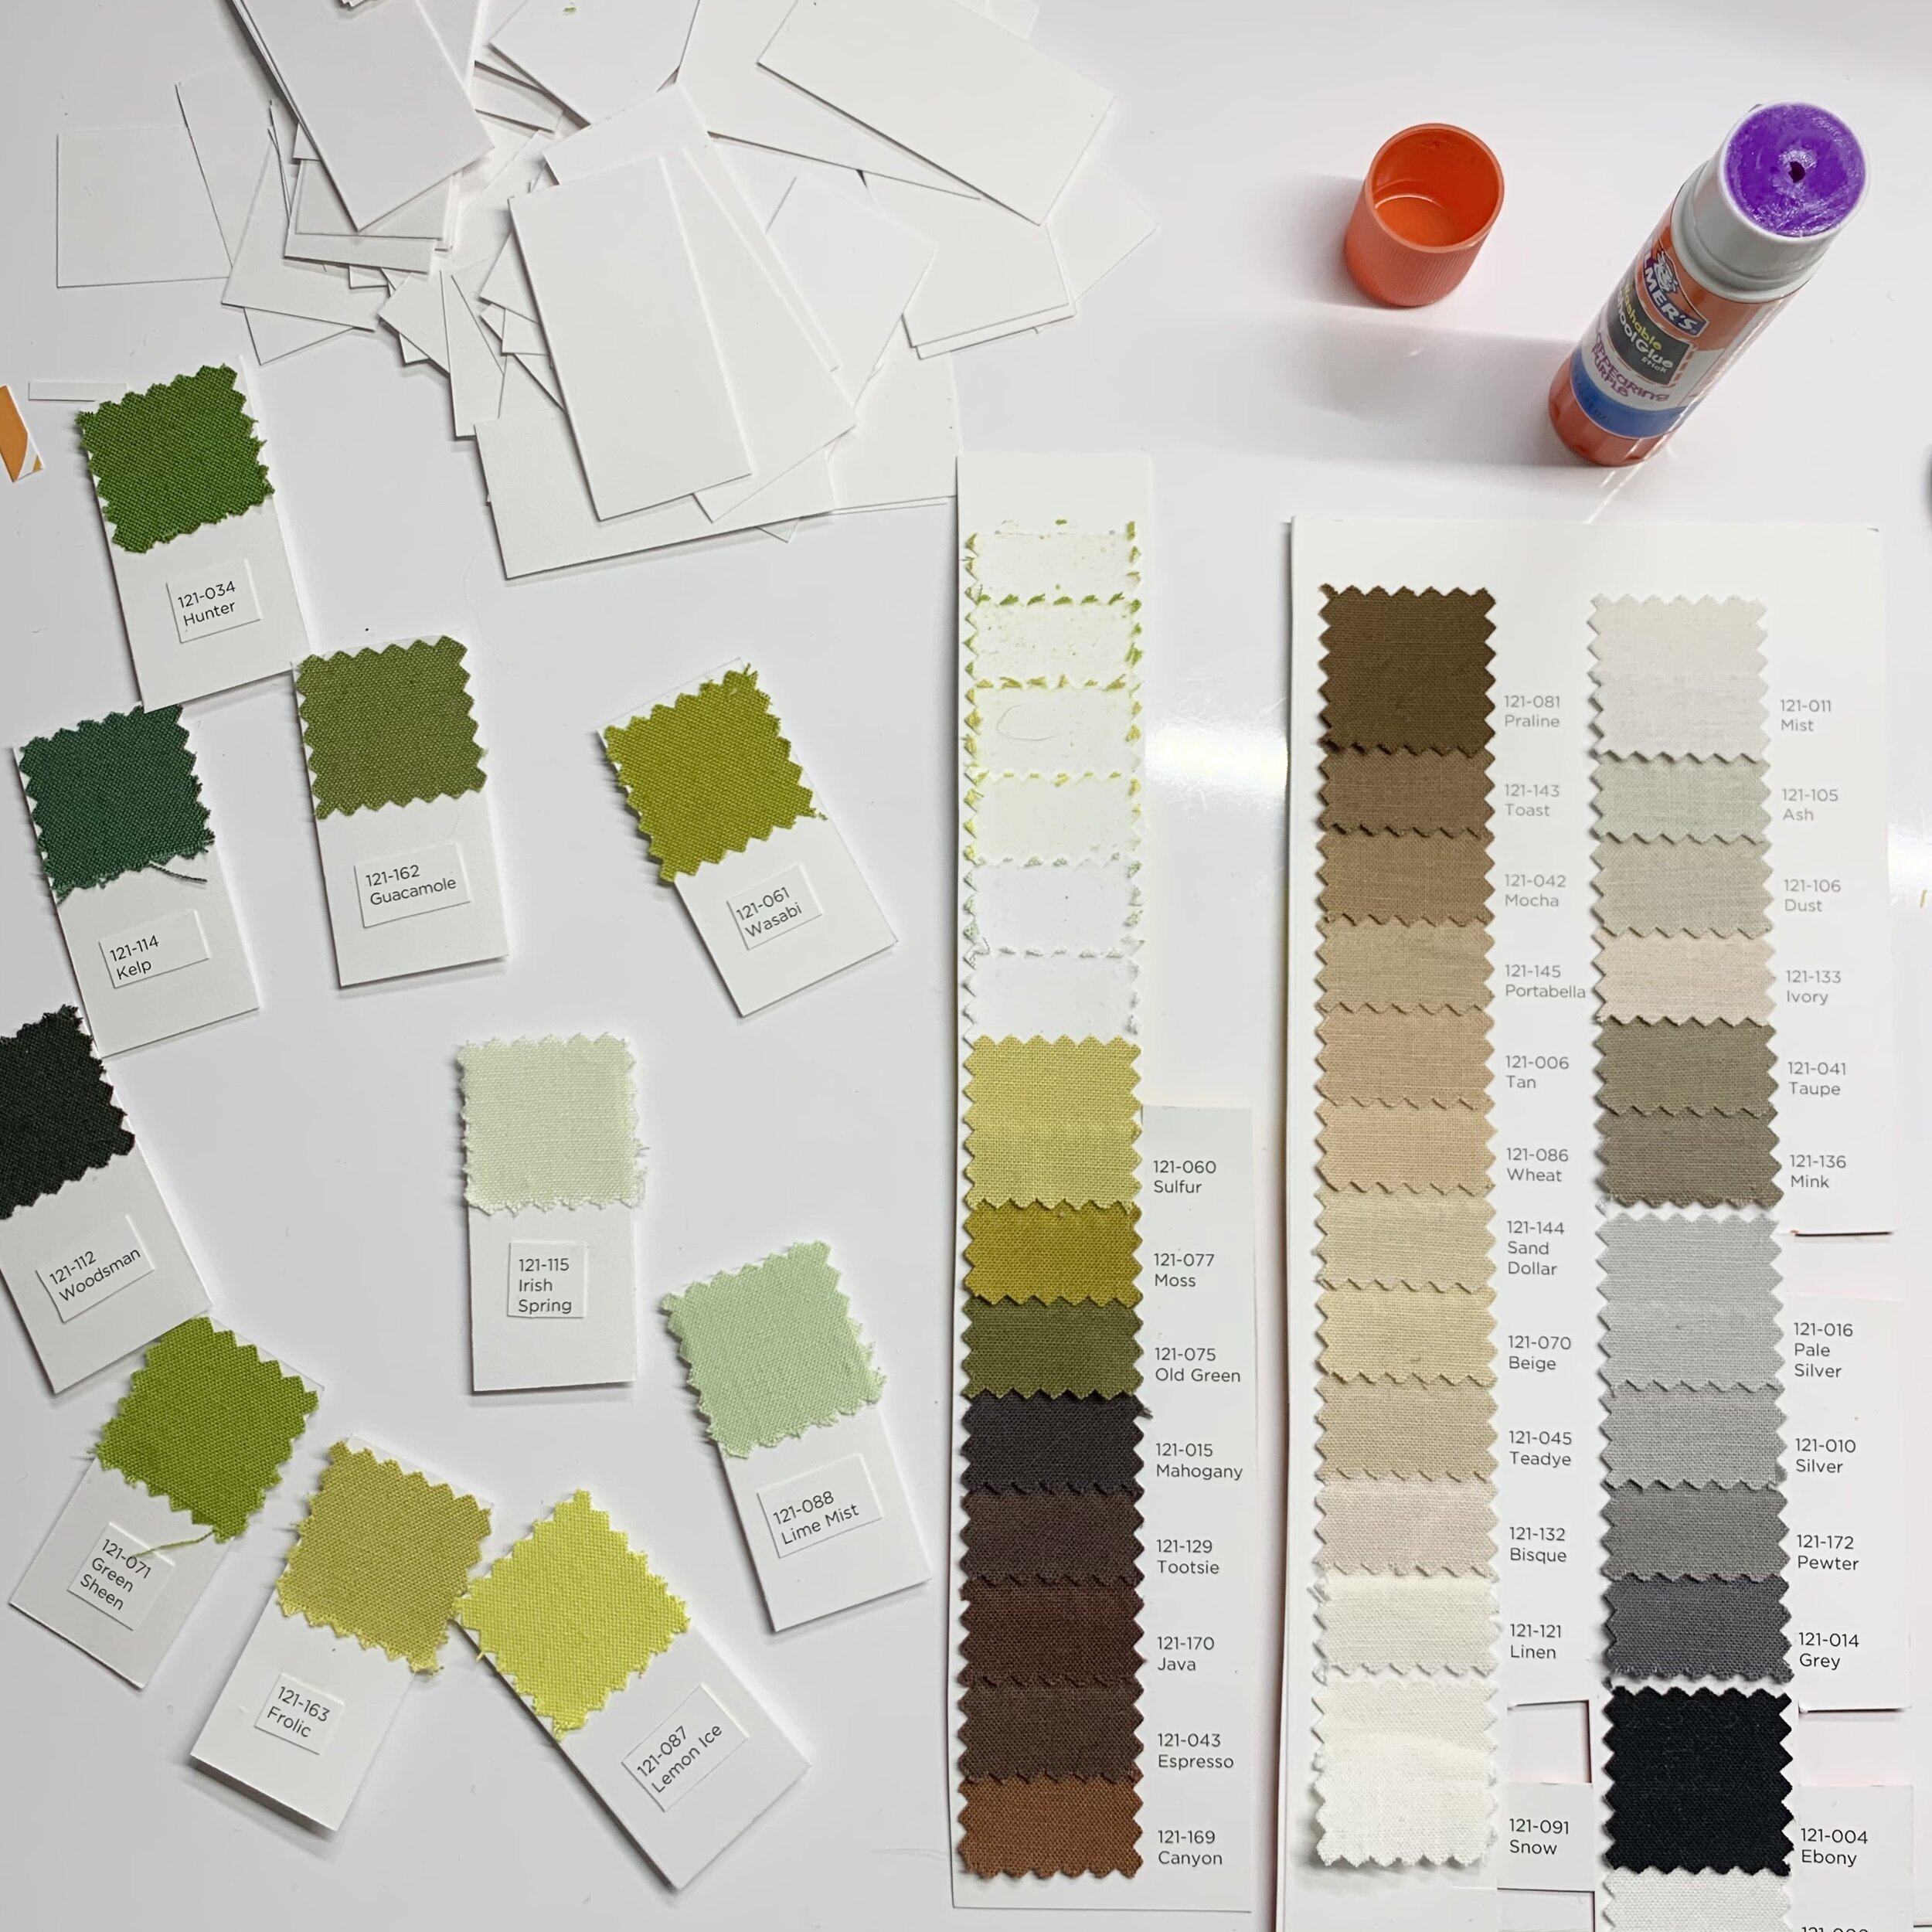
Step 2: Remove fabric from color card (for me, this was as simple as peeling the swatch off, but you may need to cut yours out), and glue to the cardstock with the glue stick
Step 3: Cut out the name of the fabric color and glue to the cardstock rectangle, too (alternately, write it on the cardstock)
Step 4: Add the self-adhesive magnet to the back of the swatch
Step 5: Repeat for the rest of colors (I recommend a good audiobook or movie for this part)
Step 6: To create an easy and pretty storage situation, get a magnetic board for your sewing space like this one

Closing Thoughts
I have to admit: it took me a loooong time to actually get my color card turned into chips like this. But, now that it’s done, it’s already SO MUCH EASIER to put colors next to each other, match solids to prints I have, and it looks really lovely in my sewing room. Whether you love quilts made from all solids or are just looking for an easier way to match backgrounds or borders, having handy swatch chips will make matching your colors easier!