
How to Start Longarm Quilting
A longarm quilting machine will solve all of your quilting woes, right? Quilts will finally be finished because you’ll feel confident quilting them yourself, and you won’t ever have to worry about an unfinished flimsy again. But once that big ol’ quilting machine arrives at your house, how do you actually start longarm quilting?? I’m going to show you step by step how to load and finish your first quilt.
(This post contains affiliate links)

This post is for you if:
You just bought a longarm and feel intimidated
Your machine is set up but untouched
You’re afraid of “wasting” a quilt
You want a simple, pressure-free way to begin
Buying a longarm quilting machine is an exciting decision. You are finally going to quilt your own quilts! Huzzah! Once that big ol’ machine arrives at your house, though, you may find yourself thinking, “Now what??”
If you’re feeling excited and intimidated, you’re not alone. In this post, I’ll walk you step by step through exactly how to begin longarm quilting using the Confident FMQ Framework — so you can take your first stitches with confidence and finish your first projects without pressure.
Video
Action Creates Confidence
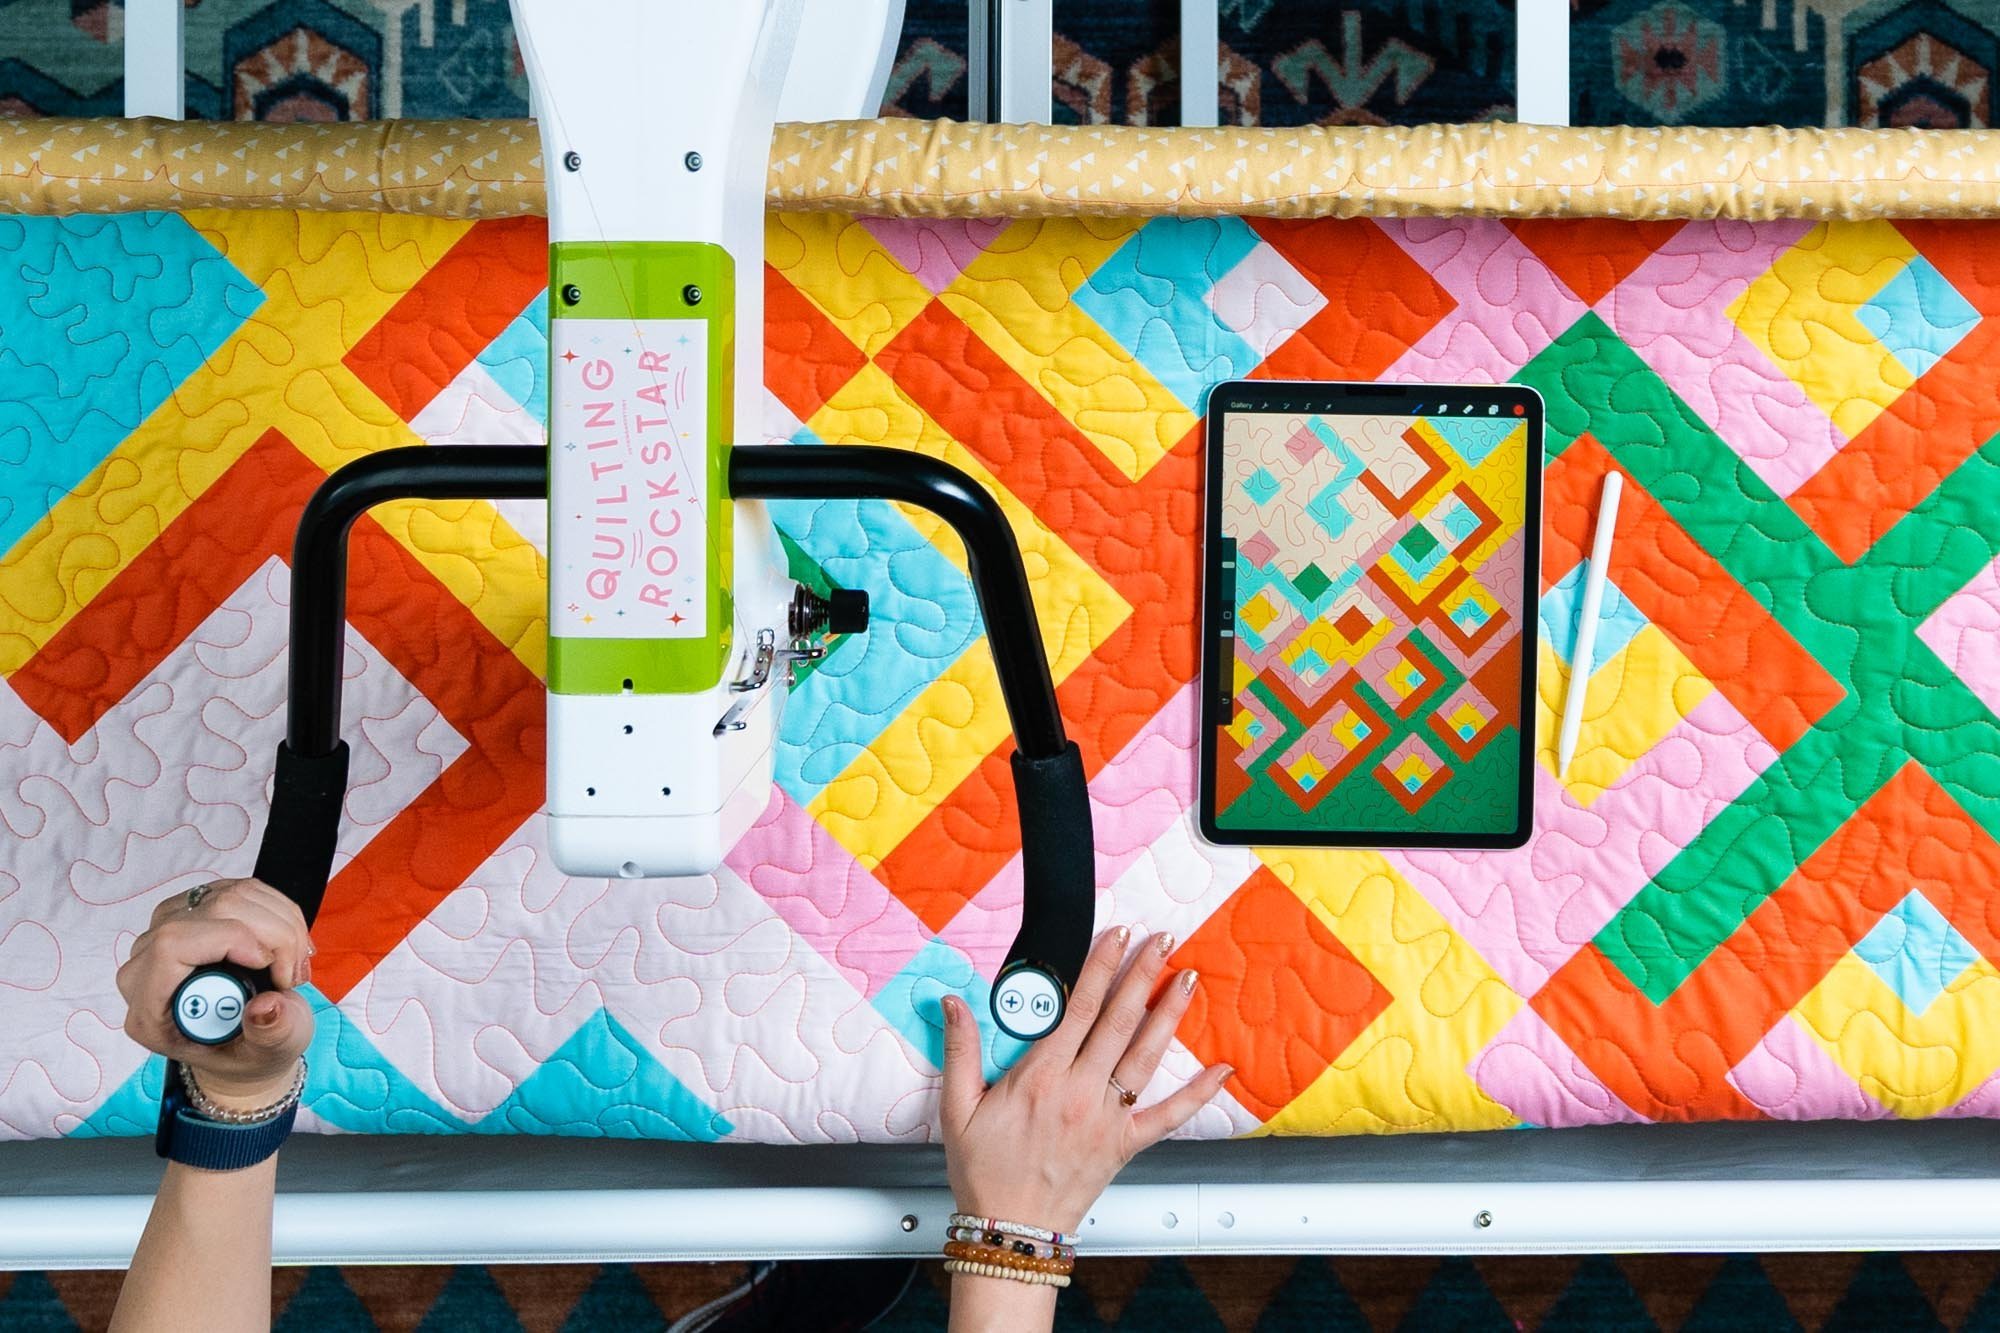
If your longarm quilting machine comes home, and you feel a bit intimidated, don’t worry: that’s totally normal. It’s a big machine, and you’re learning a new skill. However, it’s important to use your machine right away because Action Creates Confidence. Your only goal for this first quilt is simple: get comfortable moving the machine and finish the project.
For your very first project, I want you to load something you almost don’t care about onto the machine– a few yards of fabric you feel meh about, an old bedsheet, a panel that you bought on sale– that sort of thing. If you are going to be hand-guiding your quilting, I recommend floating your quilt top as it makes the loading process a little faster and easier. I show you exactly how to do that in this blog.
This first project is just an icebreaker. It’s going to be a quilt for your pet or a picnic blanket that is kept in the back of the car, that sort of thing, so you don’t have to worry about perfection at all. Use the steps in this blog to adjust your tension, then start playing. Make a wiggly line. Try to quilt a curlicue. Write your name. Fill the whole fabric just playing around. Check your tension periodically and adjust it if needed. Don’t unpick anything even if it’s wobbly– you’re doing great!
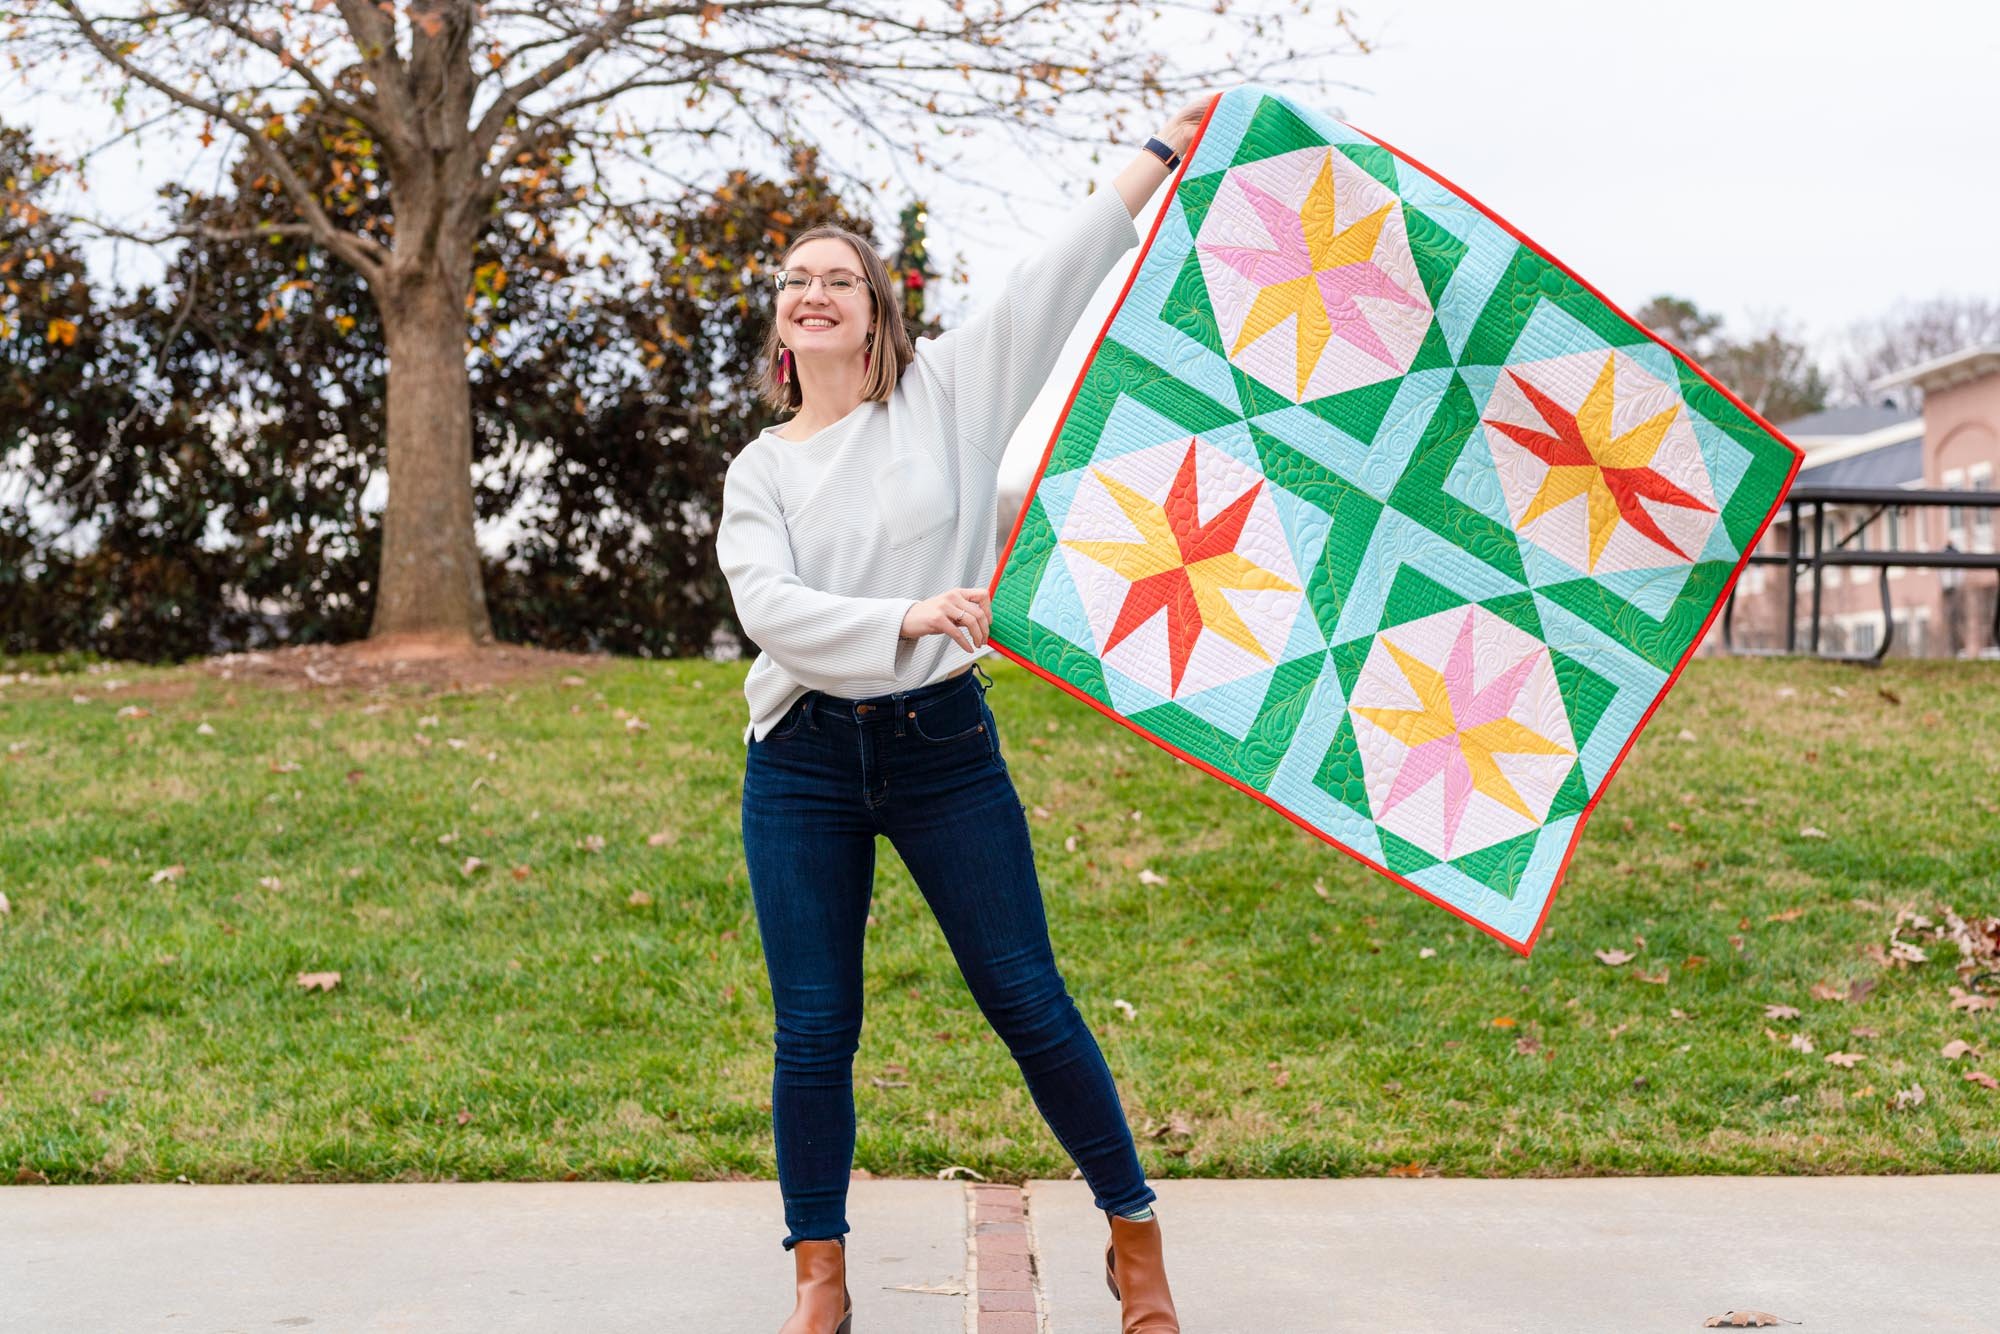
Once you’ve filled up that whole first practice quilt, take a moment to celebrate! Maybe you take a video of you unrolling the quilt from the frame or take a photo of yourself holding up the finished quilt. Bind that baby and hug it close– You just longarmed your first project!
Consistency Builds Competence
Now that we’ve “ripped off the bandaid” and you know that the longarm won’t combust into glitter if you look at it funny, it’s time to develop your skills a bit. It’s important to longarm a little bit often — 15–20 minutes at a time. Showing up each day to quilt will keep all the new skills you’re learning top of mind, keep fear at bay, and develop the motor control you need to move the machine smoothly and confidently.
Go ahead a load another practice piece on the frame (I recommend a panel this time, like a Quilting Rockstar panel or one you picked up at your local shop). This time, instead of quilting whatever you feel like, use this video to practice the meander. It’s filmed on a domestic machine, but the same principles apply to quilting the meander on a longarm. This is a classic motif that is vital to have in your back pocket because it teaches you good control of the machine, gives you practice filling space with your quilting, and looks great on almost any quilt. Meander and bind your panel, then celebrate the consistent progress you are making!
Finished is Better than Perfect
By my count, you’ve already quilted TWO projects on your new longarm quilting machine– congratulations! In case your Inner Mean Grump (IMG) is tempted to say anything rude about any imperfections on either quilt, let me remind you of something important: The whole point of a quilt is to snuggle it. Because of your courage, consistency, and growing confidence, there are two more finished quilts in the world, and that’s a huge win!
The only way to truly ruin your quilts is to leave them unfinished. Finished quilts build confidence. Confidence builds skill. Skill makes the next quilt easier.
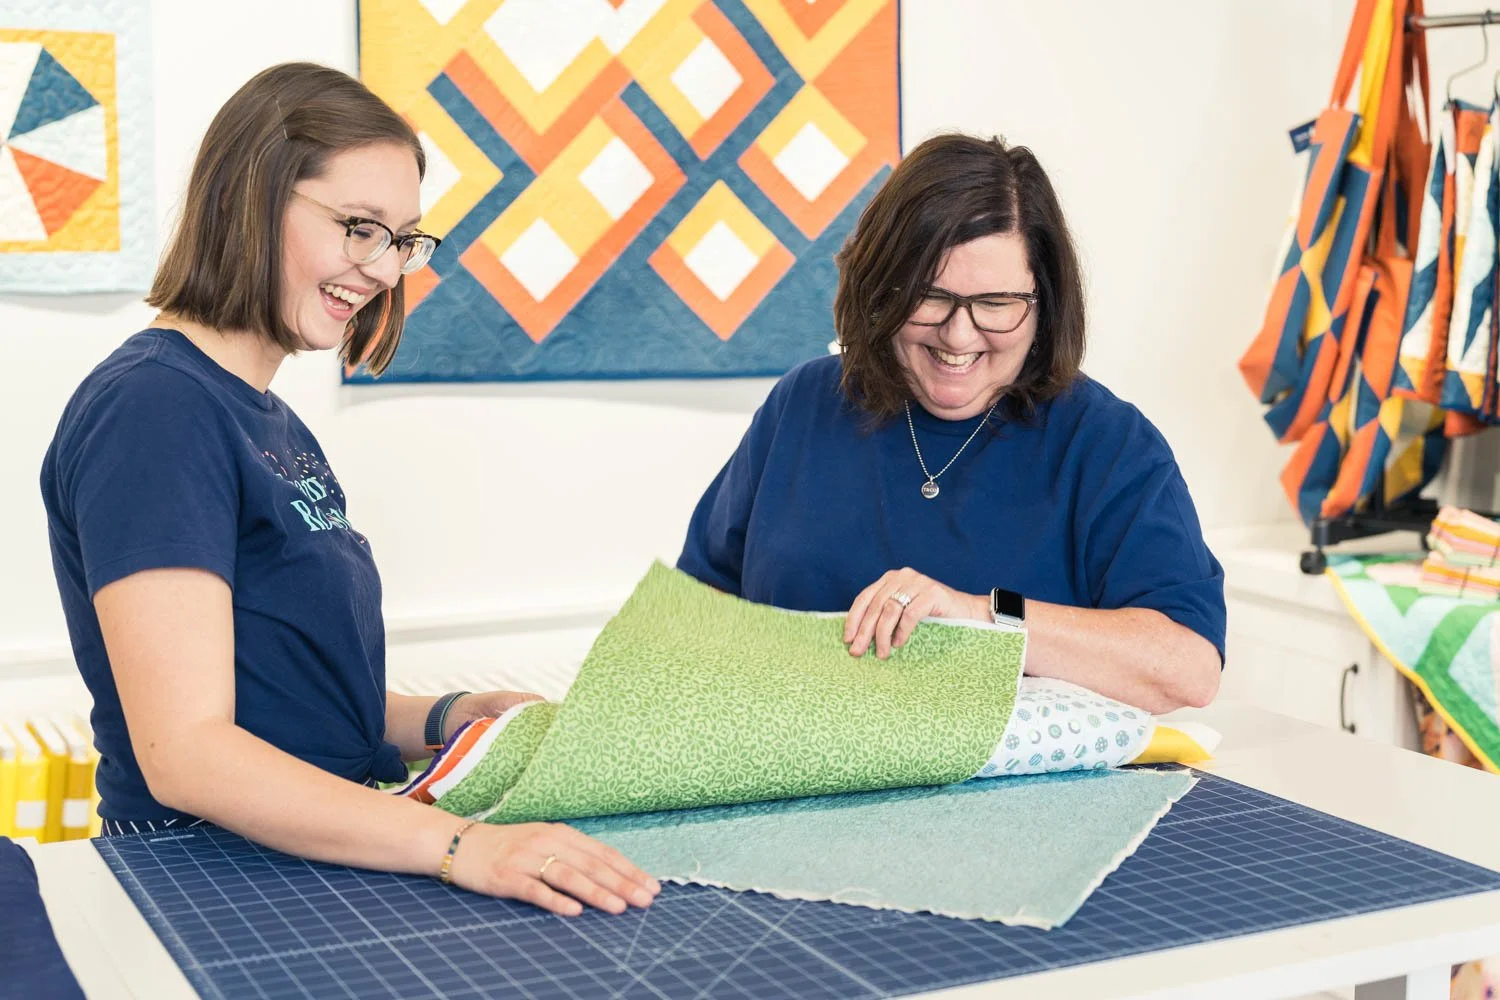
Community Conquers Fear
The essence of what happens next is simple: rinse and repeat. But that process is a lot easier and more fun with a strong community. Quilting friends encourage us when our Inner Mean Grump is loud, understand how significant it is to finish a project, and can help us grow our skills. The right community doesn’t just share photos — it helps you know what to do next and reminds you that you’re not behind. There’s an African proverb that says, “If you want to go fast, go alone. If you want to go far, go together.” When it comes to quilting, I happen to think that you’ll learn and grow both faster and farther if you have quilting friends.
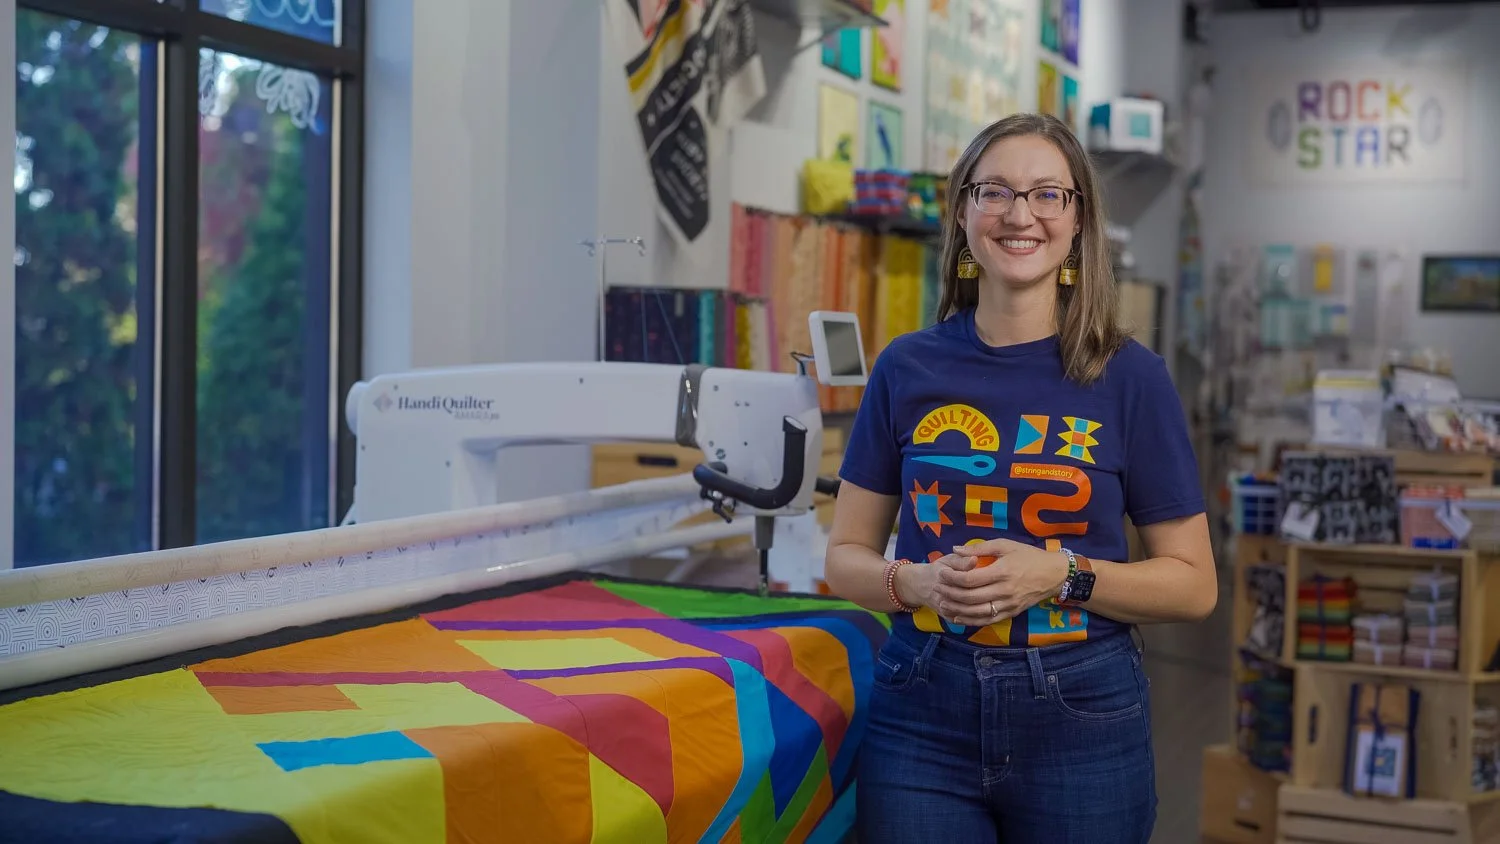
I foster this kind of community inside Quilting Rockstar University. QRU provides a rich educational environment and an incredibly supportive community. Inside, I’ll teach you dozens of skills and motifs to confidently finish your quilts, and you’ll meet your fellow Rockstars who will love cheering for you as you practice your skills and finish your quilts!
Final Thoughts
If you’re the excited new owner of a longarm quilting machine, I recommend jumping in to your first quilt right away! You don’t need to know allthethings before you begin. Just learn and practice each step as you go, then keep practicing in small chunks each day. Your confidence and competence will grow in no time! Every finished quilt is a huge win.
Resources
COURSE: Longarm Preparatory will guide you step by step through loading and finishing your quilt on your longarm. This course is available inside Quilting Rockstar University