
Quilting In Layers: Basics of Custom Quilting
Custom quilting means using lots of motifs, often in creative or unusual ways, to truly make a quilt one of a kind. When you only see the final product, it can be hard to understand where the quilter started and how to break down the complexity into different layers. Let’s talk through some basic steps so you can start— and finish— with confidence!
(This article contain affiliate links)

Custom quilting. Two exciting, gorgeous, almost awe-inspiring words. When you’re stitching your first meanders, custom quilting your own (or maybe even others’!) quilts may seem far away. But, honestly, if you’ve taken my Intro to Free Motion Quilting class and done the work to be comfortable with those few motifs, you’re ready to start custom quilting!
Whether you’re working on your domestic machine or a longarm, there are two key parts to custom quilting: 1) deciding what to quilt where (making a quilting plan) and 2) deciding how to execute the plan, aka what to quilt first, second, and so on!

What is Custom Quilting?
When I say “custom quilting,” I am referring to any quilt that has four or more motifs quilted on it. Custom quilting includes motif use and placement that enhances the design of that particular quilt. It often includes quilting across seam lines to emphasize a secondary or overlaid design. The simplest type of custom quilting (I usually call it “semi-custom”) can be done on a traditional quilt where three motifs are chosen— one for the blocks, one for the sashing, and one for the borders.
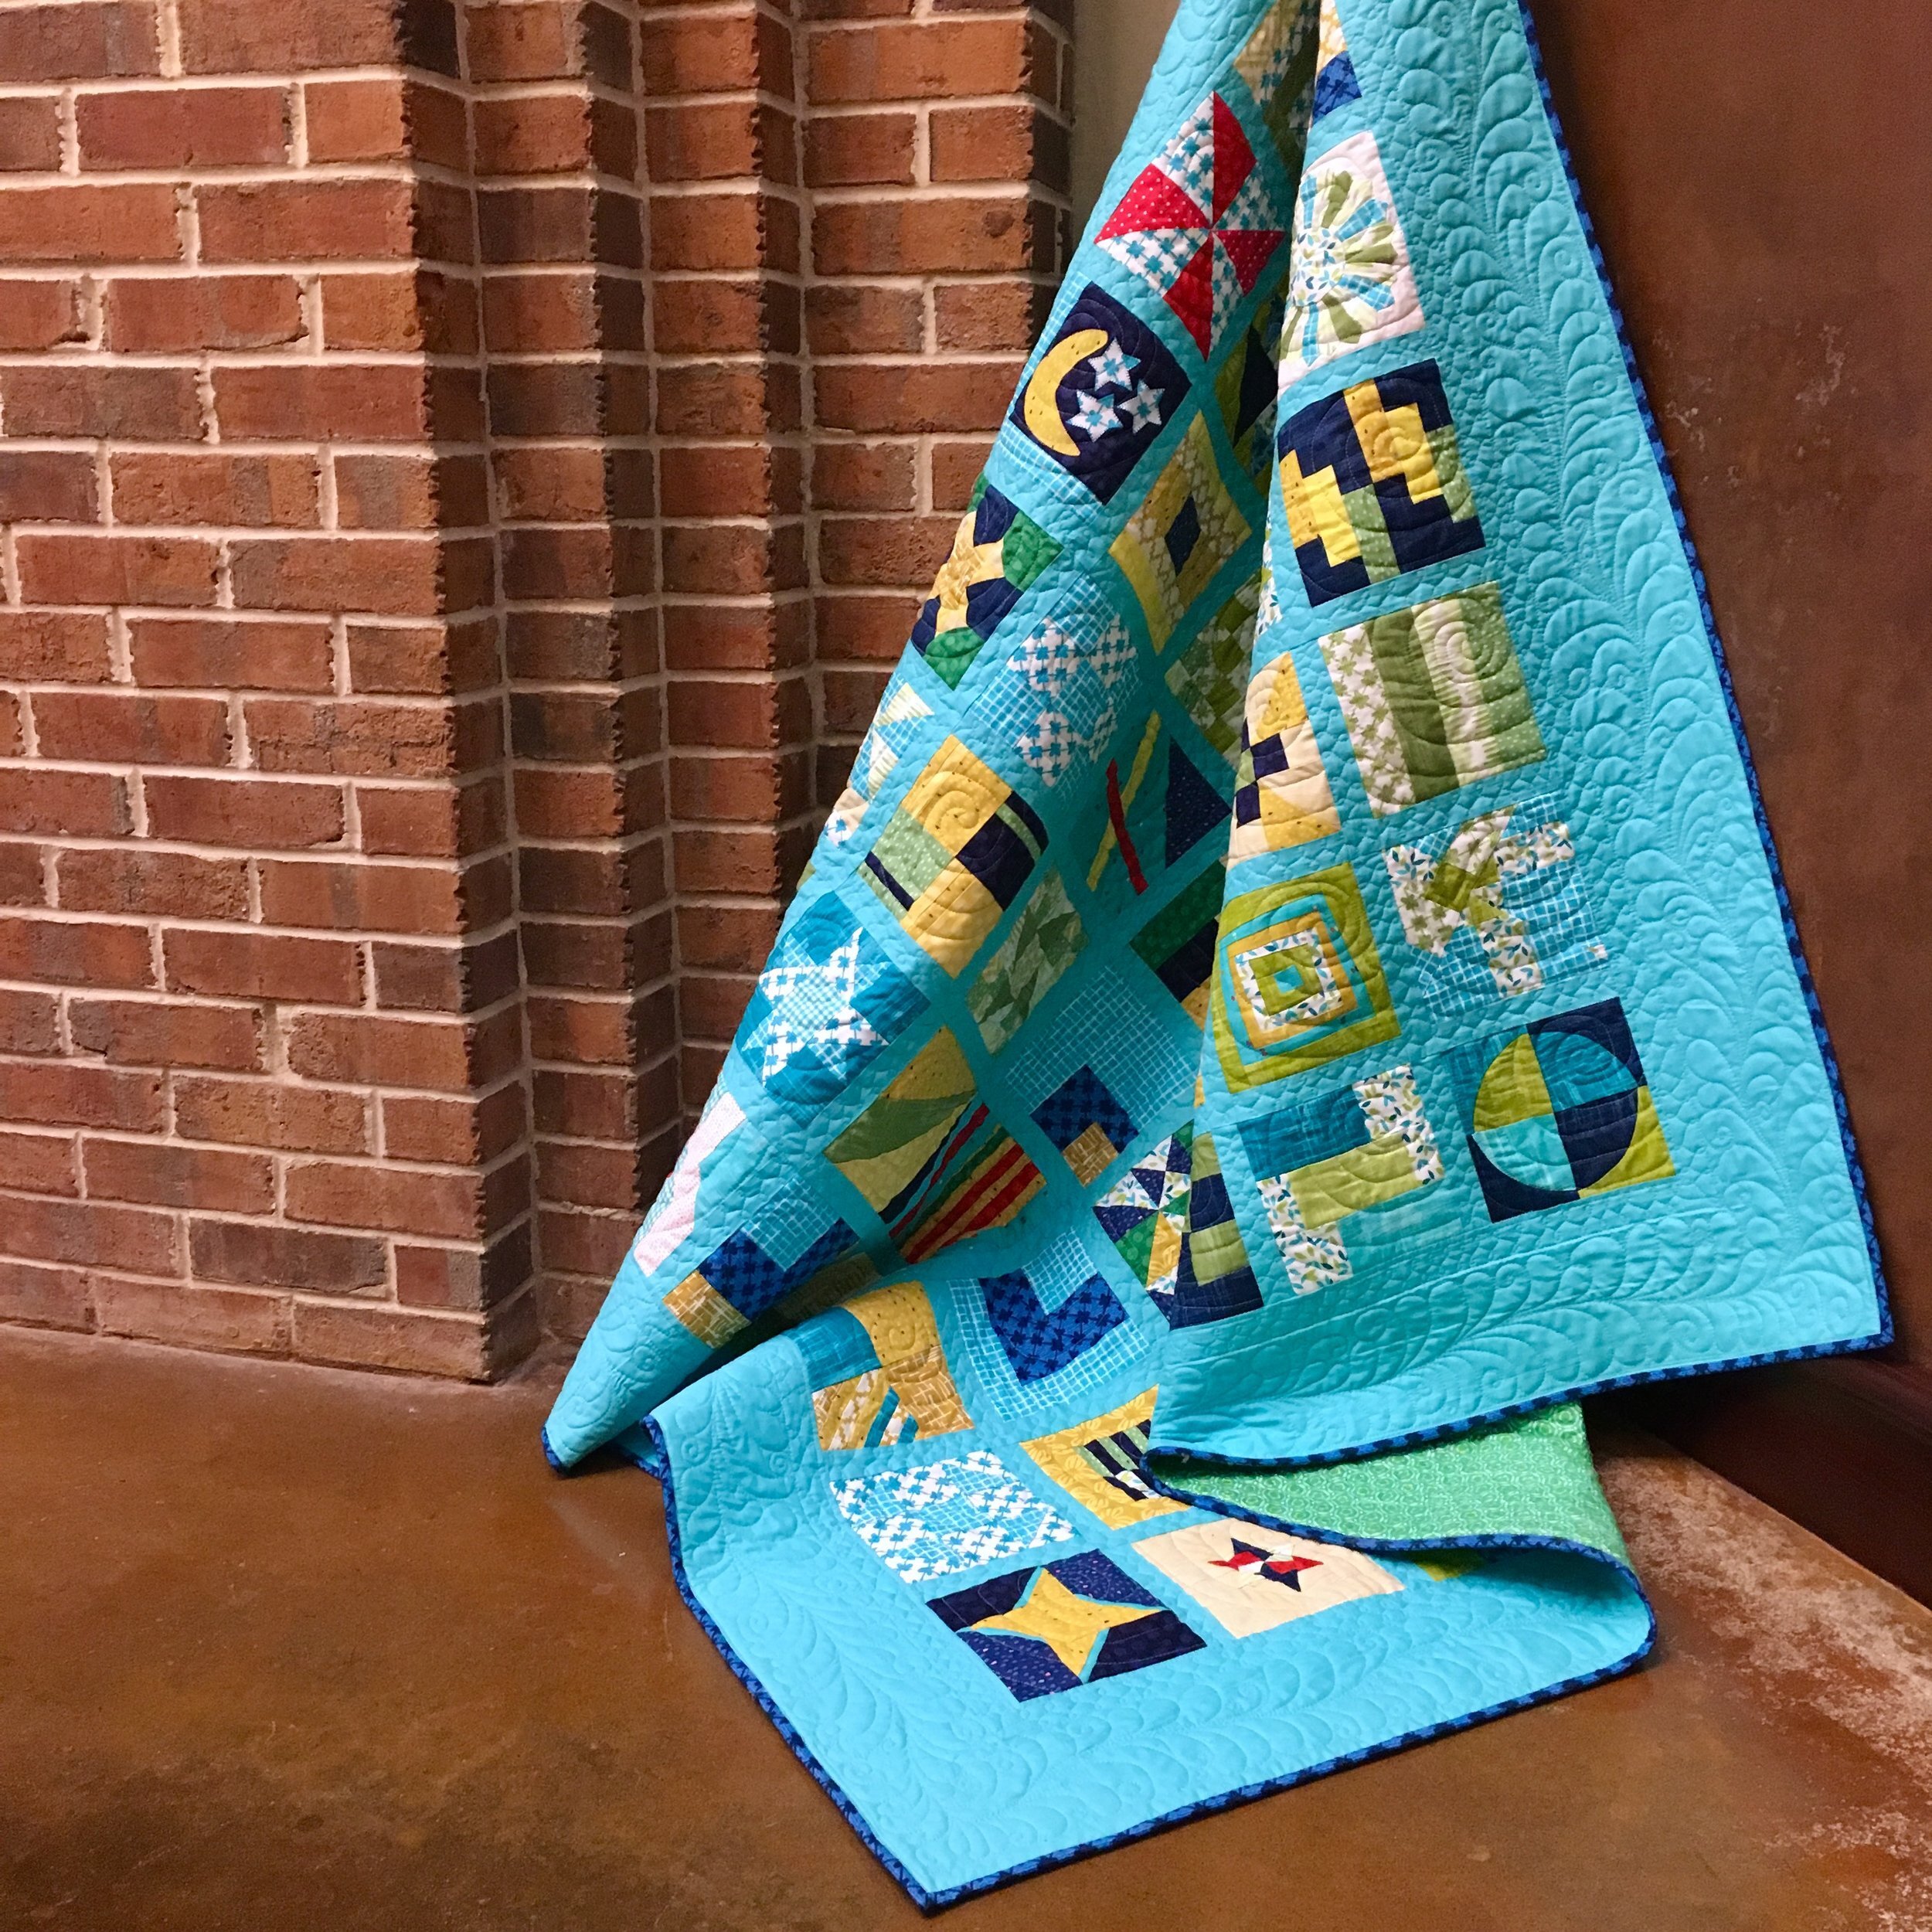
More complex custom quilting completely or almost completely ignores seam lines to create an additional, separate, yet complementary layer of design. I’m going to use two of my patterns, Star Island and Lanterns of Hope, as examples of this more complex approach to quilting.
Also, each of the “layers” I’m talking about here is a complete pass down the quilt. On the longarm, that means I worked top to bottom completely multiple times over, rolling the quilt back and forth. On a domestic, it would mean quilting across or around the quilt multiple times. Because layered quilting tends to be quite dense, I strongly recommend a natural fiber batting (cotton, wool, or bamboo) and 100% cotton thread to have a soft, squishy finished quilt.

Where to Start: Secure the Quilt
The most common way to do this is to stitch in the ditch around all the blocks, but it can also means blocking in the largest shapes of your quilting plan like the arches/ clamshells in this Star Island quilting plan or the circles and rectangles in the Lanterns of Hope plan below.
Full disclosure: I prefer to quilt large shapes rather than stitch in the ditch. On the longarm, stitching in the ditch can be fiddly and slow. On the domestic it can lead to puckering later if the quilt isn’t perfectly flat when basted.
As I mentioned, when quilting Star Island, I secured the quilt by first making the large scallop designs from top to bottom on the quilt. You can use free hand dot to dot quilting to make these shapes or you can use a ruler. (If you missed it, be sure to check out this video of me stitching those scallops because, yes, once up on a time I used a pizza pan LOL)

Next: Quilt Any “Point of Reference” Motifs
This might be the largest or most dominant motif, or, in the case of Star Island, it was the scallop echoes and frond spines that created the shapes for my smaller filler designs. We’re basically working largest to smallest— after the quilt is secure, add motifs that will dominate your quilting plan or cover the most area of your quilt.

Add Some Fillers
These are the details— some paisleys here, pebbles there. Depending on what larger motifs you had, this step will likely take the longest because it is the most intricate. Take your time and embrace the process. Quilt the life into it!
Optional: Borders
If applicable, quilt the borders last. If there’s any sort of wave or extra fabric that eased out of the seams while you were quilting everything else, saving the borders until last will give you a chance to massage them and work that extra fabric so that it lies flat and lovely. My favorite way to quilt super friendly borders is with switchbacks or straight lines (think faux piano keys). This way, if there is so much extra fabric that I need to make a pleat, it’s easily and neatly hidden by stitching right along the edge of the fold as part of the quilting motif. You can check out my other tips for taming with wavy borders here.

Lanterns of Hope
The Star Island quilt above drew inspiration from a tone on tone print in the cream fabric of little palm fronds. To custom quilt Lanterns of Hope, I was inspired by the idea of paper lanterns rising into the sky.

Quilting Lanterns of Hope followed the same basic steps as quilting Star Island: I worked from the largest shapes down to the most detailed fills, then I finished with the outermost portion of the background that framed the denser quilting like this:


This quilting plan uses a near even mix of free motion quilting and ruler quilting– a really fun way to show off your skills!
Conclusion
As you’ve likely figured out, custom quilting takes a lot longer than an all over or edge to edge design. There will be more thread ends to bury, and it will use more thread. If you send a quilt to a longarmer, custom quilting will cost extra. Personally, I think it’s all 100% worth it because I’m allll about the texture and additional layer of design. Whether or not custom quilting ends up being your “thing” or style, try it at least once! It encourages you to look at your quilts a little differently, and it’s lots of fun!
Resources
QUILT PATTERNS: Star Island & Lanterns of Hope
QUILT PANELS: Worried about “messing up” your quilt? The Quilting Rockstar Panels are the perfect way to practice!
FREEBIE: If you’re new to free motion quilting, make sure to download my FREE Confident FMQ Workbook from our Quilting Rockstar Library
DIGITAL COURSE: Learn your first steps in free motion quilting with our Intro to FMQ online mini-course!