
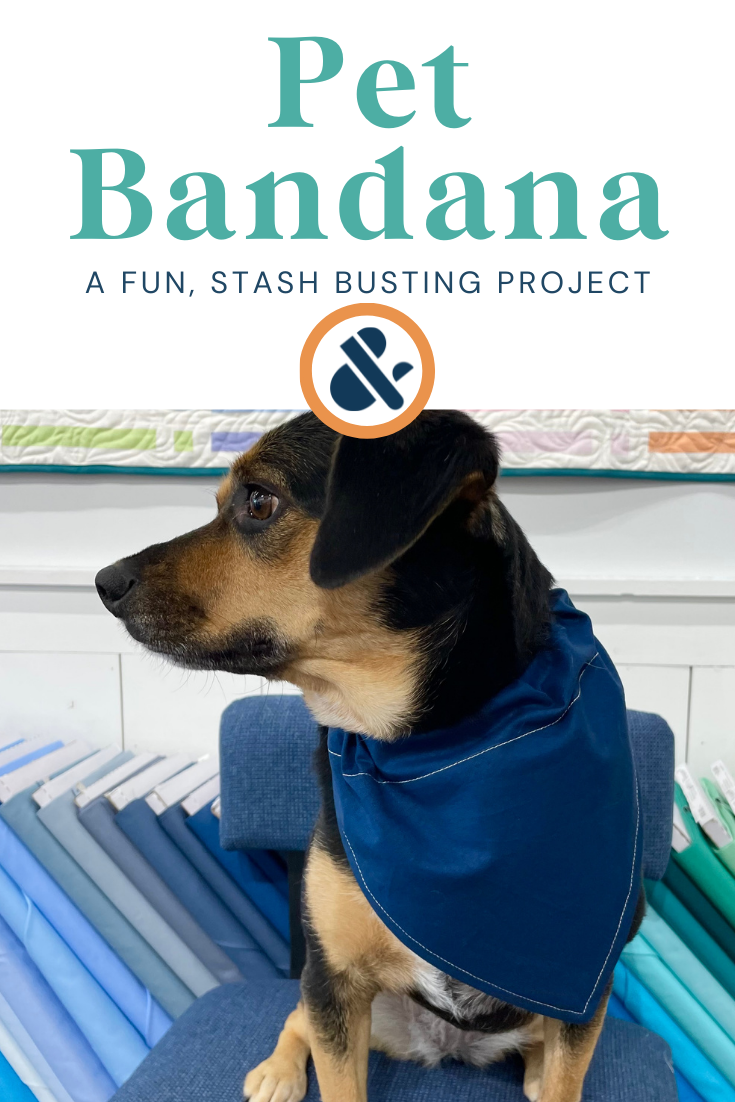
How to Sew a Pet Bandana
Pet bandanas are such a cute and simple way to dress up your dog, cat, or other critter, and they’re an easy and beginner-friendly sewing project, too! Let’s make one step by step together
(This post may contain affiliate links)
Our town of Duluth, GA has a “Dog Days of Summer” event each year, and we were inspired to create a way for our sewing and not-yet-sewing neighbors alike to have some fun making a sweet dog bandana. It’s quick and easy to sew an over-the-collar pet bandana, so why not bust your stash and dress up your pet all at once?
Supplies
Directions

Fold edge of FQ corner down to make a triangle, estimating a size that suits your pet. Trim away the extra fabric (figure 1)
Trim the “dog ear” corners to make a 1½” line (figure 2)
Open the bandana, fold in the 3” sides by at least a ¼”. Press down. Zigzag over the raw edges, back stitching at the beginning and end, to secure the fold and finish the edges (figure 3)
Fold in half, right sides together, stitch down the two raw edges, ¼” SA (figure 4)
Turn right side out through the opening and press (figure 5)
Top stitch around bandana, making sure the line by the openings is 2” away from the folded edge (figure 6)
Slide collar through bandana opening the put the collar back on your pet for a fashionable wear

Many thanks to Darcy Struble for writing & testing these directions
Resources
How to Sew a Scrunchie (coming soon!)
How to Make a Panel Tote Bag (coming soon!)