
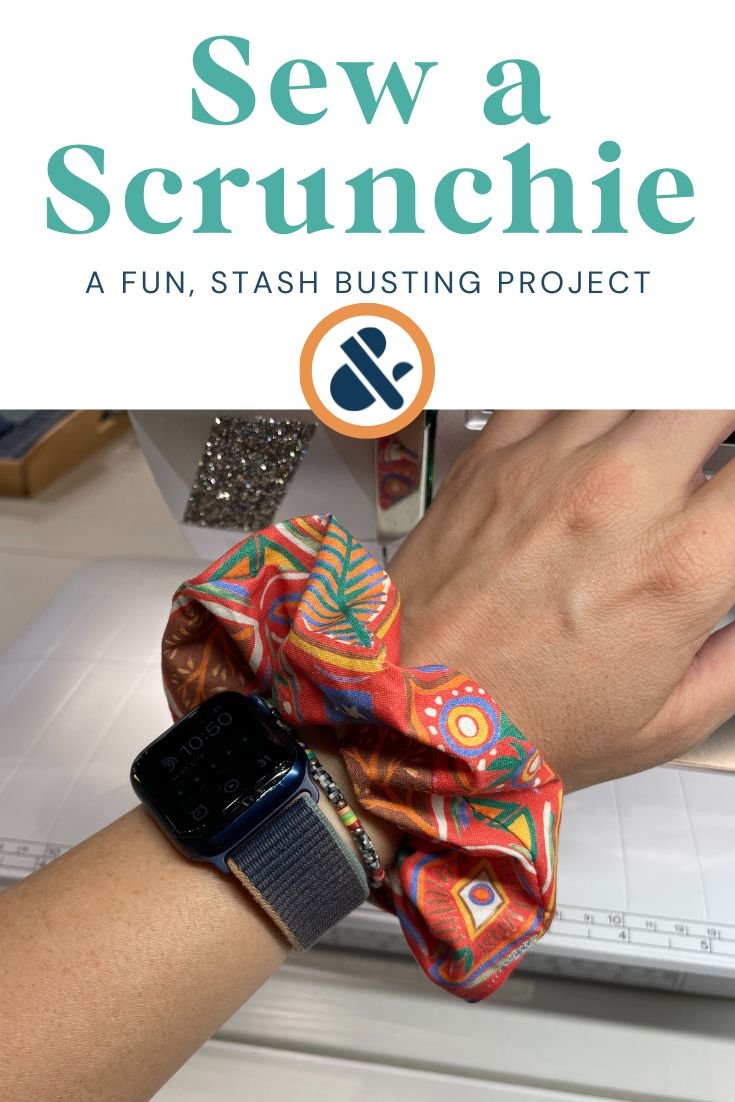
How to Sew a Scrunchie
I love scrunchies— they’re cute on my wrist, they don’t crease my hair so badly, and they’re a great way to use fabric scraps. Let’s take a look at how quick and easy it is to sew your own scrunchie!
(This post contains affiliate links)
Scrunchies are such a cute accessory— they look cute on your wrist or in your hair, they use scraps, and they make great little gifts! They’re also a fun project that even the newest (or youngest) sewist can make, and nothing beats the feeling of accomplishment that comes from a quick success!

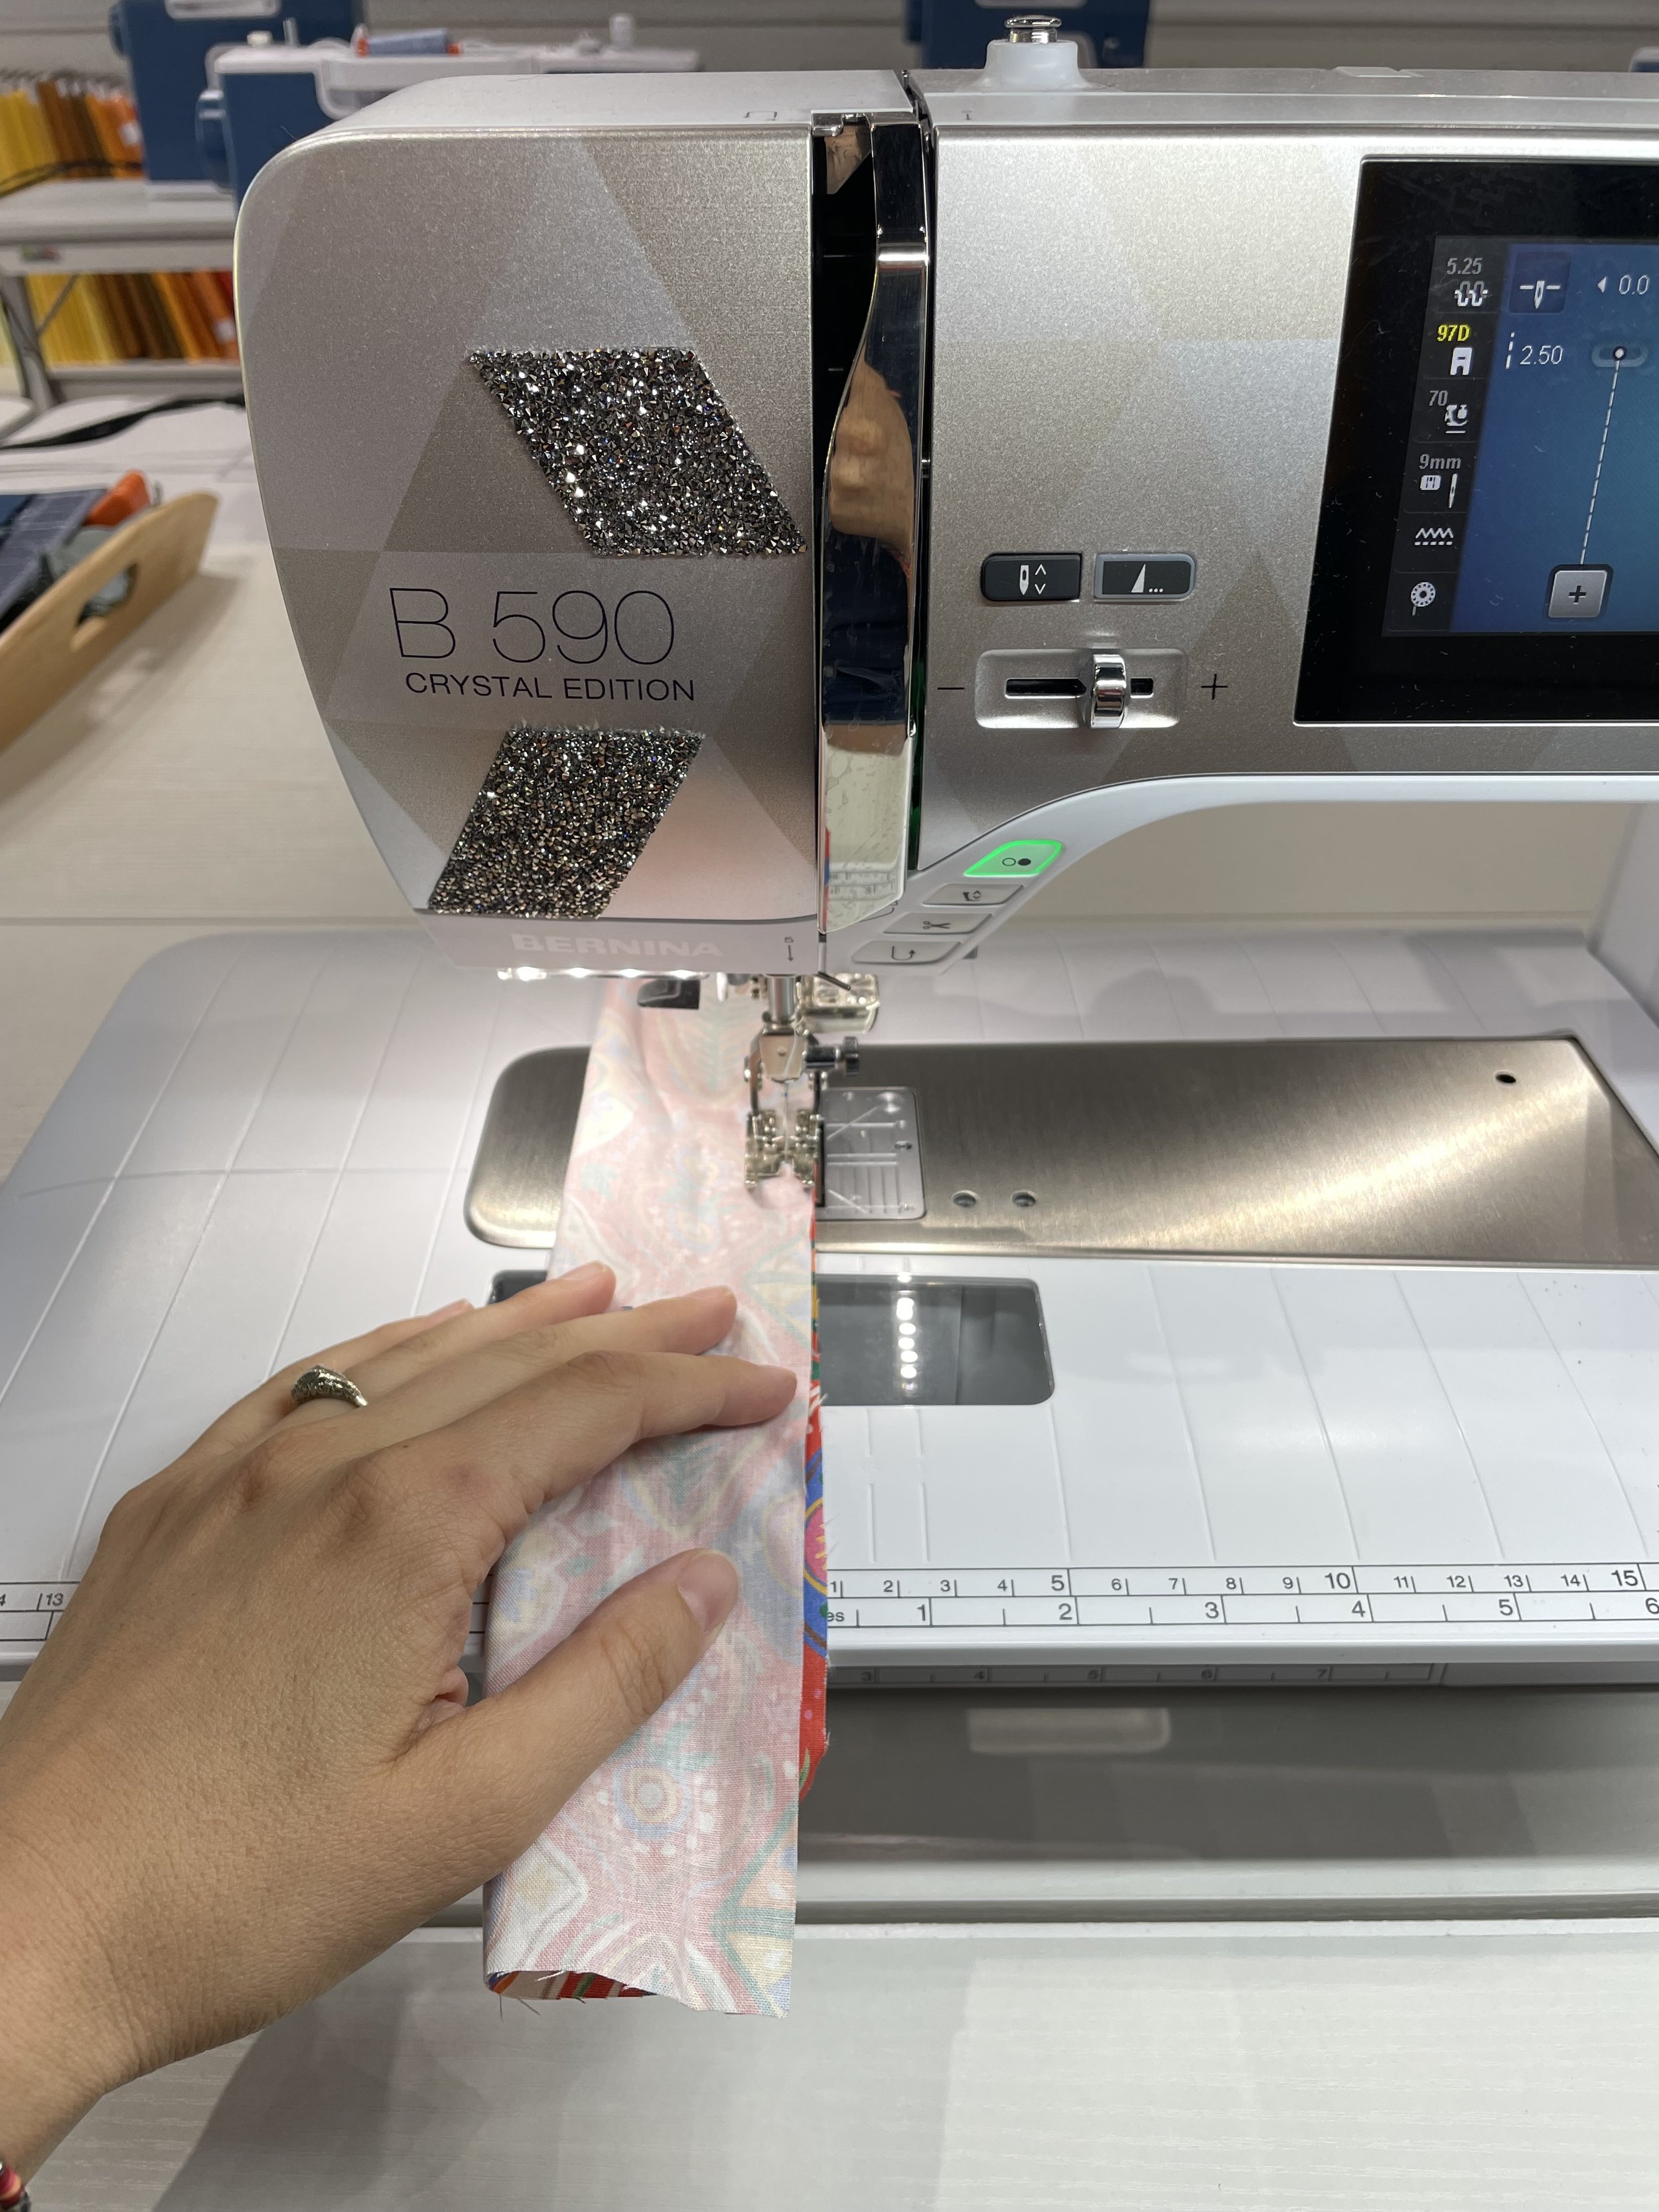


Folding the strip of fabric longways, right sides together, sew a 1/4 seam down the long side of the fabric, leaving 2-3” unstitched at the top and bottom, to make a tube
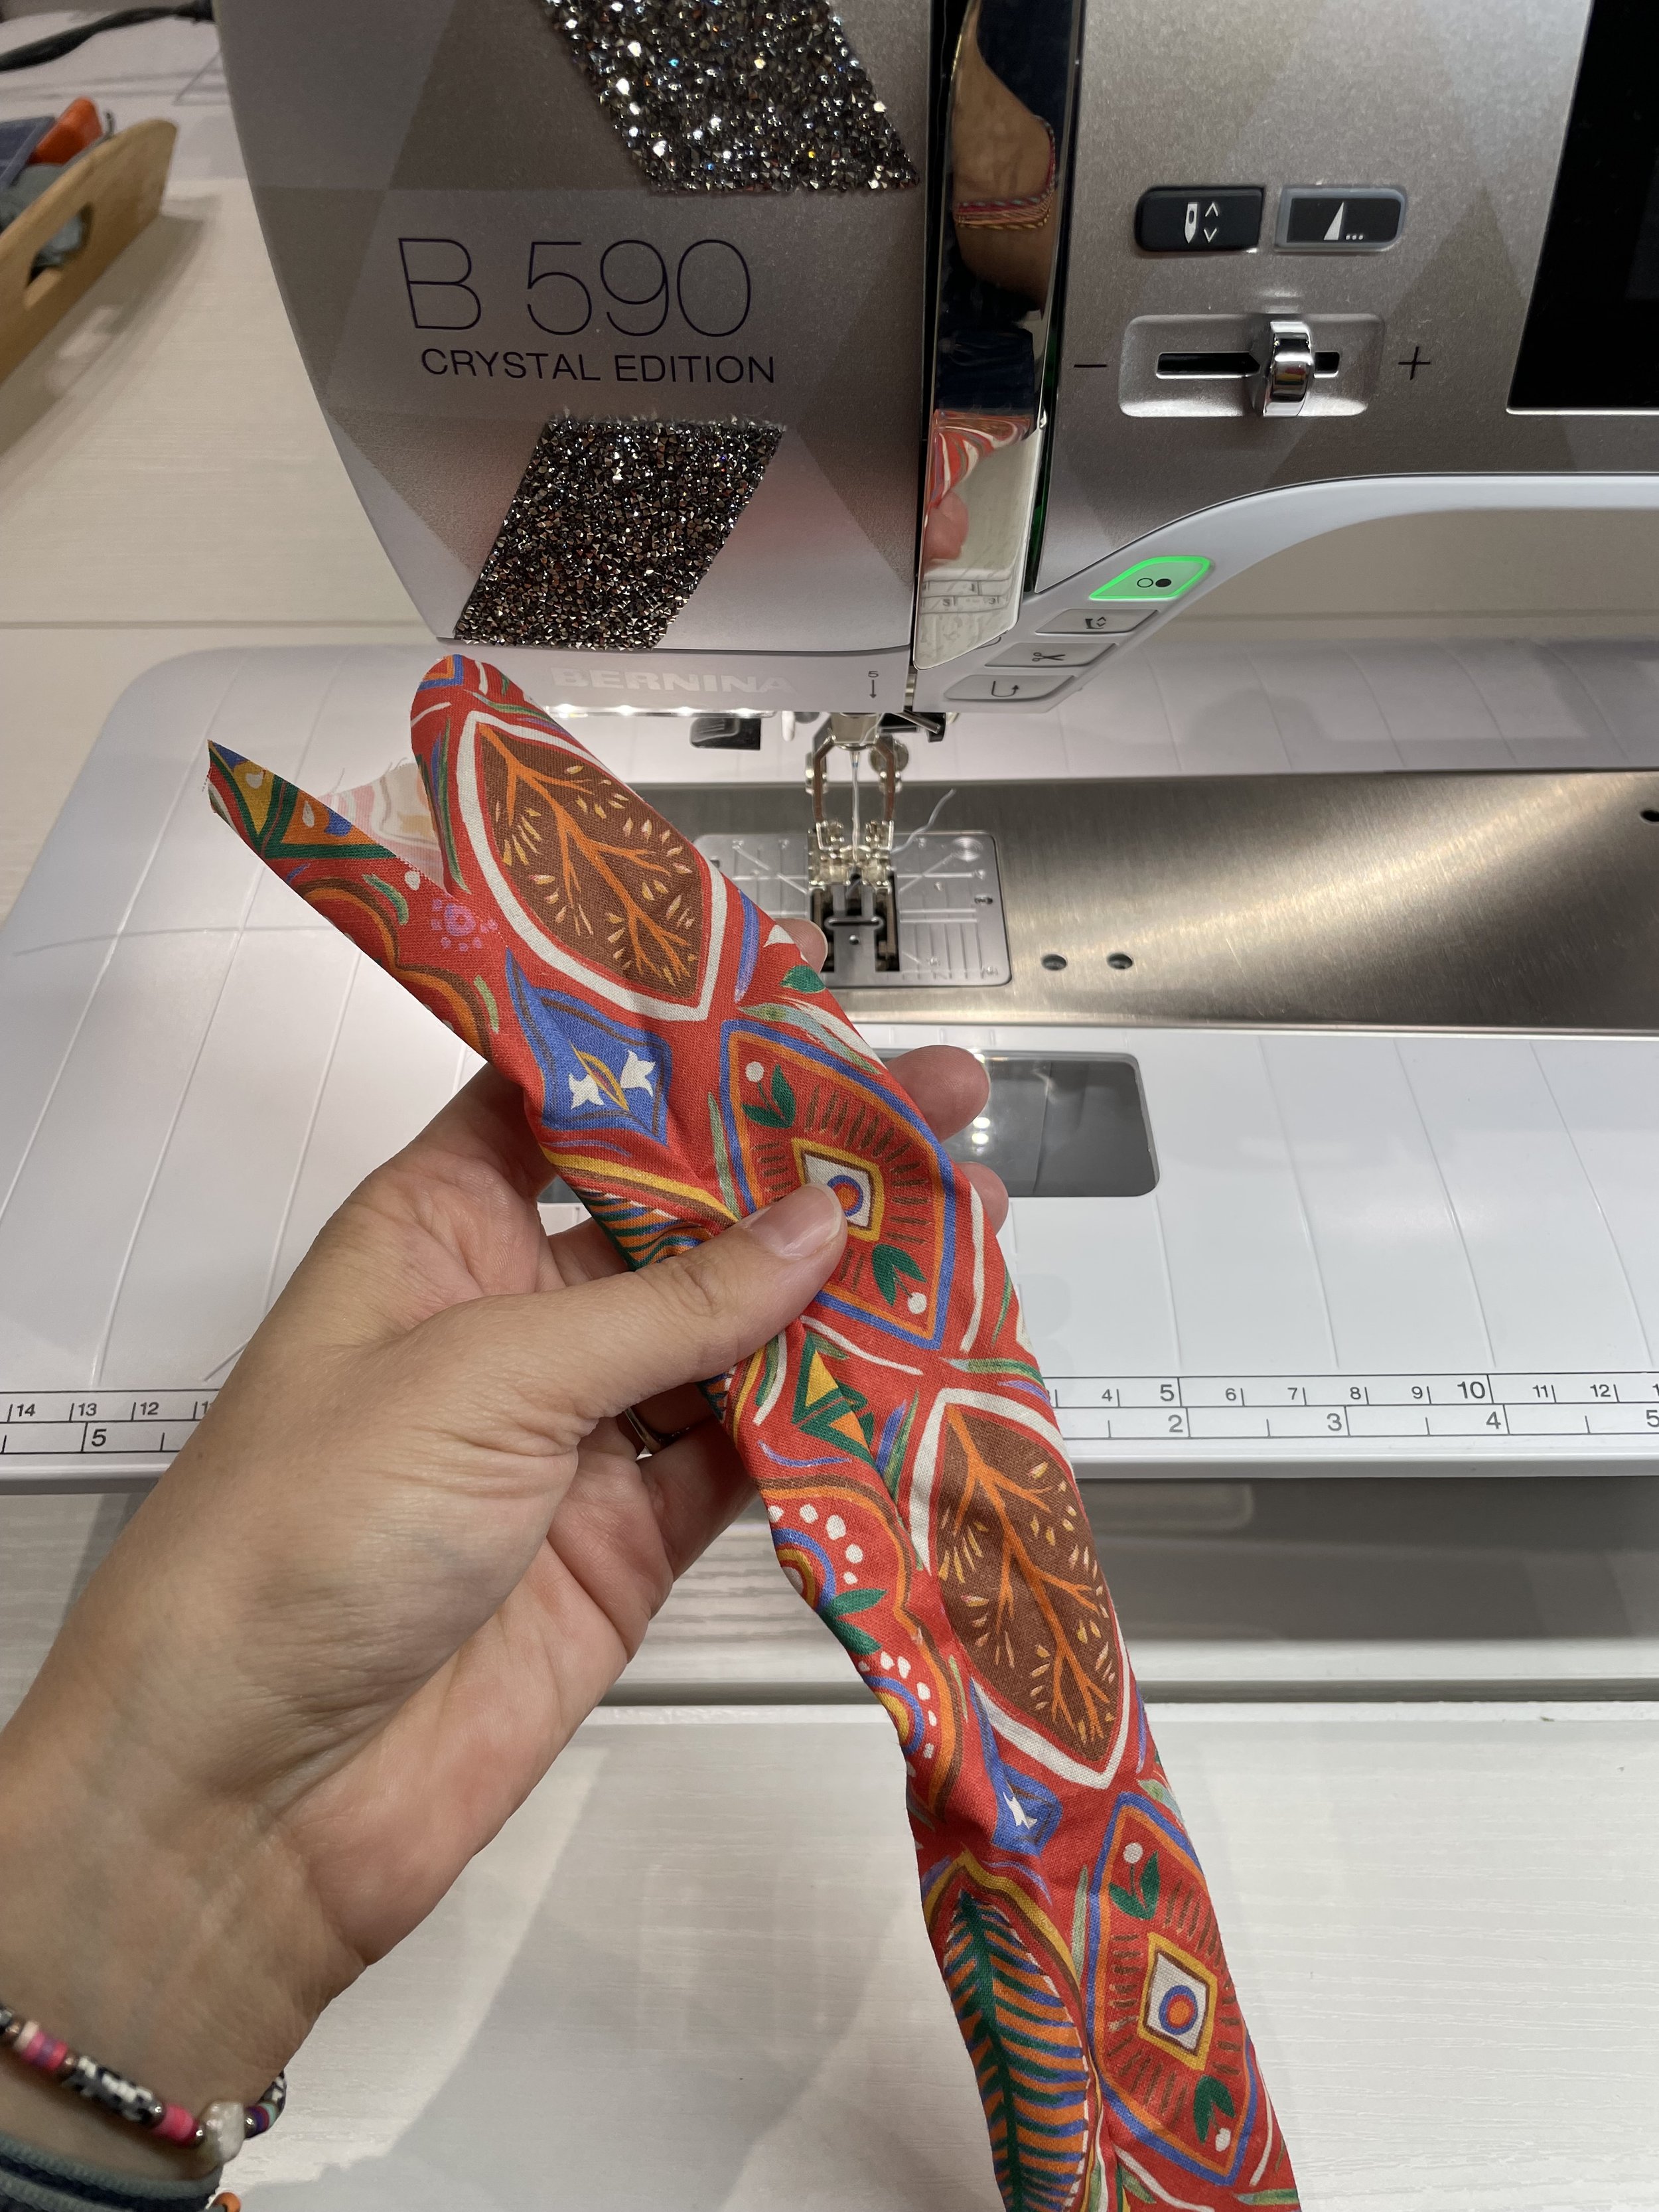
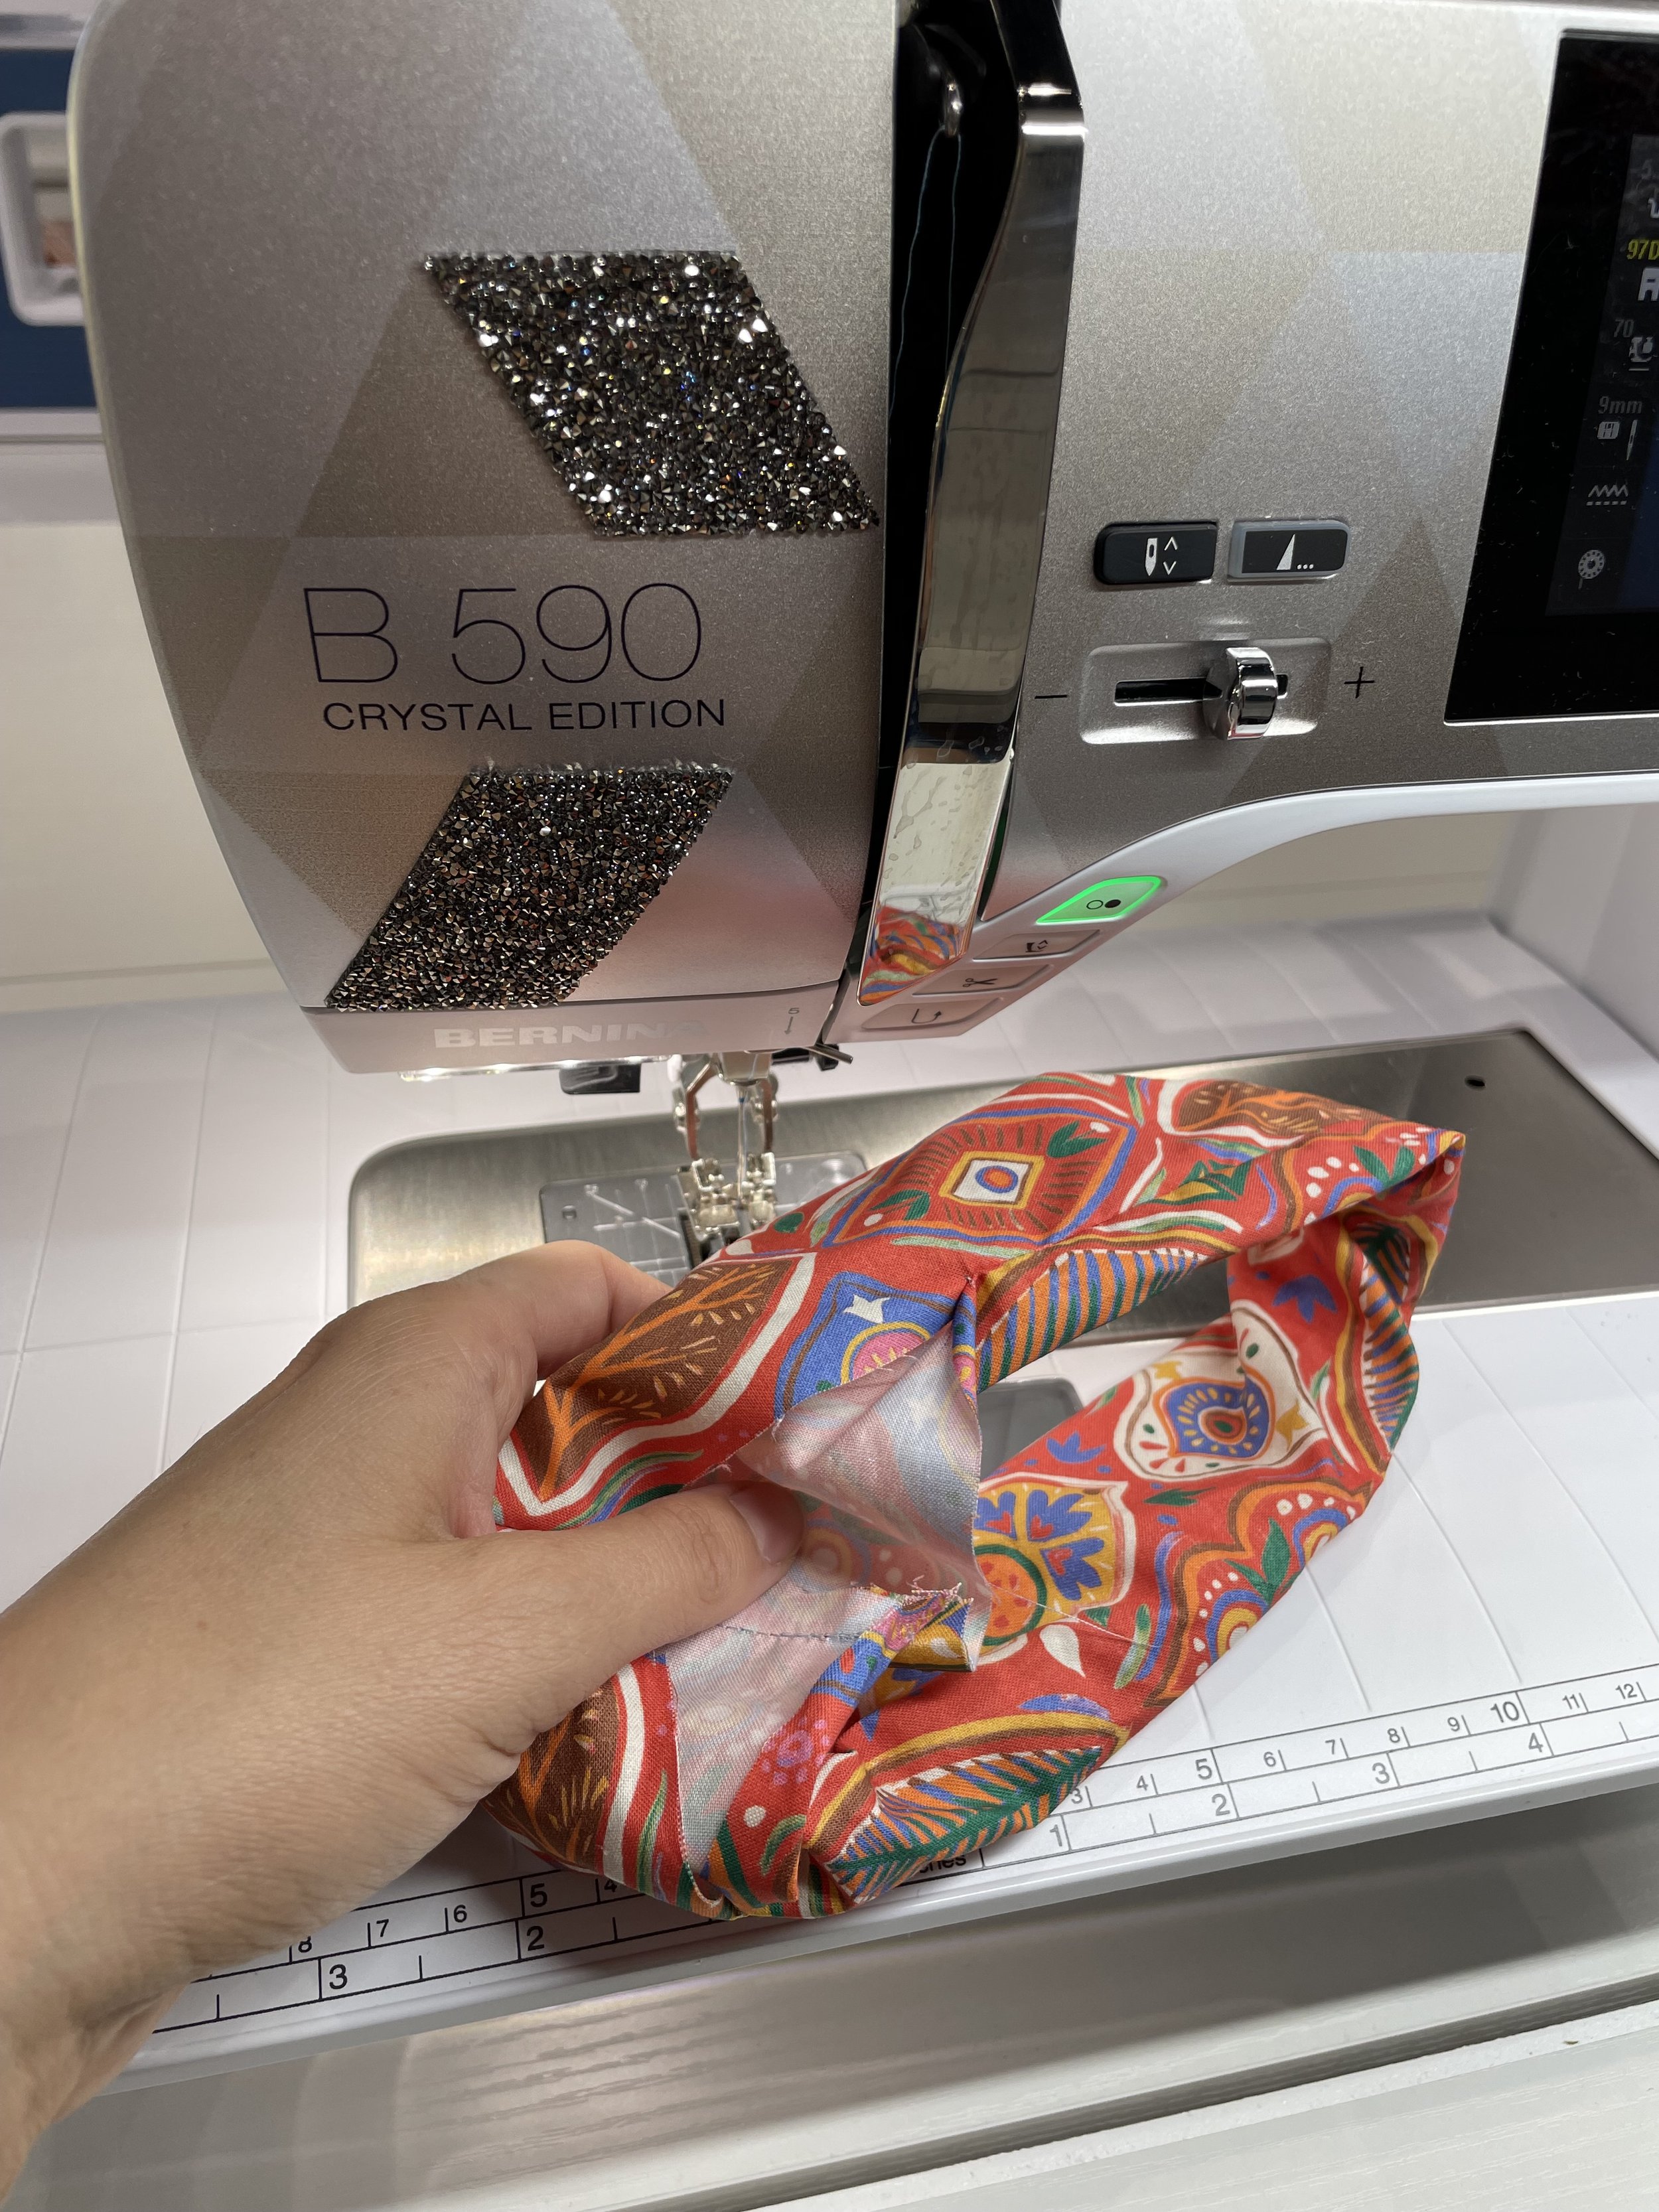
Turn the tube of fabric right side out
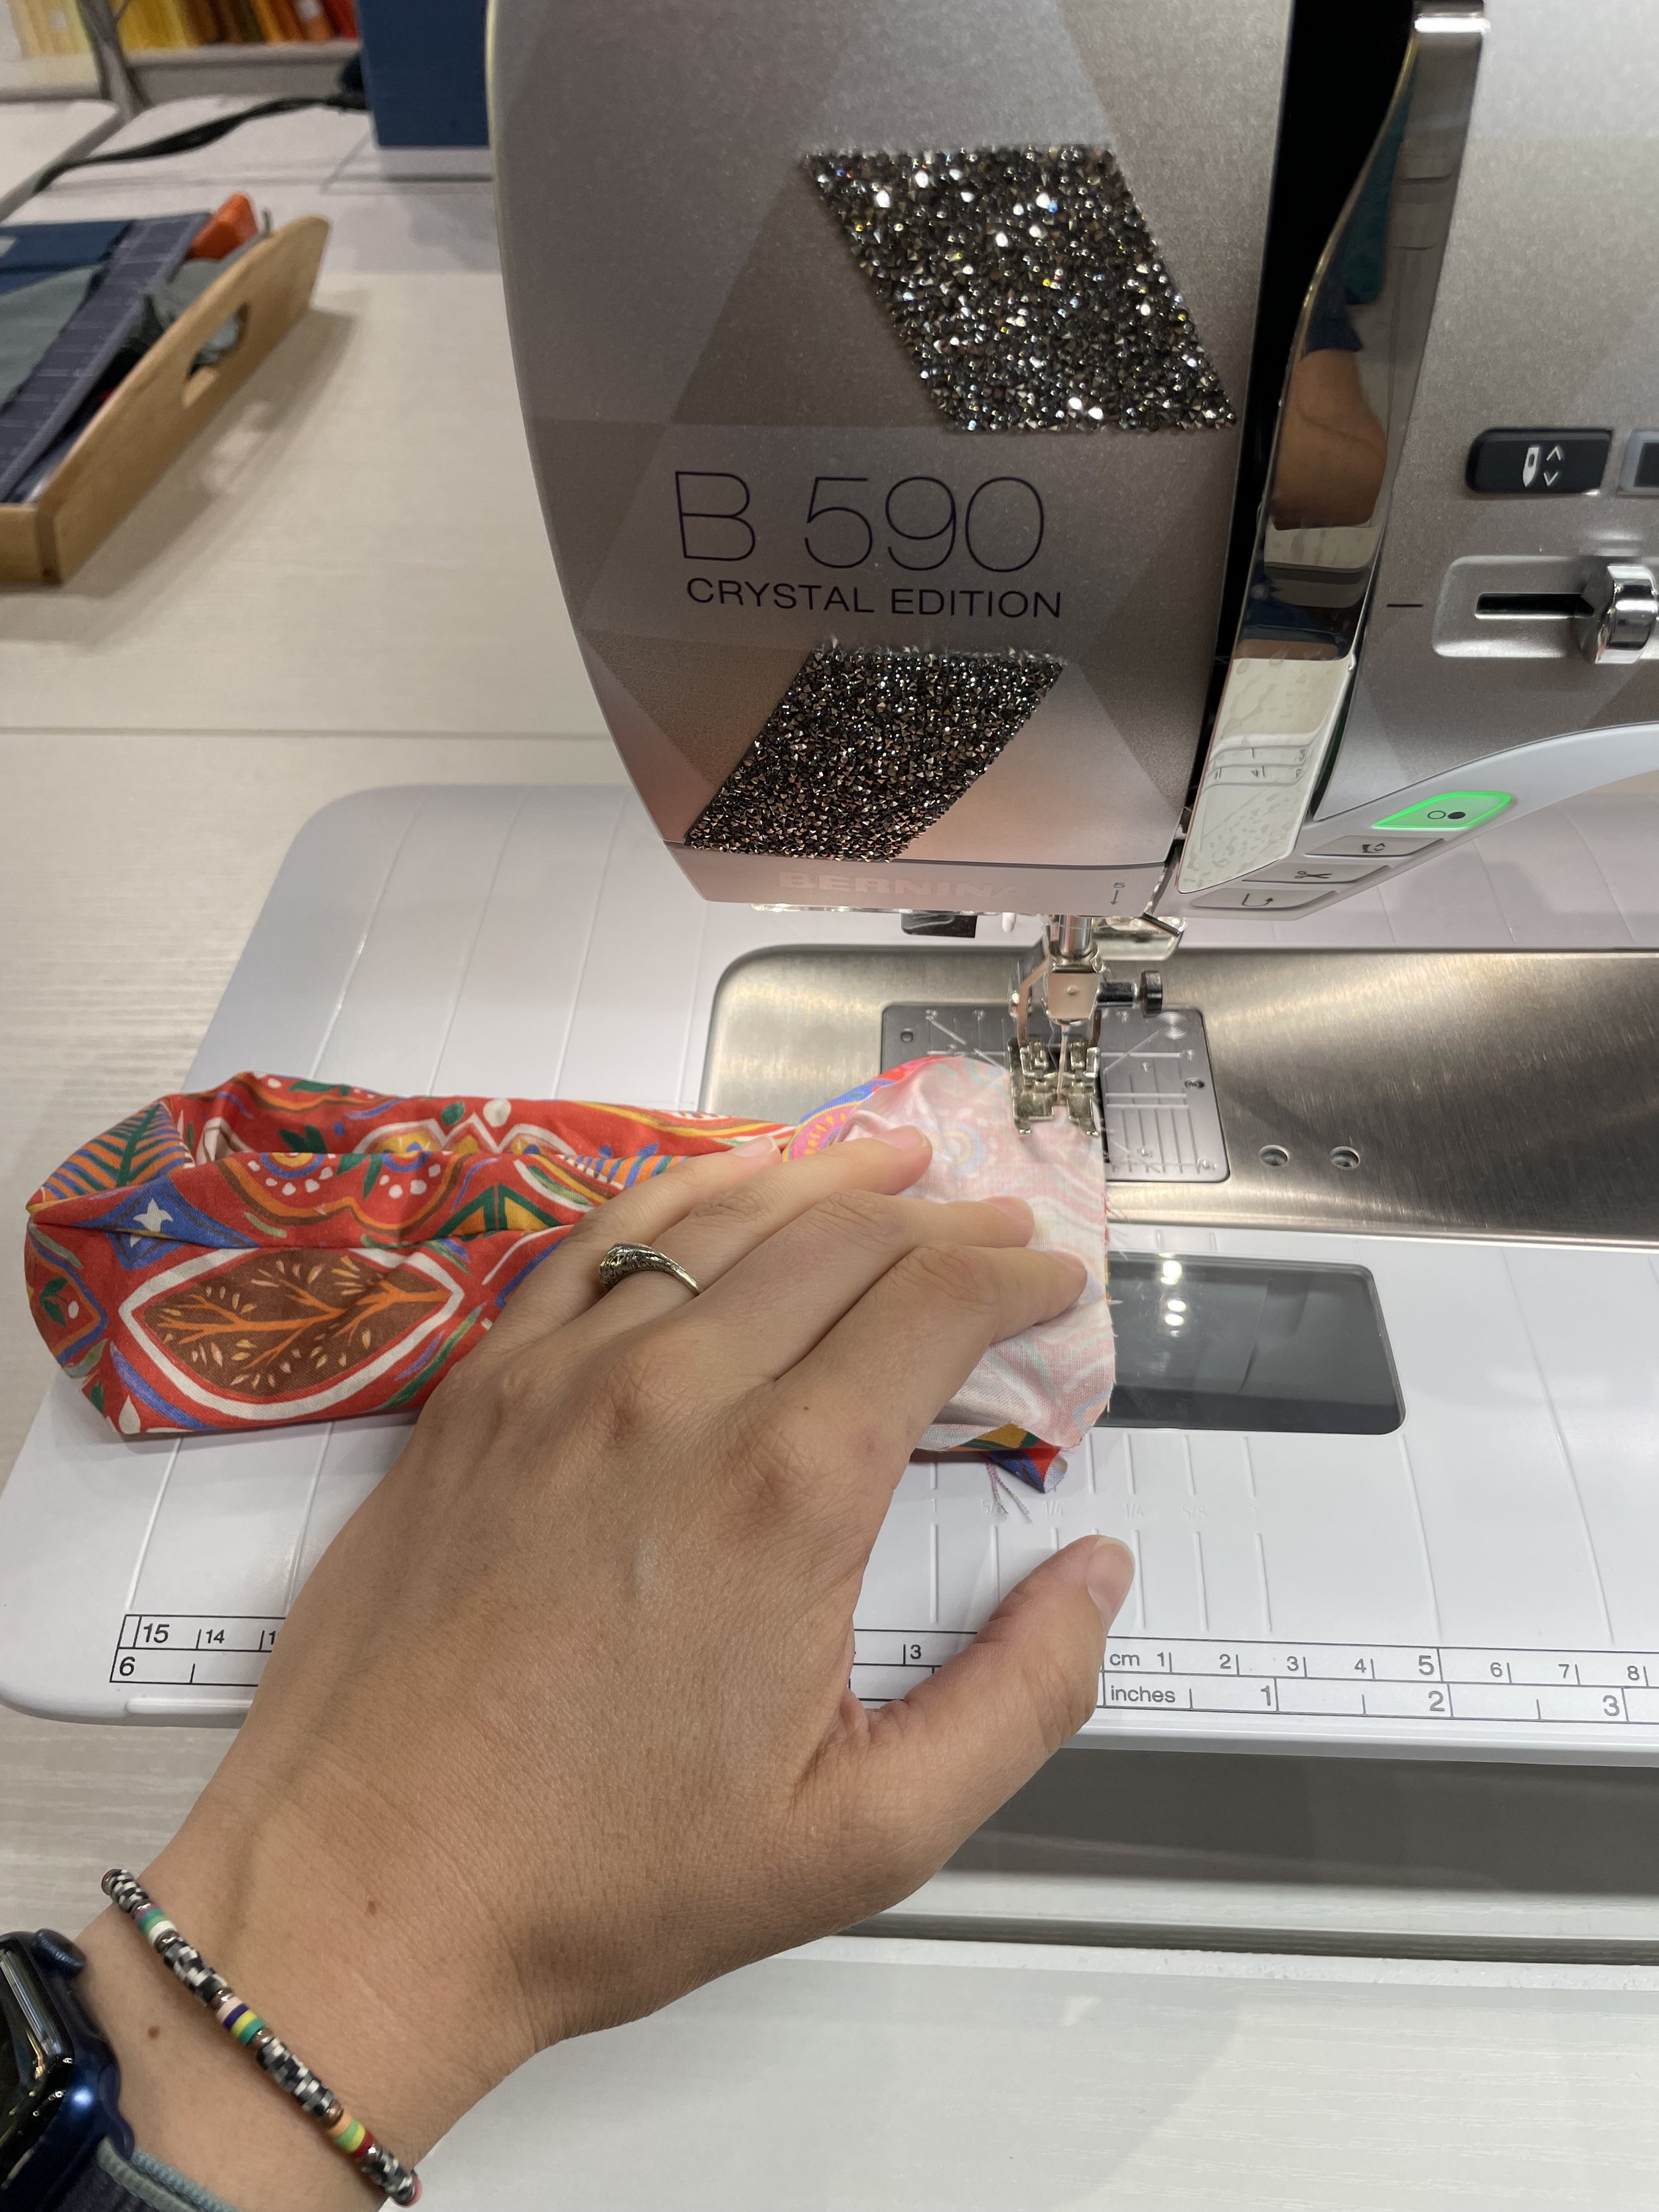
Place two unsewn ends (the 4.5” side of the fabric) right sides together, and sew with a 1/4” seam (the tube is now a loop, with an open gap on one side)
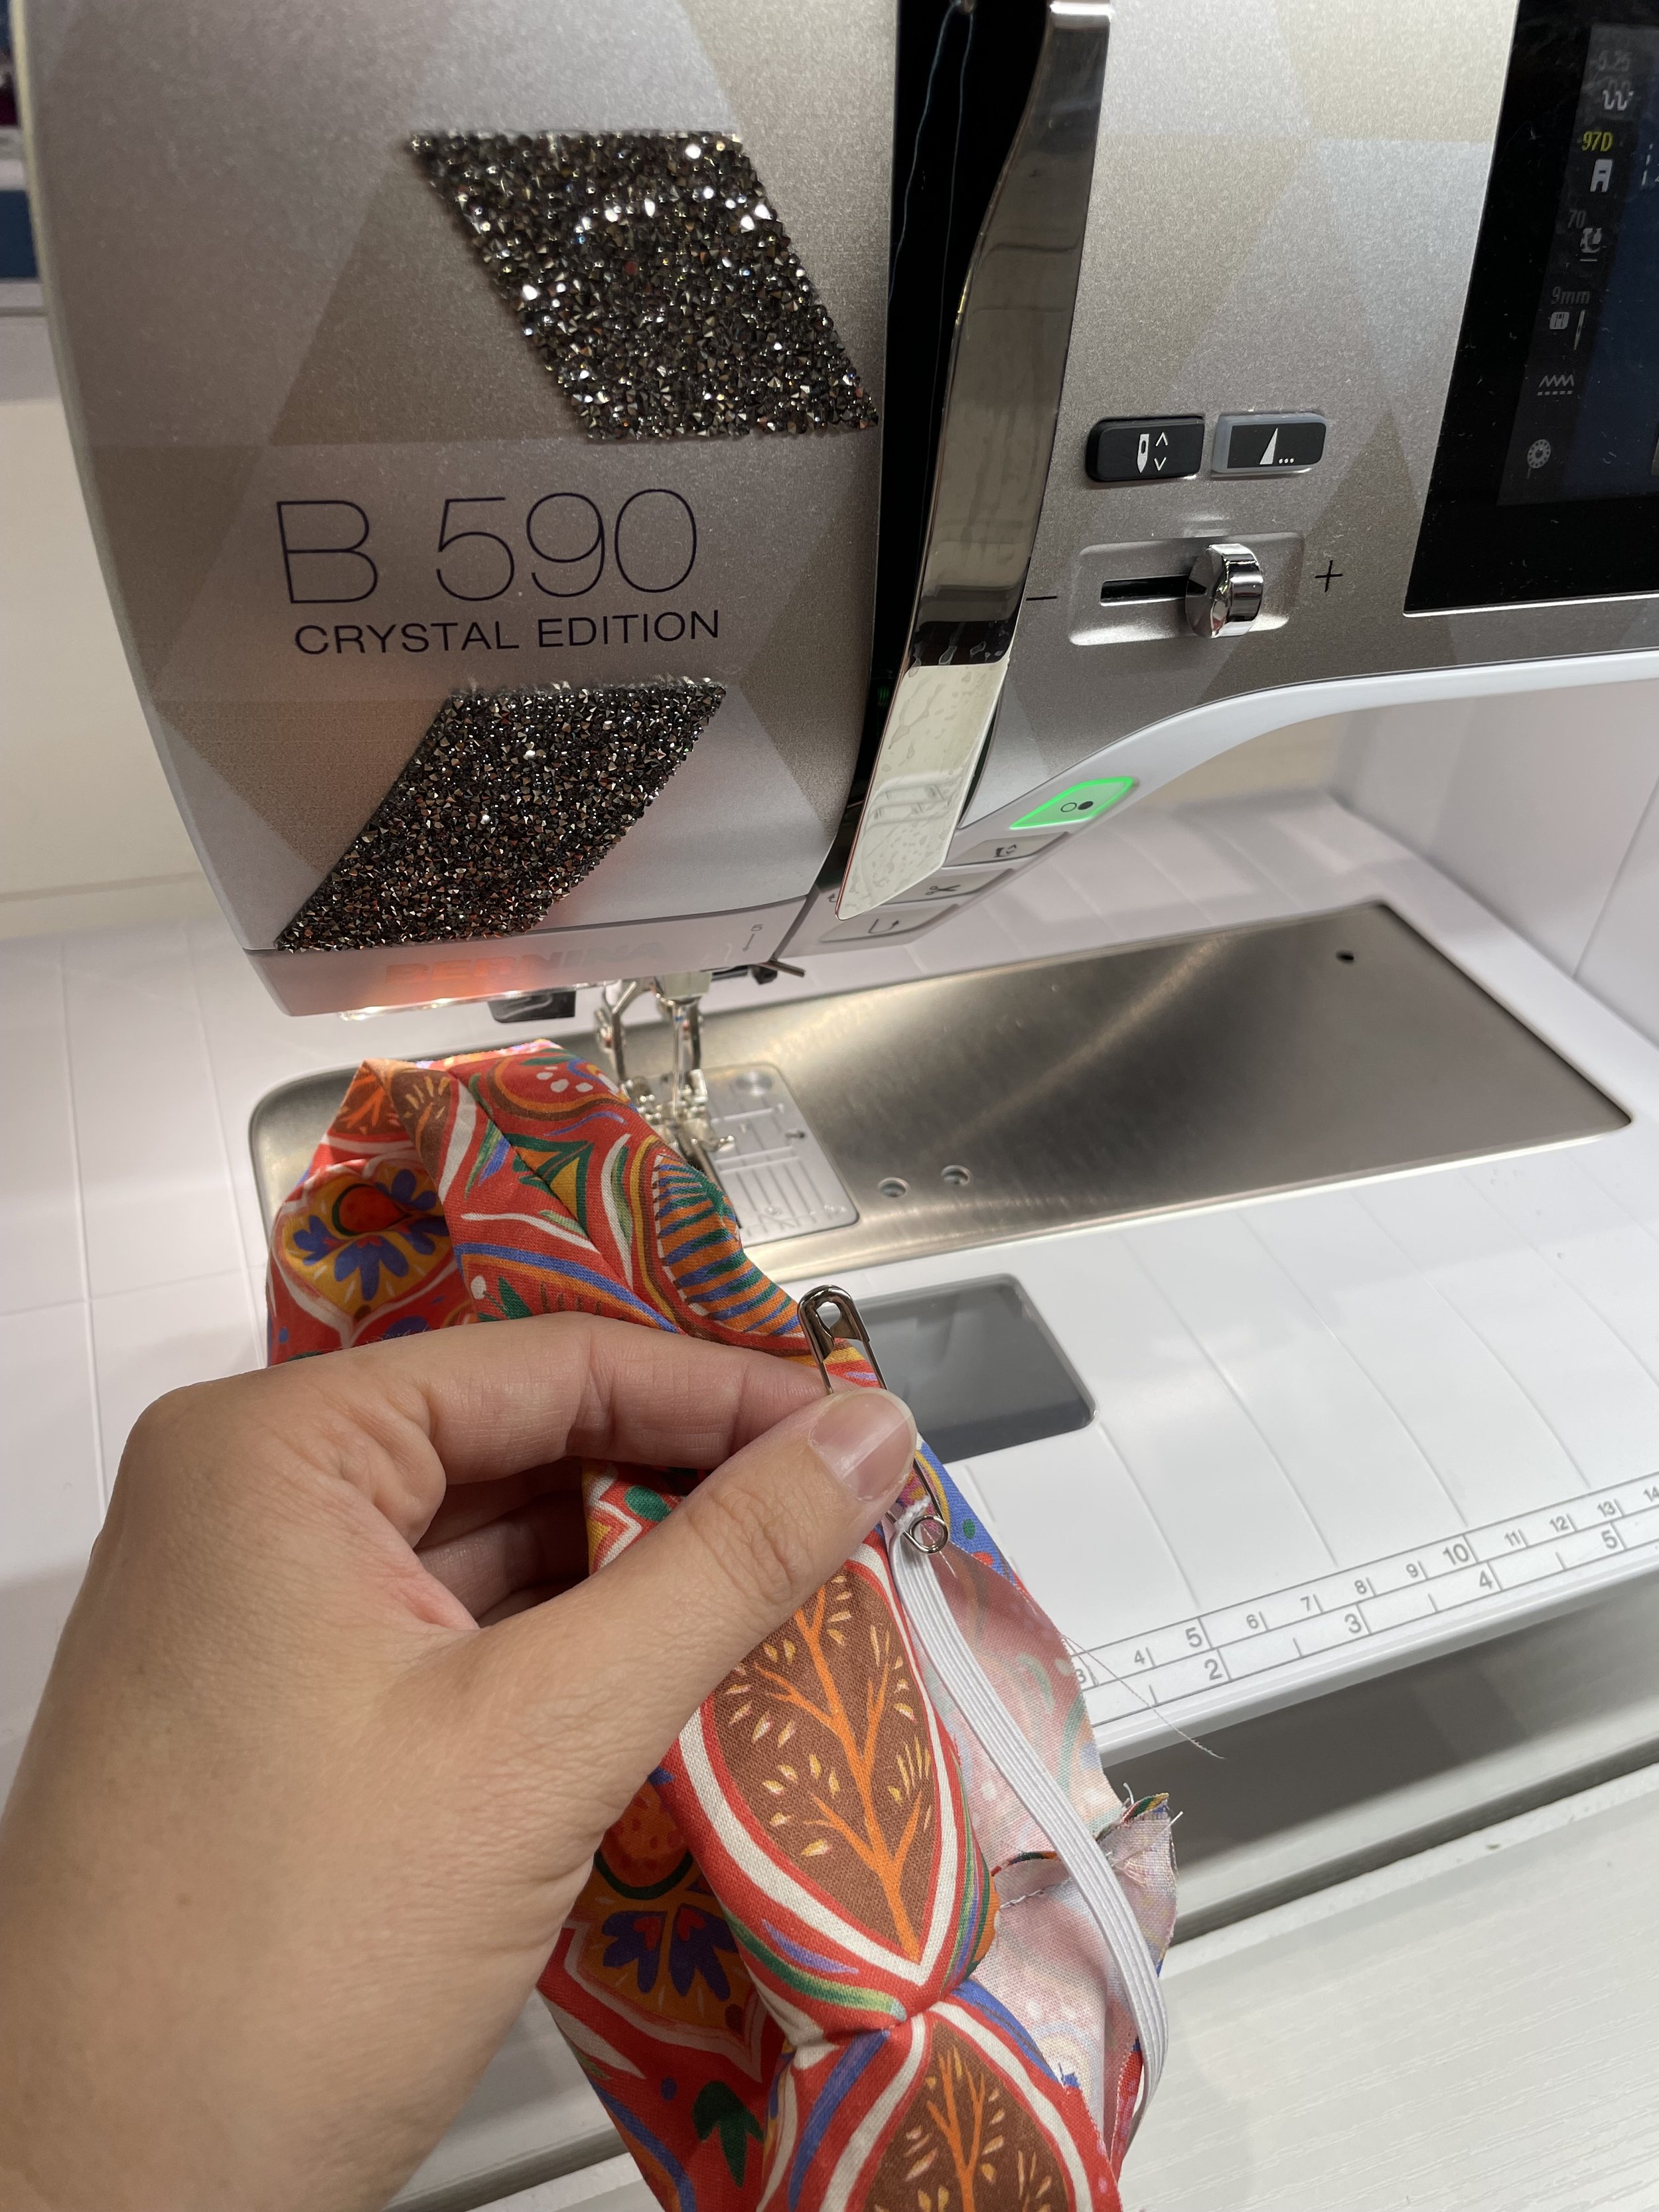
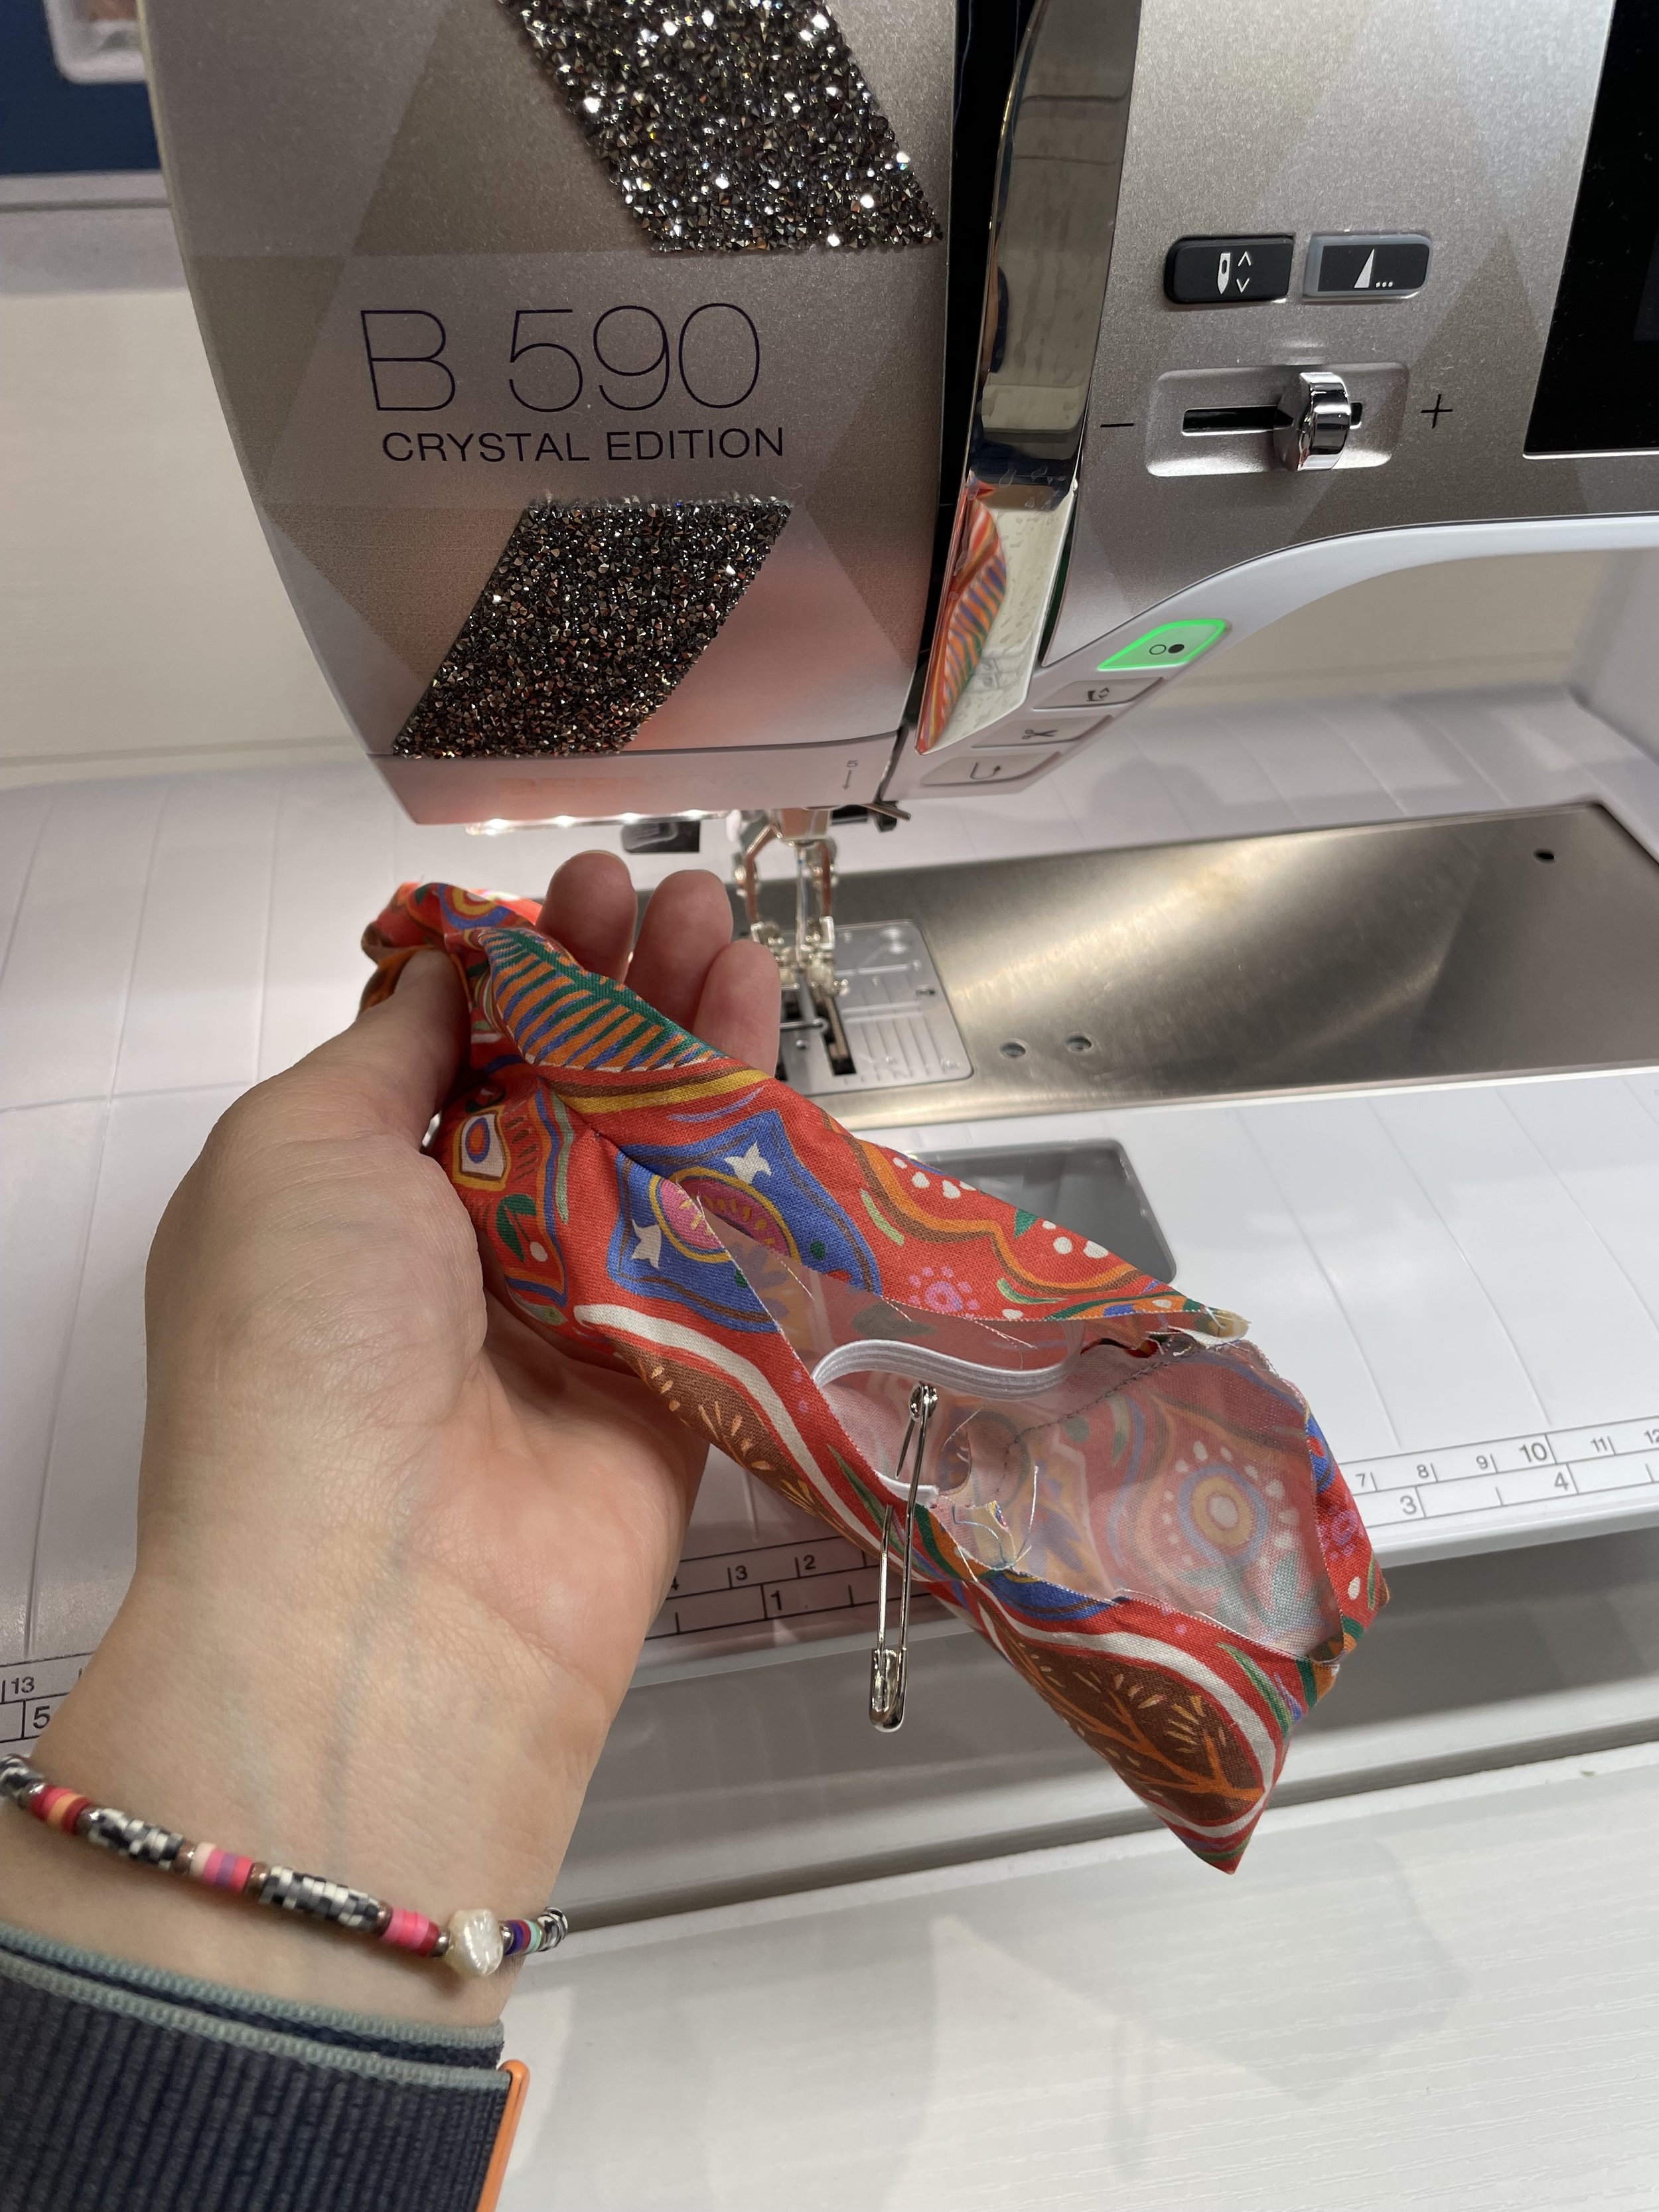
Pass elastic through the loop (I use one safety pin to anchor one end of the elastic at the opening of the loop, and use the other to feed the second end through)
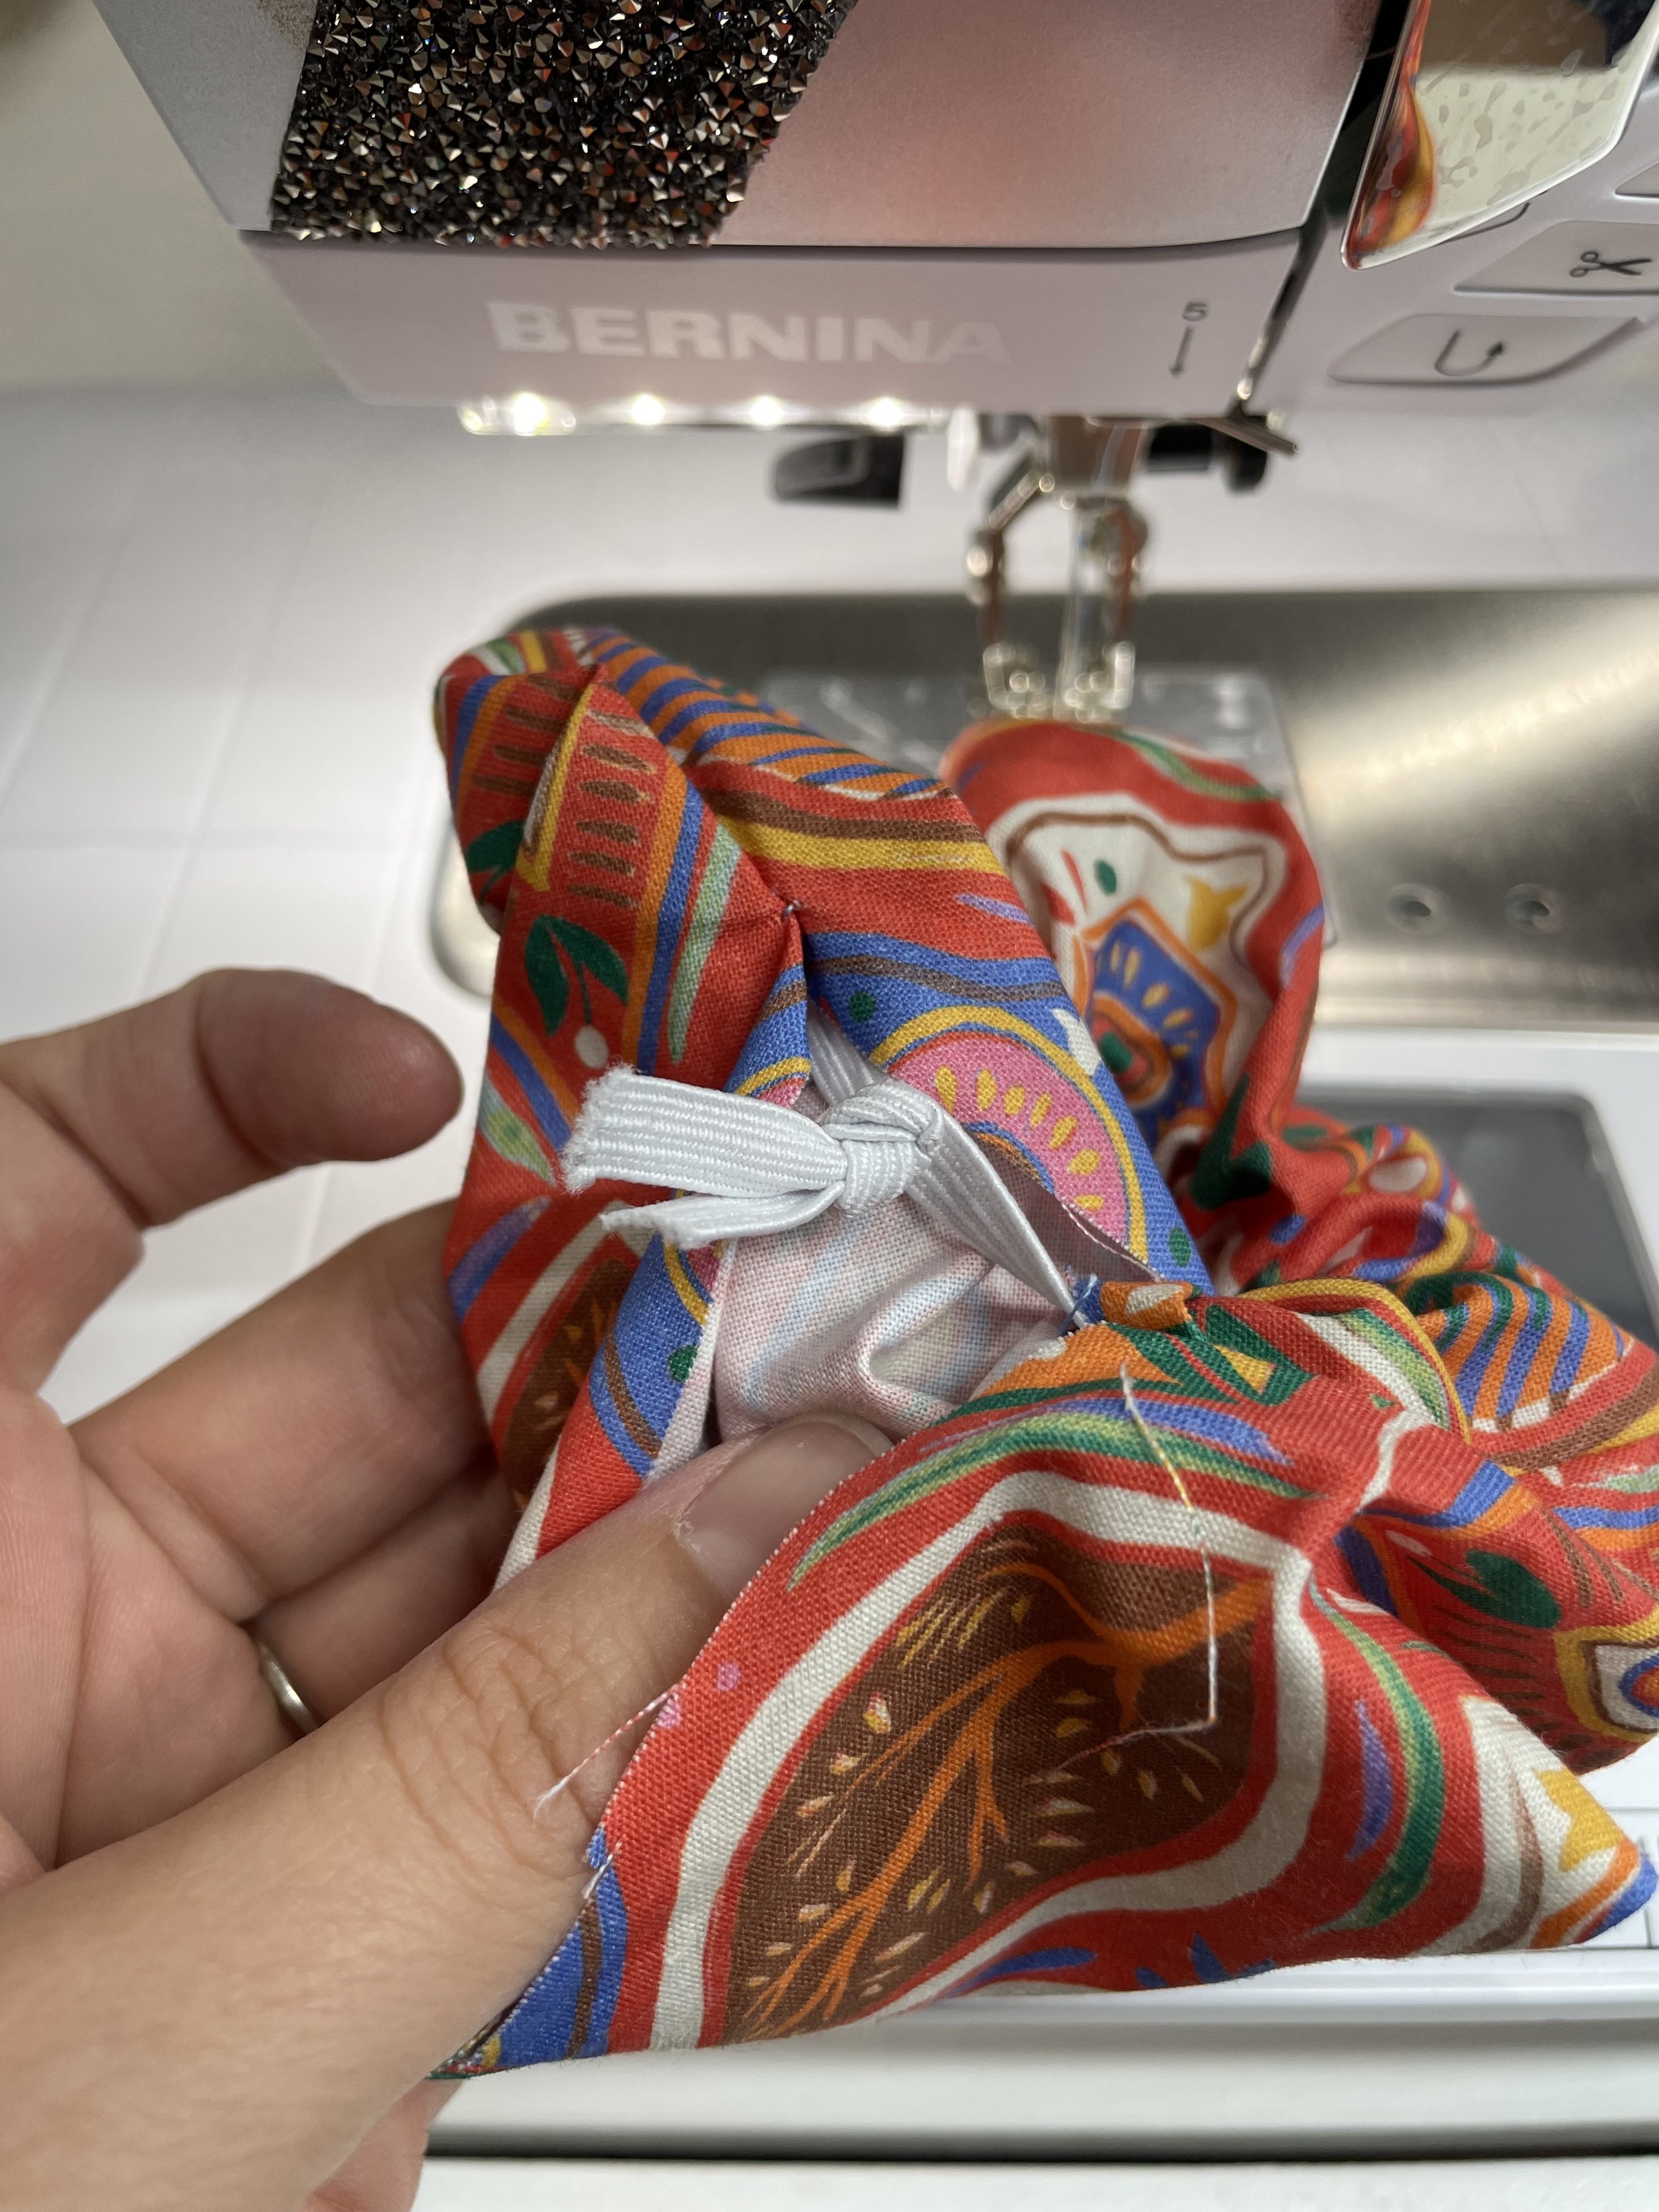
Tie a knot to connect the two ends of elastic
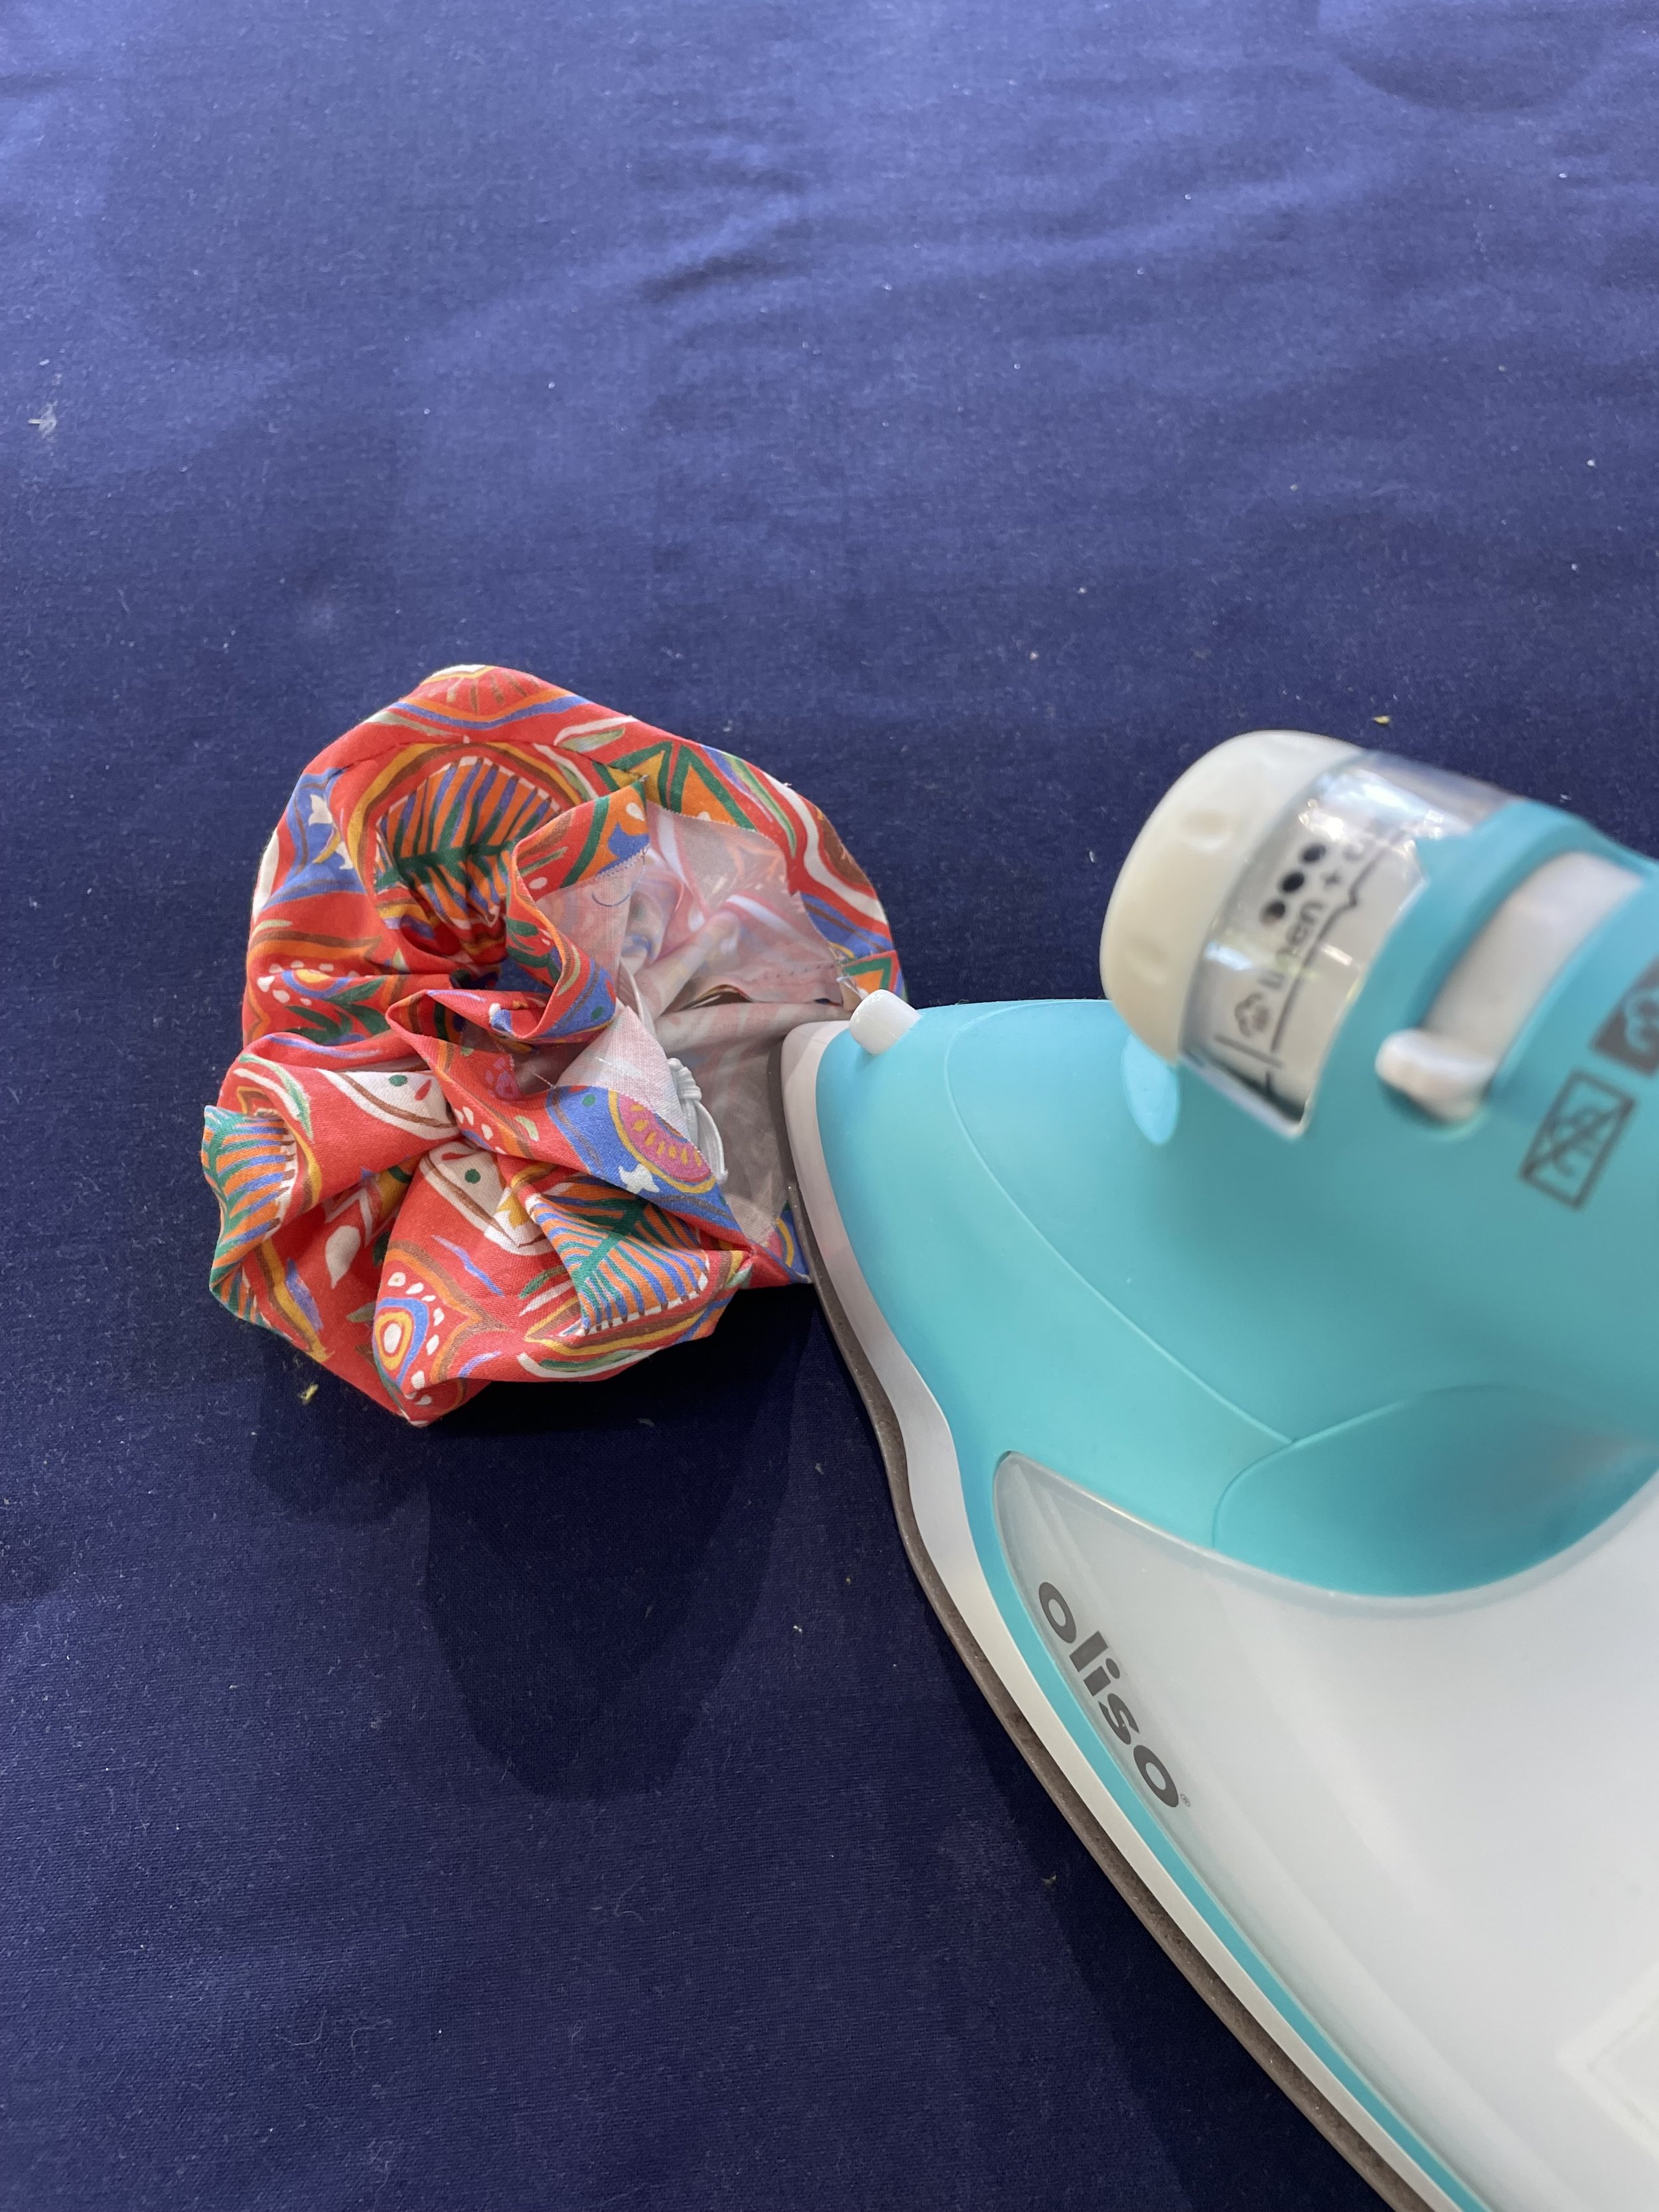
Press the raw edges of fabric under 1/4” to the wrong side of the fabric
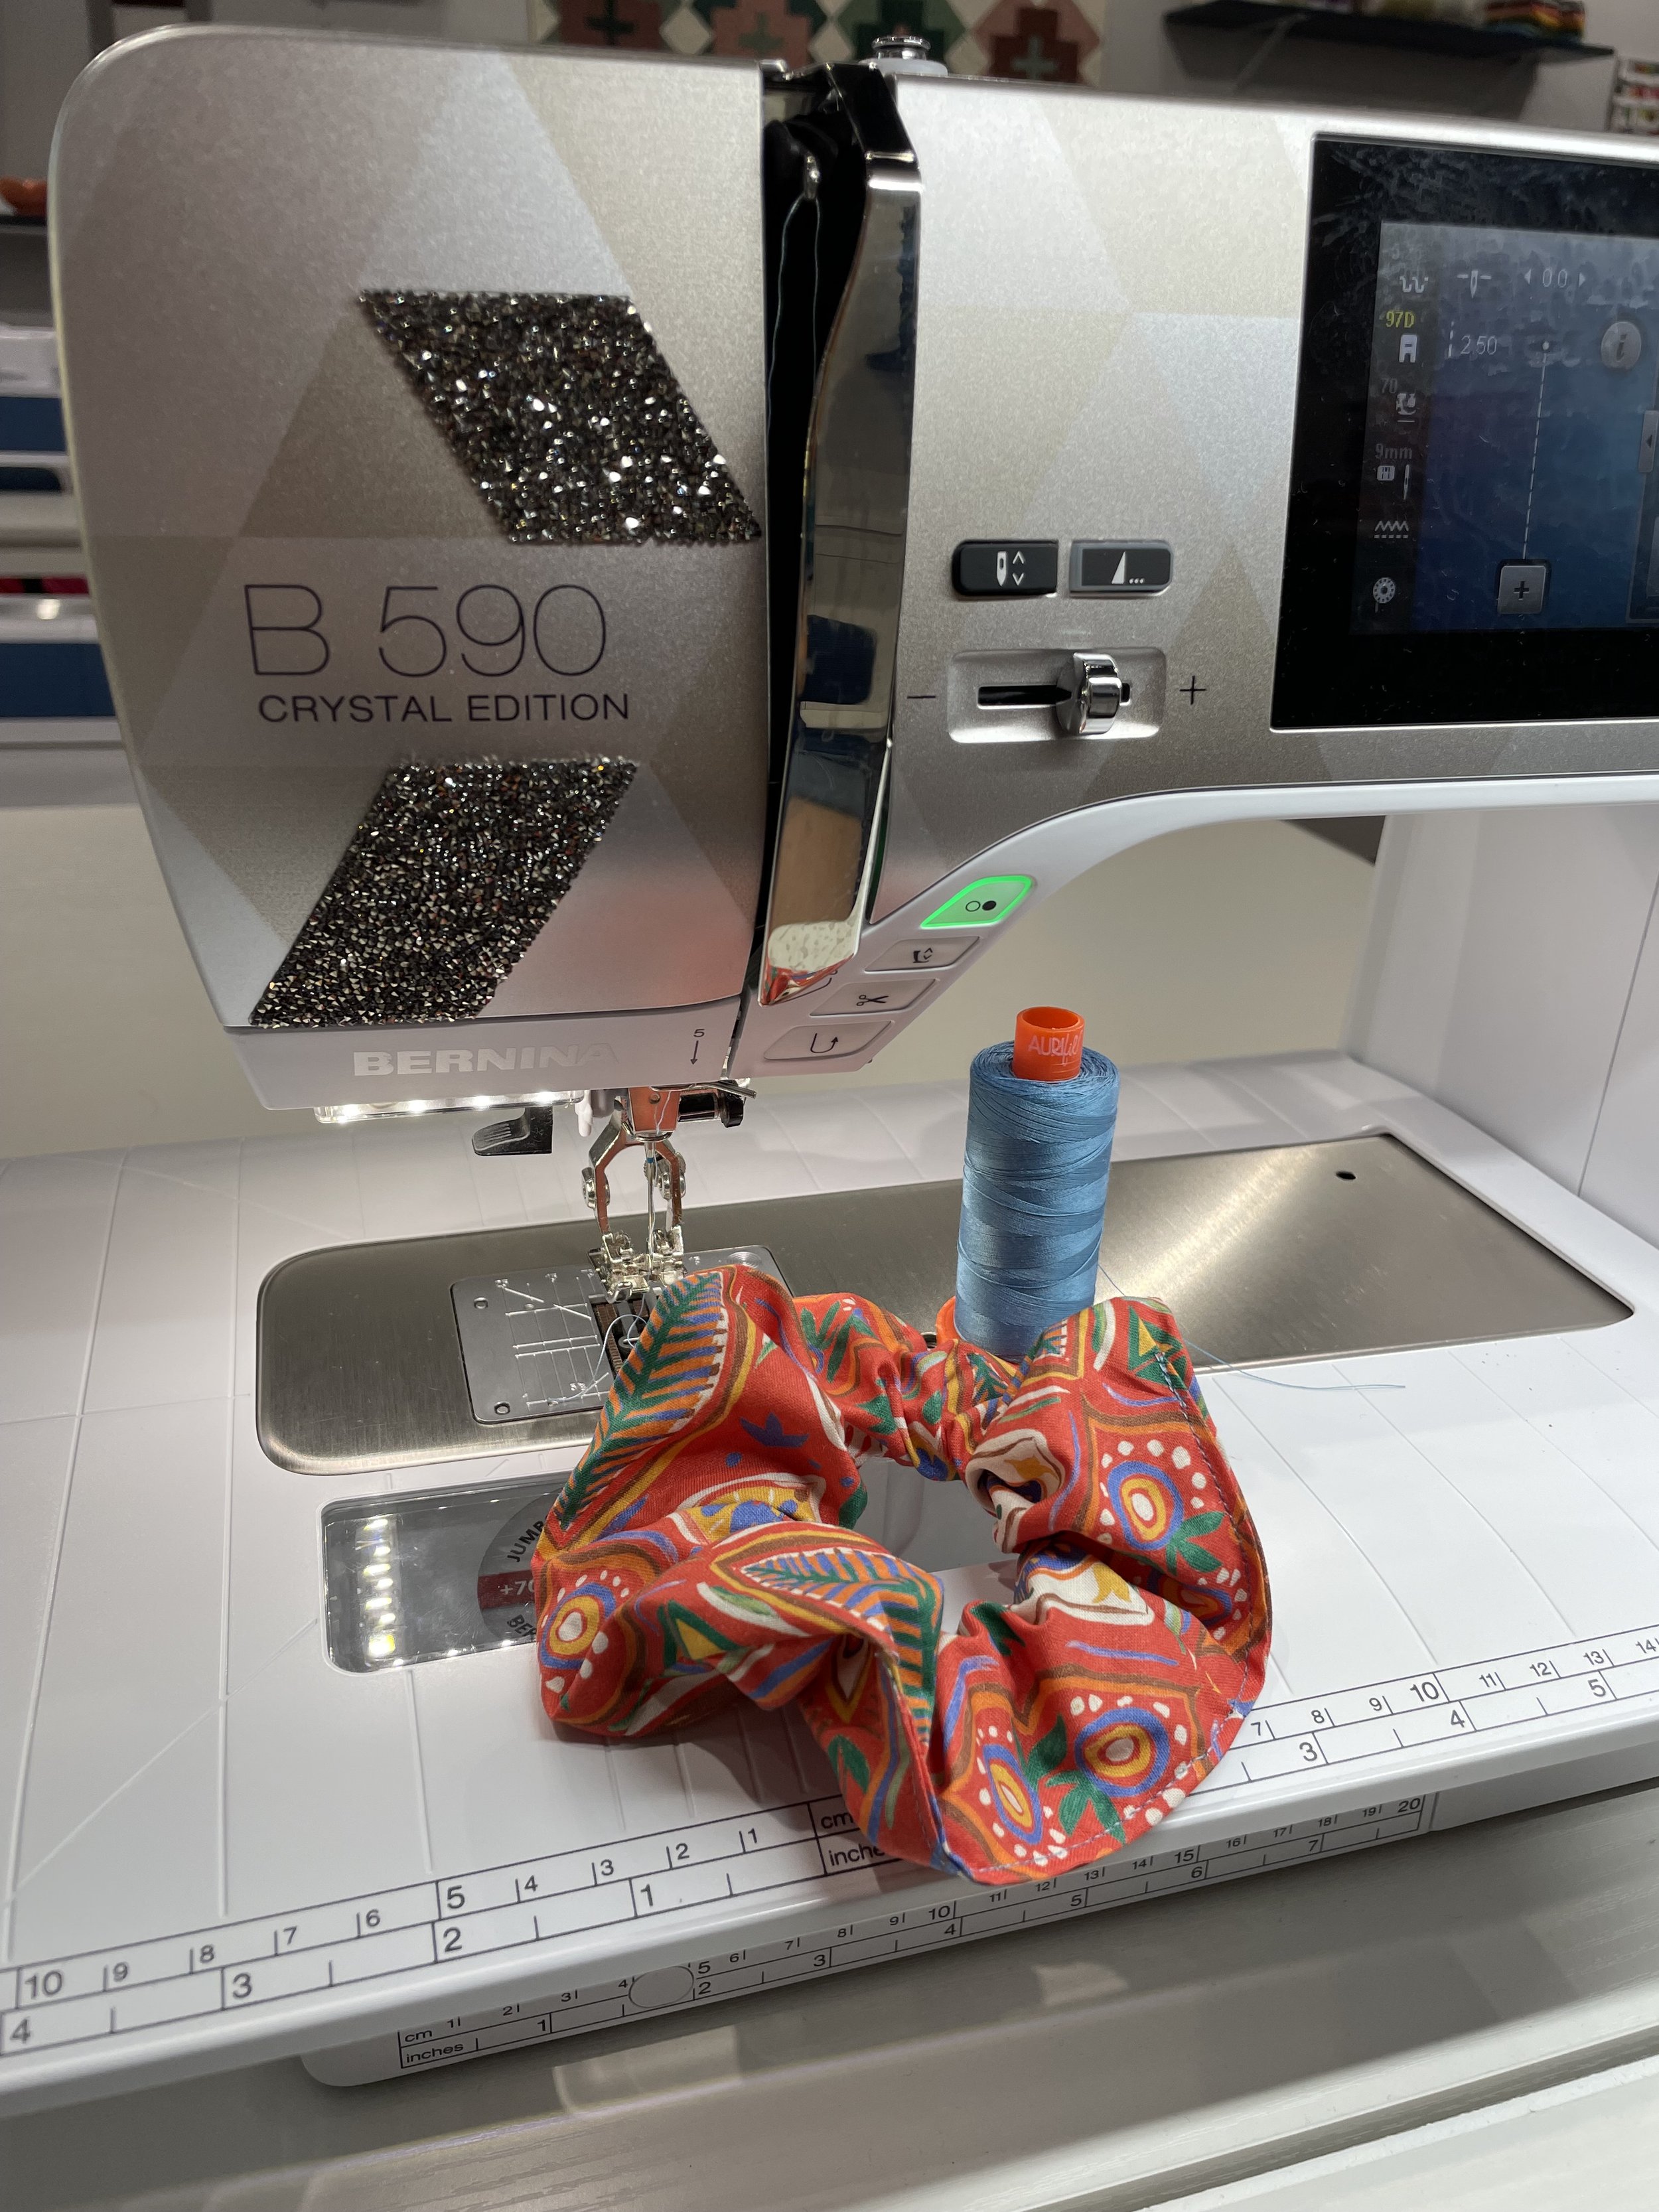
Holding the two pressed edges together, topstitch 1/8” from the edge of fabric to sew up the side of the scrunchie
Voila!

