
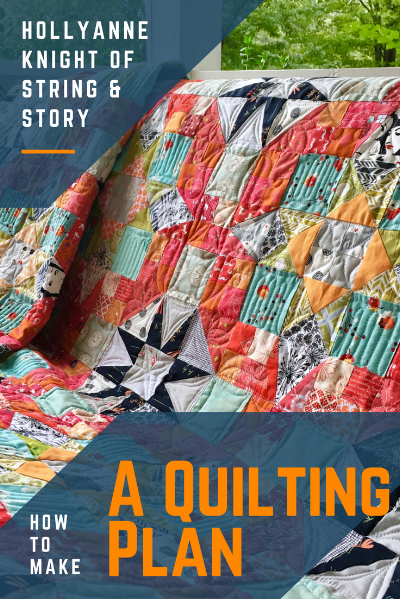
#MachineQuiltingMonday :: A Quilting Plan for En Provence
Take the anxiety out of finishing your beautiful quilt tops by making a plan on paper before you begin stitching
(this post contains affiliate links)
Good morning, Quilters and Creatives!
I'm writing in today from the middle of what strength Hurricane Irma still has left. The wind is whistling, the cats are freaking out, and I'm just going to focus on quilts! More specifically, let's talk about the value of a quilting plan. A quilting plan is a tool for tackling obstacles and anxiety so that we can quilt courageously and experience success. Remember, success in quilting is having a finished quilt! Our piecing and our stitches will get better with practice, but the primary goal is to have a finished quilt to enjoy and love.
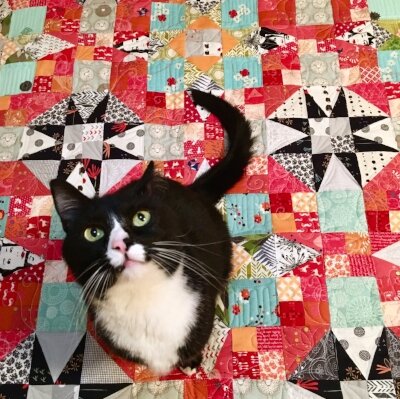
Monte was being uncharacteristically cute last night, so we'll let him be our mascot today ;-)
HOW TO QUILT A QUILT (especially a complicated one):
1) Piece: Finish your quilt top and CELEBRATE how gorgeous it looks
2) Style: Decide on a style of quilting (continuous curve, all over design, walking foot quilting, other fmq, etc).
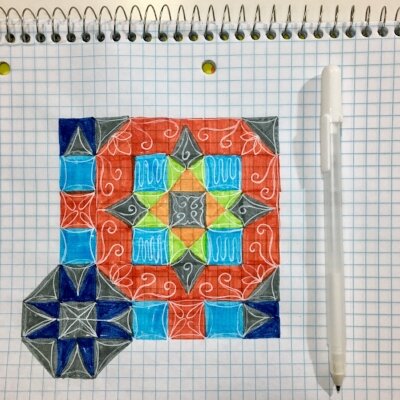
3) Make a Plan: Draw part of your quilt top on graph paper and use a pen or pencil to try out your chosen quilting design. Repeat Step 3 until you a) have a quilting design you love and b) feel confident drawing your plan
4) Self Talk: Remind yourself that a finished quilt is the goal, even if quilting the top feels like a big task. Remind yourself that practice makes progress and that it's time to practice. Even if the quilting on this top doesn't fulfill all your wildest dreams, you will make progress and you will have a finished quilt in the end. Those are huge accomplishments.
5) Quilt! You can do it!
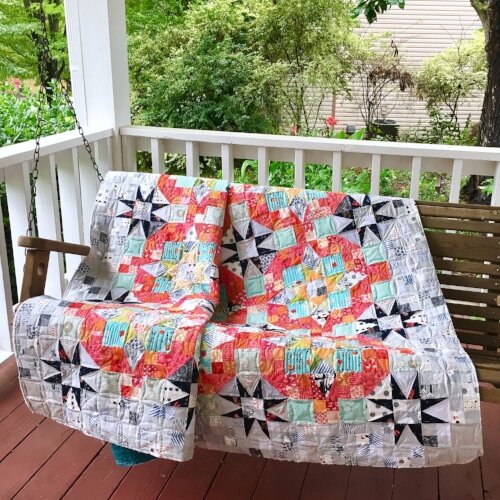
As I mentioned above, this quilt is En Provence, a pattern by Bonnie Hunter. I spent over 8 months piecing the top, so I knew I'd have to have a great plan to quilt it. I decided to use Dorie Hruska's continuous curve method to tackle this complicated quilt. It is an efficient way to add custom quilting to this intricate top. I shared a good bit about Dorie's new book, Making Connections, last week. If you haven't already, check it out! And, if you're reading this in real time, be sure to enter the giveaway for a copy of the book!
Binding coming soon!
I believe the first step to a quilting plan is always a drawing. Making drawings of my quilt tops to doodle potential quilting designs on helps me see the quilts differently, and it takes a lot of the stress out of this step because I can't "ruin" my quilt top by drawing on a piece of paper. Speaking of which, let's talk about that huge fear: ruining a quilt. The more I think about it, the more I think that there is only one way to ruin a quilt. The only way to ruin a quilt is to leave it unquilted. My dears, your beautiful work is meant to see the light of day and be wrapped around people you love or people in need! Please don't be afraid to quilt your tops! The ever practical meander is beautiful because it transforms a top into a quilt. So are walking foot straight-ish lines. And continuous curves. And the most magnificent custom feathers. Just please be brave and finish your magnificent quilts!
After you draw your quilting plan, it's time to get stitching. Take it slowly; keep your plan nearby, and don't be afraid of mistakes. On my En Provence quilt, I did some seriously funky traveling in the seams when I had to backtrack to quilt something I forgot. Sometimes I backed myself into a corner so badly, that I decided to simply break my thread and try again with a new path. However, the only time I actually unquilted was when my tension was icky. My stitches are imperfect, my curves have different curvy-ness, my retracing wobbly, but I left all those on the quilt because 1) This entire quilt, from tackling the challenge of a Bonnie Hunter pattern, to using continuous curve quilting, was meant to be a learning experience, and learning is wobbly and imperfect along the way. 2) You cannot see these imperfections when you're looking at the quilt top as a whole. All you see is gorgeous, changing, interesting texture and patterns. All that to say, begin quilting with confidence and freedom! Embrace the imperfections of your own work and press on because PRACTICE MAKES PROGRESS.
Many of you shared on last week's post about the quilt tops you have waiting to be finished. Go choose one today that you will start quilting tomorrow. Baste it tonight or load it on your long arm and making a plan. If you're not sure where to begin, make a very simple plan-- maybe just simple continuous curves from corner to corner or an all over loopy meander. Pick a design that is just half a step beyond your comfort zone. Draw it on paper over and over, then begin quilting. Press on through the wobbles and the possible anxiety, and get your quilty practice on. You can do it!!
PS Looking to make a plan for a more modern quilt? I have some tips for that, too!