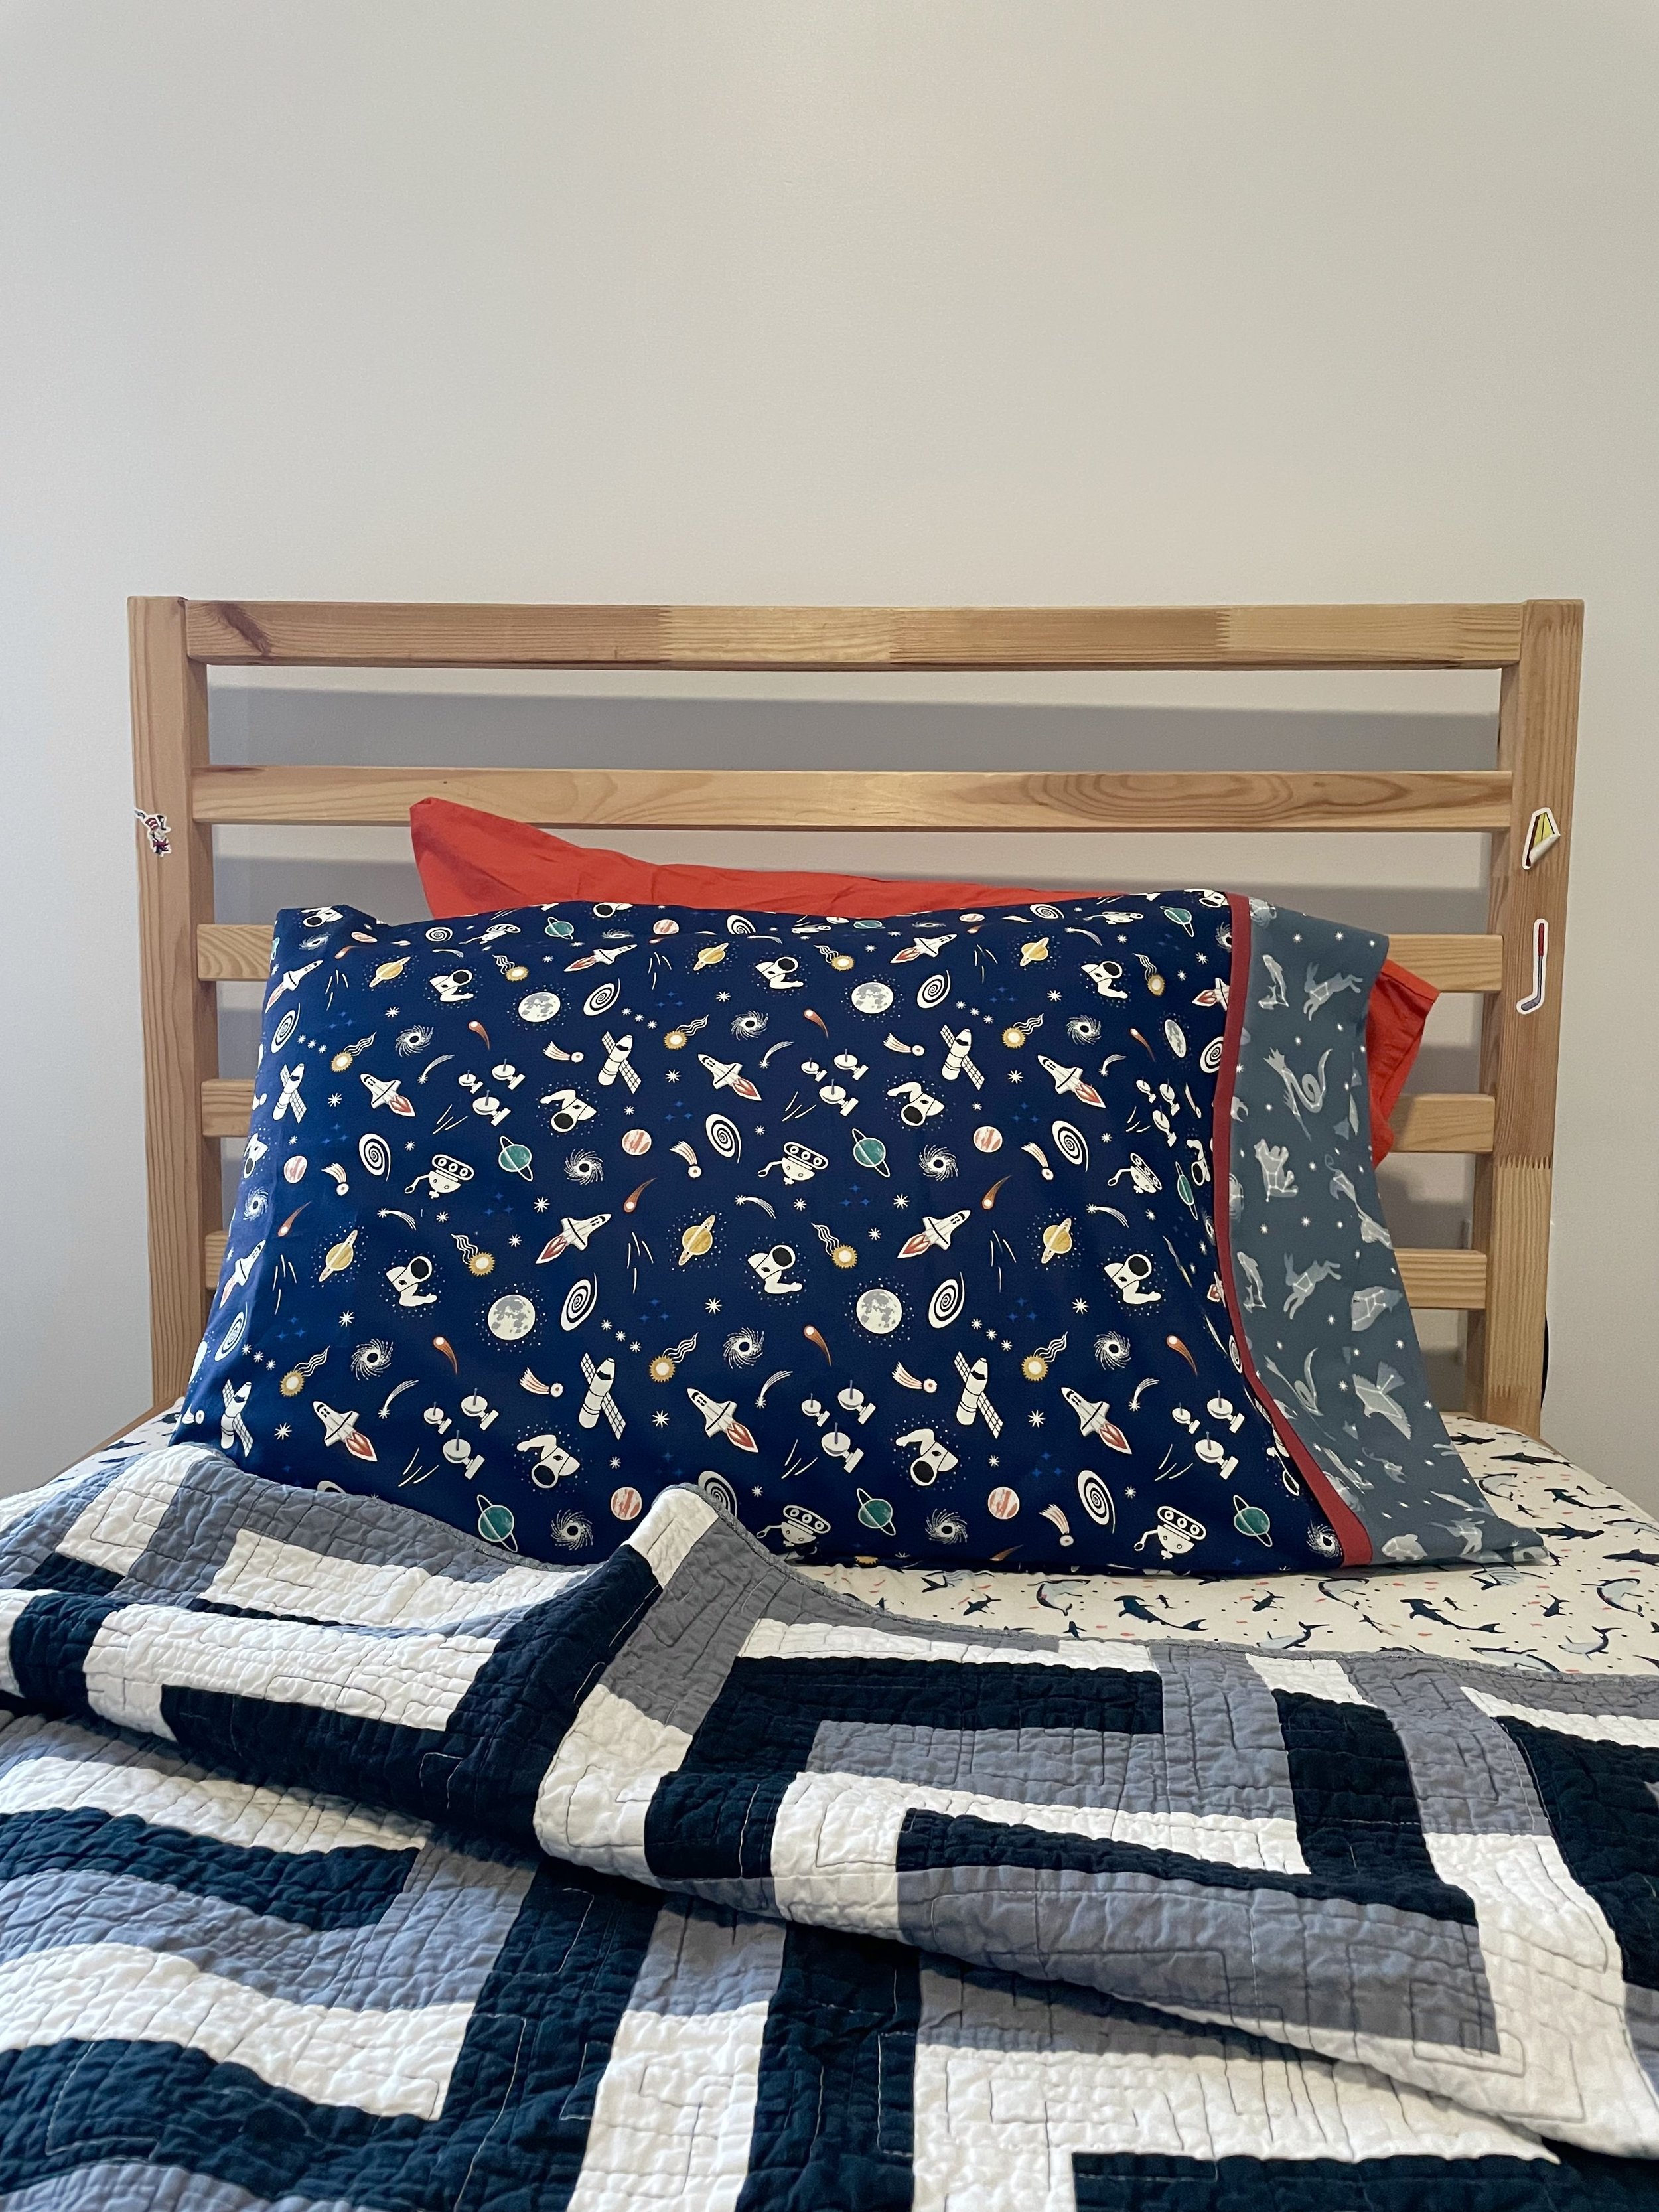
How to Sew a Burrito Pillowcase
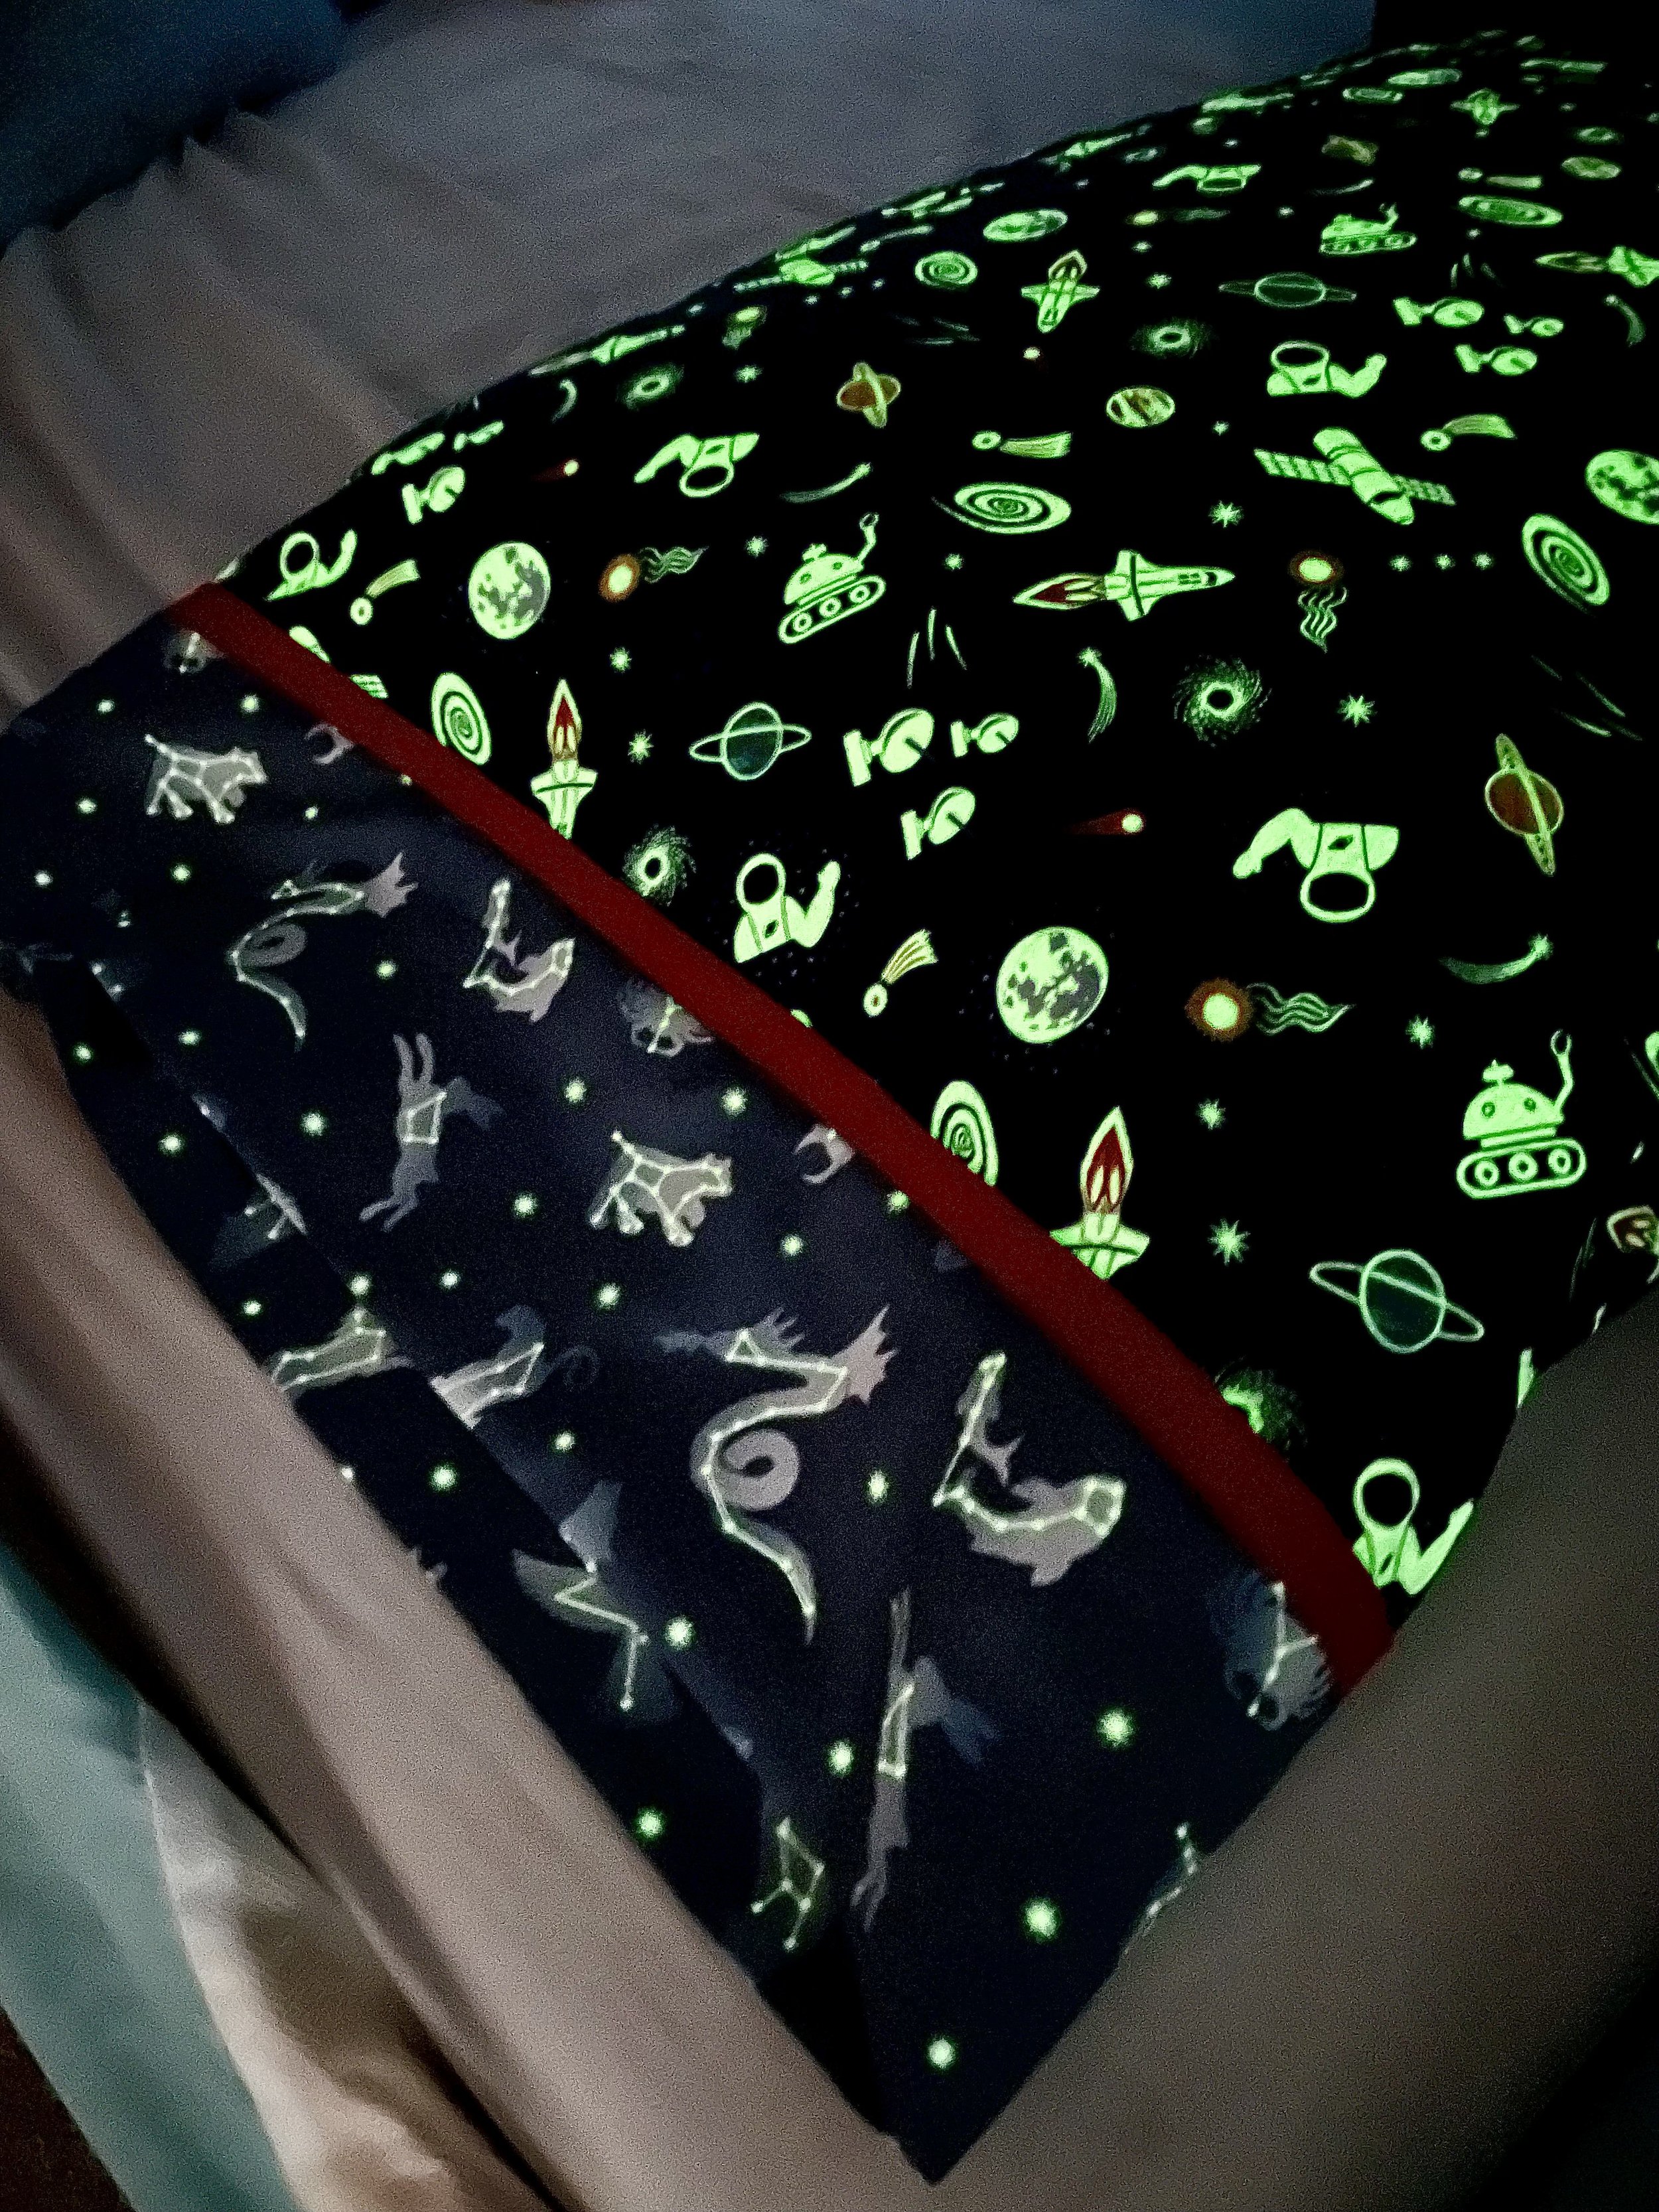
Pillow cases are a perfect way to show off novelty fabric, bust stash, make a quick gift, or store a quilt. Let me show you how to whip one up!
(This post may contain affiliate links)

When I first started quilting, a friend gave me a great tip: Every time you make a quilt, make a pillow case— it completes the set and creates an easy way to store and carry the quilt. Brilliant? Yes! So let’s make a pillowcase!

Supplies
3/4 yard main fabric (pillow case body)
1/4 yard secondary fabric (pillow case cuff)
1/4 yard accent fabric (flange strip)
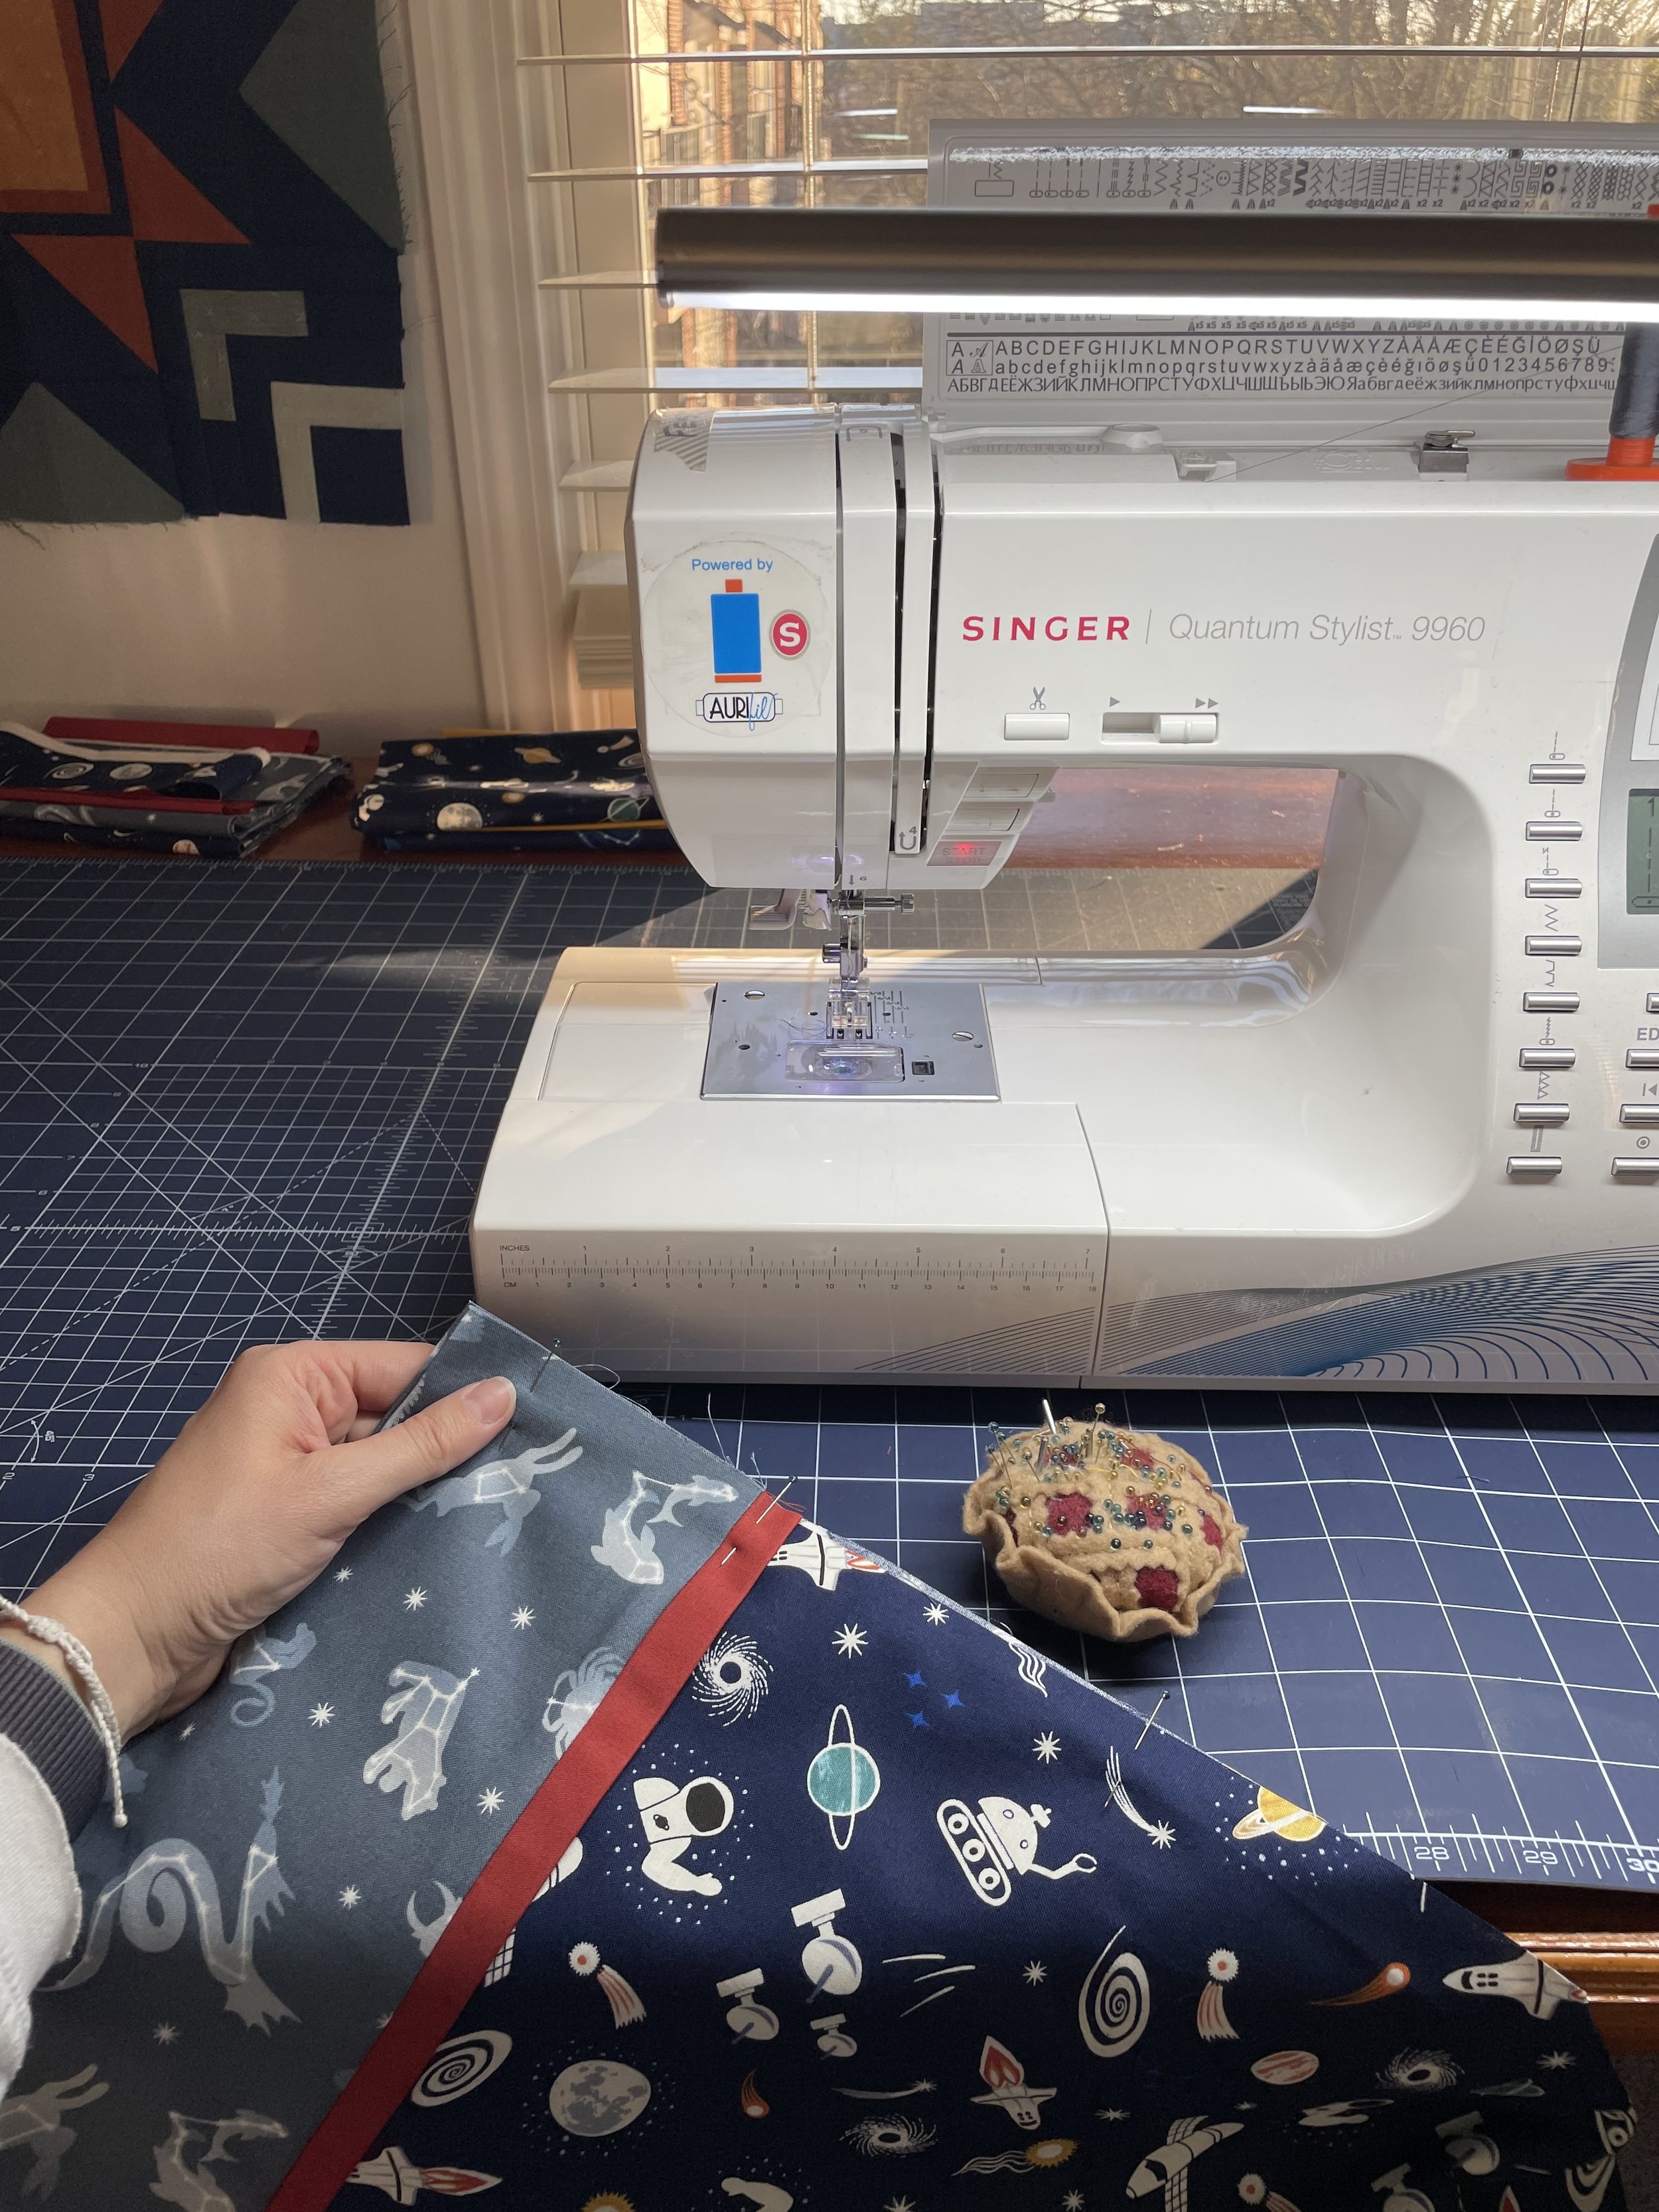
sewing machine (use a heftier needle like a 16/100)
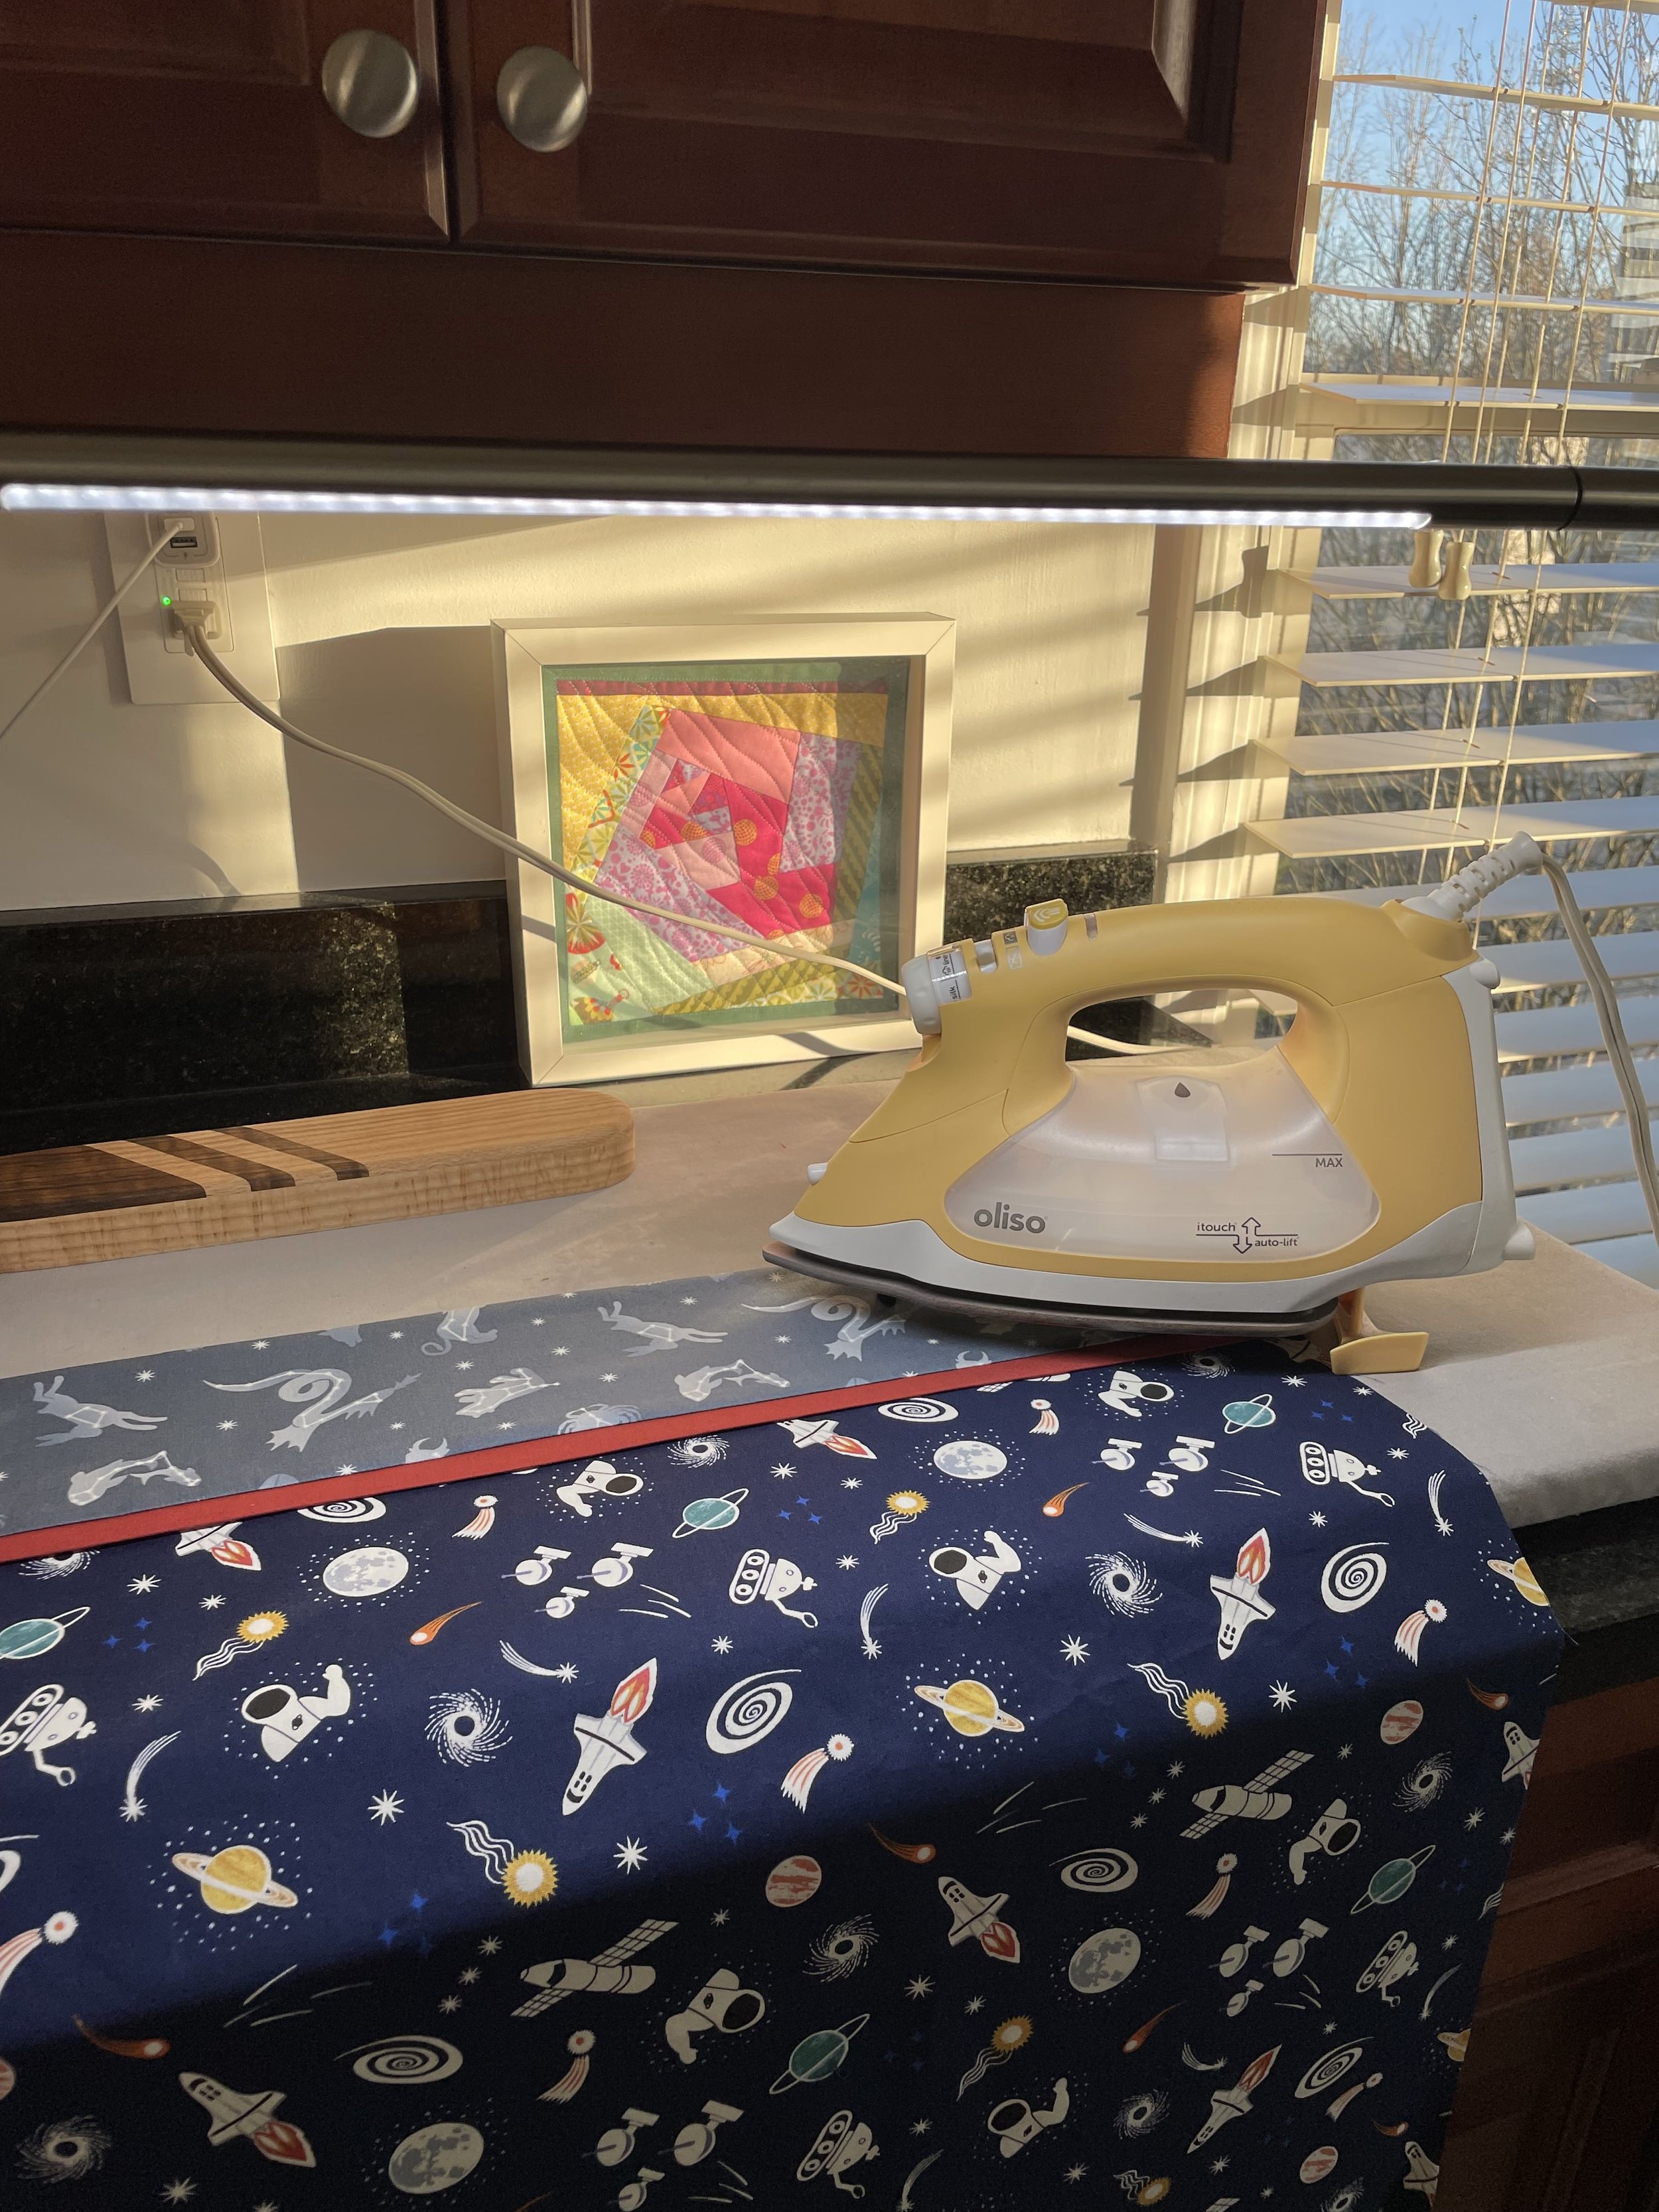
iron & pressing board
NOTE: to make two identical pillowcases, you need 1.5 yards main fabric, 1/2 yard secondary fabric, and 1/4 yard accent fabric
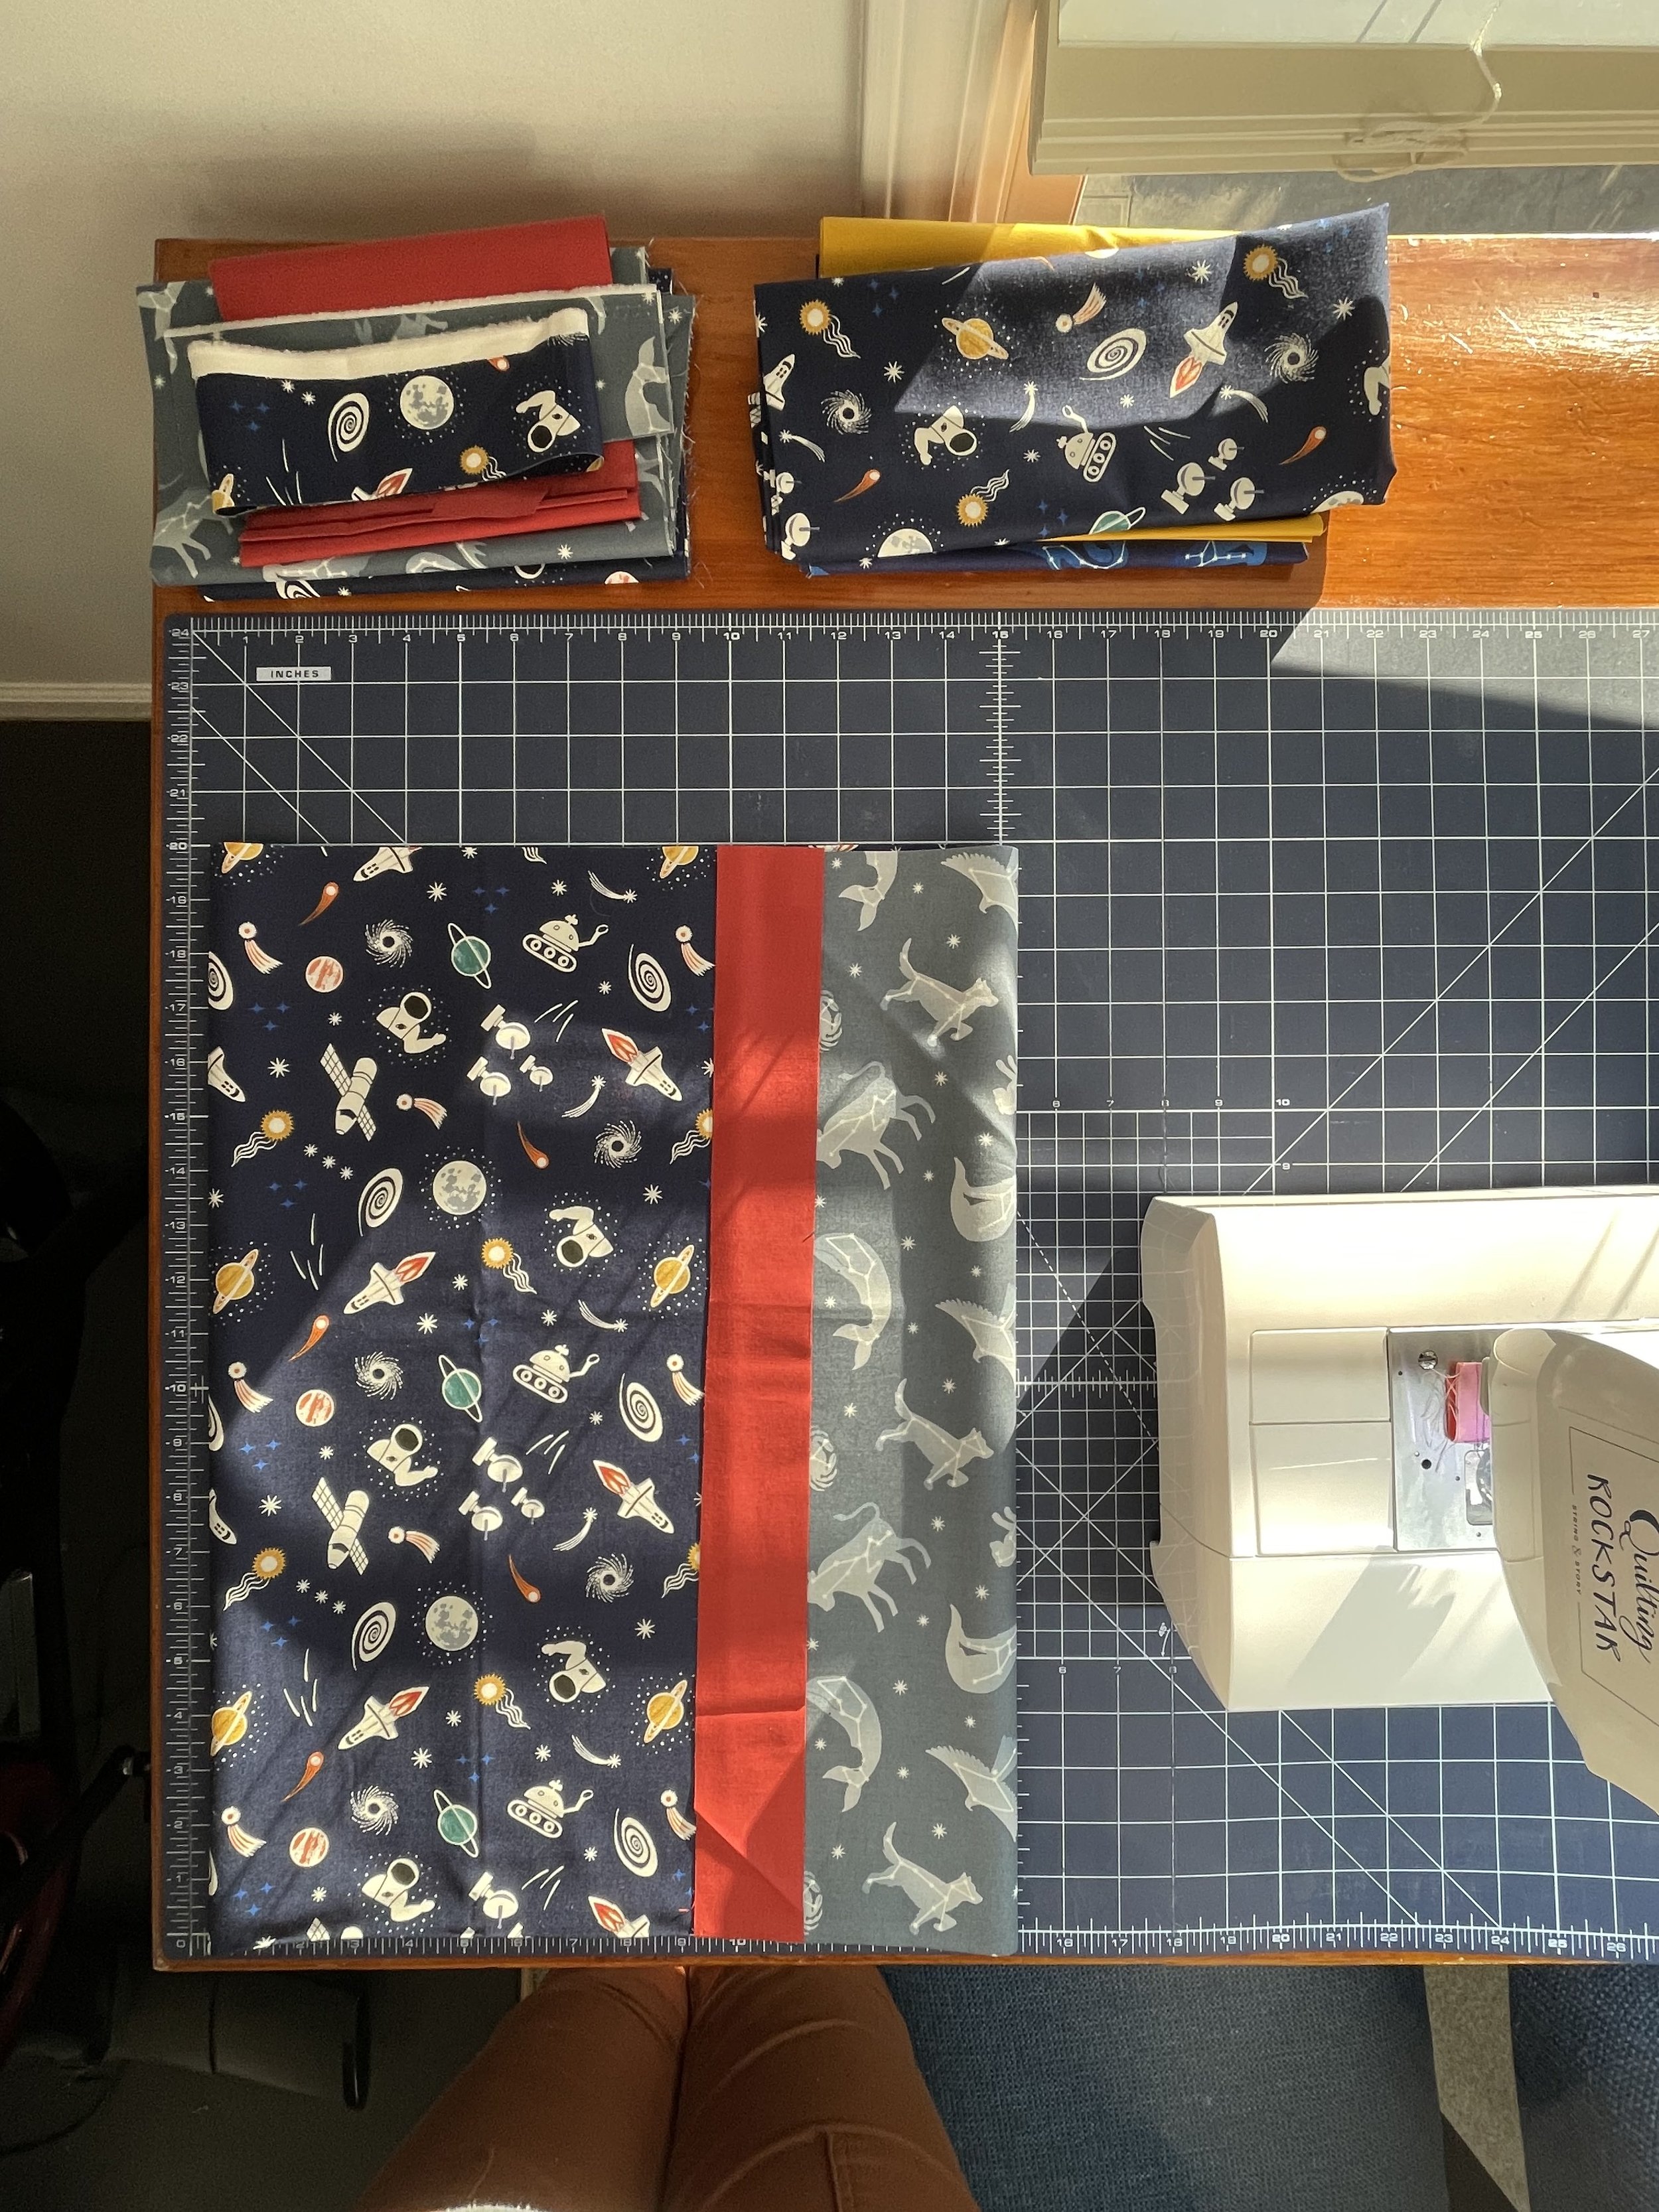
Cutting
Sub-cut your pieces as follows:
Main: cut to 27 x 40 inches
Secondary: cut to 9 x 40 inches
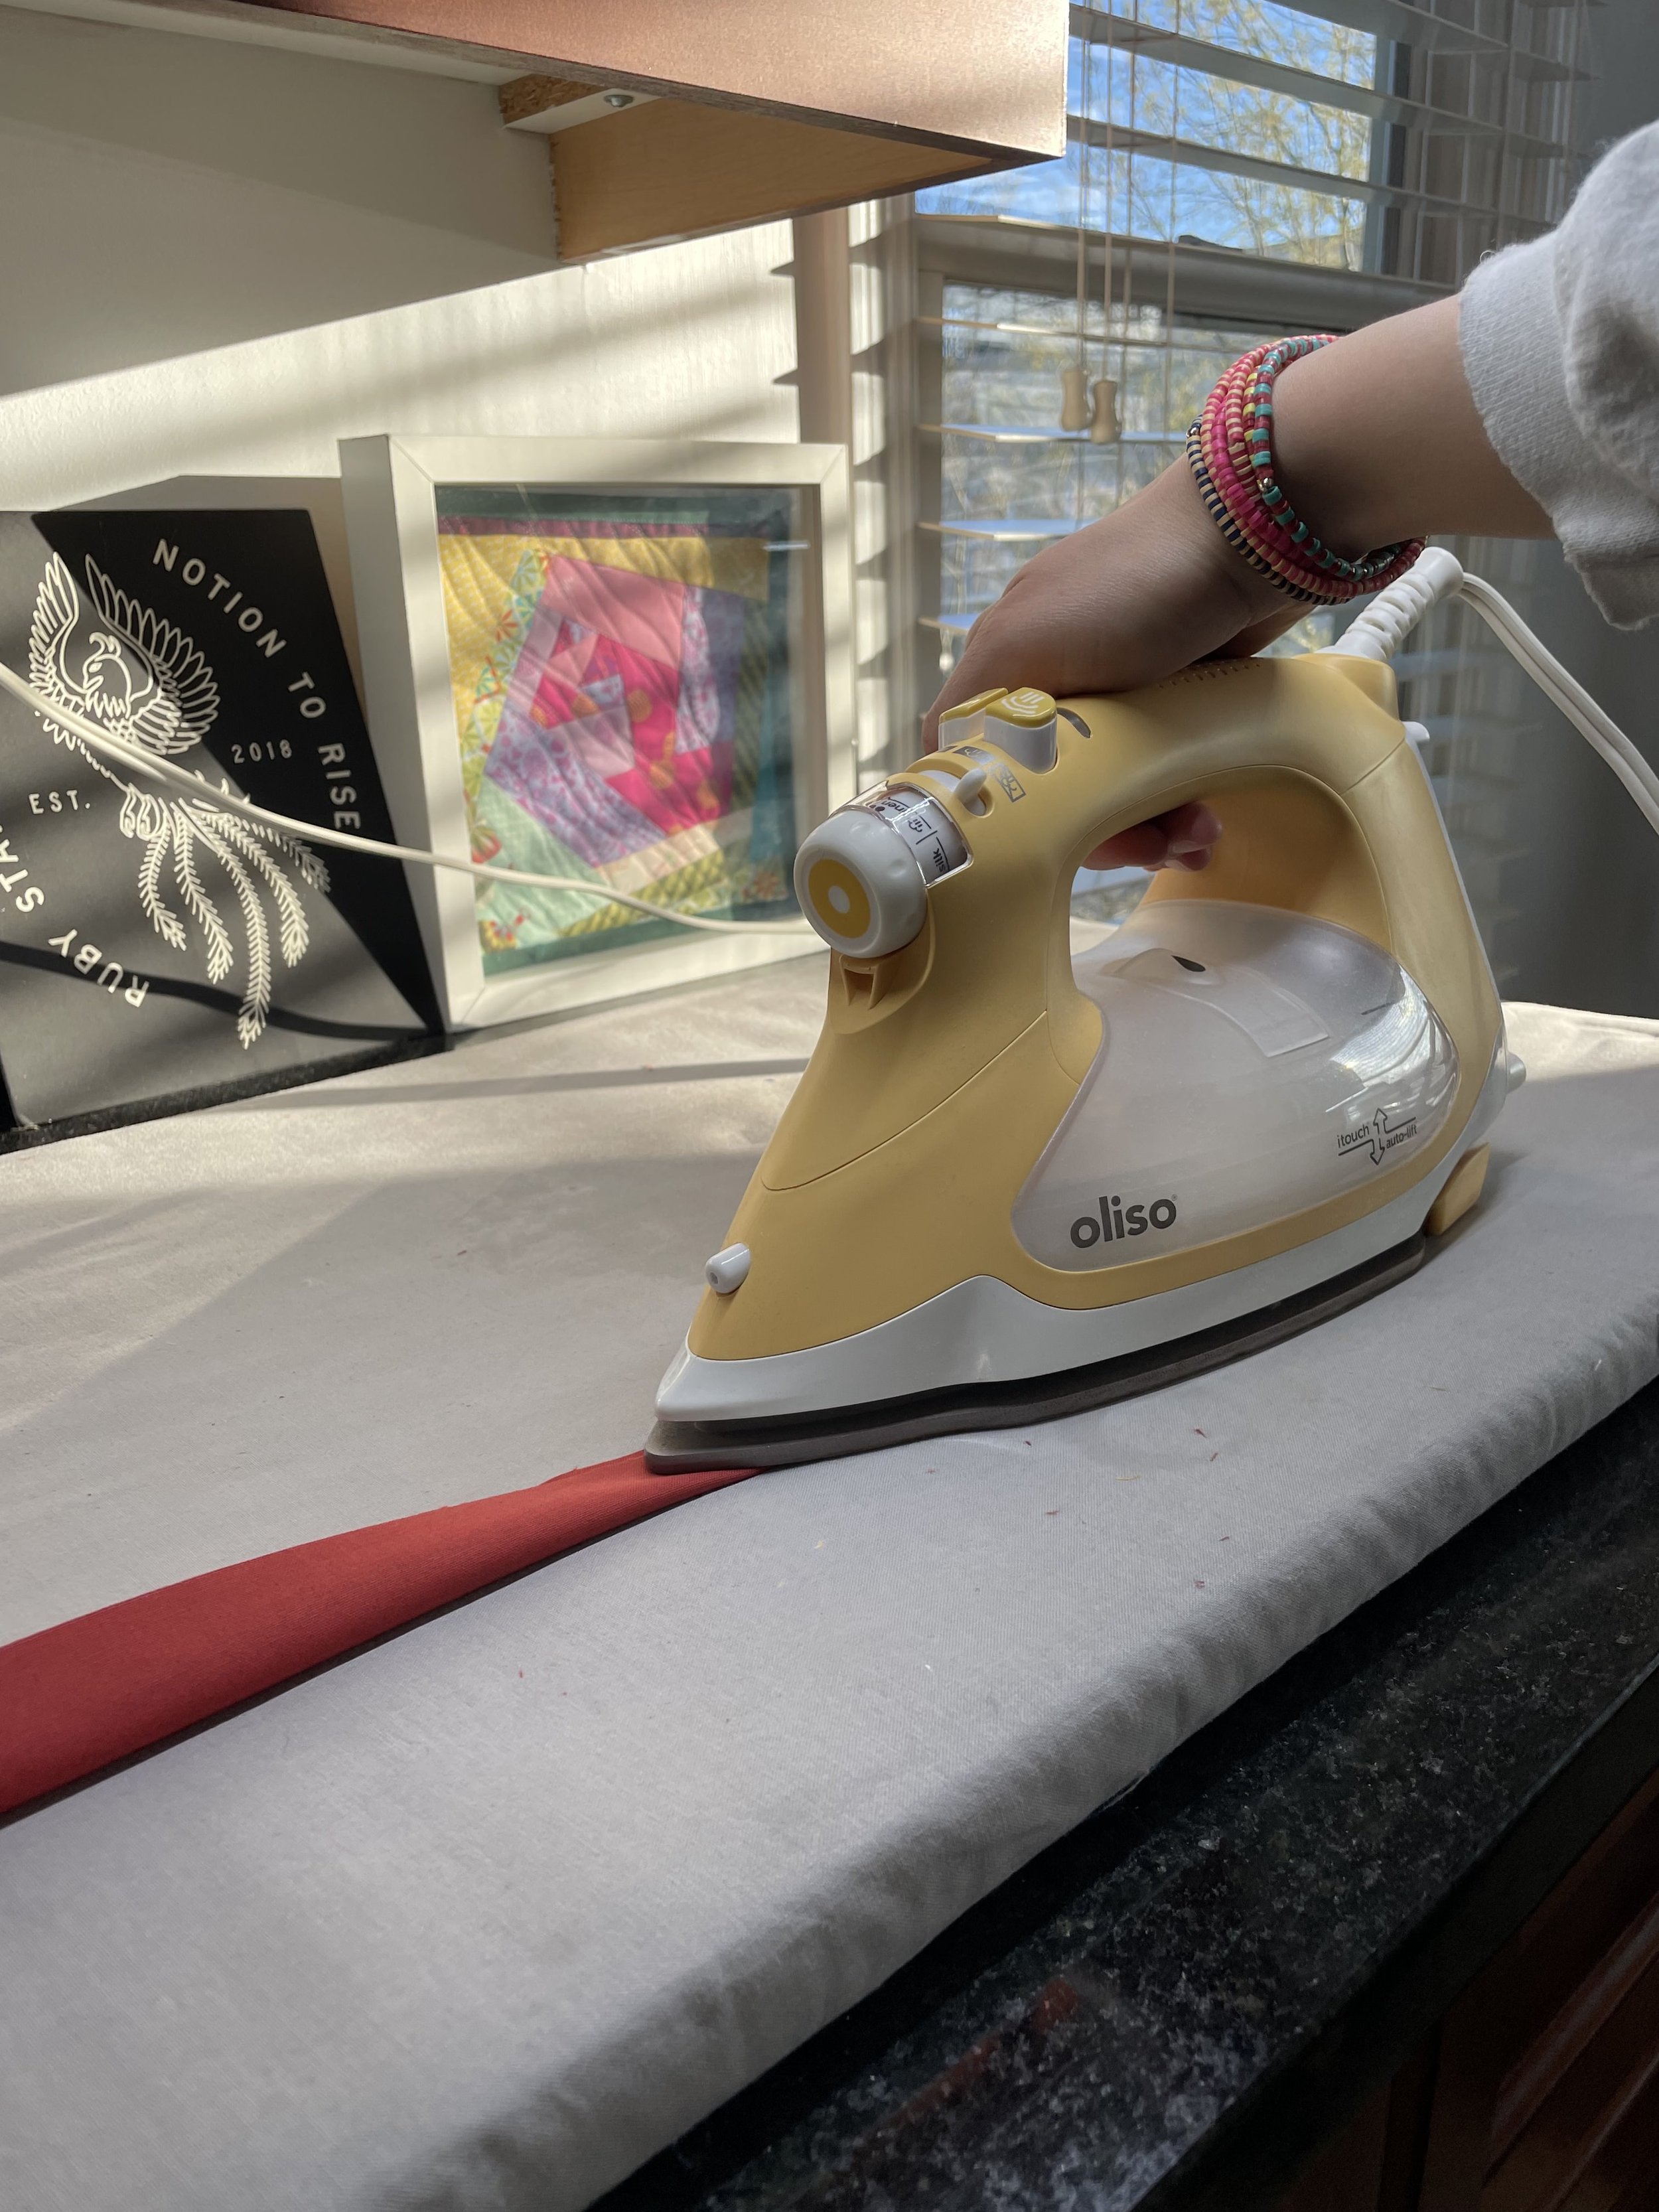
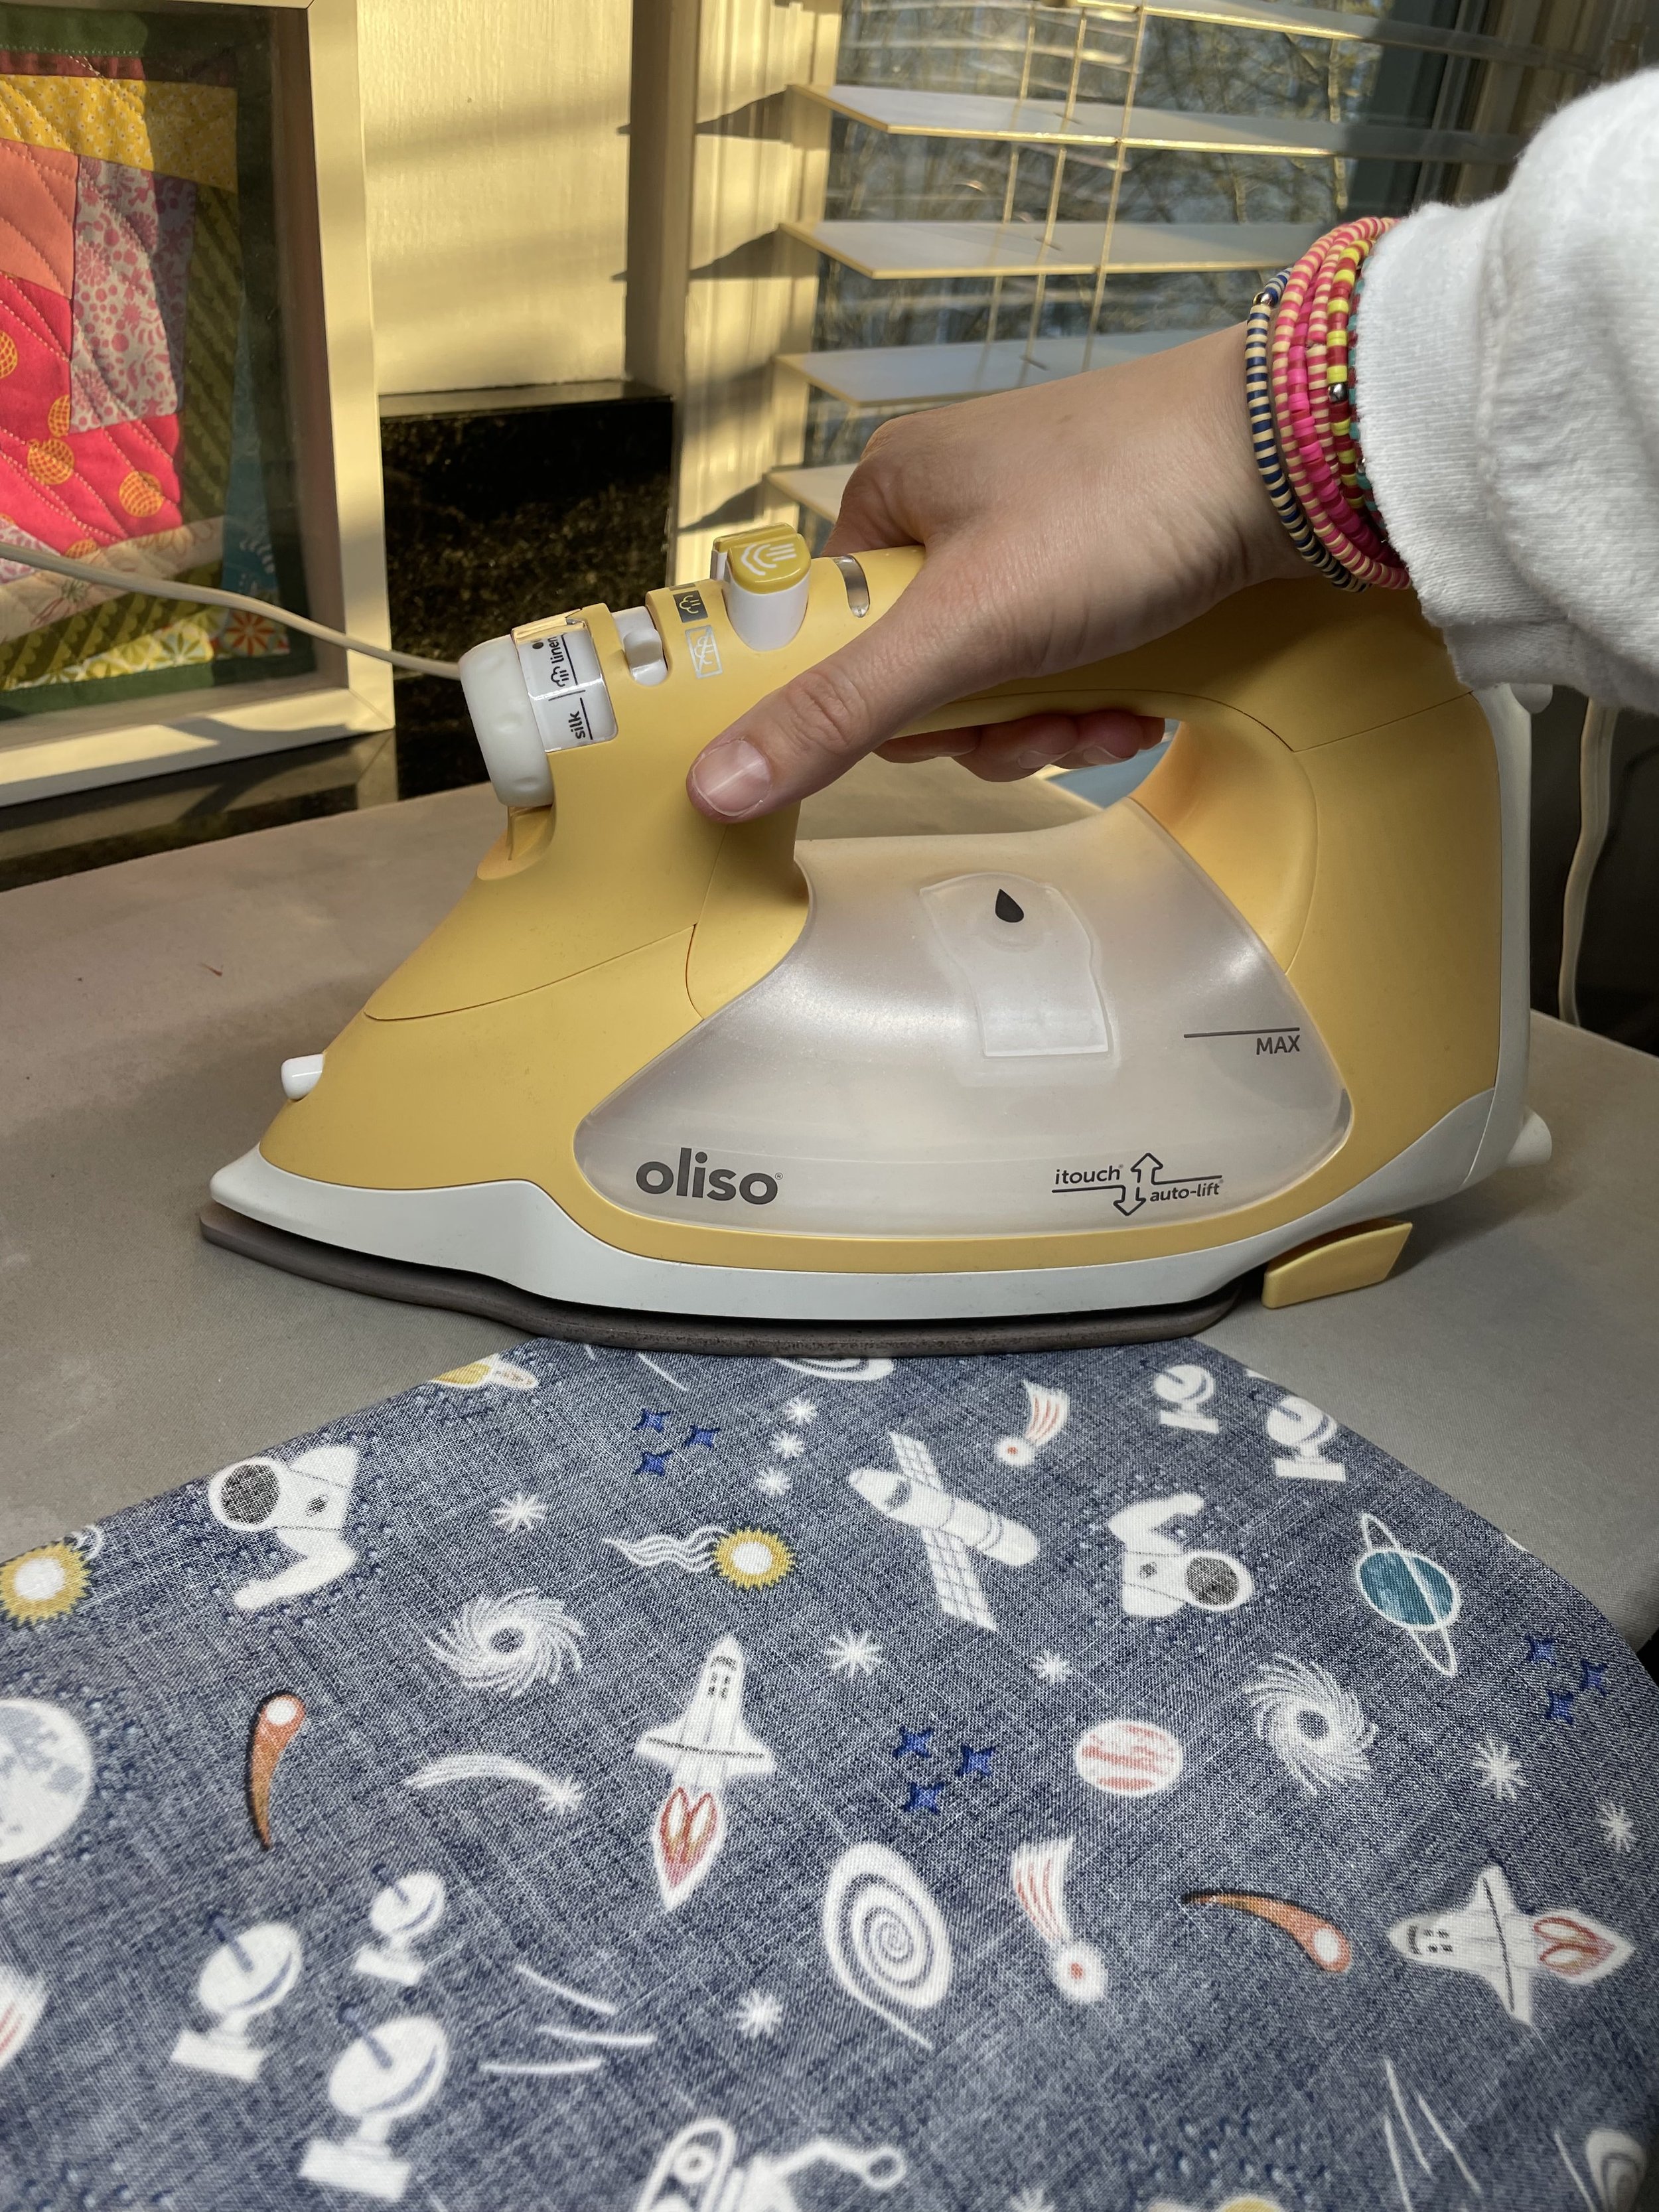
Accent: cut to 2 x 40 inches, press in half lengthwise (see above)
Assemble the pillow case

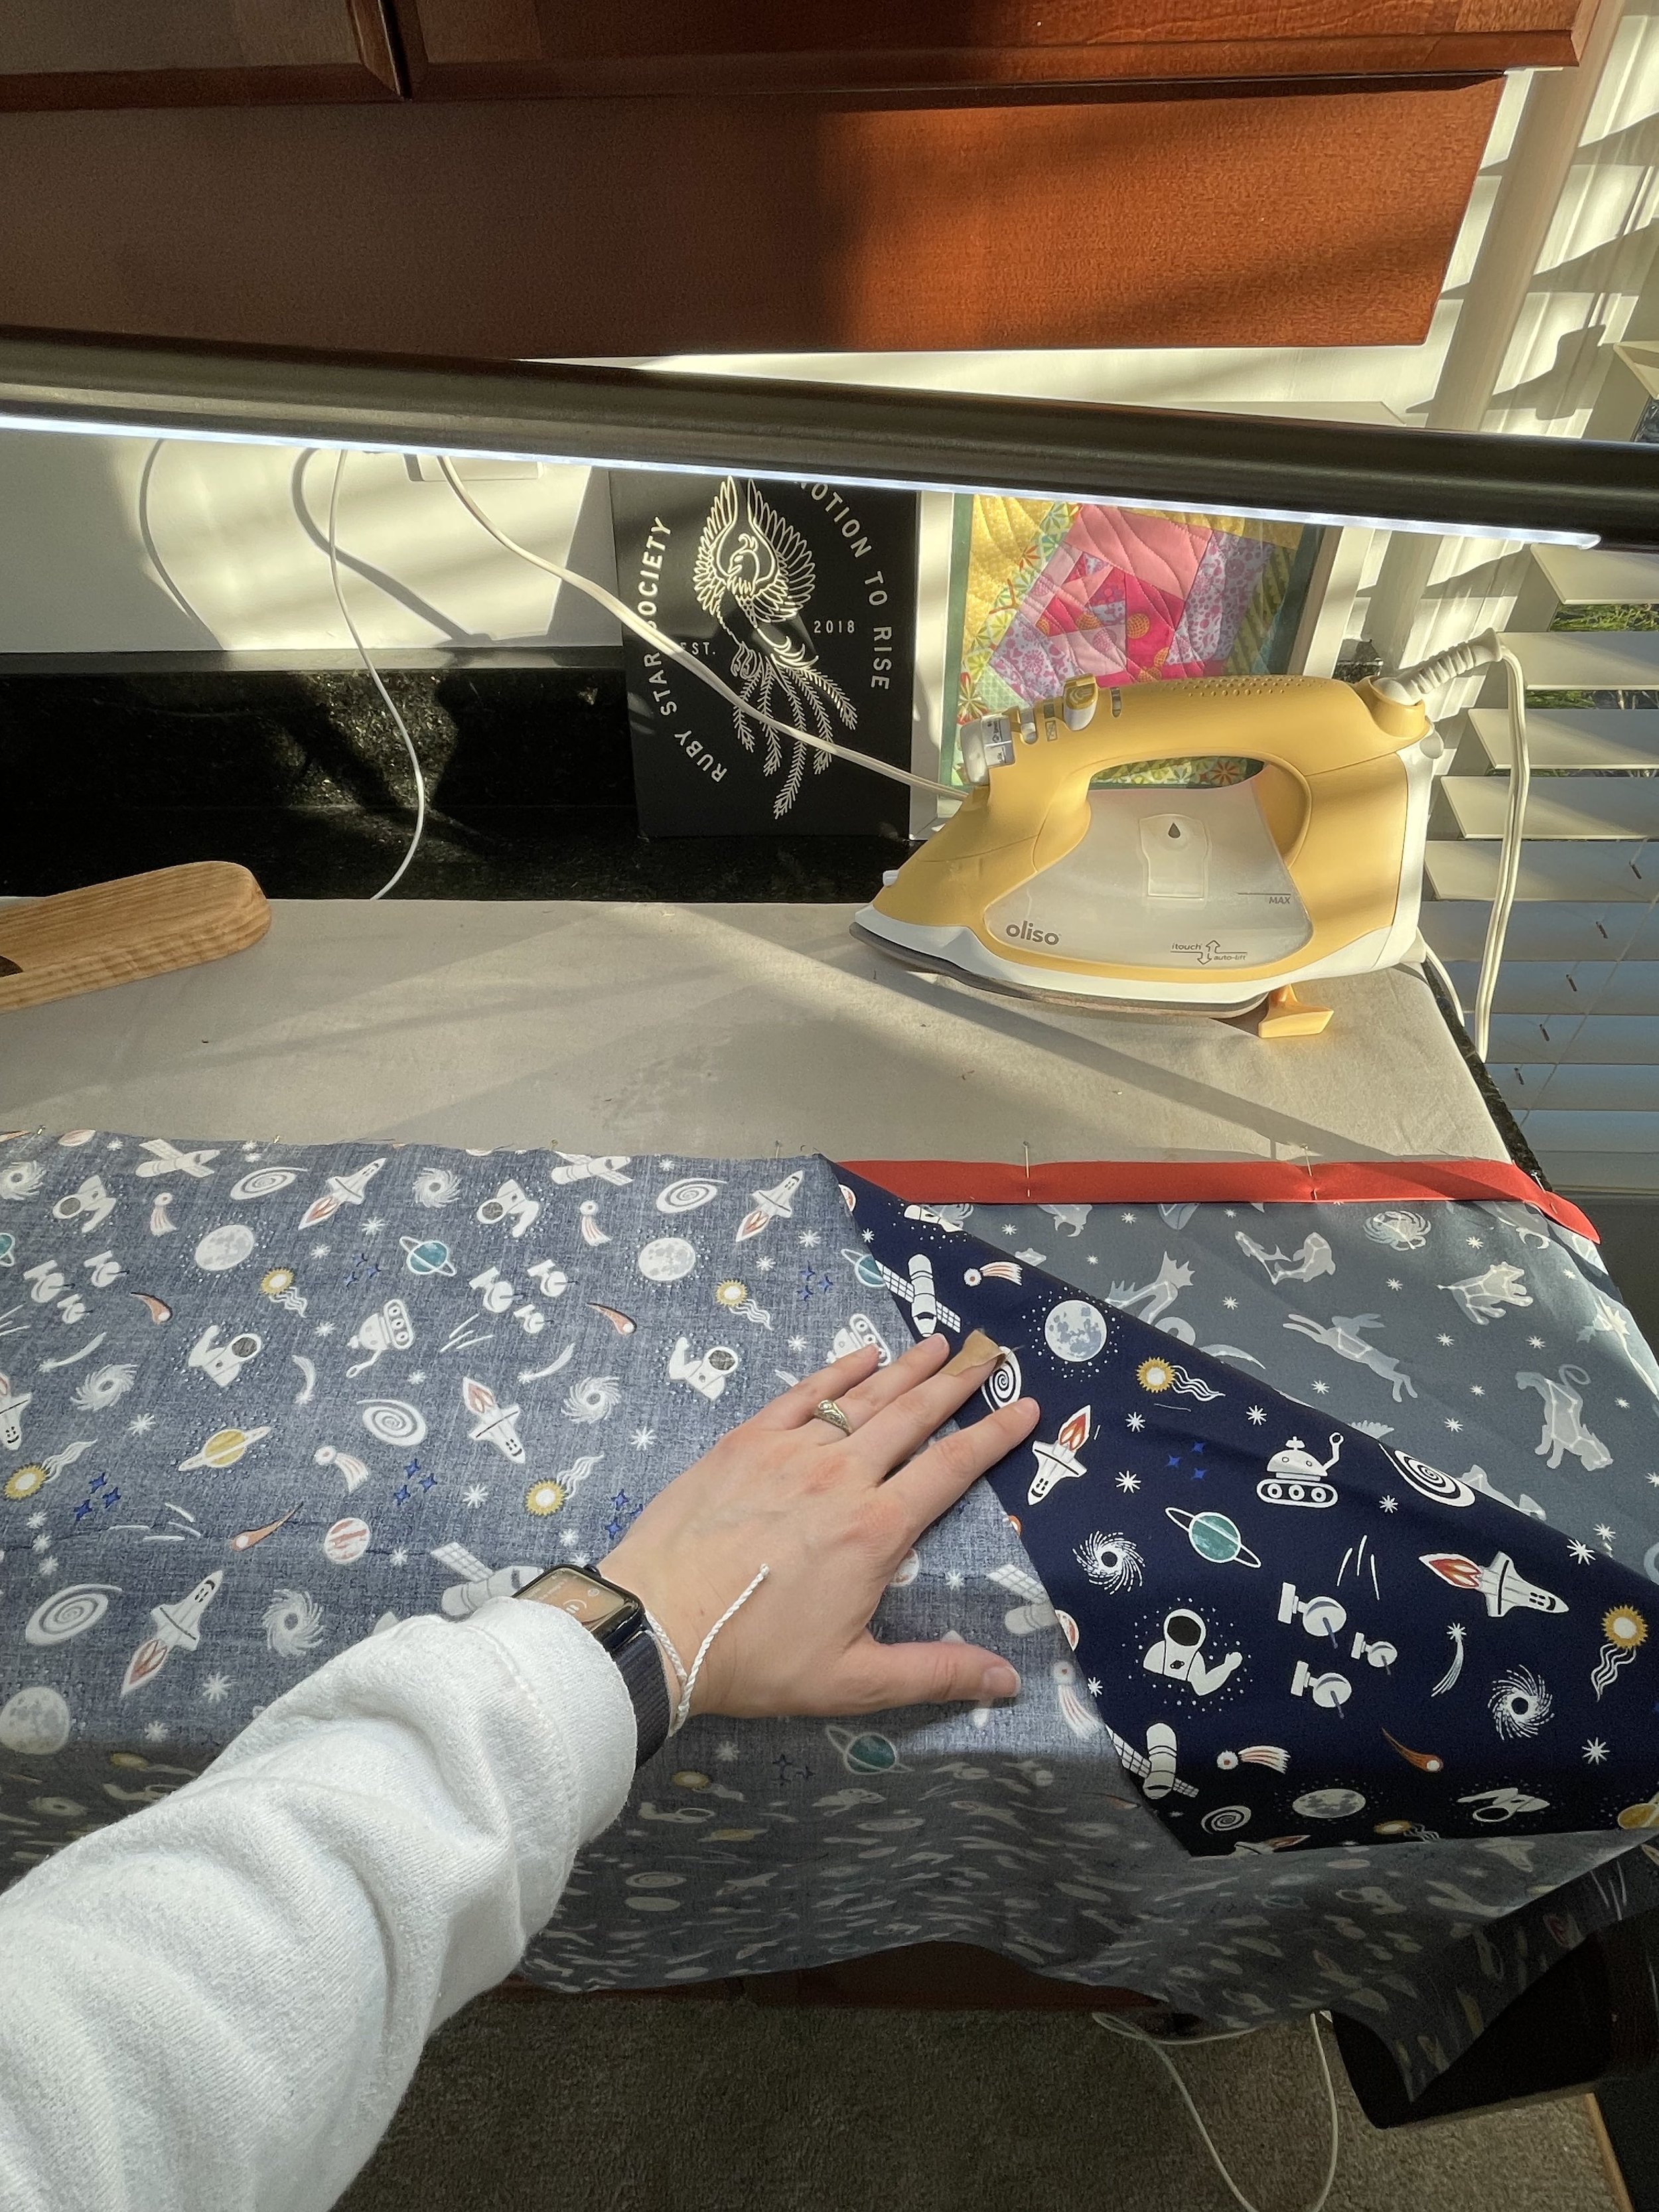
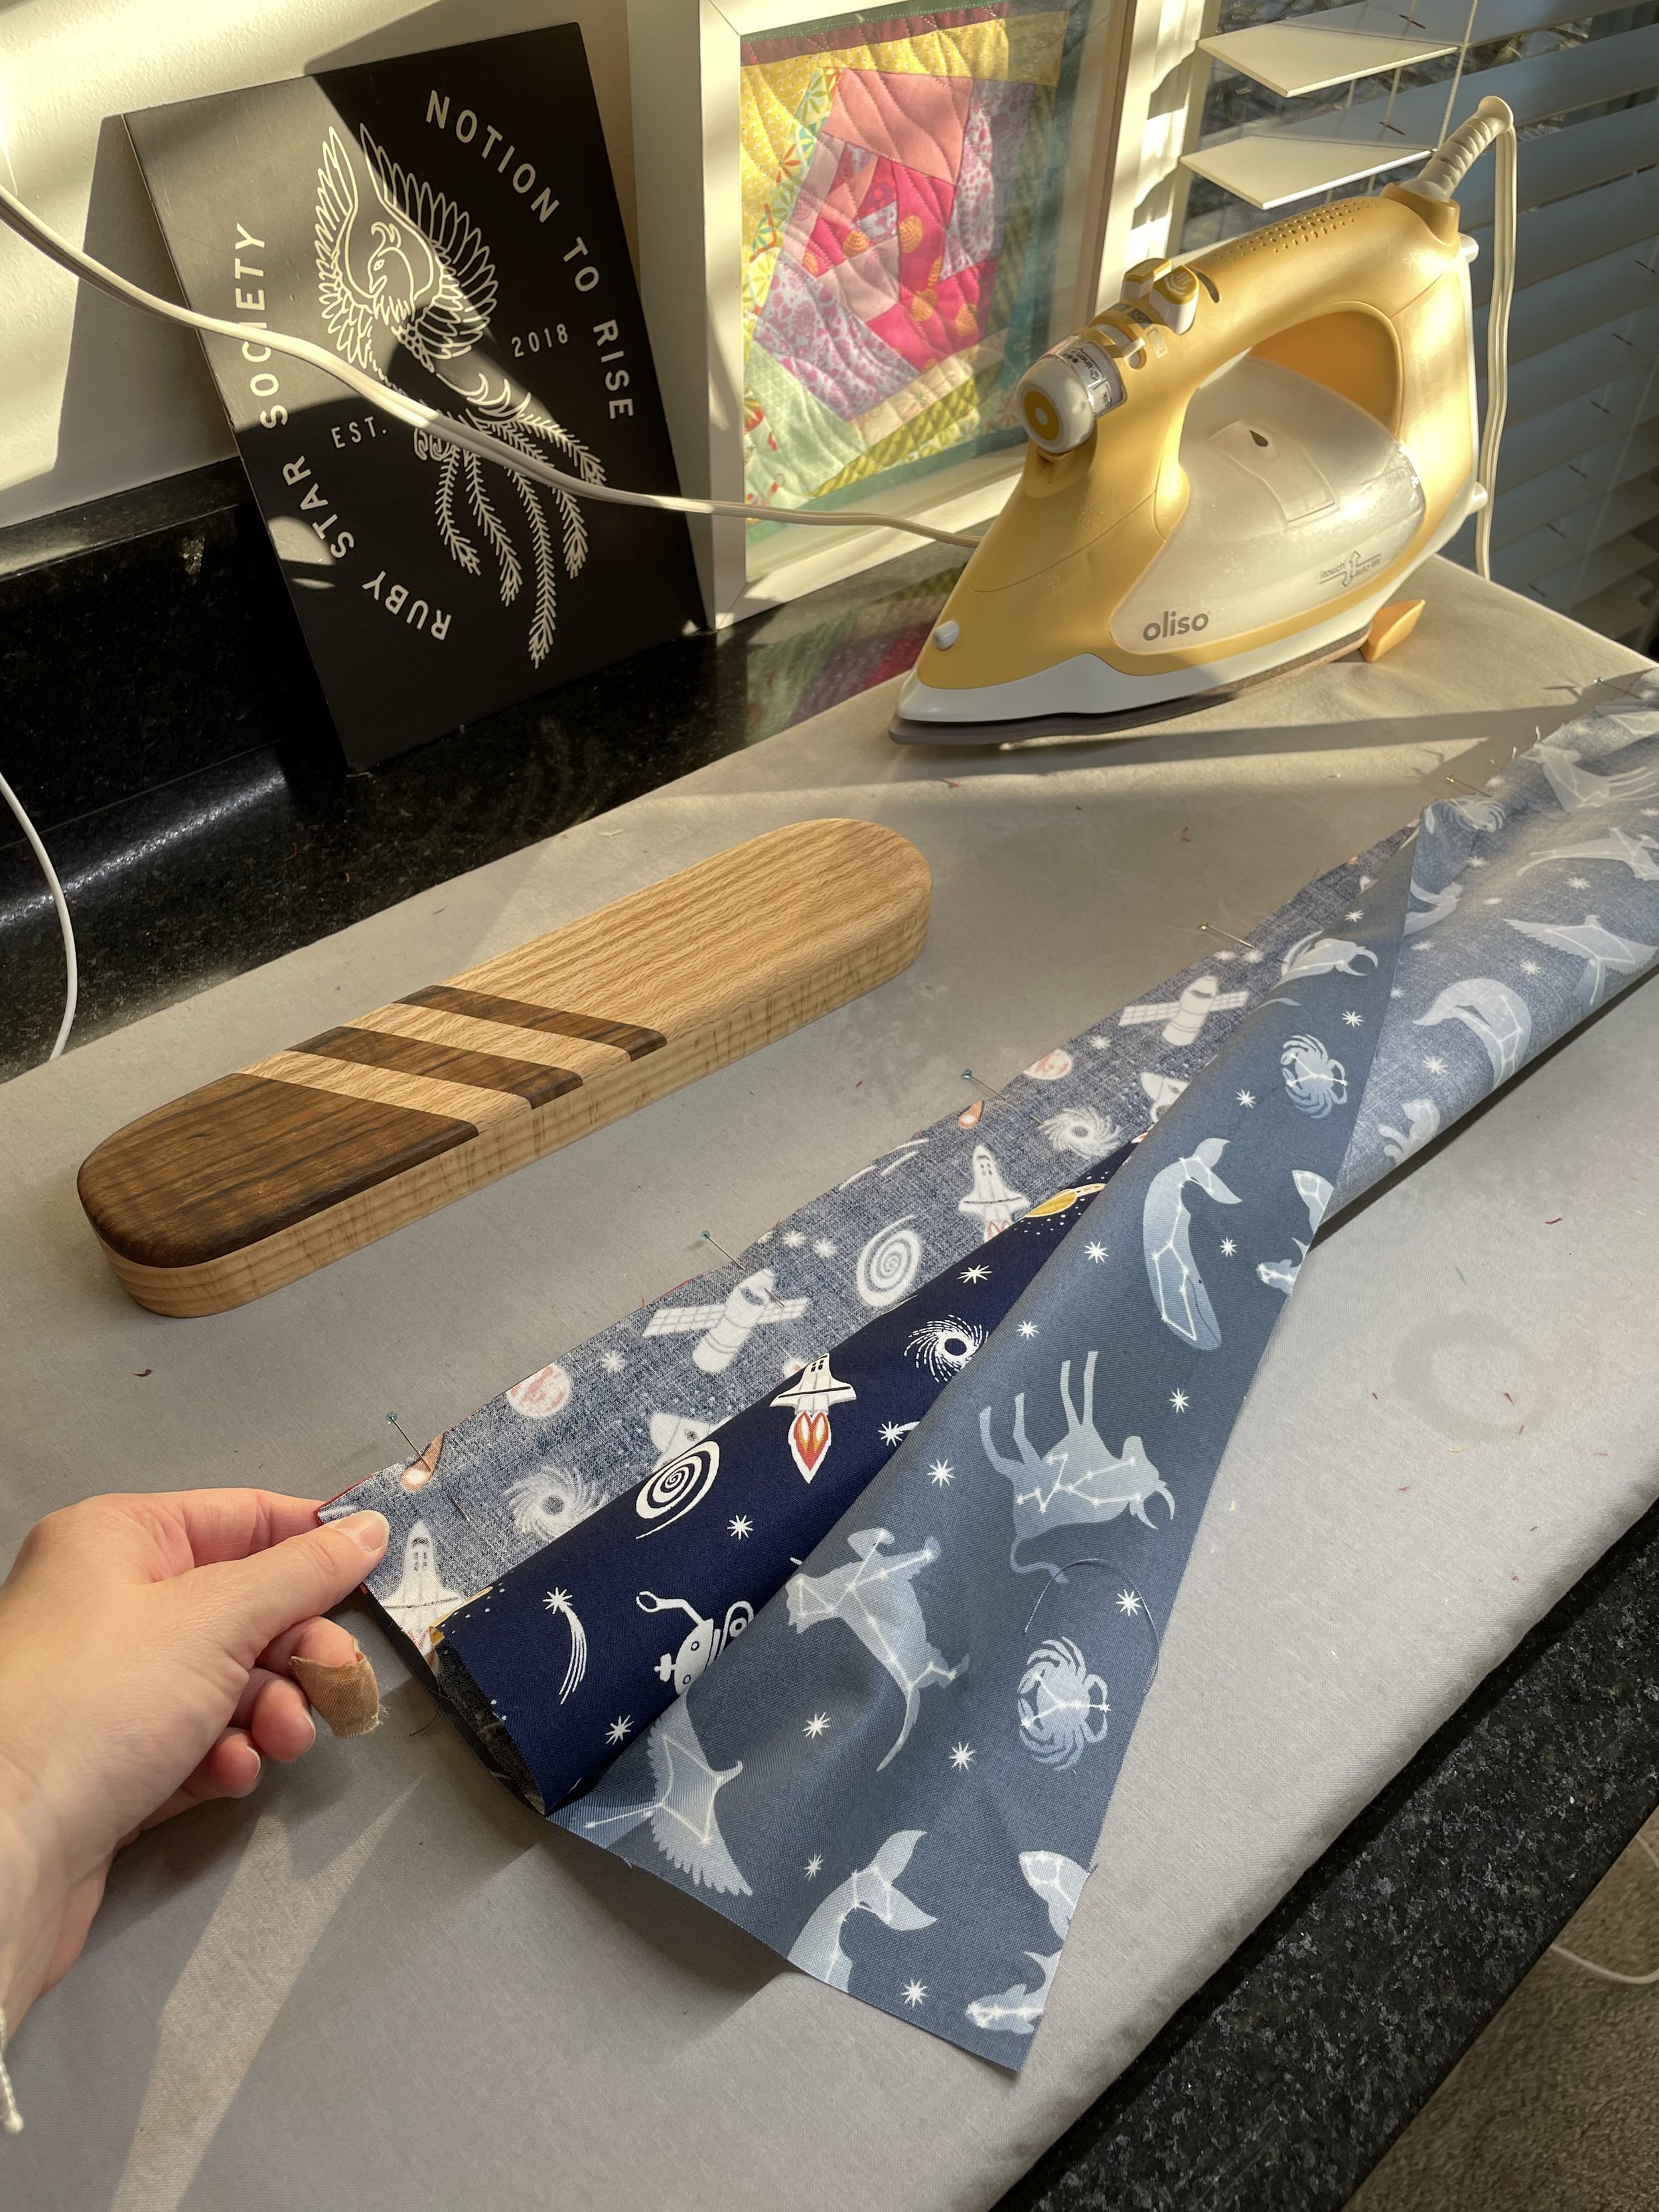
Place cuff fabric right side up and align 40” raw edge with 40” raw edges of pressed flange. Pin
Place main body fabric right side down and align 40” raw edge with pinned edges. Repin
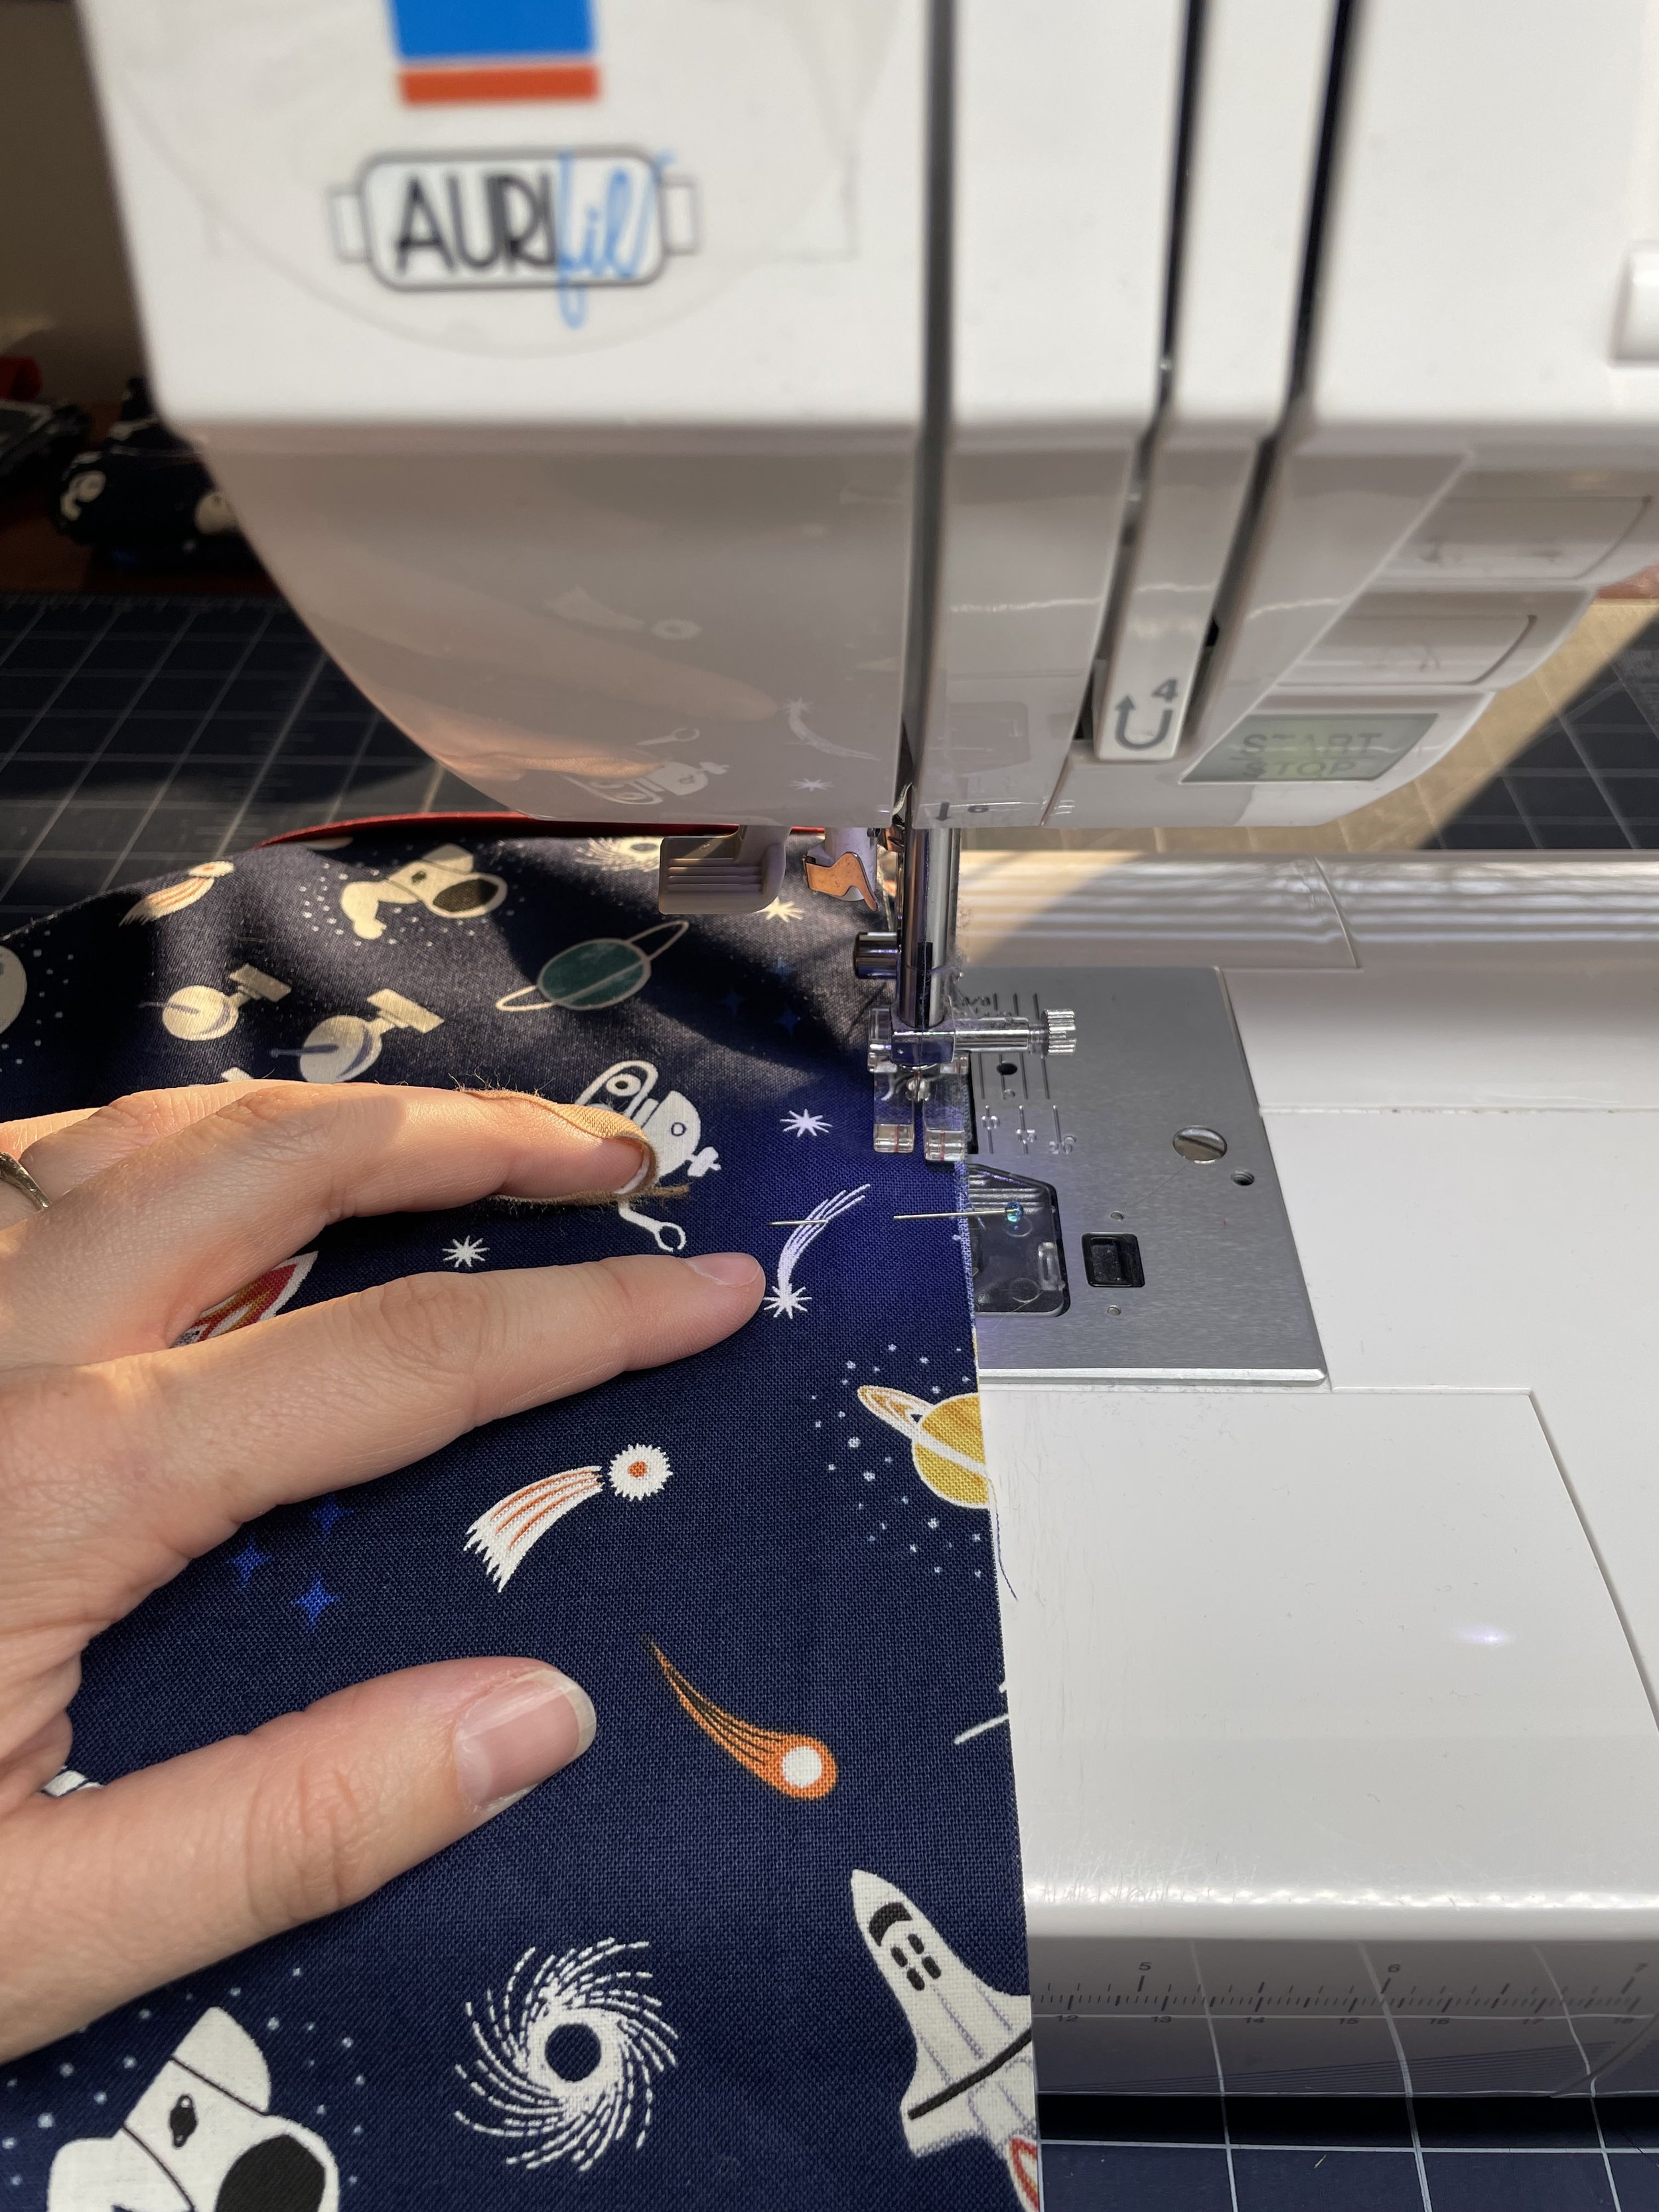
Roll the main body fabric up, then pull the second raw edge of the cuff over the roll. Pin to the other layers (DO NOT PIN or sew the “roll” of body fabric. Just let it float inside of your “burrito”)
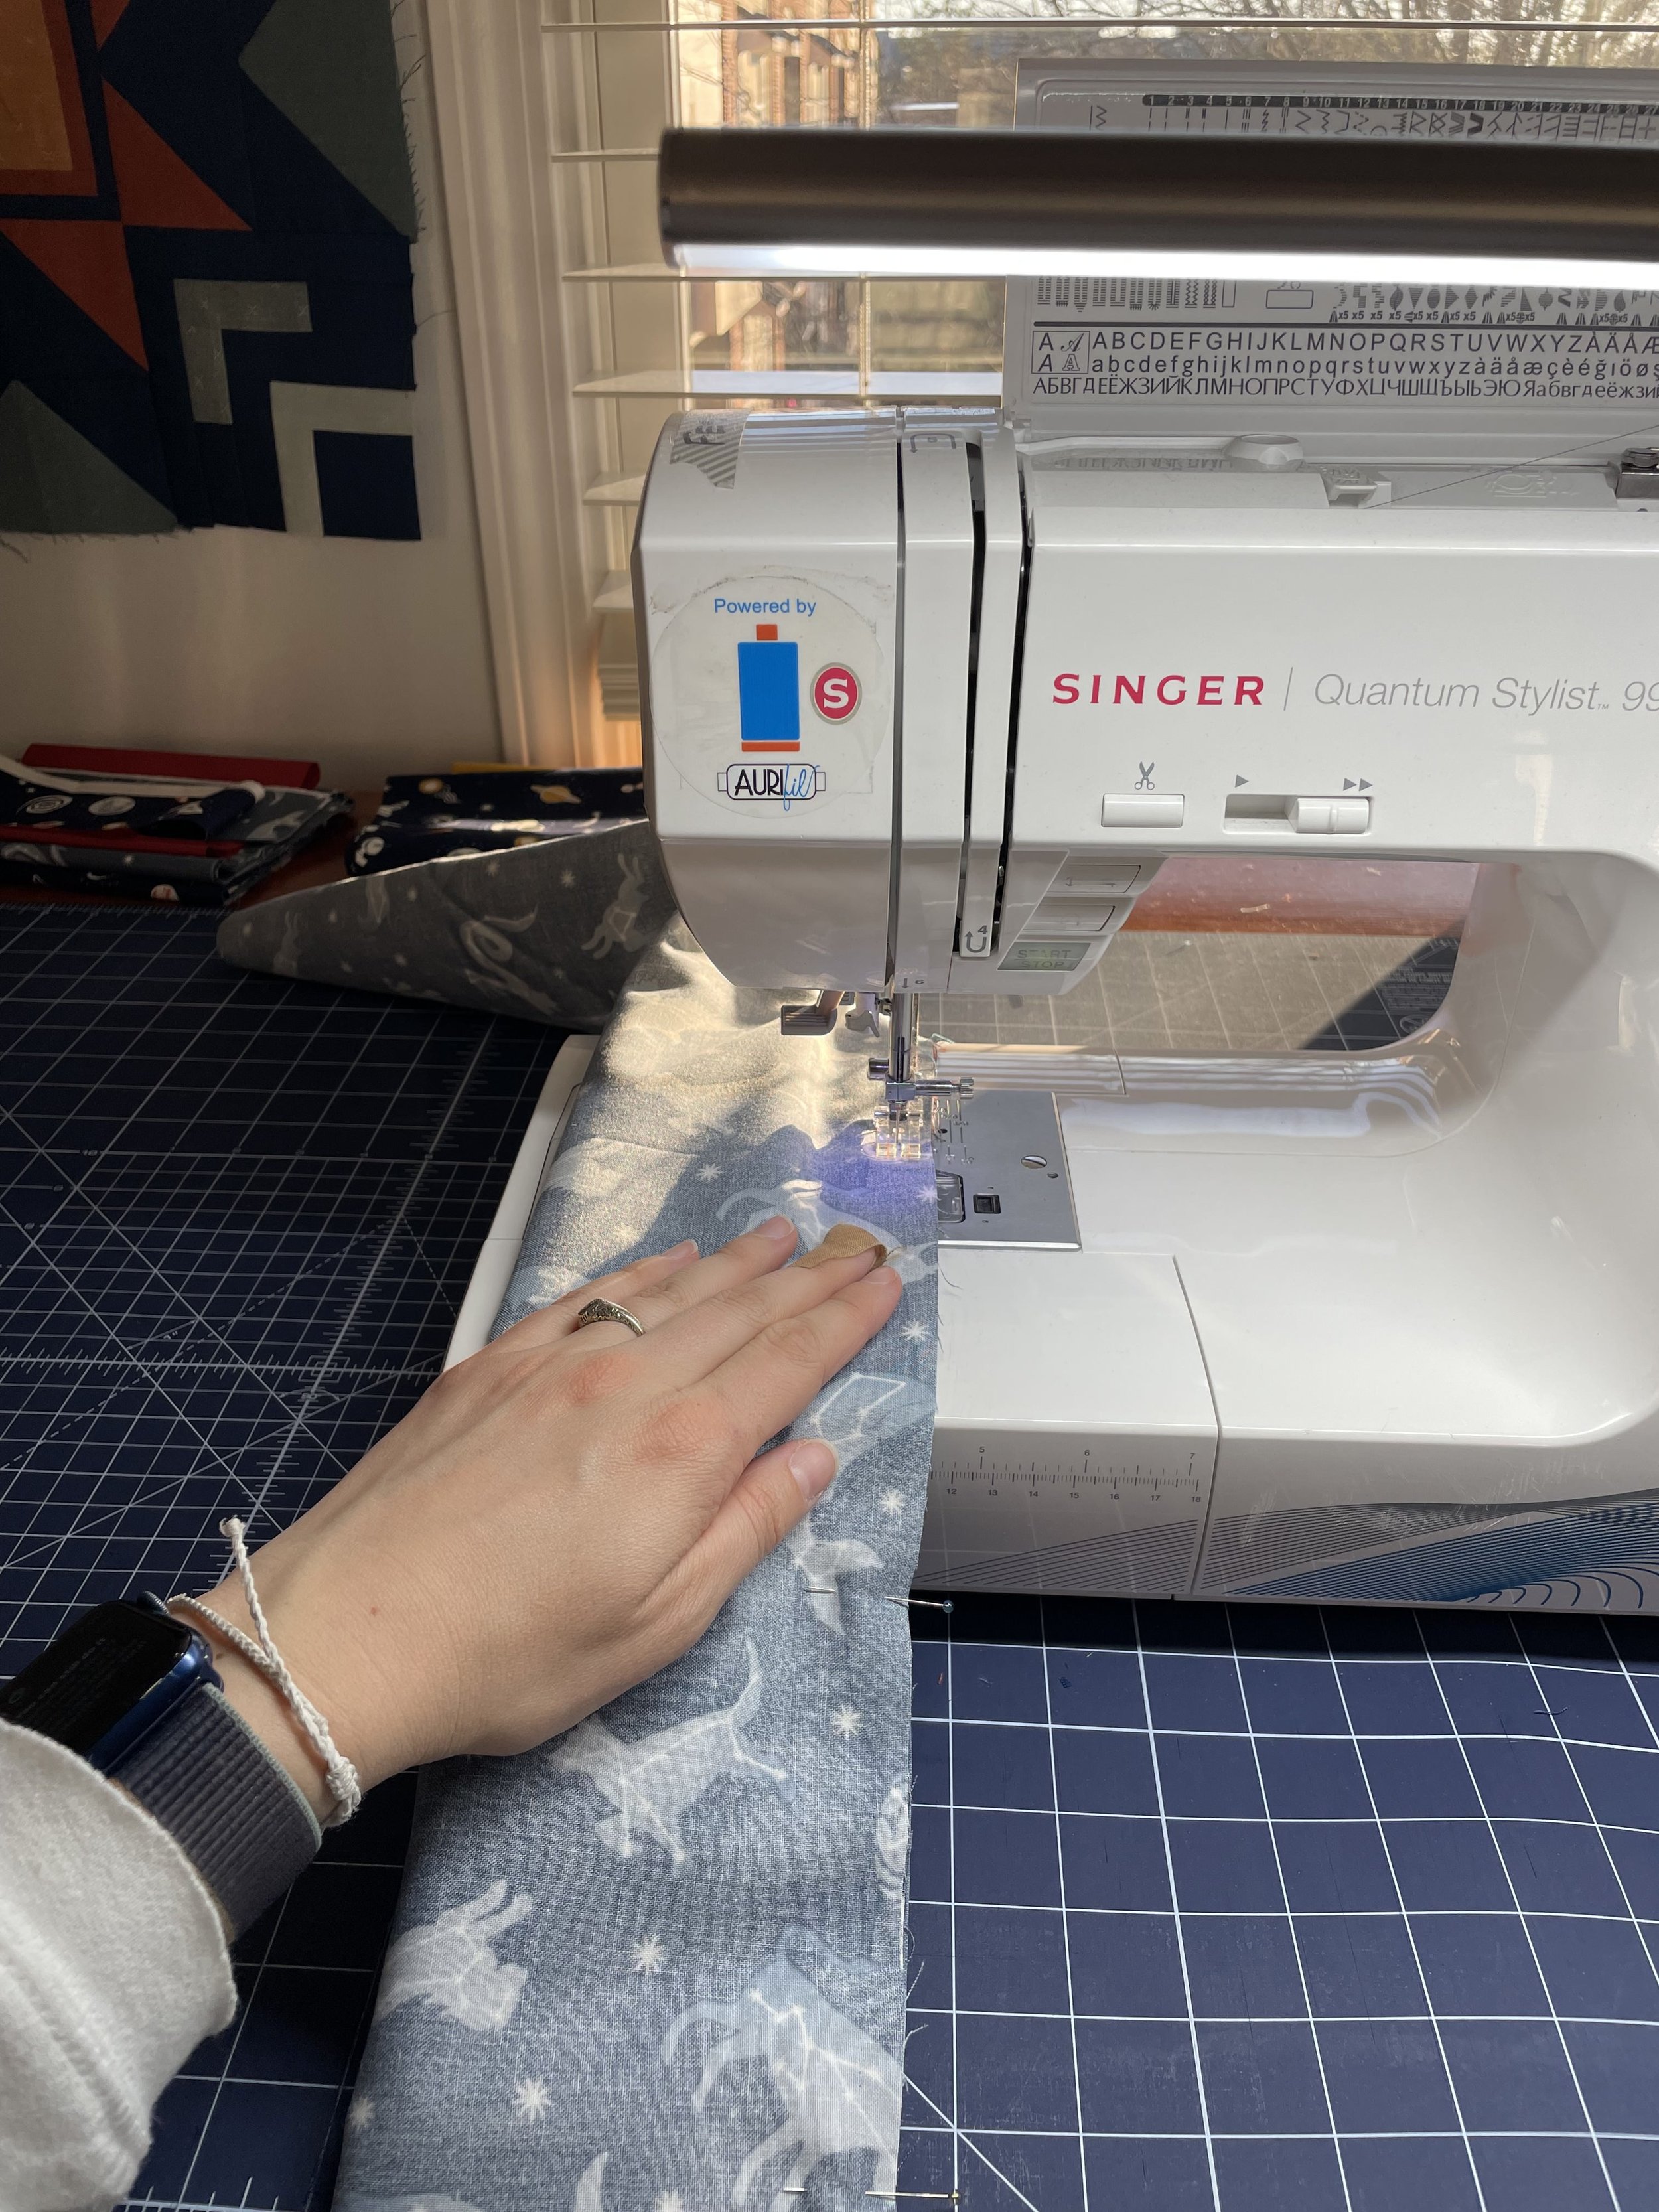
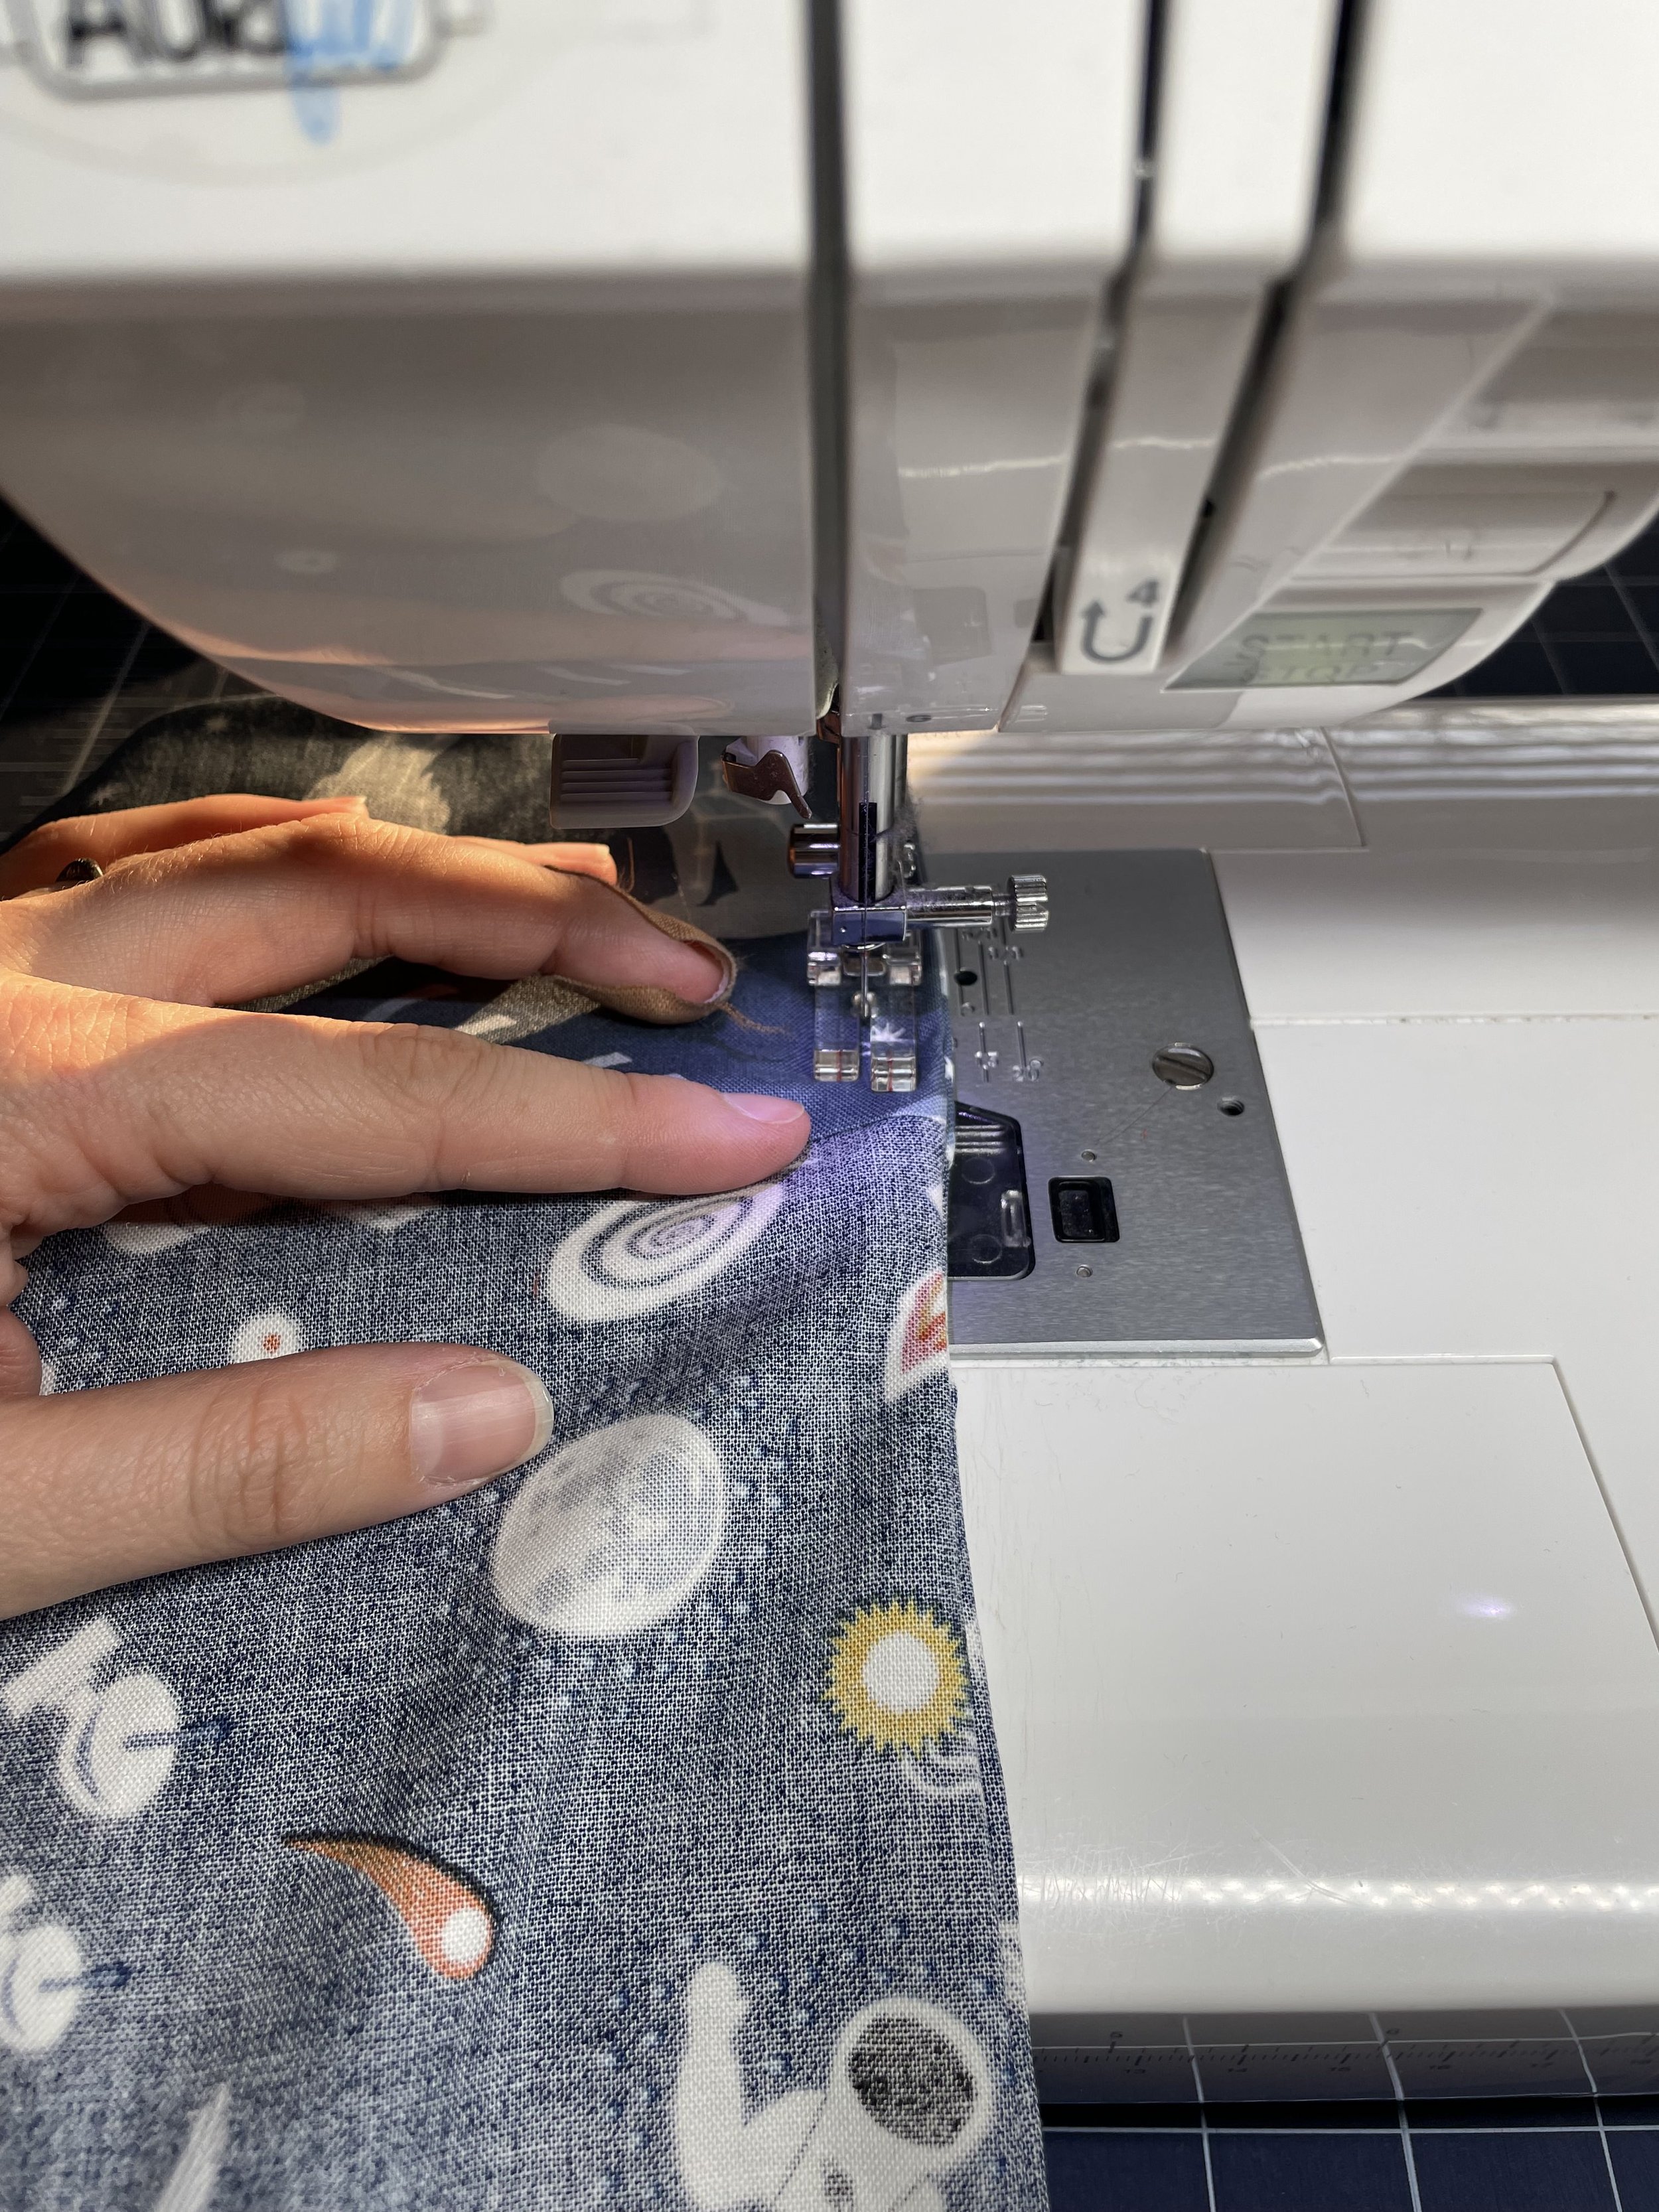
4. Sew down pinned edge with a 1/4” seam allowance (be sure to backstitch at both ends)
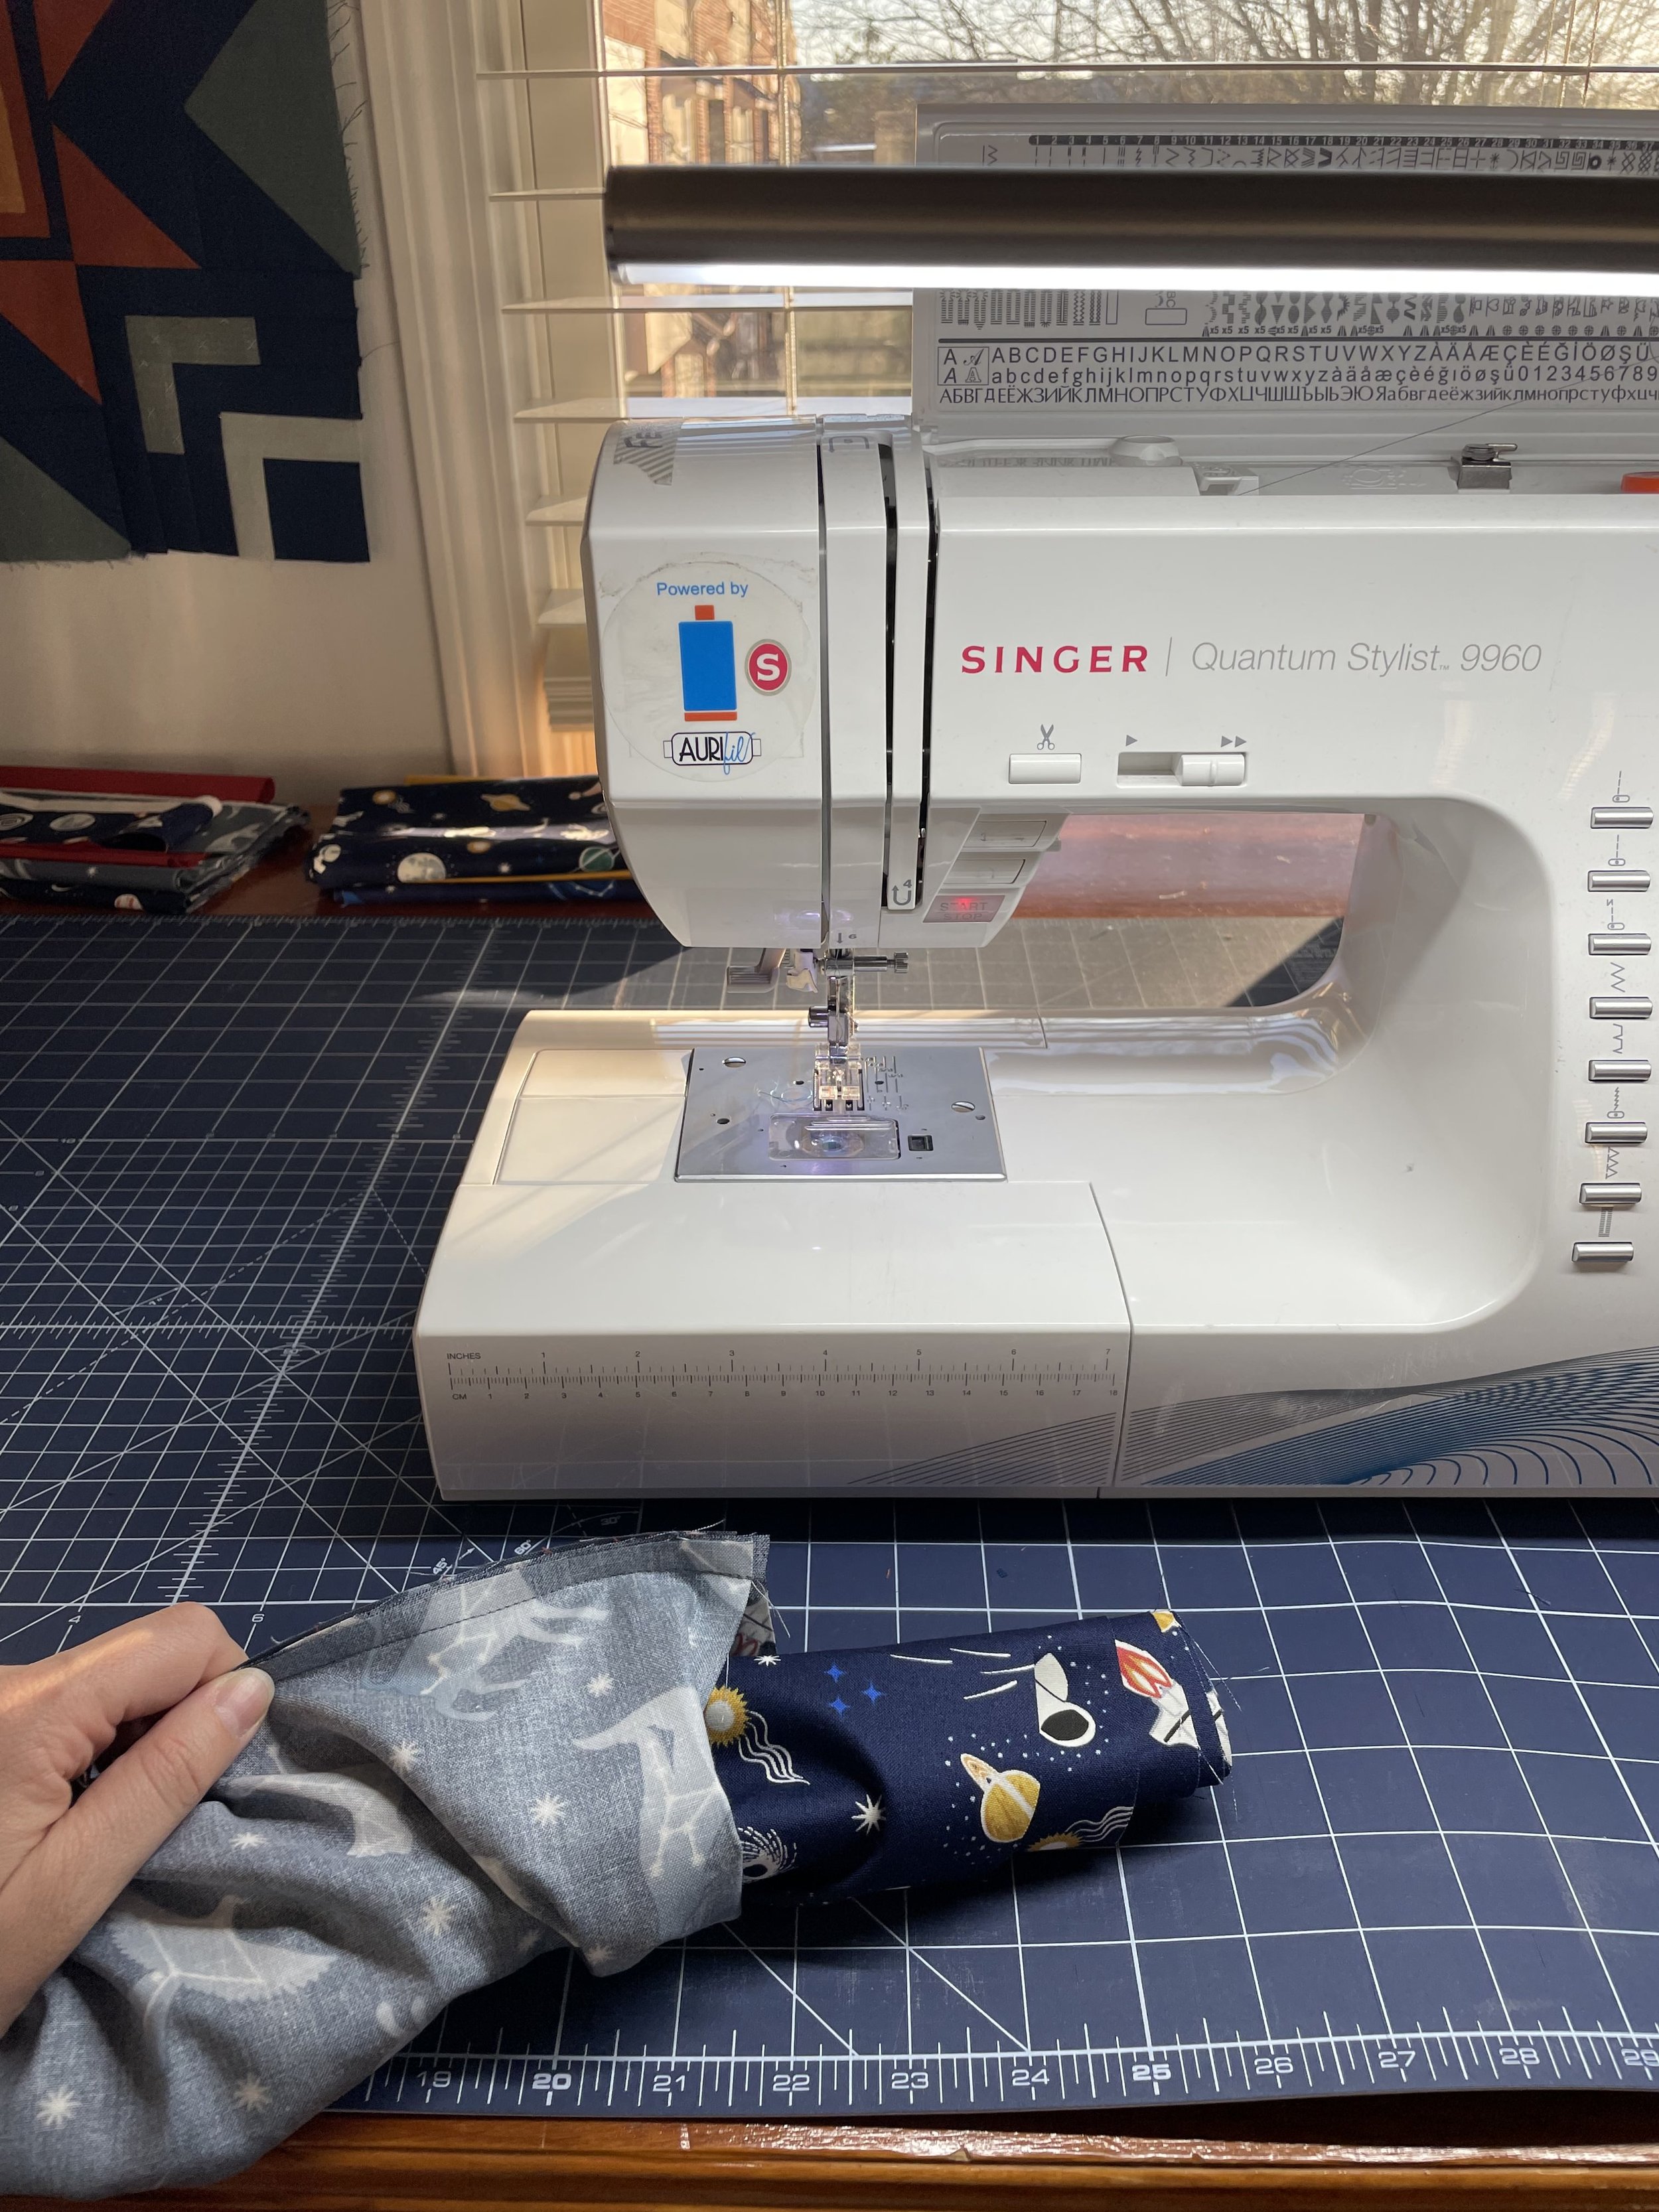
5. Pull the “burrito guts” out of the side of the roll, turning the cuff right side as you go. Press cuff edge and flange
We will close the pillowcase with a French seam:
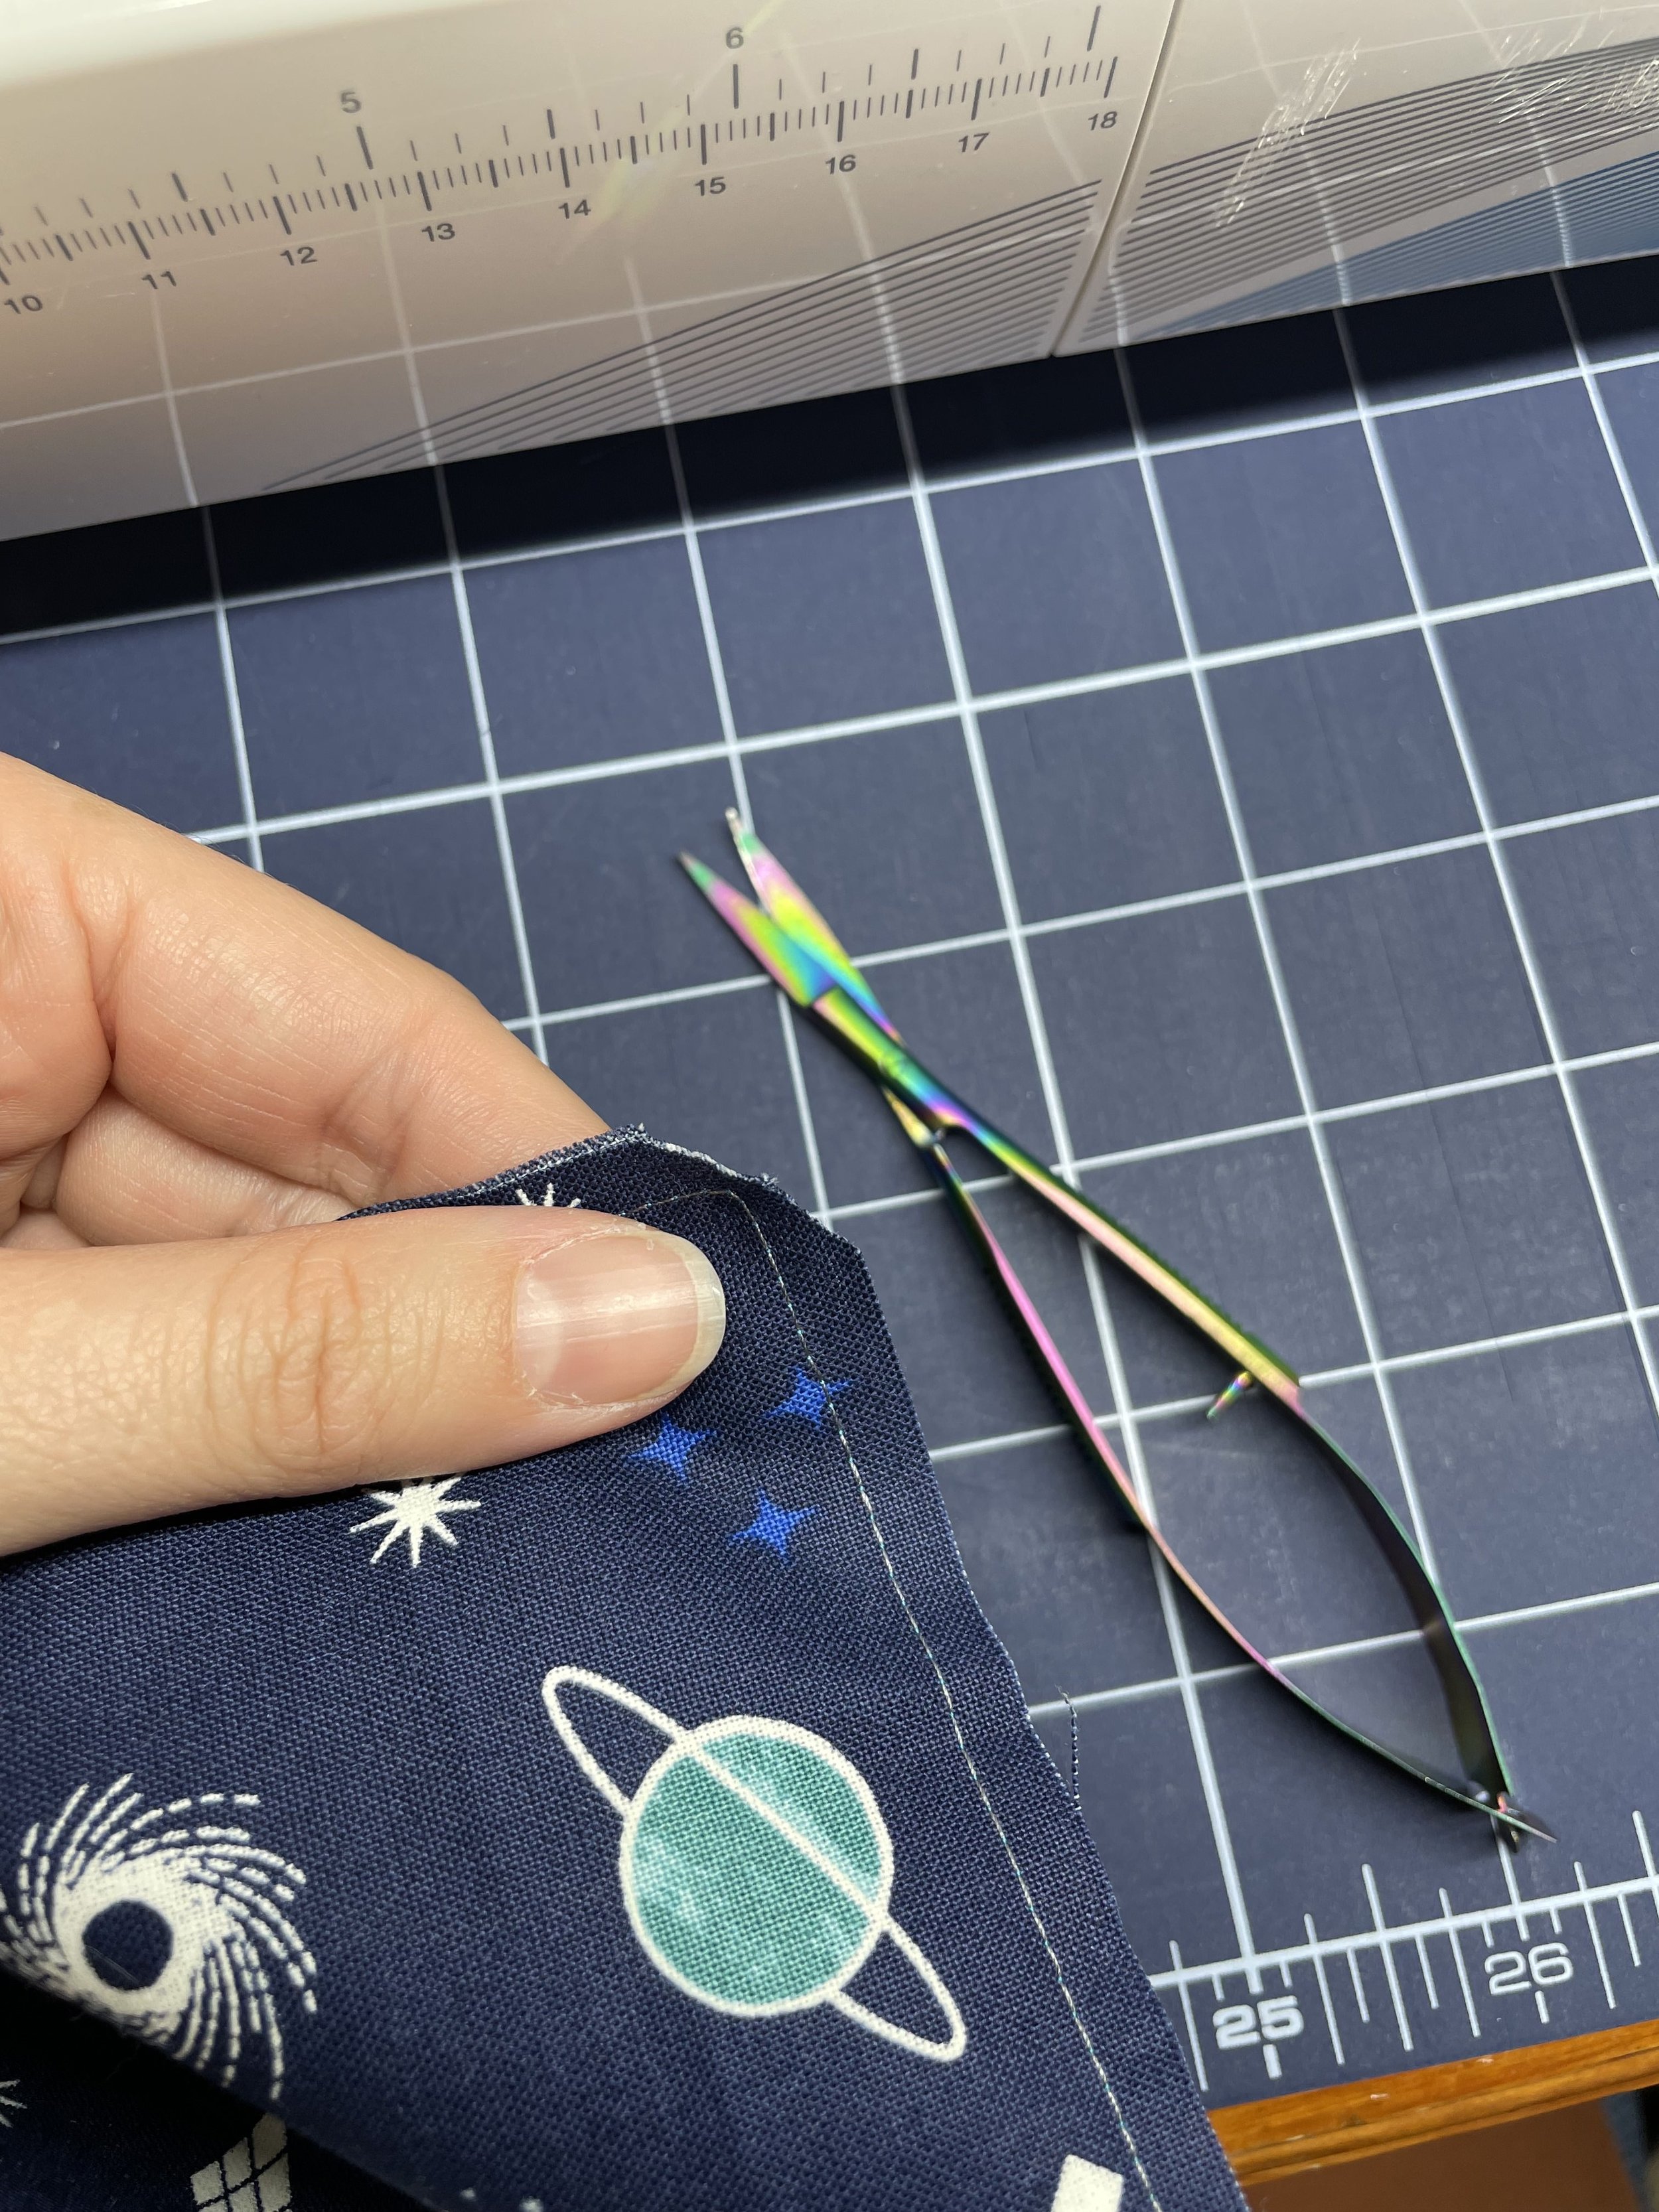
6) Fold pillow case in half right side out, and pin (line up the flange and cuff to start pinning). Sew the pillow case closed along the “L” opening with a 1/4” seam allowance
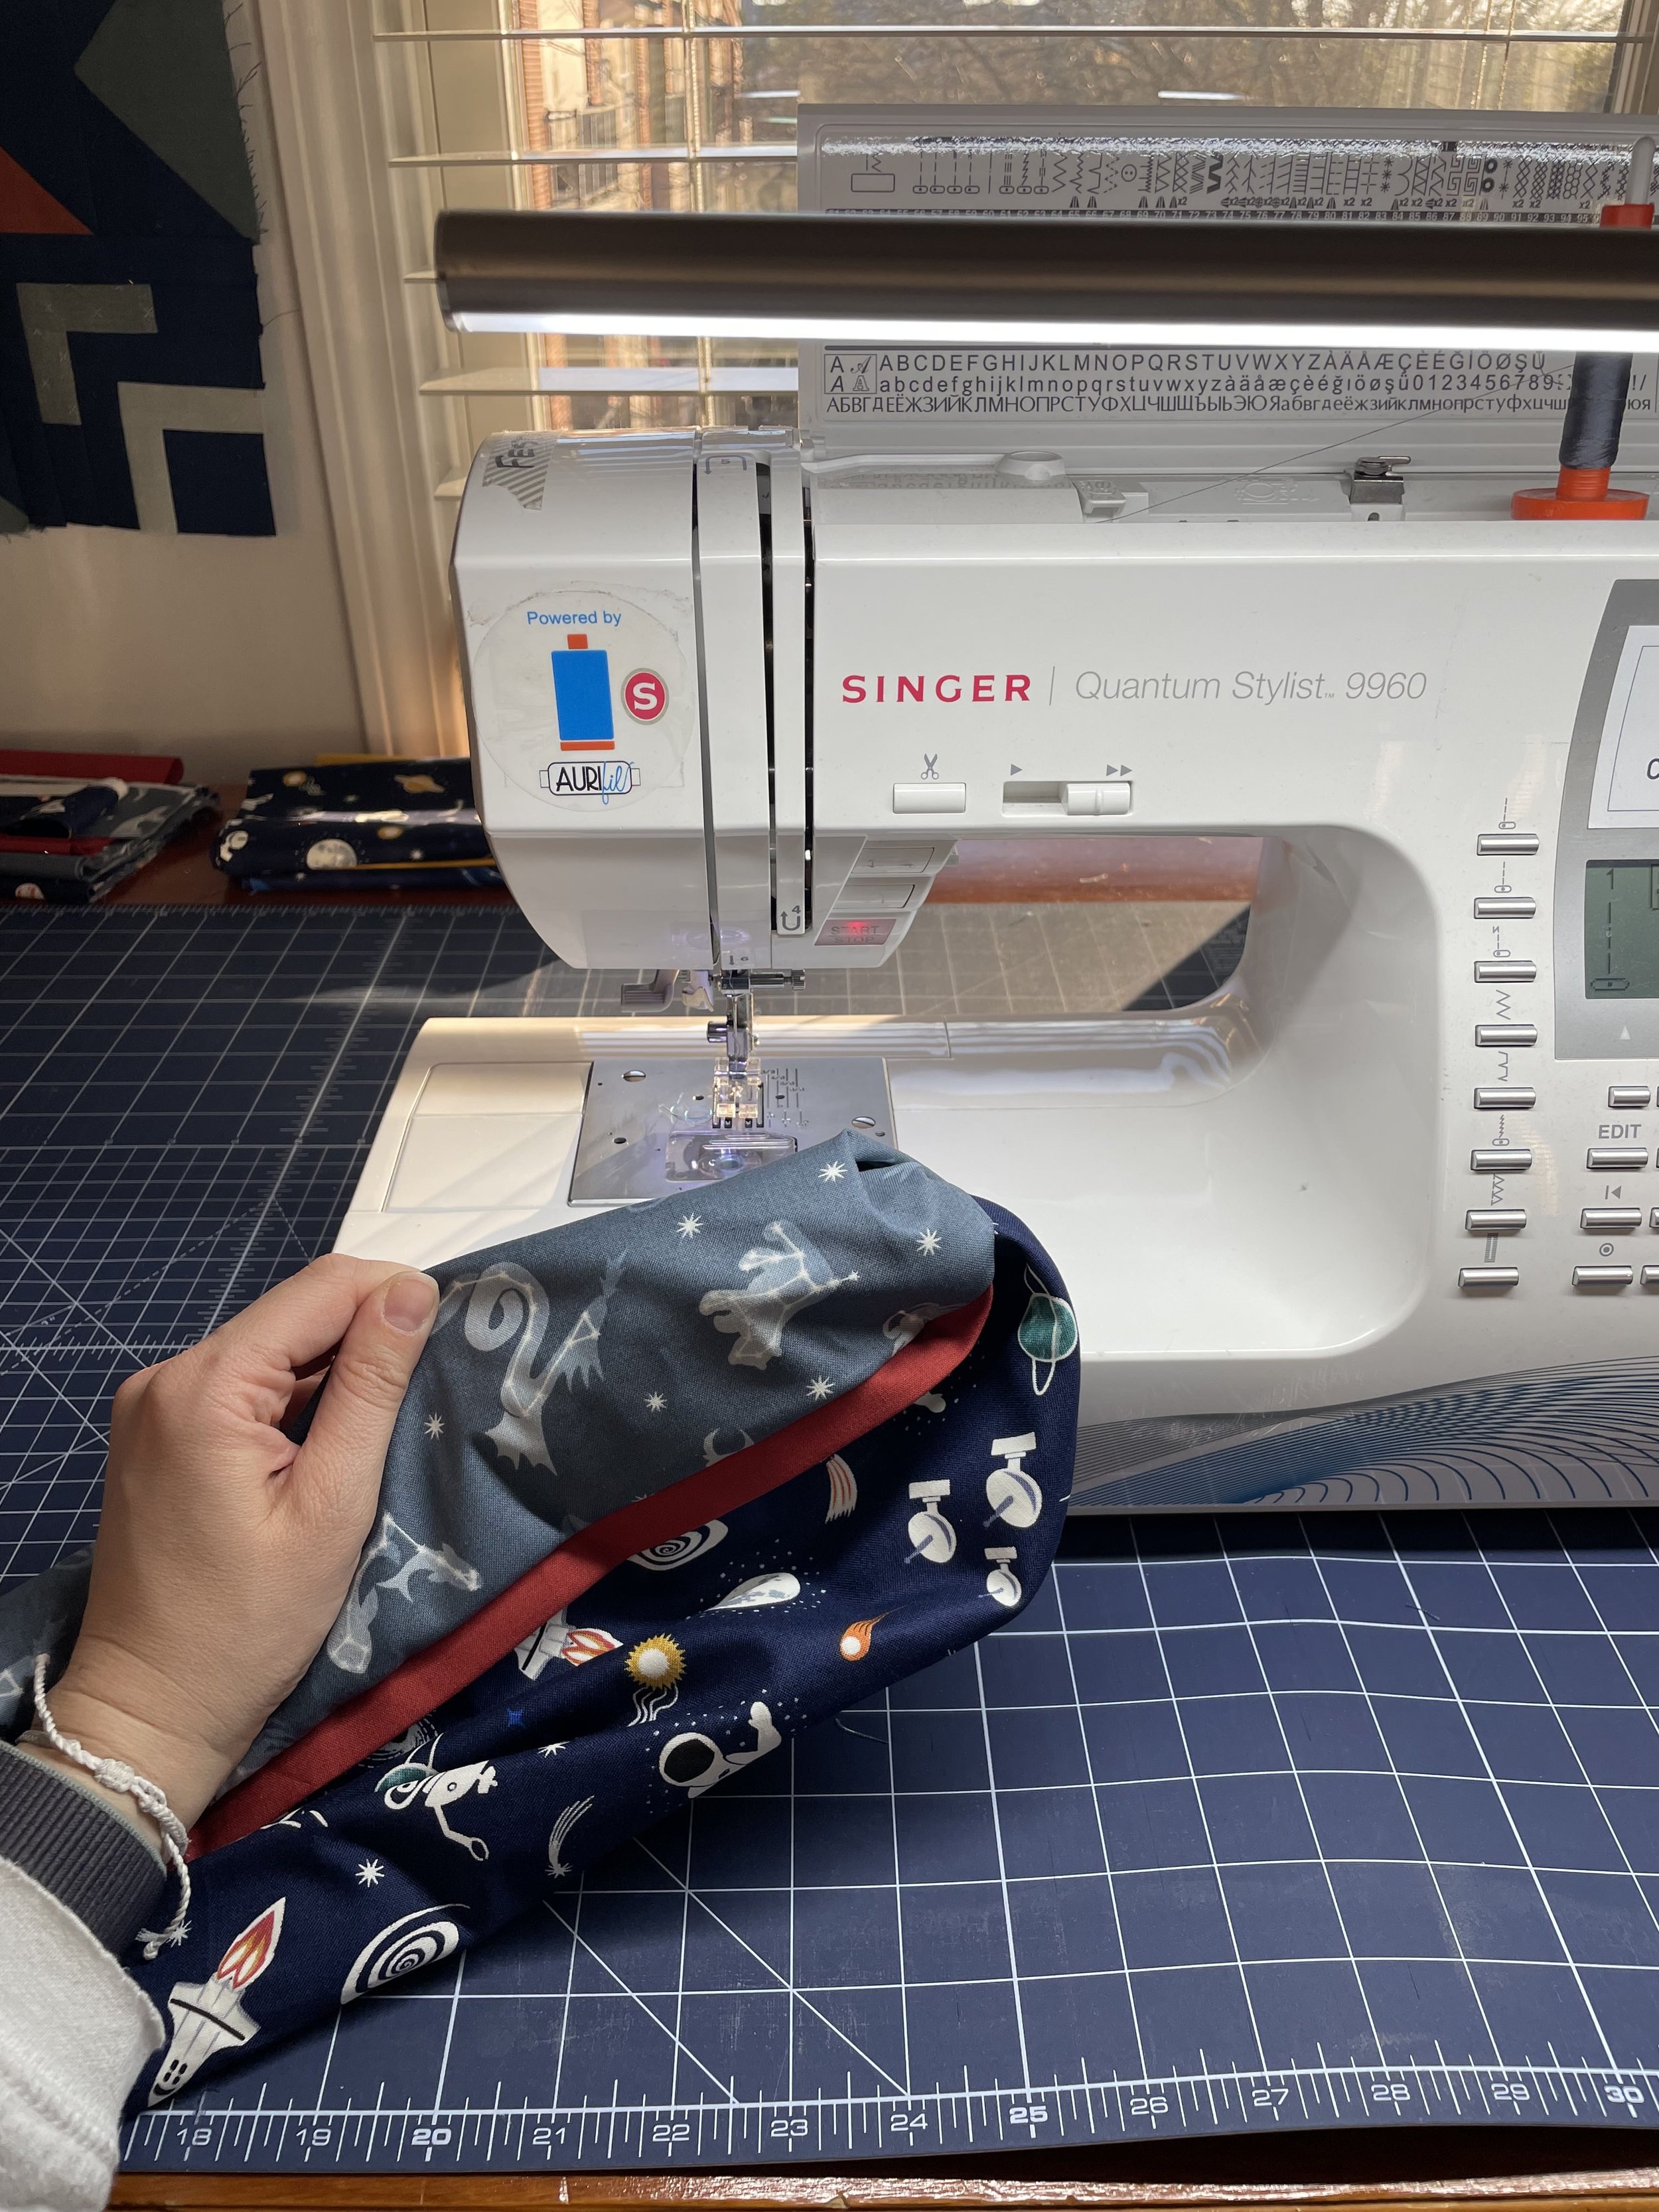
7) Clip corners, turn inside out, and press seams
8) With the pillowcase turned inside out, sew the “L” again with a 3/8-1/2”
9) Turn right side out and press for the final time